How to Draw Gon Freecss: Easy Anime Drawing Guide
Ready to bring Gon Freecss to life? This tutorial is perfect for young artists and anime fans ages 7+ looking to master manga-style character proportions. You will only need a pencil, an eraser, and a piece of paper to get started. Follow along to build your confidence in sketching expressive anime faces.
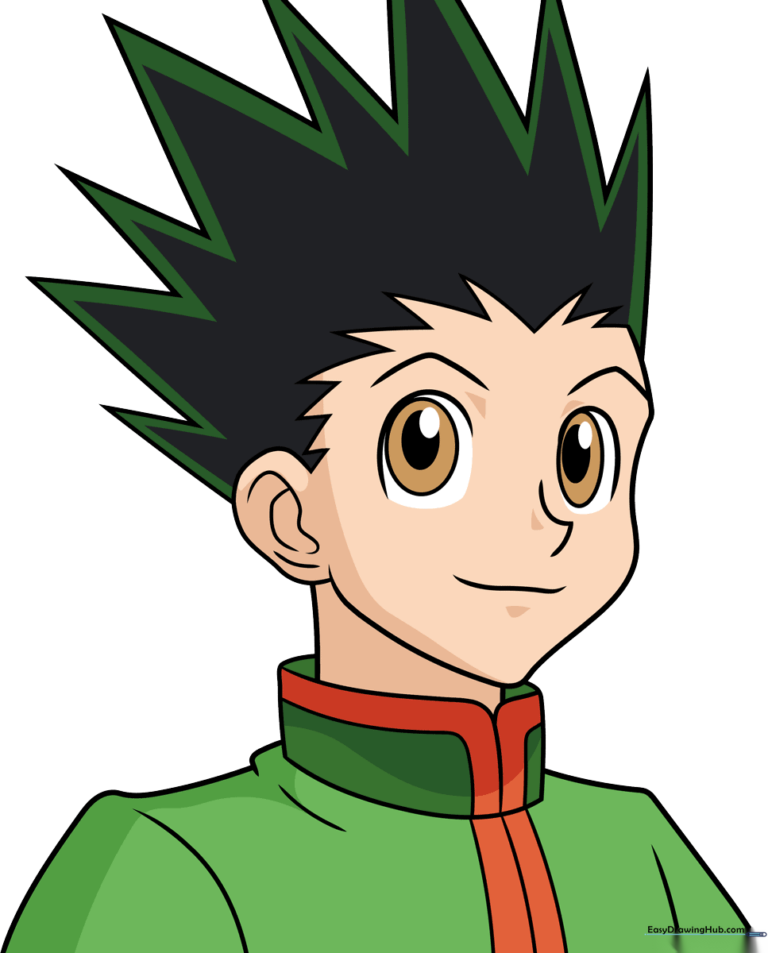
🎯 Final Result
Step-by-Step Instructions
Step 1: Sketching the Eyes
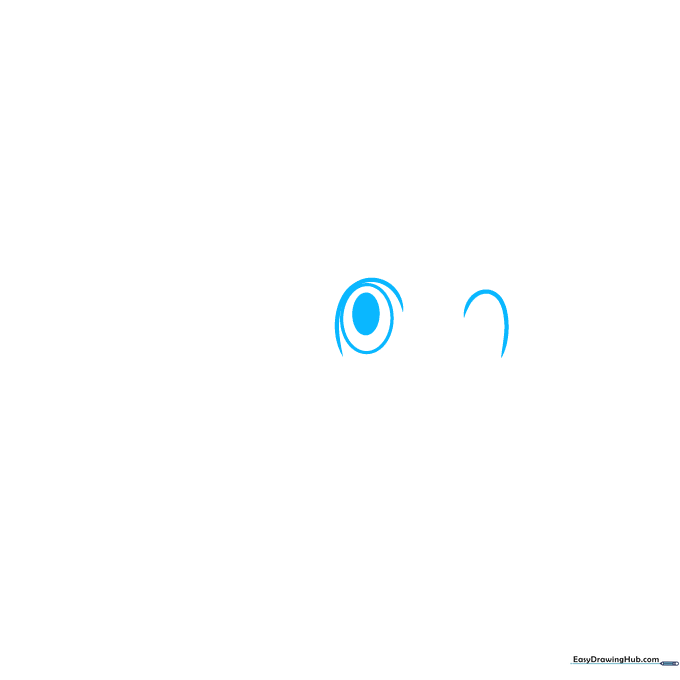
Draw a small oval inside a larger one to create the eye, then shade the center to make the pupil. Add a curved line above for the eyelid. Teacher's Tip: Keep your pencil pressure light here so you can easily adjust the shape if it looks a bit lopsided.
Step 2: Adding Brows and Nose

Repeat the eye process on the other side. Draw two triangular shapes for the eyebrows and a small 'V' shape for the nose. Teacher's Tip: Anime noses are often just a simple mark; don't overthink it, just keep it centered between the eyes.
Step 3: Defining the Face Shape
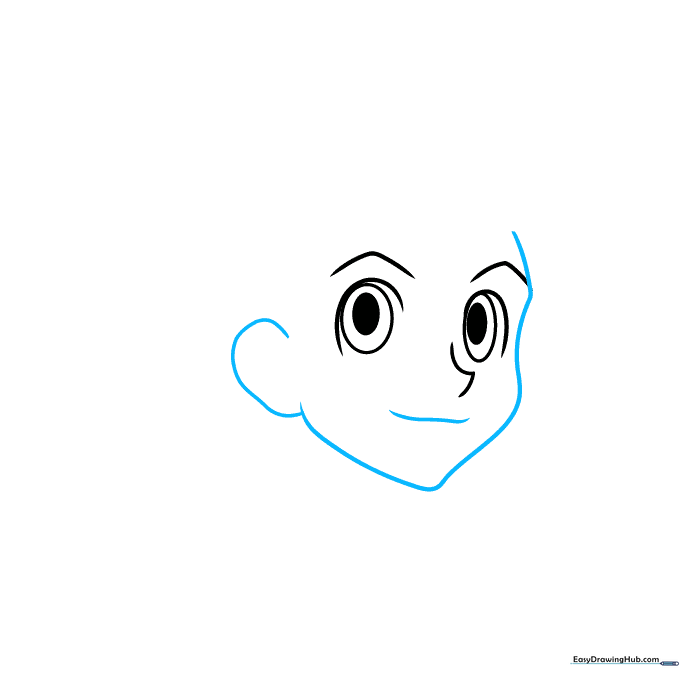
Outline the chin, cheeks, and one ear using smooth, curved lines. Add a gentle curve for his mouth. Teacher's Tip: Use a light touch to trace the jawline so it flows naturally into the chin.
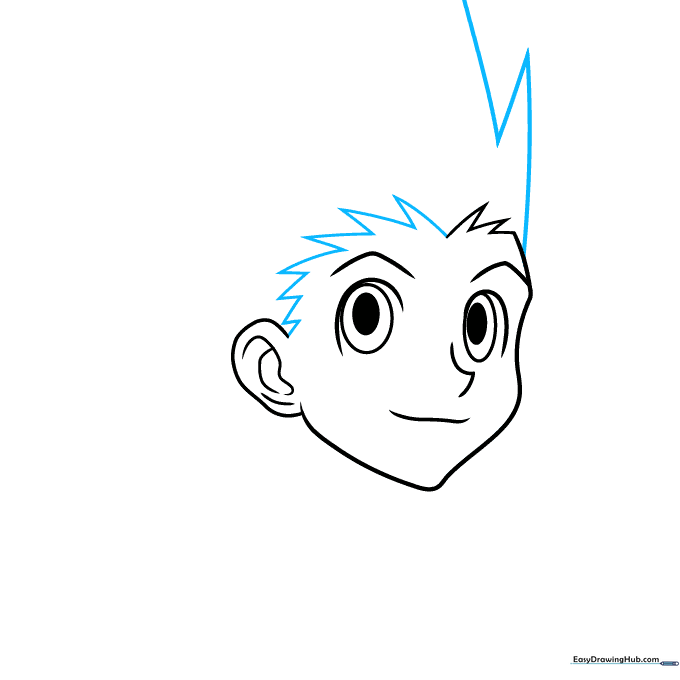
Step 4: Starting the Spiky Hair
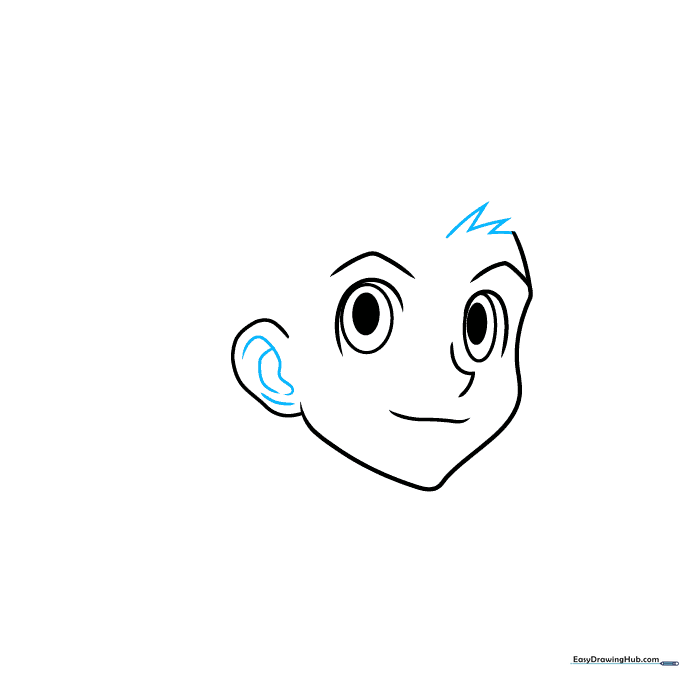
Add detail to the ear and begin drawing the iconic spiky hair using sharp, pointed lines. Teacher's Tip: Don't worry about making the spikes perfect; Gon's hair is meant to look wild and energetic!
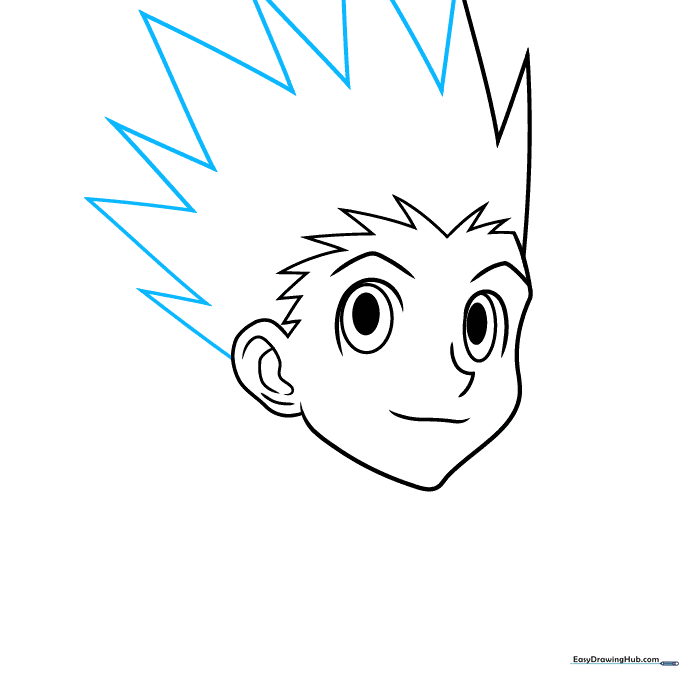
Step 5: Developing the Hairline
Continue drawing the long, spiky locks toward the ear. Teacher's Tip: Vary the length of the spikes to give the hair a more natural, dynamic look.
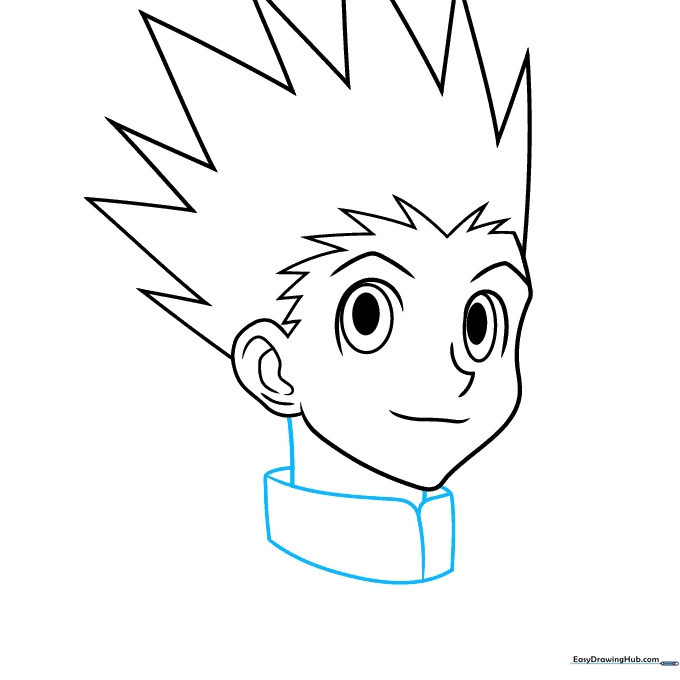
Step 6: Finishing the Hair
Complete the hair by adding the remaining spikes using long, confident strokes. Teacher's Tip: Make sure the lines meet at sharp points to capture that classic anime style.
Step 7: Drawing the Collar
Draw two rectangles below the head to form the collar. Connect them to the neck with small lines. Teacher's Tip: Keep the collar symmetrical to help the character look balanced.
Step 8: Adding Shoulders and Sleeves
Use curved lines to sketch the shoulders and sleeves. Teacher's Tip: Think about the curve of the shoulders—they should slope gently away from the neck.
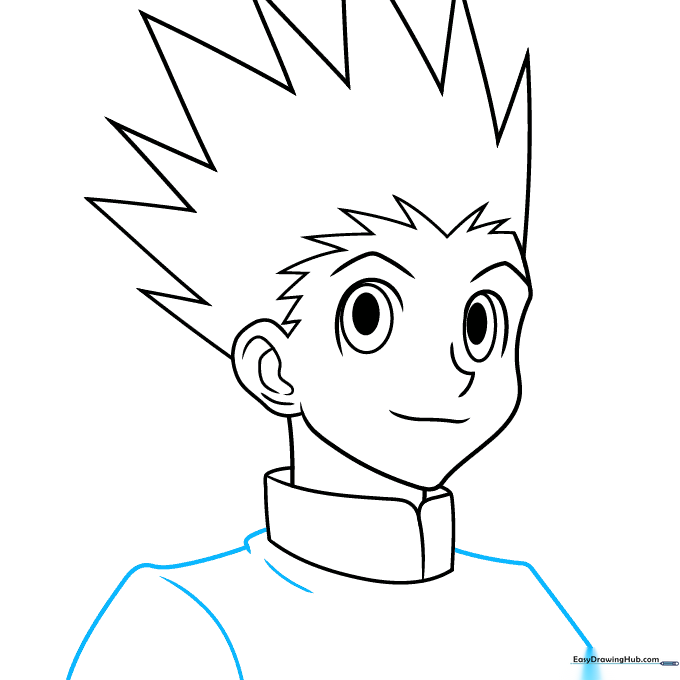
Step 9: Finalizing the Jacket
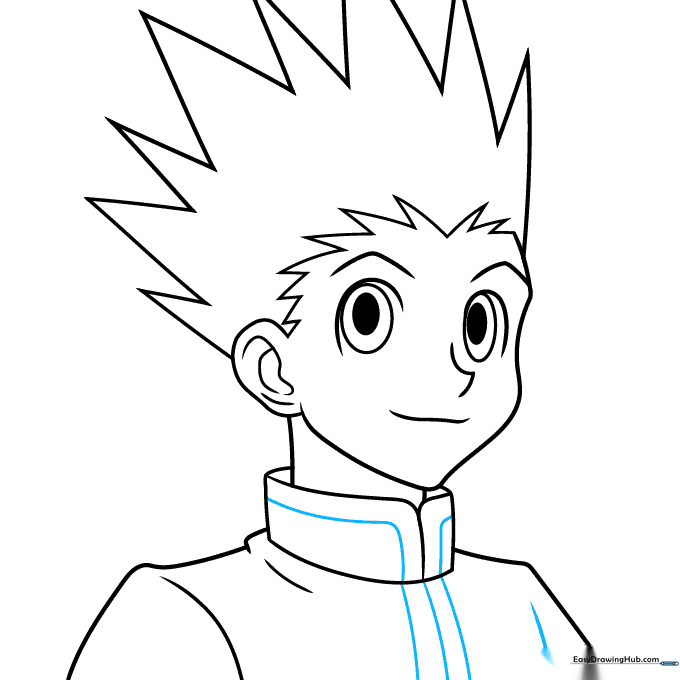
Add parallel lines to create the red trim on the jacket collar and front. Contour the remaining sleeve. Teacher's Tip: Use a ruler if you struggle with straight lines, but freehand is great for practice!
Step 10: Bringing Gon to Life with Color
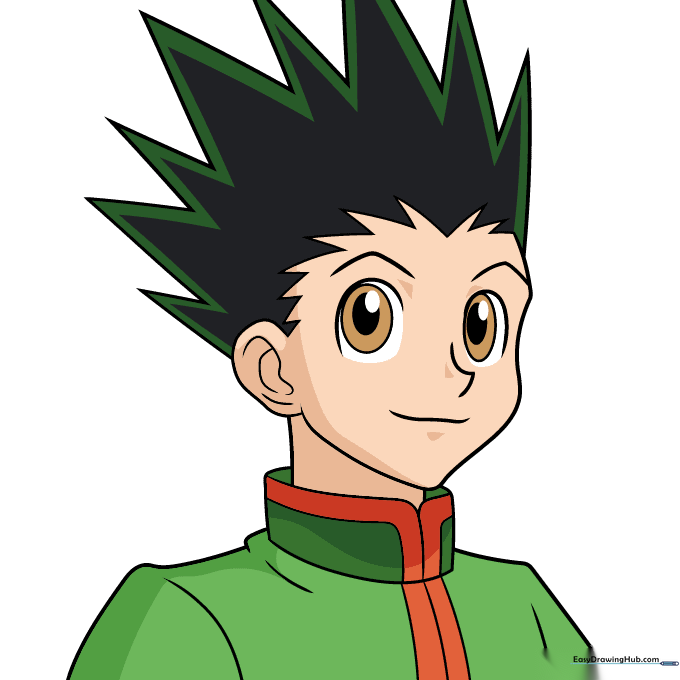
Time to color! Use green for his jacket, red for the trim, and black with green highlights for his hair. Teacher's Tip: Use light, circular motions when coloring to keep the texture smooth and vibrant.
More Tutorials


