How to Draw Gollum: Easy 10-Step Fantasy Character Guide
Bring the iconic creature of Middle-earth to life with this step-by-step tutorial designed for intermediate artists. You will need a pencil, eraser, and paper to capture Gollum's unique, expressive features. Follow along to practice character proportion and organic contouring in a fun, screen-free activity.
🎯 Final Result

Step-by-Step Instructions
Step 1: Sketching the Expressive Eyes

Start by sketching the large, glaring eyes. Use two curved lines for the lids and shade a bold circle in the center for the pupils. Teacher's Tip: Keep the eyes slightly asymmetrical to give him that signature curious and intense look.
Step 2: Defining the Face and Mouth

Outline the face using sharp, angular curves to suggest his gaunt cheekbones. Add a wide mouth and small 'U' shapes for his teeth. Teacher's Tip: Use short, flicking pencil strokes to define the skin folds around the nose and mouth.
Step 3: Shaping the Ears and Brow
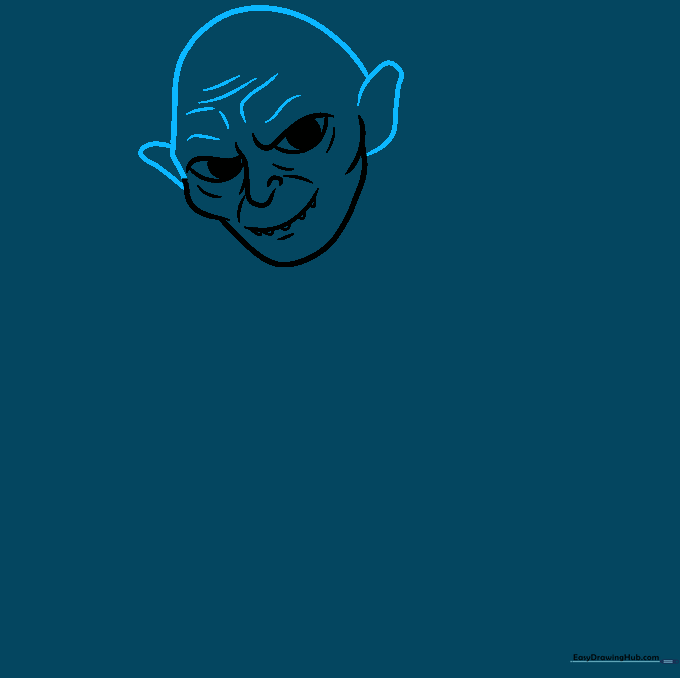
Add the large, pointed ears and the top of the head. Include horizontal lines across the forehead to indicate his furrowed brow. Teacher's Tip: Make the ears slightly oversized to emphasize his creature-like appearance.
Step 4: Adding Hair and Shoulders
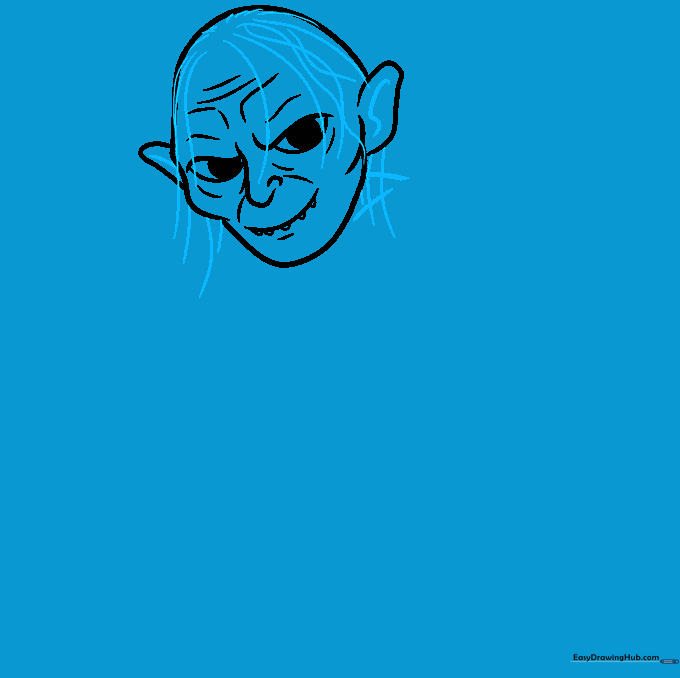
Draw sparse, stringy hair originating from a central point on the scalp. Sketch the collarbone and shoulder line. Teacher's Tip: Don't draw too much hair; keep it thin and wispy to match his sparse look.
Step 5: Sketching the First Arm
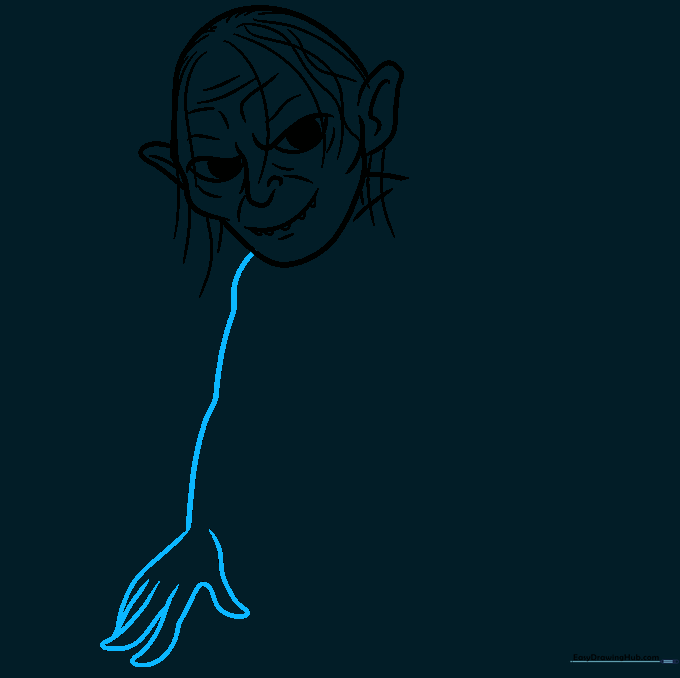
Use long, fluid curves to draw the upper arm and hand. Focus on the elongated fingers. Teacher's Tip: Draw the fingers as simple tubes first to get the proportions right before adding the knuckles.
Step 6: Detailing the Arm Muscles
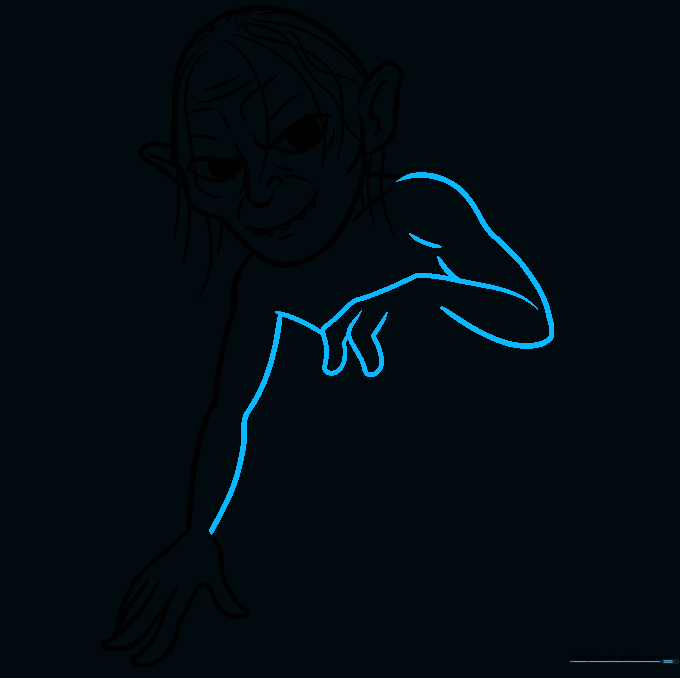
Refine the arm by adding muscle contours and completing the hand. Teacher's Tip: Use overlapping lines to show where the joints bend, which adds a sense of realism to the drawing.
Step 7: Drawing the Torso and Loincloth
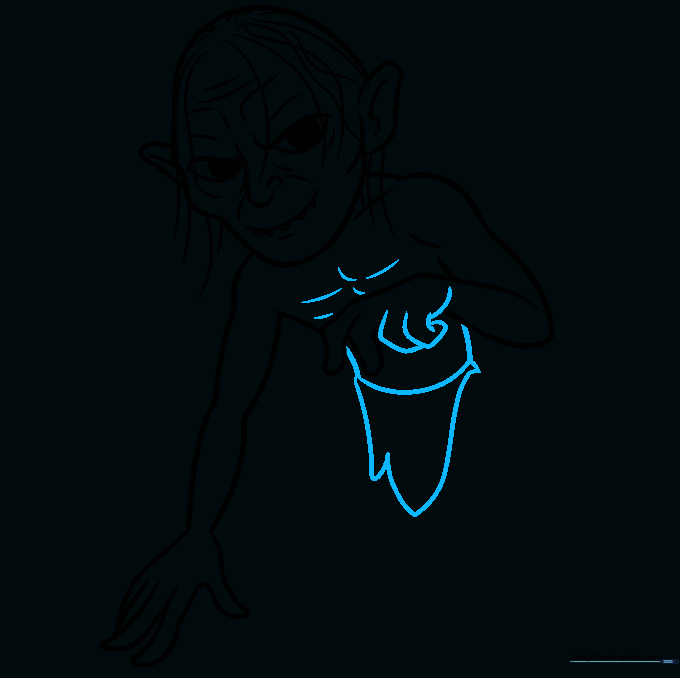
Connect the head and arms to a thin torso. Add the loincloth with pointed, uneven edges. Teacher's Tip: Keep the chest area slightly sunken to maintain his frail, creature-like physique.
Step 8: Adding the First Leg
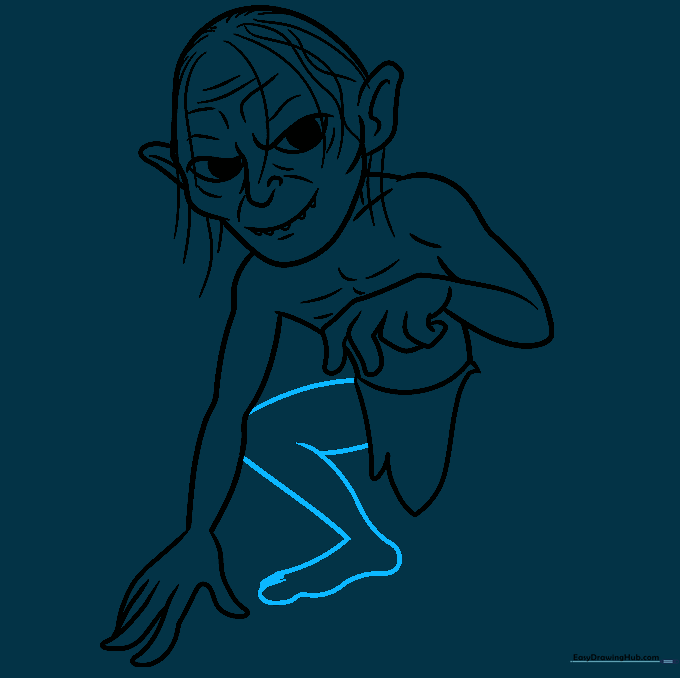
Sketch the upper and lower leg using curved lines. Add the foot with long, distinct toes. Teacher's Tip: Gollum's feet are quite large; don't be afraid to make them look slightly oversized compared to his body.
Step 9: Completing the Second Leg
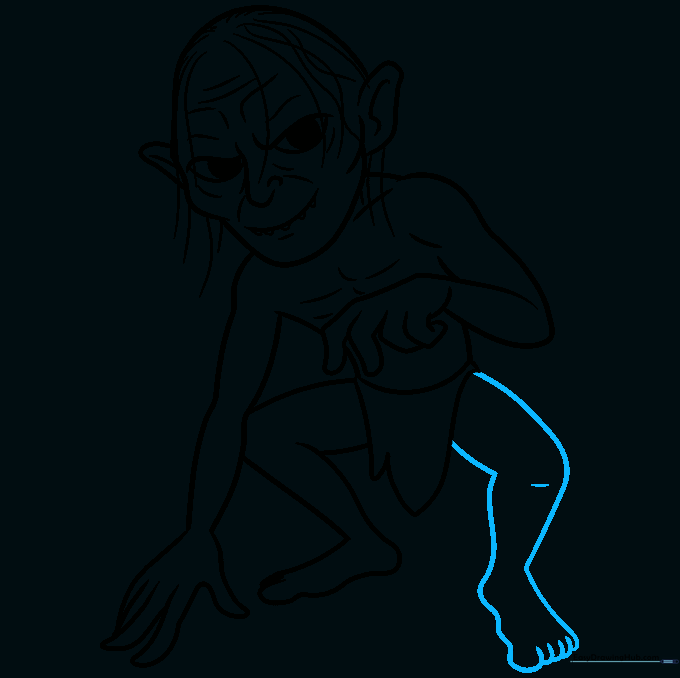
Draw the second leg, mirroring the structure of the first. Add a small curve for the knee. Teacher's Tip: Ensure the legs look thin and bony to match his overall aesthetic.
Step 10: Final Touches and Coloring
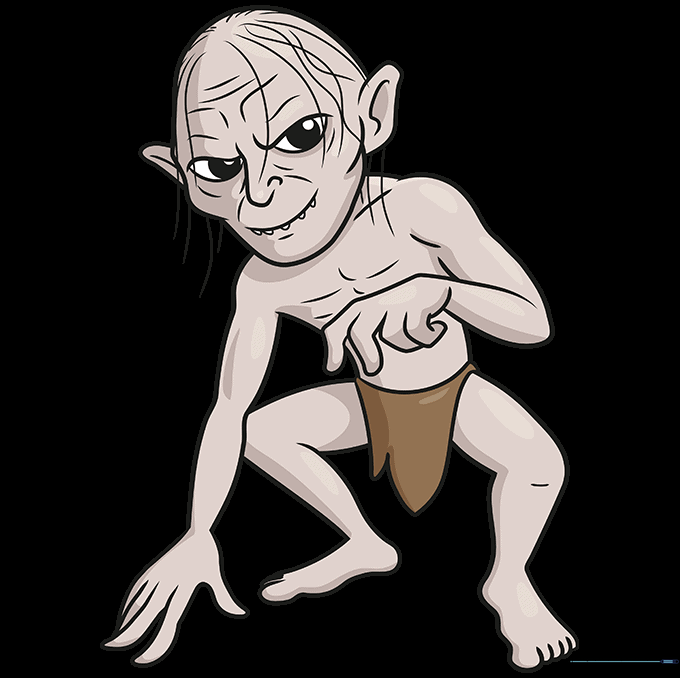
Clean up your guide lines with an eraser and add color. Use pale grays and earthy tones for his skin. Teacher's Tip: Use a light wash of color to keep his skin looking translucent and weathered.
More Tutorials


