How to Draw Goldilocks: Easy 10-Step Guide for Kids
Bring the classic fairy tale to life with this fun character drawing lesson! Designed for young artists ages 6+, this tutorial uses basic shapes to help you build confidence. All you need is a pencil, an eraser, and a piece of paper to get started.
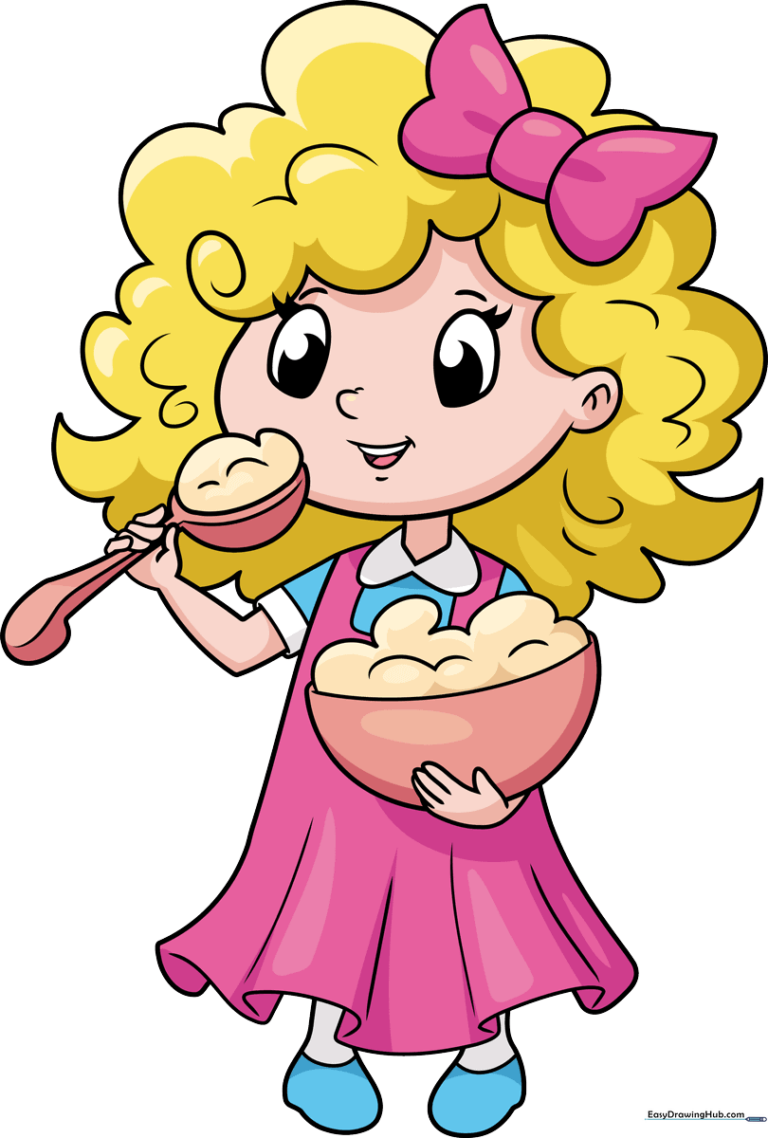
🎯 Final Result
Step-by-Step Instructions
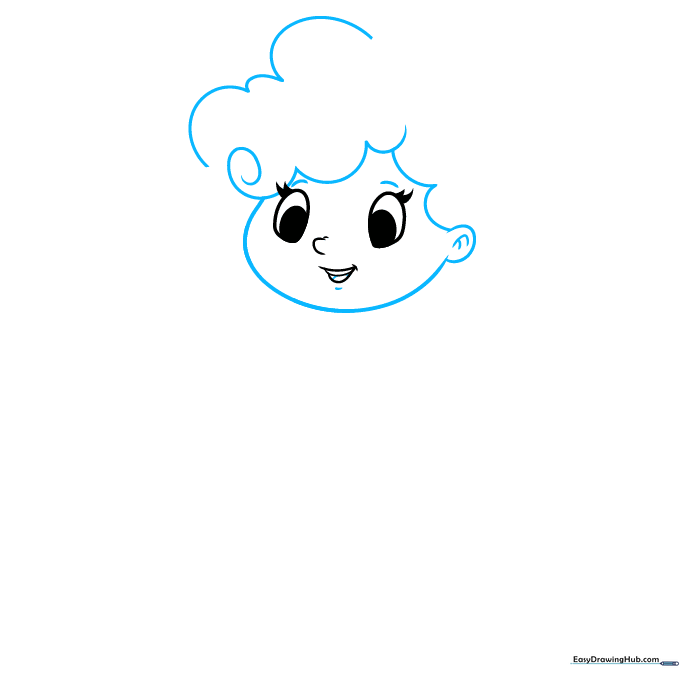
Step 1: Sketching the Face

Start by drawing a gentle oval for the face. Add two large circles for the eyes and a small curve for the mouth. Teacher's Tip: Keep your pencil lines very light here so you can easily erase any mistakes as you refine her expression.
Step 2: Adding Hair and Ears
Draw the ears on the sides of the head and begin sketching her curly hair. Use loose, spiral-like strokes to give her hair that iconic bouncy look. Tip: Don't worry about making the curls perfect; messy curls look more natural!
Step 3: Styling the Hairbow
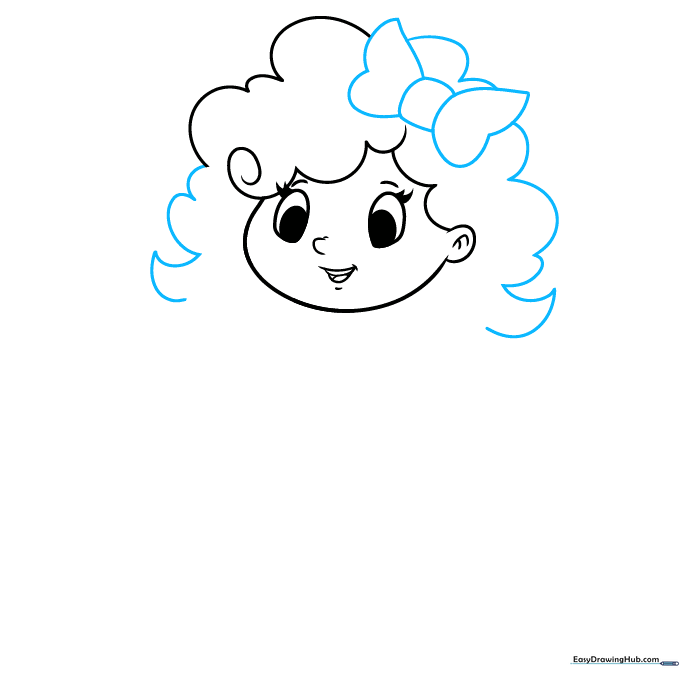
Add a cute bow to the top of her hair using two triangles meeting at a center point. This adds character and personality to your drawing. Tip: Make the bow slightly off-center for a more playful, hand-drawn feel.
Step 4: Drawing the Neck and Shoulders
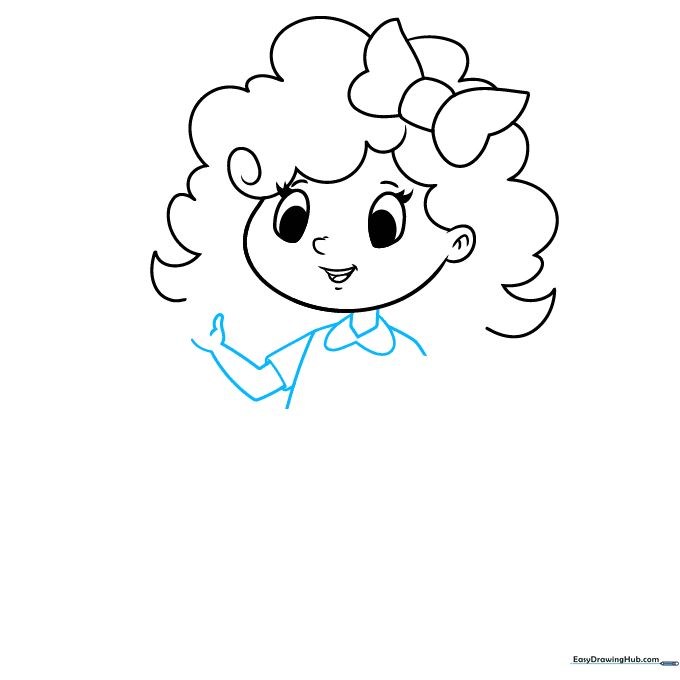
Draw two short lines for the neck and a heart-shaped collar for her dress. Connect these to the sleeves and arms. Tip: Use short, confident strokes to define the fabric folds near the shoulders.
Step 5: Adding the Spoon
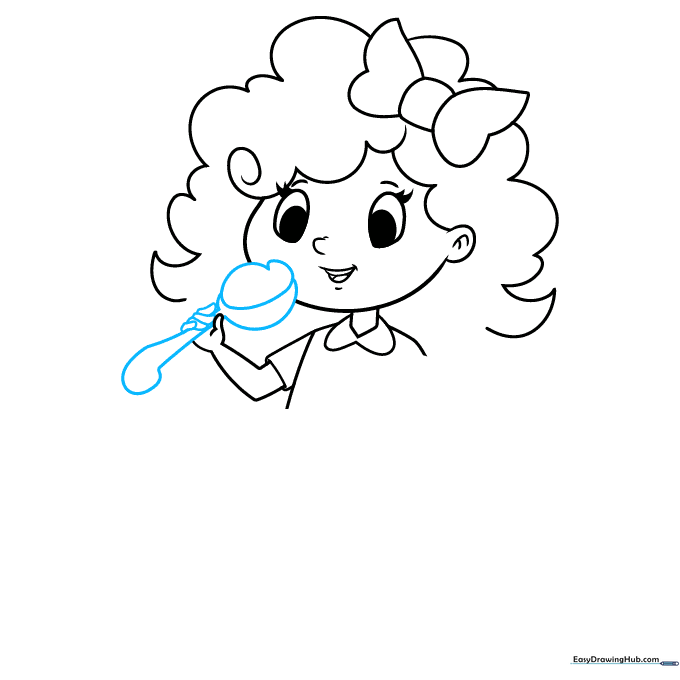
Sketch a spoon in her hand, including a small oval for the porridge. Tip: To make the spoon look 3D, draw a small curved line inside the bowl to show depth.
Step 6: Drawing the Second Hand
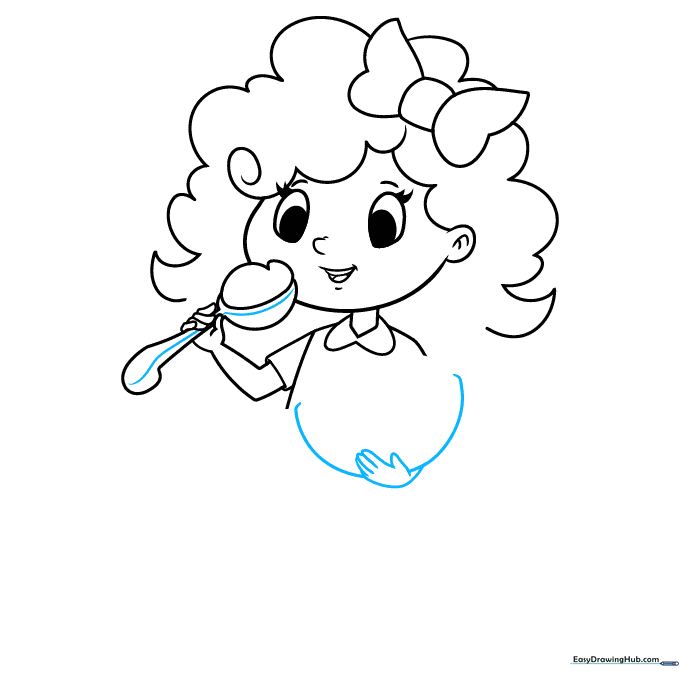
Draw her other hand holding the bowl. Use simple curved lines to form the fingers wrapping around the side of the bowl. Tip: Keep the fingers close together to make them easier to draw.
Step 7: Detailing the Dress
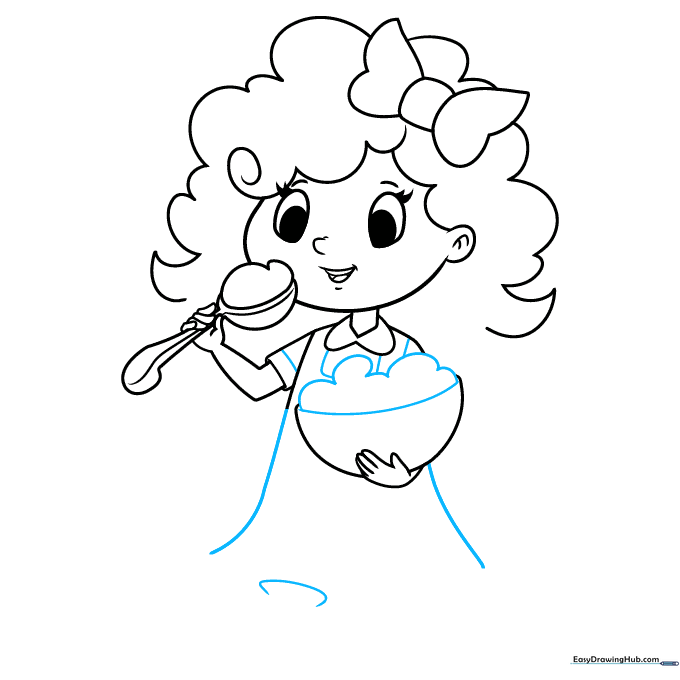
Draw the sides of her dress using long, flowing lines. Add a few shorter lines at the sleeves to show fabric bunching. Tip: Imagine the dress is made of soft cloth—use curved lines to show movement.
Step 8: Legs and Shoes
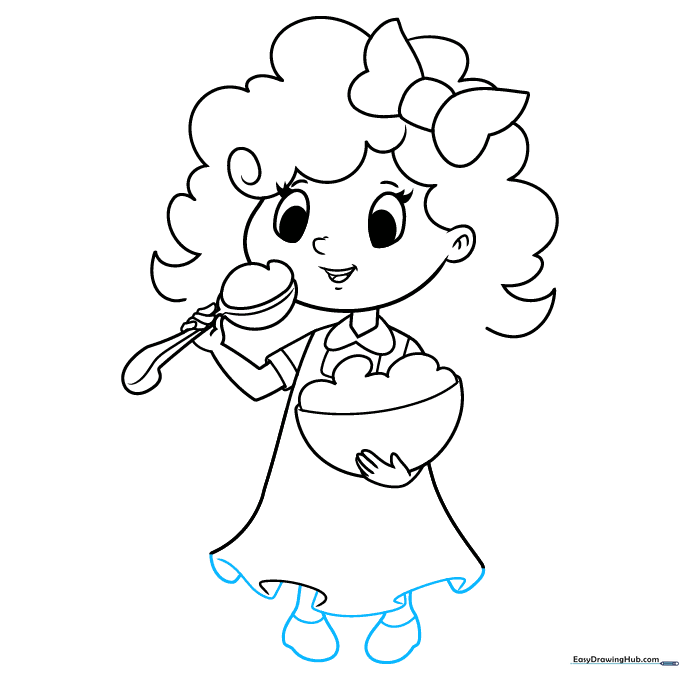
Draw the bottom hem of the dress with 'C' shaped curves. Add her legs and simple shoes below. Tip: Draw a small line across the ankle to represent the top of her socks or shoes.
Step 9: Final Touches
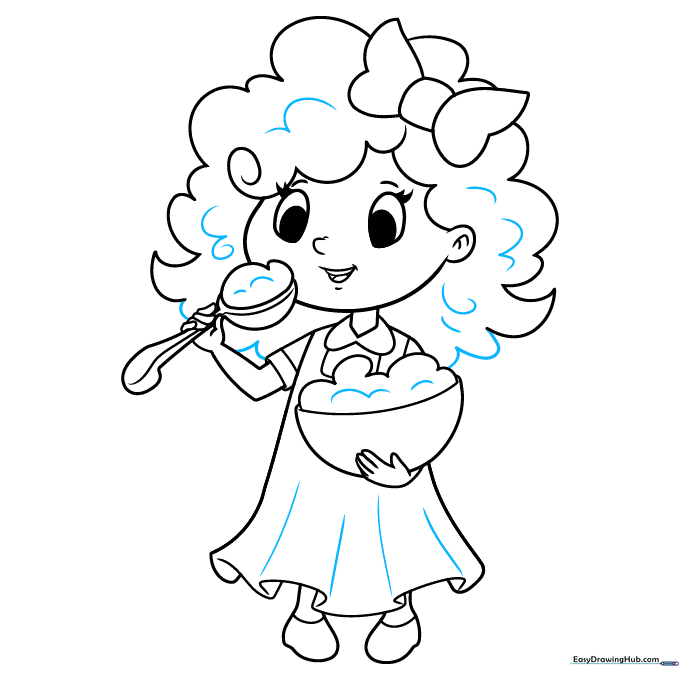
Add ruffles to the dress and finish the hair texture with short, quick strokes. Tip: Use a darker pencil pressure for the final outline to make your character pop off the page.
Step 10: Bring Goldilocks to Life with Color
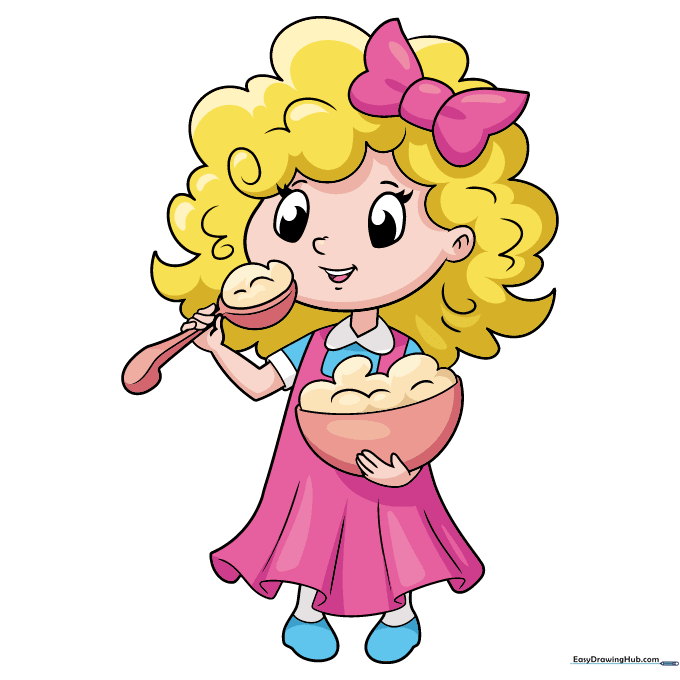
Time to color! Use golden yellow for her hair to match her name. For the dress, pick your favorite colors. Tip: Try using light pressure with your colored pencils to create soft shading on her cheeks.
More Tutorials


