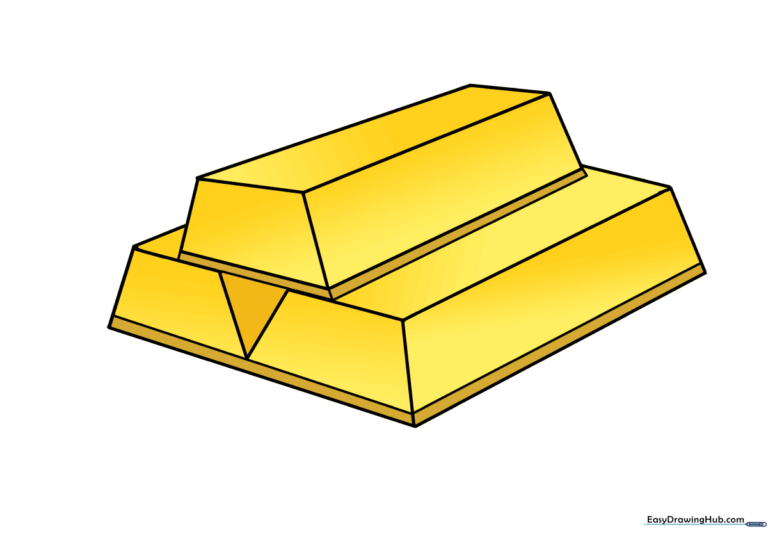
How to Draw Gold Bars: Easy 10-Step Drawing Guide
Ready to add some sparkle to your sketchbook? This tutorial is perfect for young artists ages 7+ looking to master 3D shapes and perspective. You will only need a pencil, an eraser, and some yellow markers or colored pencils to bring your treasure to life.
🎯 Final Result
Step-by-Step Instructions
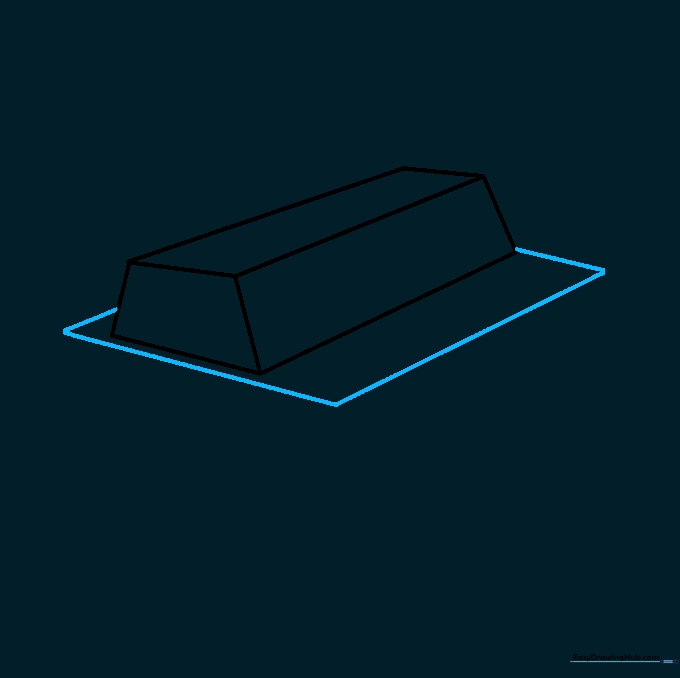
Sketching the Top Edge
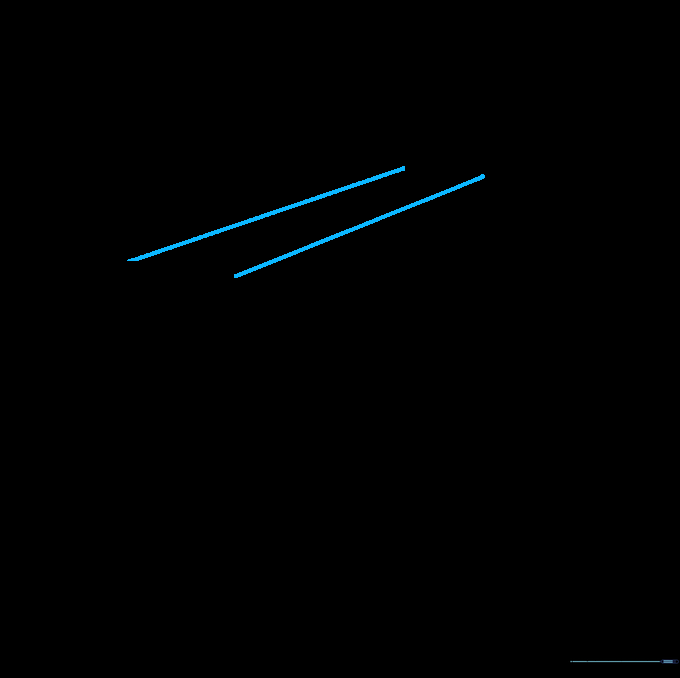
Start by drawing two parallel diagonal lines. Tip: Keep these lines light and faint; they serve as the foundation for your top gold bar.
Defining the Front Face
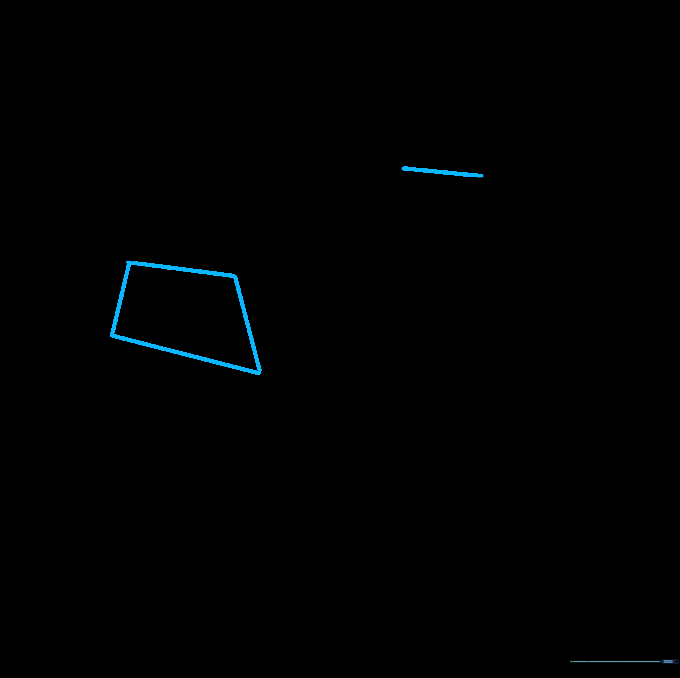
Connect the ends of your lines and add two short diagonal lines extending forward to create a trapezoid shape. Tip: Think of this as the 'face' of the bar; keeping the angles consistent makes it look solid.
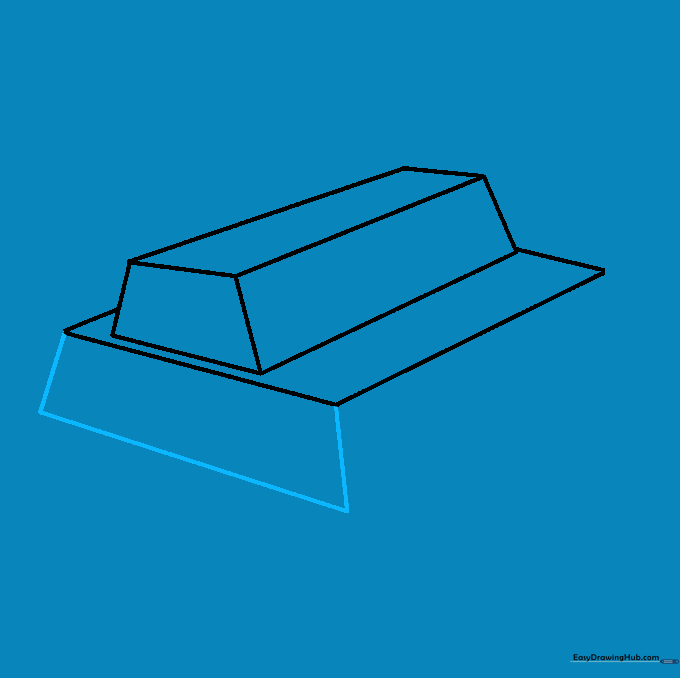
Creating 3D Depth
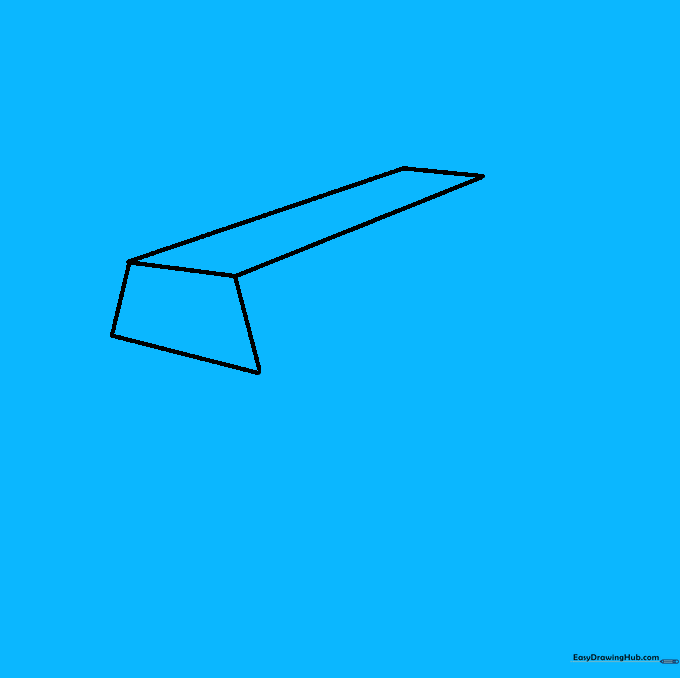
Draw a long line parallel to the side and connect it to the top corner. Tip: This creates the side face of the bar, giving it that professional 3D look.
Adding the Bottom Bars
Draw a rectangle shape beneath your first bar. Tip: Ensure the corners align with the bar above it to make the stack look stable.
Shaping the Lower Front
Enclose a trapezoid along the front of your rectangle. Tip: Use a ruler if you struggle with straight lines, but freehand is great for building muscle memory!
Completing the Lower Side
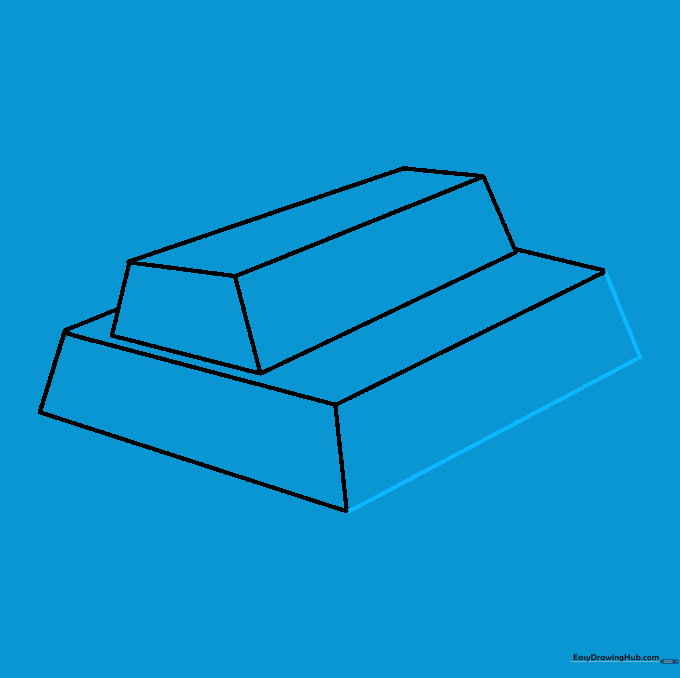
Draw a parallel line from the corner of the trapezoid to the side of the rectangle. Tip: This creates the side edge of the bottom bar, making it look consistent with the top one.
Adding Negative Space

Draw an inverted triangle between the bars. Tip: This creates the illusion of a gap between the stacked gold, which adds realism.
Cleaning Up Your Sketch
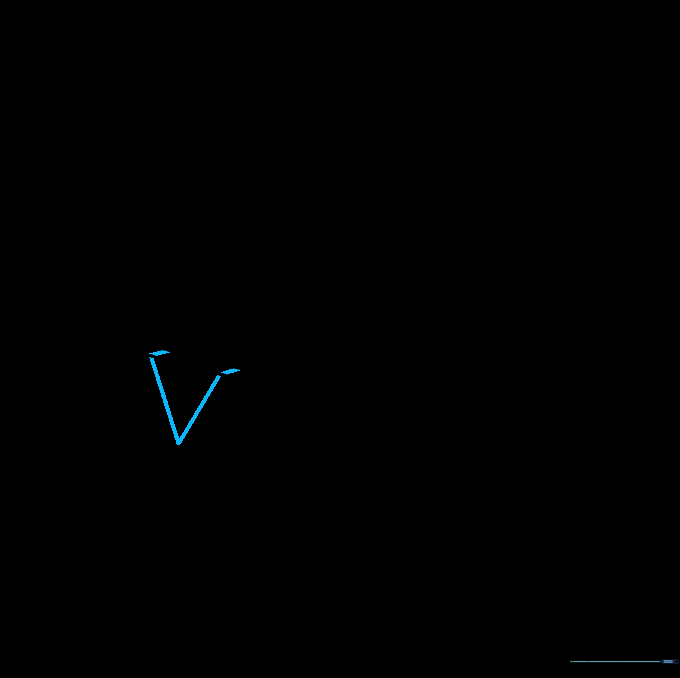
Carefully erase the extra guide lines inside the triangle. Tip: Use a kneaded eraser if you have one—it's gentler on the paper and won't smudge your work.
Finalizing the Outline
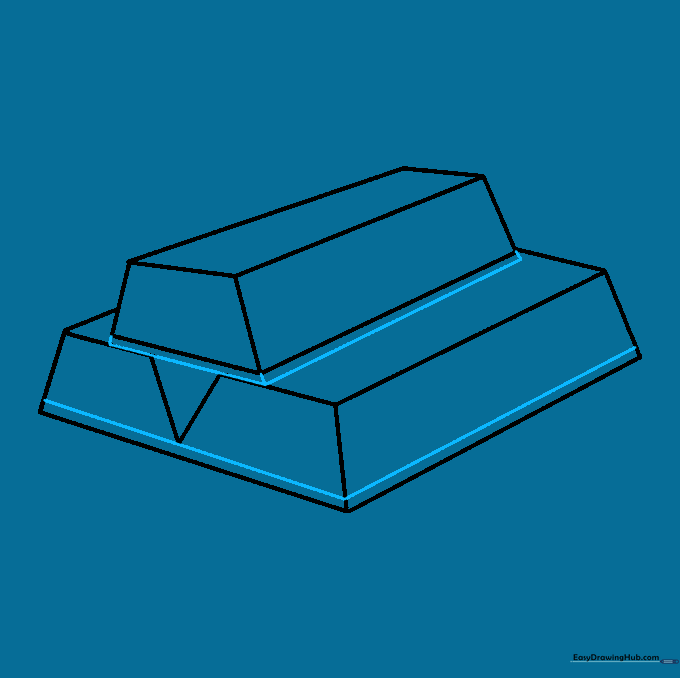
Draw final clean lines across the bottom and edges to define the structure. Tip: Press slightly harder with your pencil now to make the final outline stand out.
Adding Color and Depth
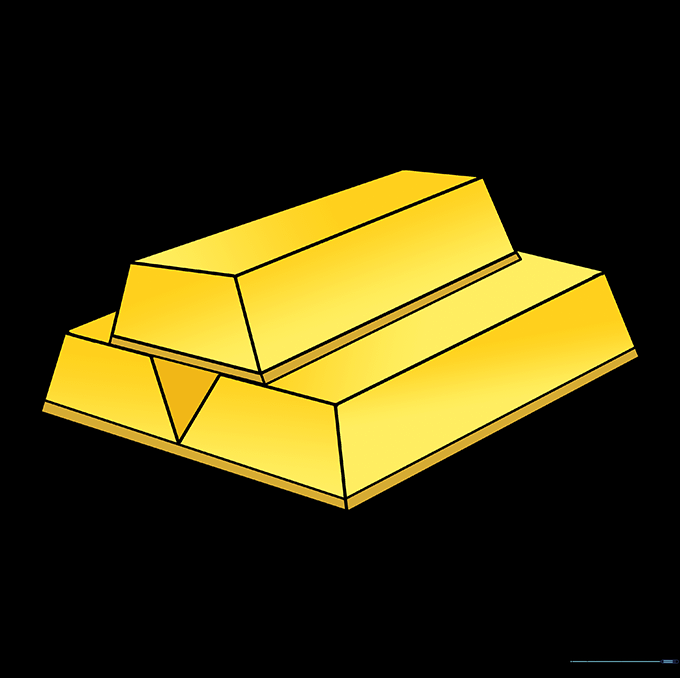
Color your bars using two shades of yellow. Tip: Use a darker yellow or light brown for the sides facing away from the light to create a realistic metallic shadow.
More Tutorials


