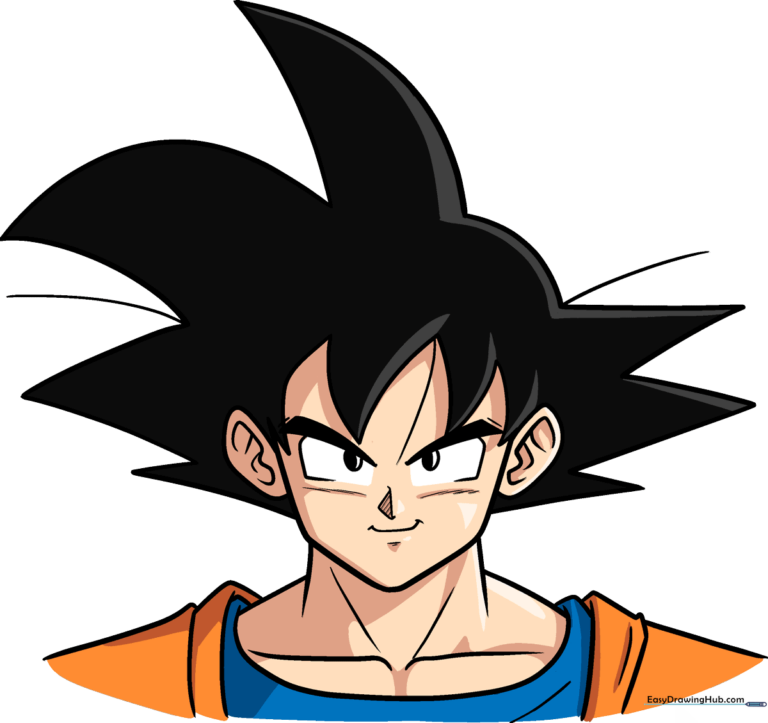
How to Draw Goku: Easy 10-Step Anime Tutorial
Ready to bring your favorite Saiyan to life? This tutorial is designed for young artists and anime fans who want to master Goku’s iconic look. You’ll need a pencil, an eraser, and a steady hand to capture his signature spiky hair and determined expression.
🎯 Final Result
Step-by-Step Instructions
Step 1: Sketching the Intense Anime Eyes
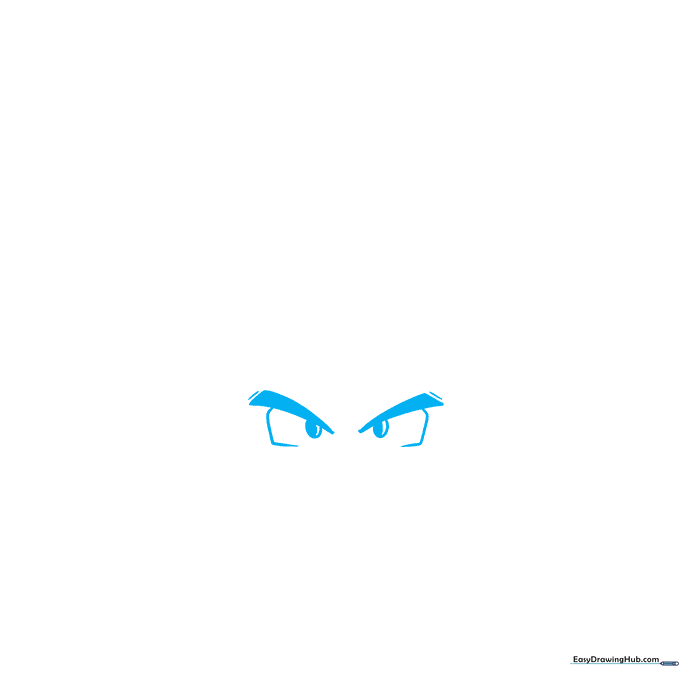
Start by drawing two narrow, angled triangles for the eyebrows. Below these, sketch rectangular eye shapes. Add a partial oval inside each for the iris. Teacher's Tip: Keep your lines sharp and angular to capture that classic 'determined' anime gaze.
Step 2: Defining Facial Features
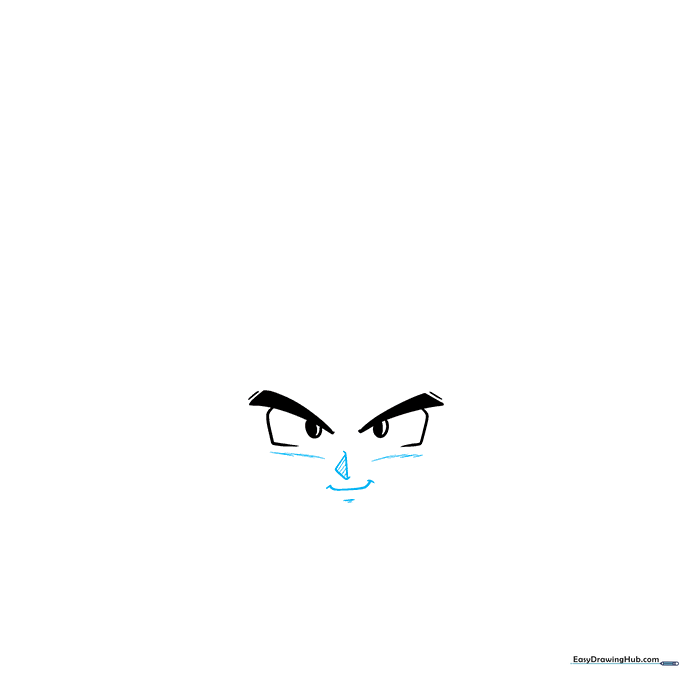
Add a small triangle for the nose and curved lines for the mouth and chin dimple. Use light, short hatch marks on the cheeks to suggest shadow. Teacher's Tip: Use a light touch for the nose; it should be subtle, not heavy.
Step 3: Shaping the Jawline
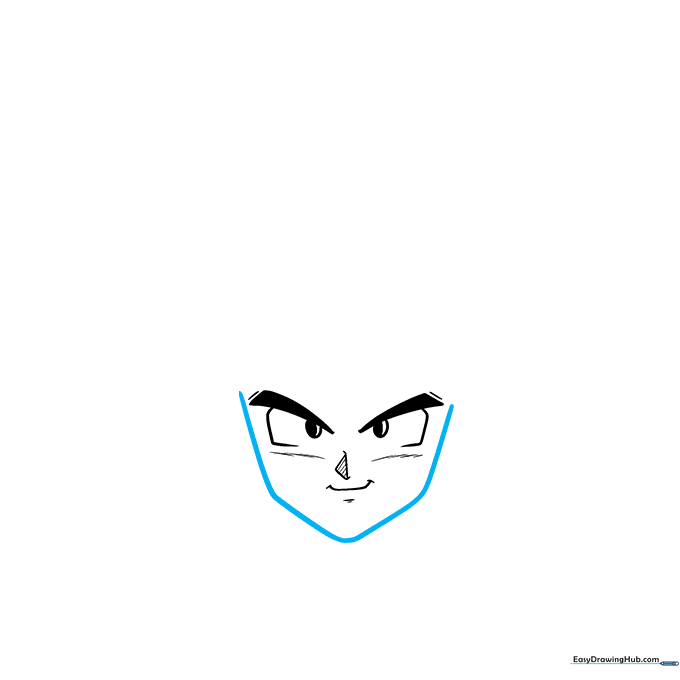
Trace a 'V' shaped line to define the chin and connect it to the sides of the face. Teacher's Tip: Ensure the jawline is symmetrical to keep the character looking balanced.
Step 4: Adding the Ears
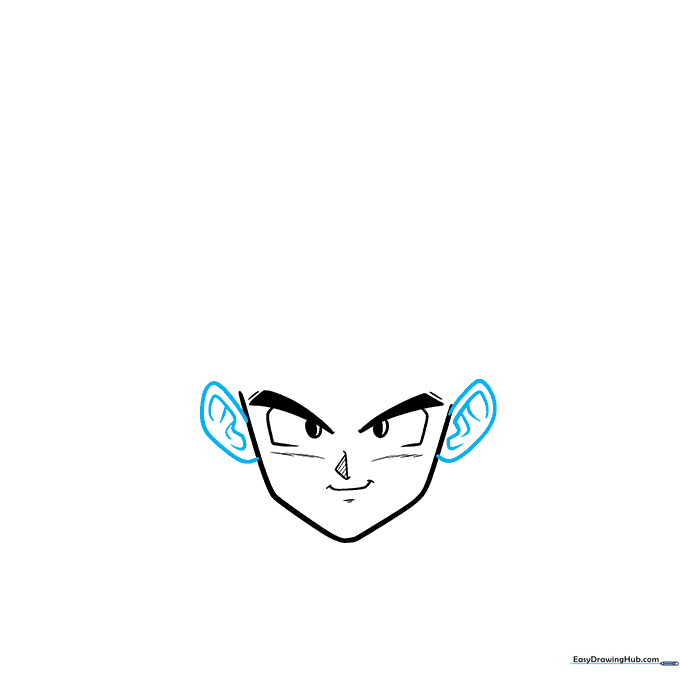
Draw two curved shapes on the sides of the head for the ears, adding inner contours for detail. Teacher's Tip: Ears usually align with the top of the eyes and the bottom of the nose.
Step 5: Starting the Spiky Hair
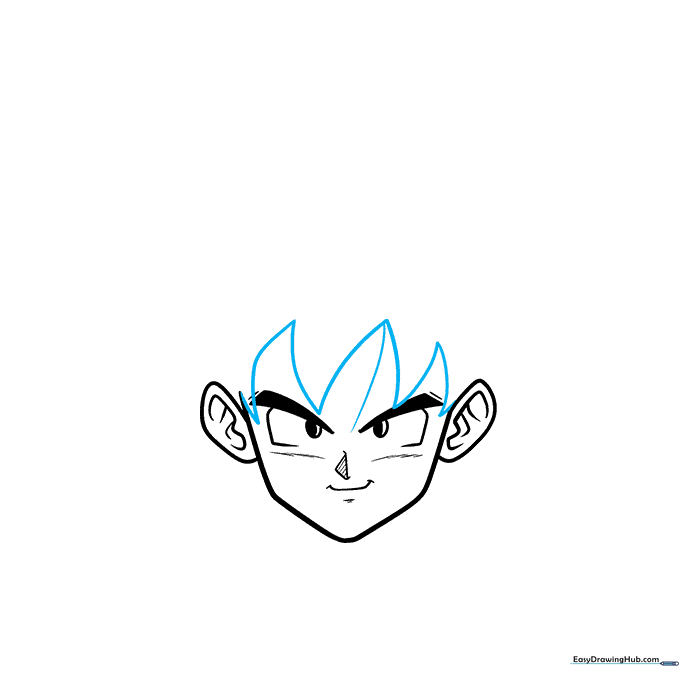
Begin the hair by drawing jagged, curved points radiating from the forehead. Teacher's Tip: Think of these as large, sharp triangles—don't make them too uniform!
Step 6: Building Hair Volume
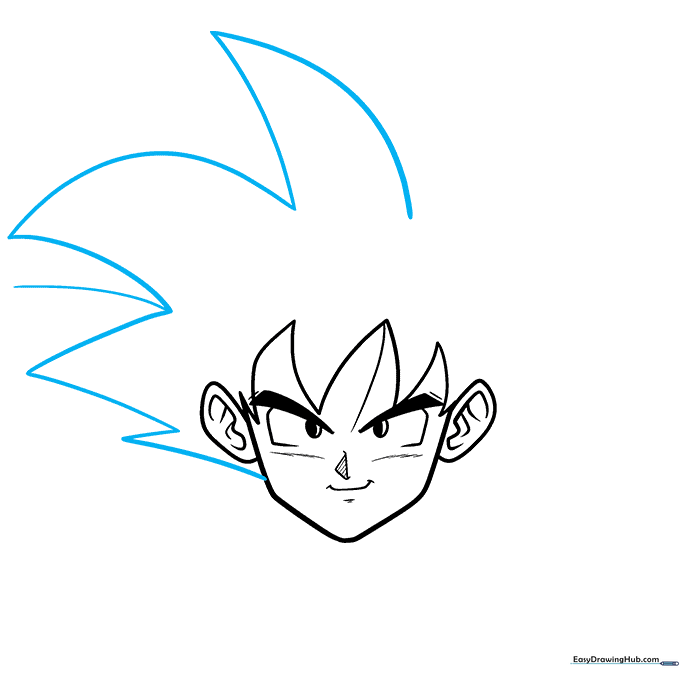
Continue adding more spikes, using long, sweeping curved lines that meet at sharp points. Teacher's Tip: Vary the size of the spikes to give the hair a more dynamic, natural look.
Step 7: Finalizing the Hair
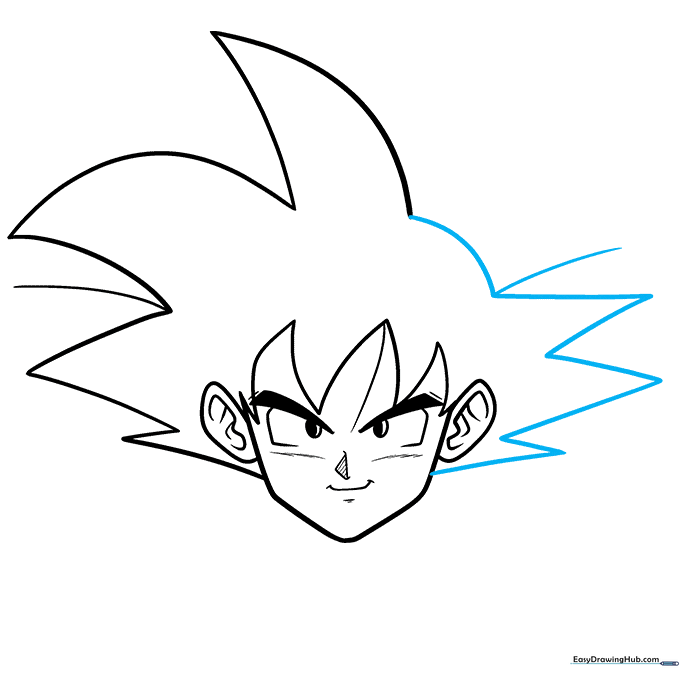
Close the hair outline with final jagged points. Ensure the shape is fully enclosed. Teacher's Tip: Check that your lines are clean before moving on to the neck and clothing.
Step 8: Drawing the Neck and Shoulders
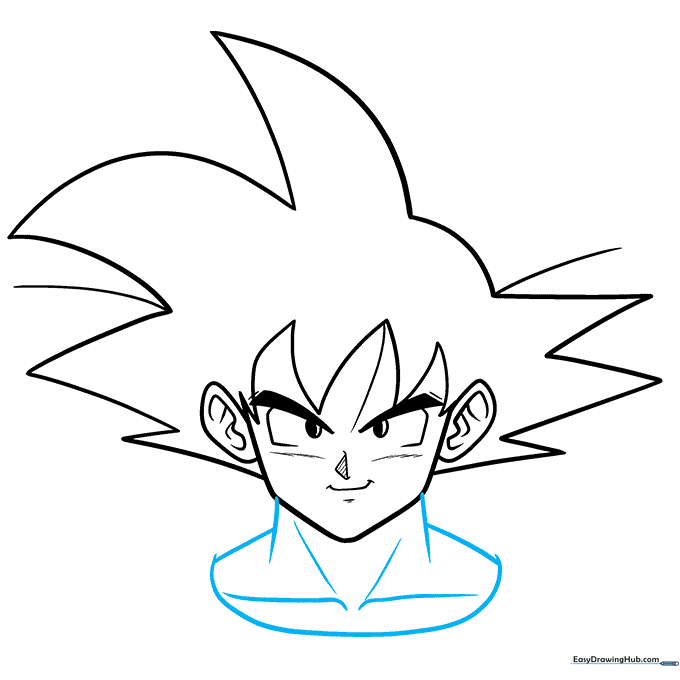
Extend two lines down from the chin for the neck, then add the shoulder lines. Draw a 'U' shaped collar for the tunic. Teacher's Tip: Use light shading lines to define the collarbone area.
Step 9: Adding Fabric Folds
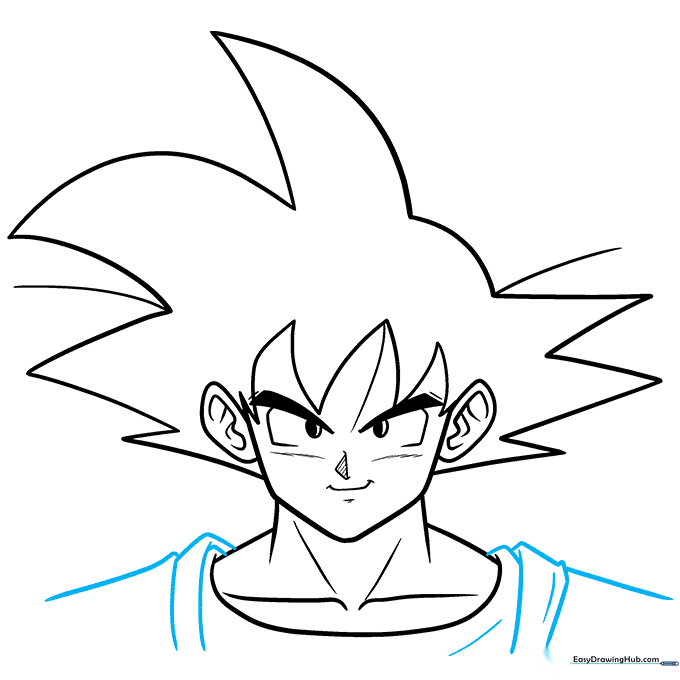
Add overlapping curved lines to the tunic to represent fabric folds. Teacher's Tip: Folds usually appear near joints or where the fabric bunches; keep them simple to avoid cluttering the drawing.
Step 10: Bringing Goku to Life with Color
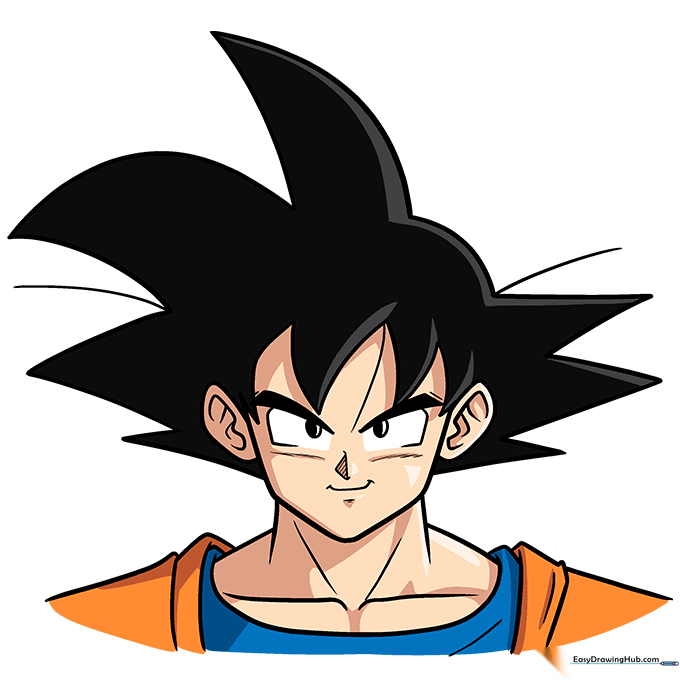
Time to color! Use black for the hair, orange for the outer tunic, and blue for the inner layer. Teacher's Tip: Use a darker shade of orange in the folds to create depth and a 3D effect.
More Tutorials


