How to Draw Goku Ultra Instinct: Easy 10-Step Guide
Ready to capture Goku’s most powerful form? This tutorial is designed for young artists and anime fans looking to level up their character drawing skills. Grab a pencil, an eraser, and some paper, and follow along to bring this legendary warrior to life.
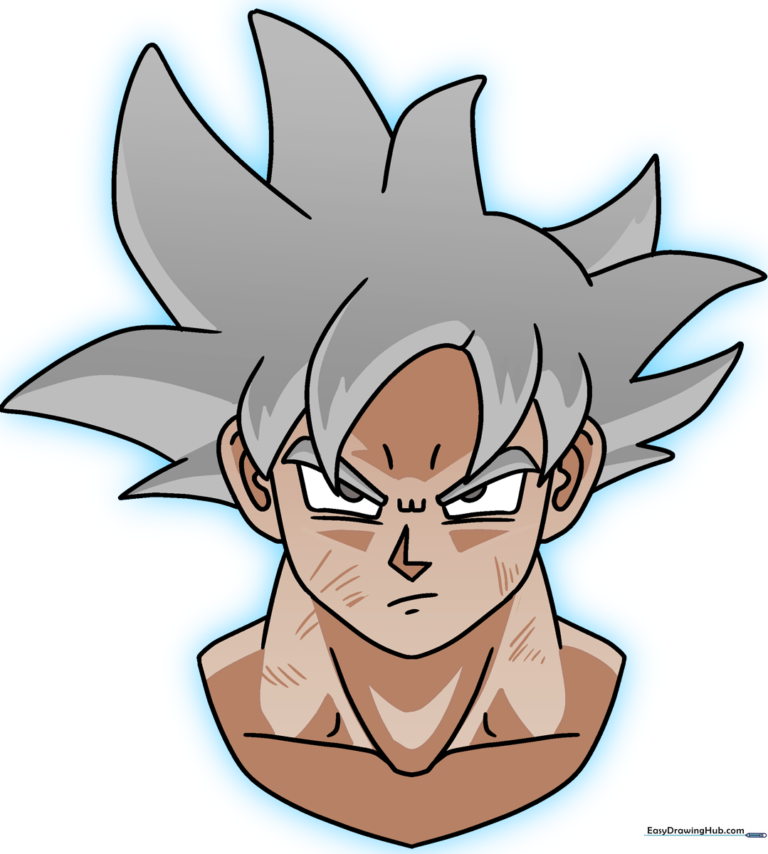
🎯 Final Result
Step-by-Step Instructions
Step 1: Sketching the Face Shape
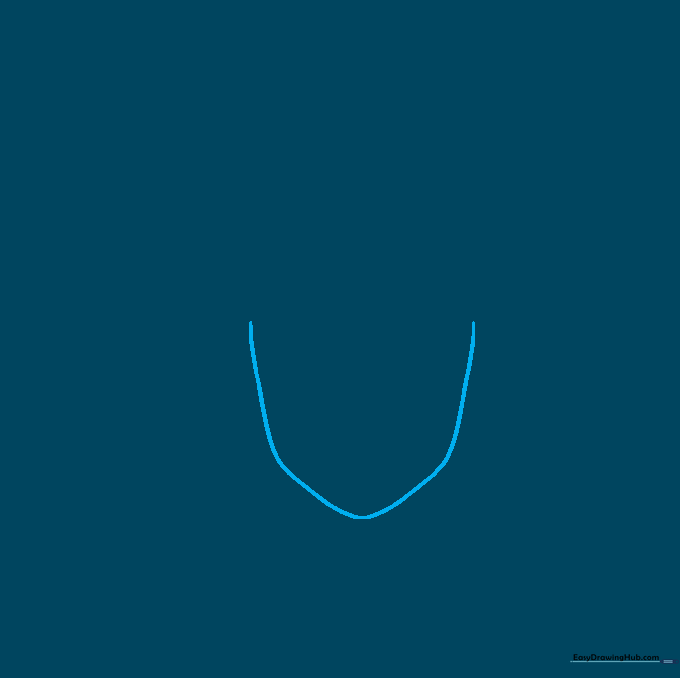
Lightly outline Goku’s face using a long, curved line. Tip: Focus on the chin and cheekbones; keep your pencil pressure soft so you can easily adjust the shape later.
Step 2: Adding the Ears
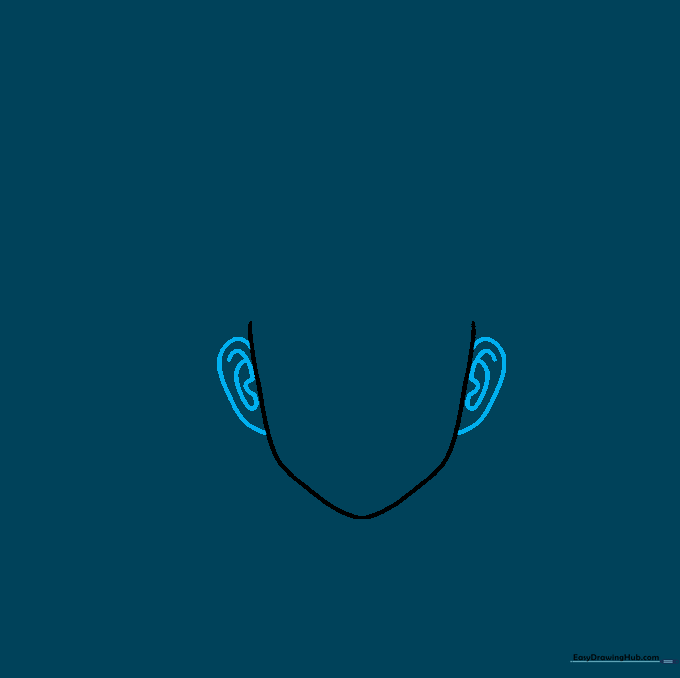
Draw a 'C' shaped curve on each side of the head to form the ears. Add a small, irregular shape inside each to represent the inner ear structure.
Step 3: Defining the Neck and Shoulders
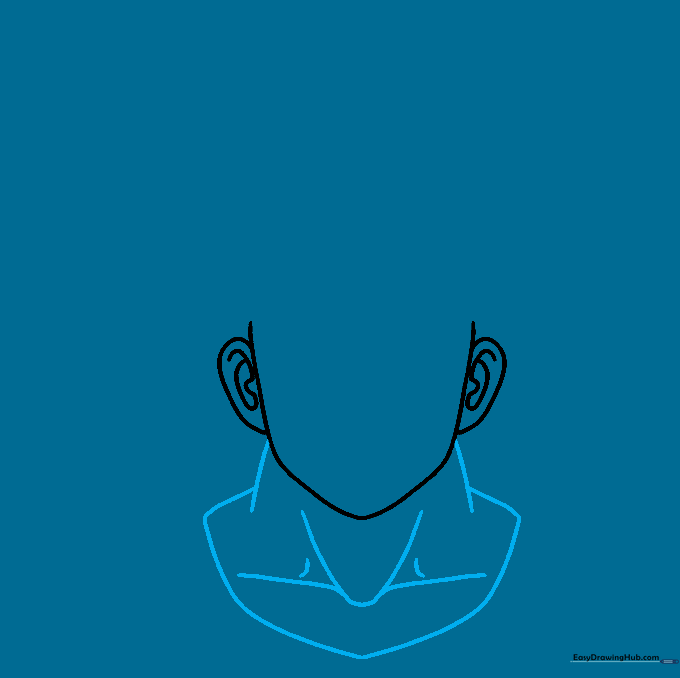
Extend two curved lines downward for the neck. Add overlapping curves at the base to suggest powerful shoulder muscles. Tip: Use a 'V' shape at the center of the neck to define the collar of his gi.
Step 4: Sketching the Eyes and Brows
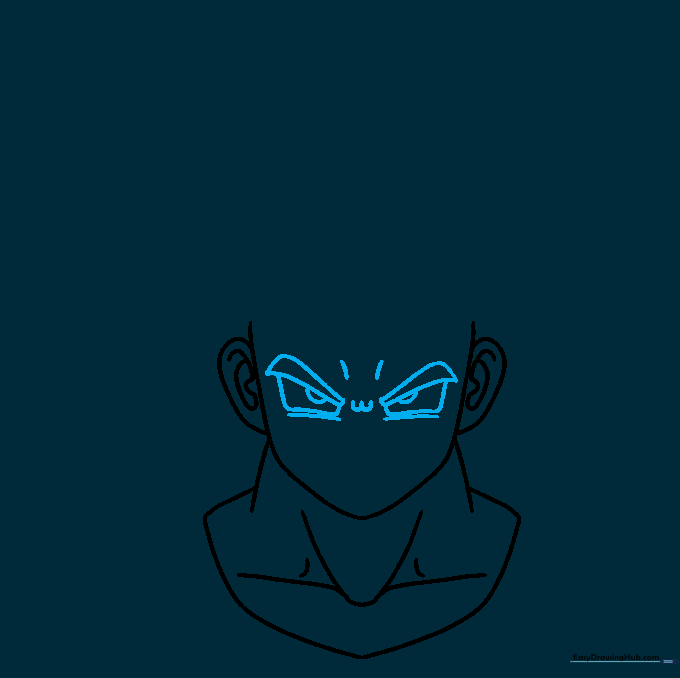
Draw the rectangular, angled eyes and sharp eyebrows. Add a semicircular pupil inside each eye. Tip: Use a 'W' shape between the eyes to show his intense, focused expression.
Step 5: Drawing the Nose
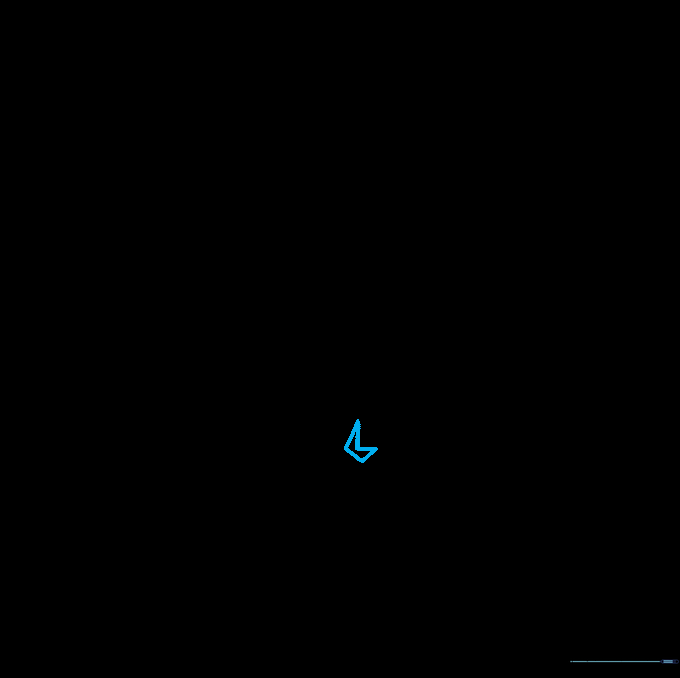
Use five short, straight lines to create a small double-triangle shape for the nose. Keep it minimal to maintain the anime style.
Step 6: Adding the Mouth
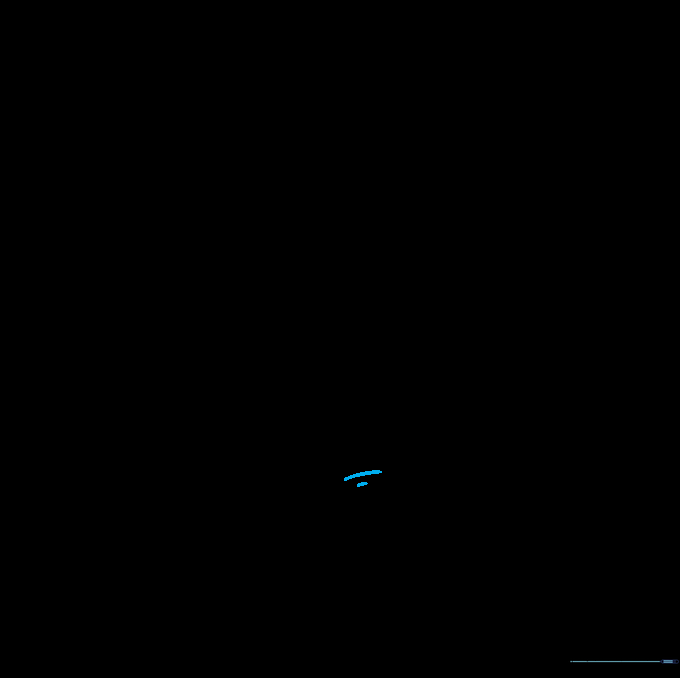
Add two short, curved lines to define the mouth and lower lip. This gives him a serious, determined look.
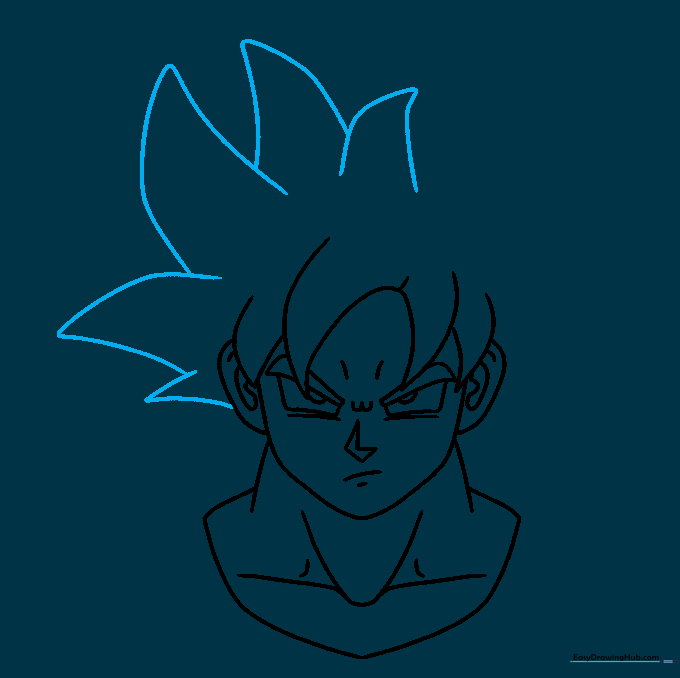
Step 7: Starting the Hair
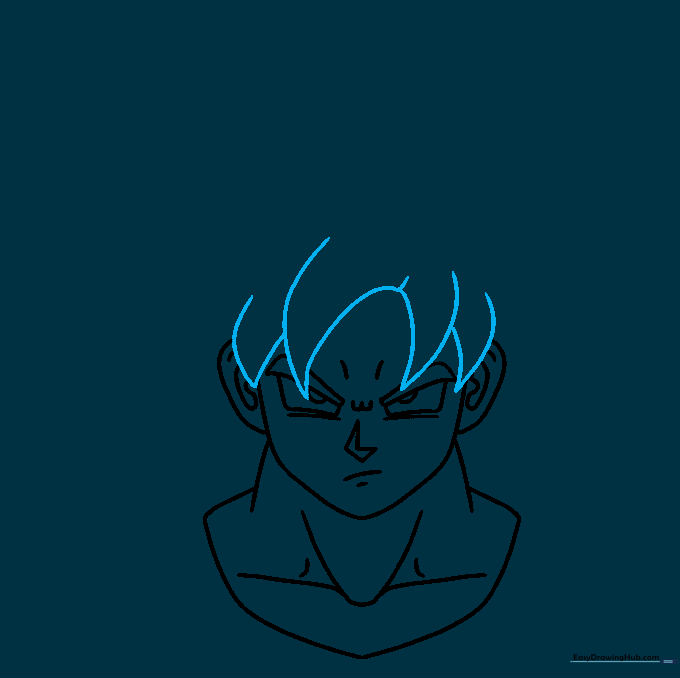
Begin the iconic spiky hair by drawing pairs of curved lines that meet at sharp points. Erase any overlapping lines from the head shape underneath.
Step 8: Adding More Hair Spikes
Continue adding more locks of hair standing on end. Use long, sweeping curved lines that meet at gentle points to create volume.
Step 9: Completing the Hair Outline
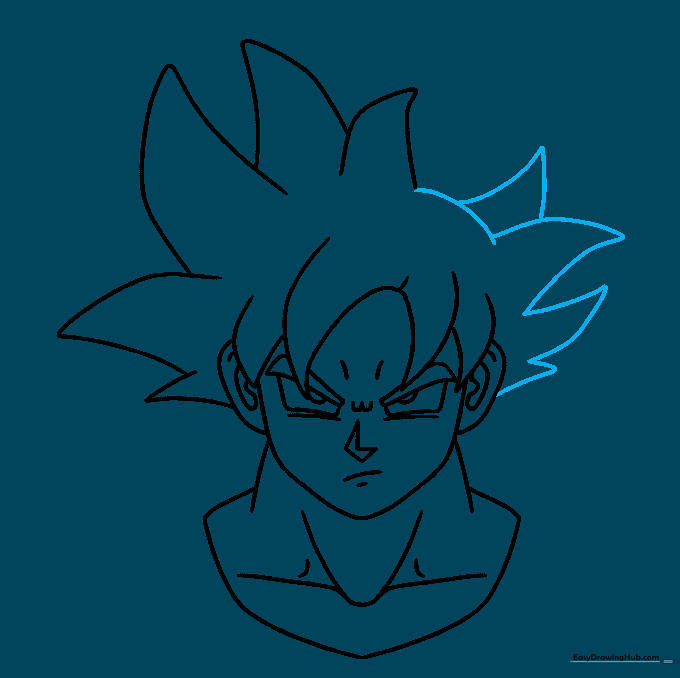
Finish the hair by adding the remaining spikes. Note the small section where the hair lays flat near the side of the head to add realism to the style.
Step 10: Coloring Your Masterpiece
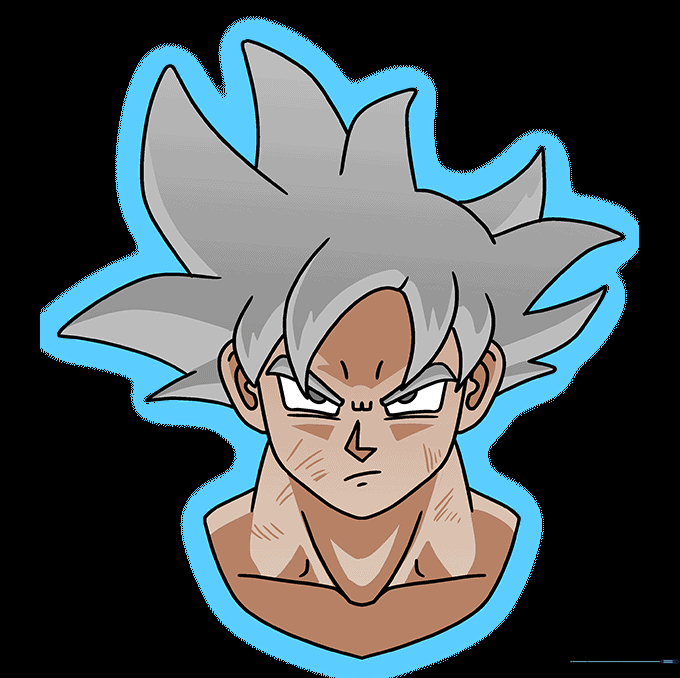
Bring Goku to life! Use silver for his hair and eyes to represent the Ultra Instinct form. Add a vibrant, multi-colored aura around him to finish the look.
More Tutorials


