How to Draw Goku Black: Easy Step-by-Step Anime Guide
Ready to bring the powerful Goku Black to life on your sketchbook? This tutorial is designed for intermediate artists looking to capture his signature intense expression and iconic gi. Grab your pencil, eraser, and a black fine-liner to start building this legendary anime character from the ground up.
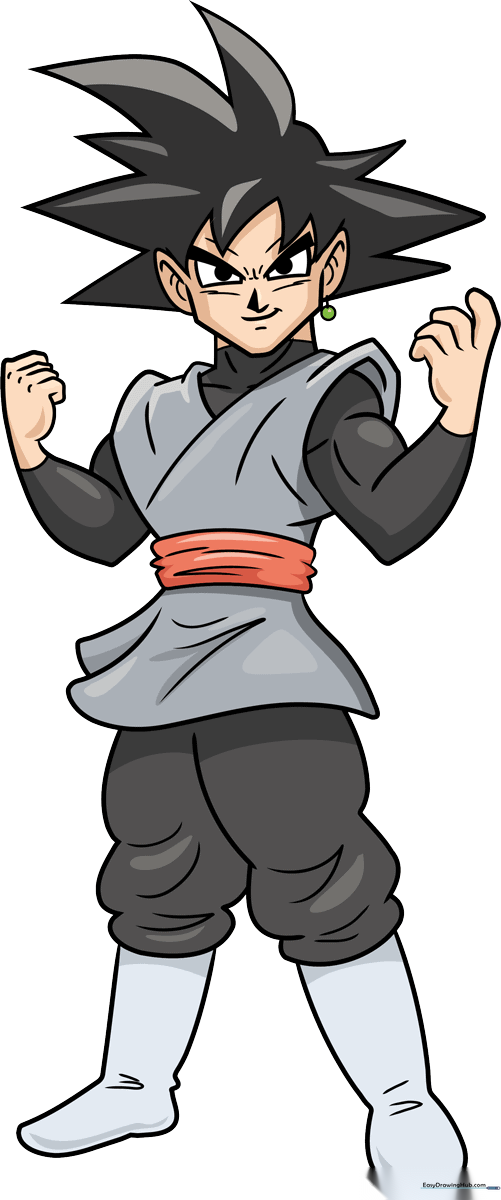
🎯 Final Result
Step-by-Step Instructions
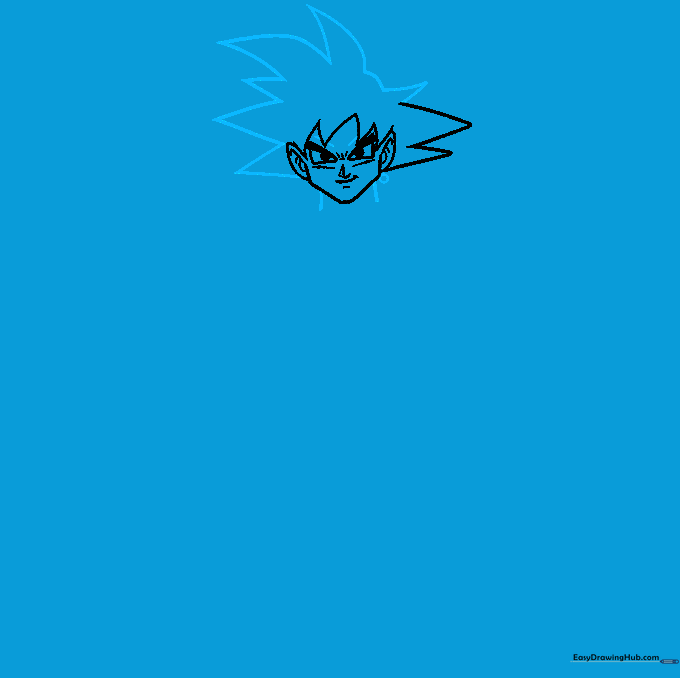
Step 1: Sketching the Face and Expression

Start with a small dash for the nose, then build the jawline using light, angular strokes. Teacher's Tip: Keep your pencil pressure very light here so you can easily refine the sharp anime-style eyes and eyebrows later without leaving dark indentations on your paper.
Step 2: Defining the Hairline and Ears

Add the signature jagged hair spikes and oblong ear shapes to the sides of the head. Tip: Anime hair is all about volume; don't be afraid to make your zigzags sharp and uneven to give his hair that classic 'spiky' look.
Step 3: Constructing the Neck and Hair Volume
Draw the neck using two short vertical lines, then expand the hair spikes further. Tip: Vary the size of your triangles to create a natural, layered look that mimics the flow of anime hair.
Step 4: Sketching the Torso and Gi
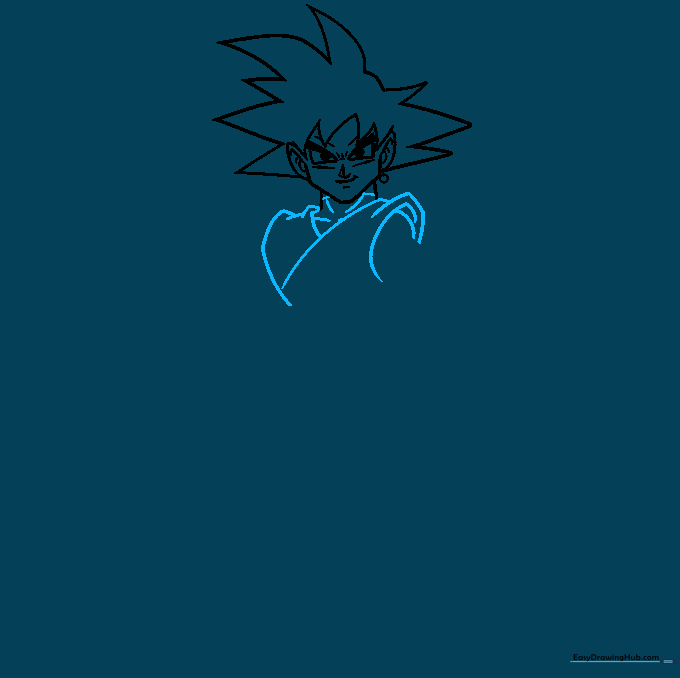
Create the neck muscles and the upper part of the gi using sweeping, curved lines. Tip: Use 'hill' shapes for the collar to show how the fabric folds naturally over his shoulders.
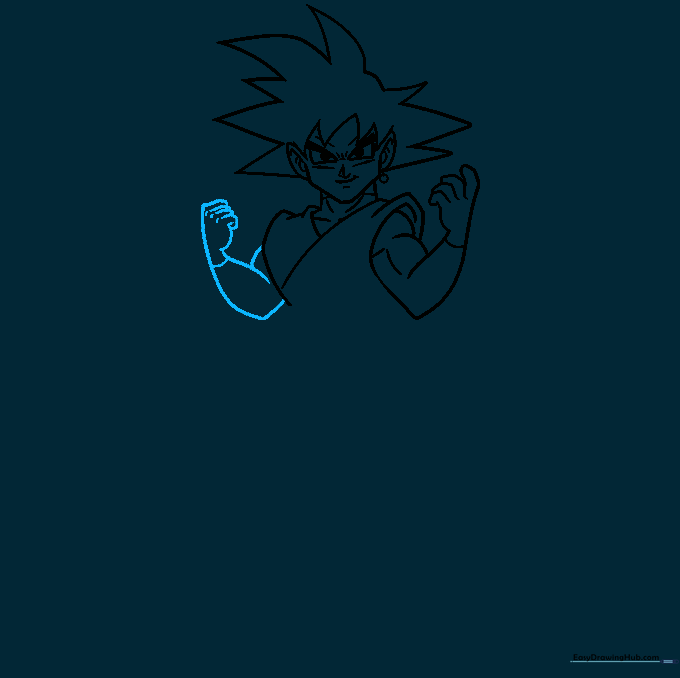
Step 5: Drawing the Right Arm
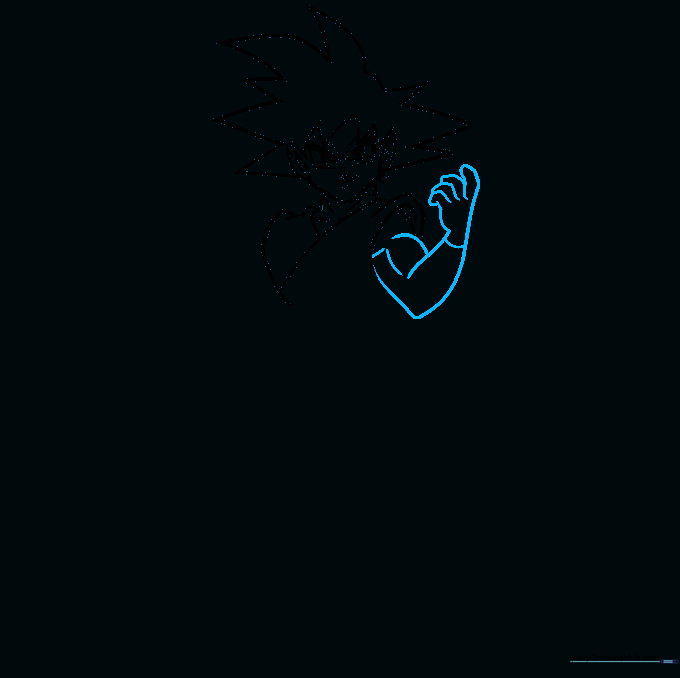
Draw the arm extending downward, using noodle-like shapes for the fingers. Tip: When drawing hands, think of the palm as a simple semi-circle and the fingers as soft, rounded tubes to keep the proportions balanced.
Step 6: Drawing the Left Arm
Mirror the process for the left arm, ensuring the fingers overlap slightly to create depth. Tip: Add small dashes at the knuckles to suggest the tension in his hand.
Step 7: Adding the Robe Details
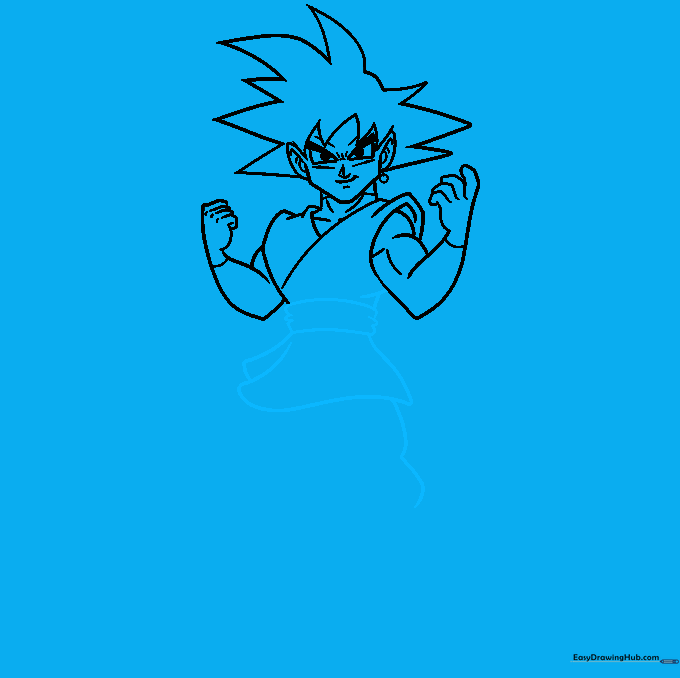
Draw the lower part of the robe using sweeping, loose lines. Tip: Use an 'M' shape at the bottom to suggest the hem of the fabric moving in the wind.
Step 8: Sketching the Legs and Boots
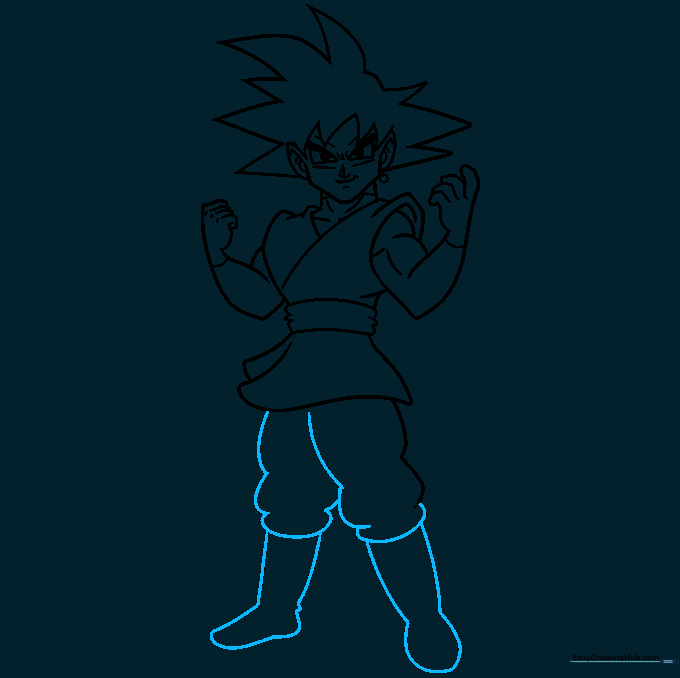
Create the legs using looped shapes that taper toward the boots. Tip: Keep the boots slightly oblong to ground the character and give him a stable stance.
Step 9: Refining the Outline
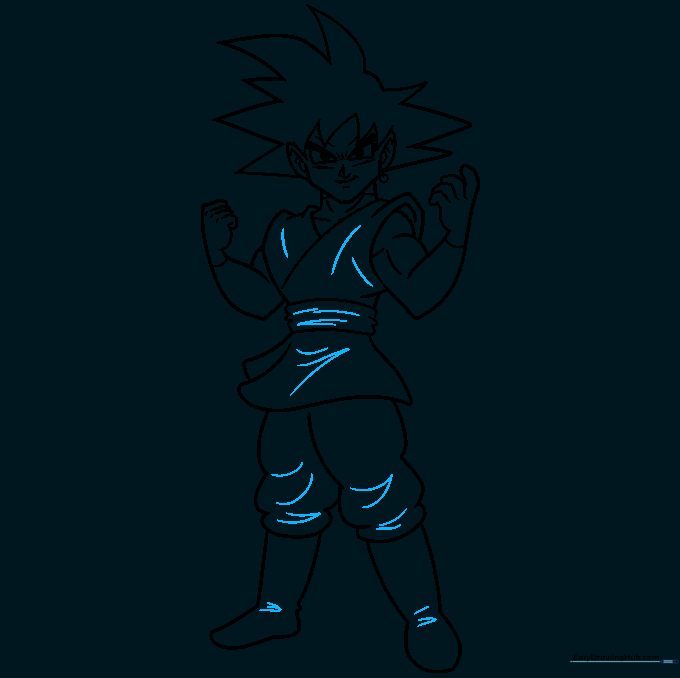
Add final details like clothing folds and boot seams. Tip: Use a bold black marker to outline your final lines, then wait for the ink to dry completely before erasing your initial pencil marks to keep the drawing clean.
Step 10: Adding Color
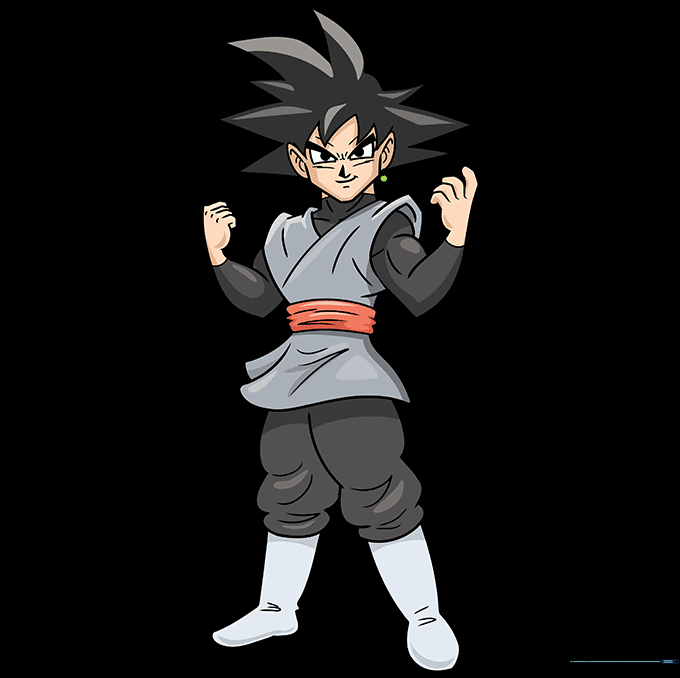
Bring your drawing to life with color! Use light grey for the robes, black for the hair and sleeves, and a soft tan for the skin. Tip: Use a vibrant olive green for the earring to make it pop against the darker tones of the outfit.
More Tutorials


