How to Draw Godzilla: Easy 10-Step Guide for Kids
Ready to bring the King of the Monsters to life? This tutorial is perfect for young artists ages 7+ who want to practice character design. Grab your pencil, eraser, and paper, and follow along to build your Godzilla from simple shapes into a legendary creature.
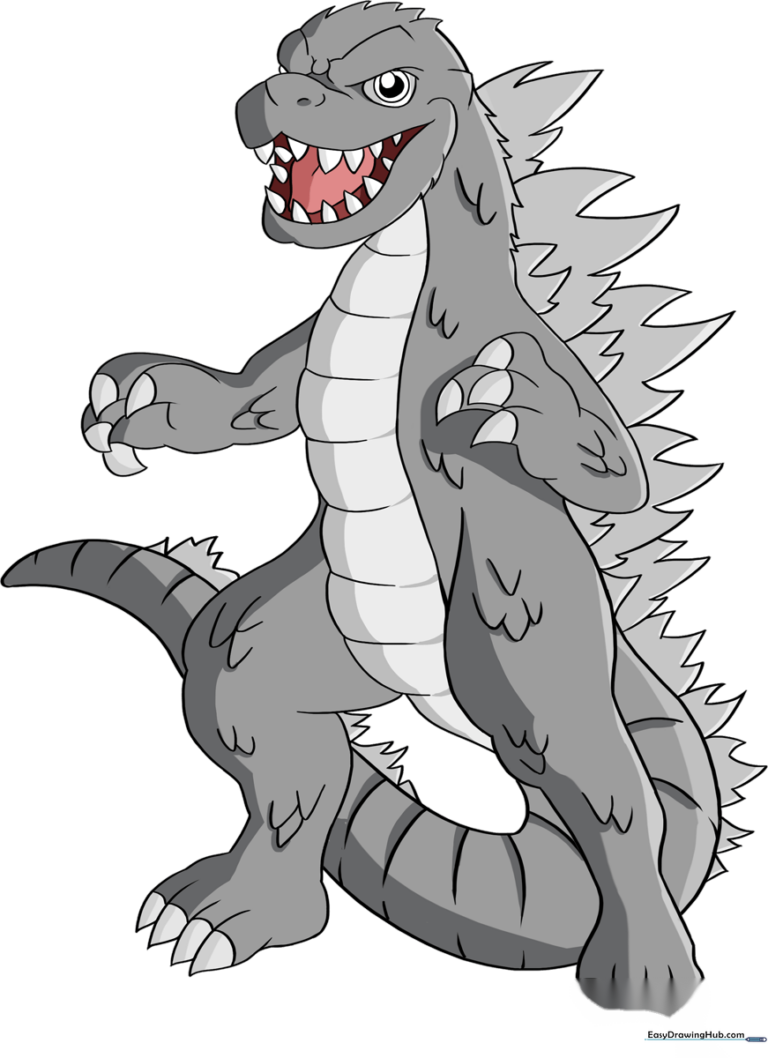
🎯 Final Result
Step-by-Step Instructions
Step 1: Sketching the Base Head

Start by drawing a light circle to map out the head. Teacher's Tip: Keep your pencil pressure very light here; this is just a guide that we will erase later, so don't press too hard!
Step 2: Defining the Snout and Jaw

Erase a small section of your circle to make room for the snout. Use a 'W' shape for the nose and add a small shaded oval for the nostril. Draw the lower jaw with jagged, uneven lines to give him that classic monster texture.
Step 3: Adding Eyes and Brow

Add character to the face by drawing an irregular, rounded eye shape. Use short, jagged lines above the eye to create a heavy, grumpy brow. Tip: A slightly angled brow makes Godzilla look much more fierce!
Step 4: Pupils and Sharp Teeth
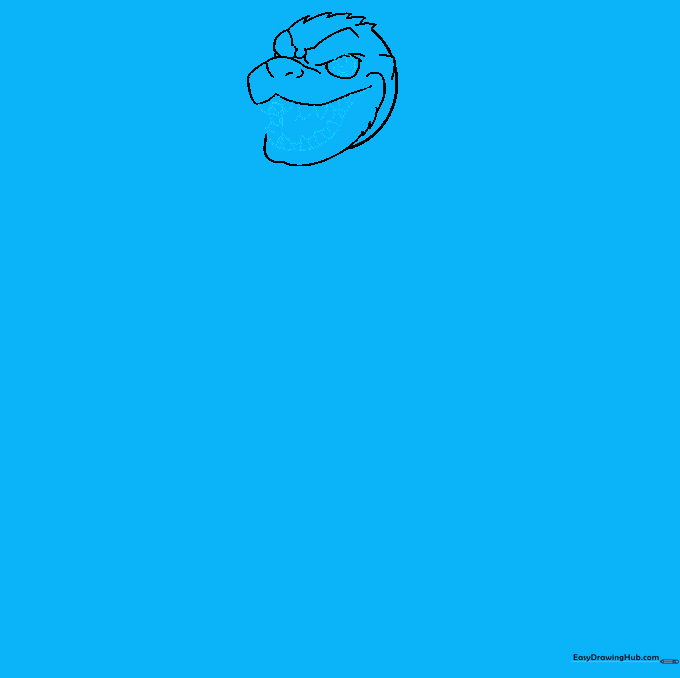
Draw smaller circles inside the eye, shading the center to create a pupil. Inside the mouth, add rounded triangular shapes for teeth. Tip: Make the teeth vary slightly in size so they look more natural and menacing.
Step 5: Neck and Clawed Arm
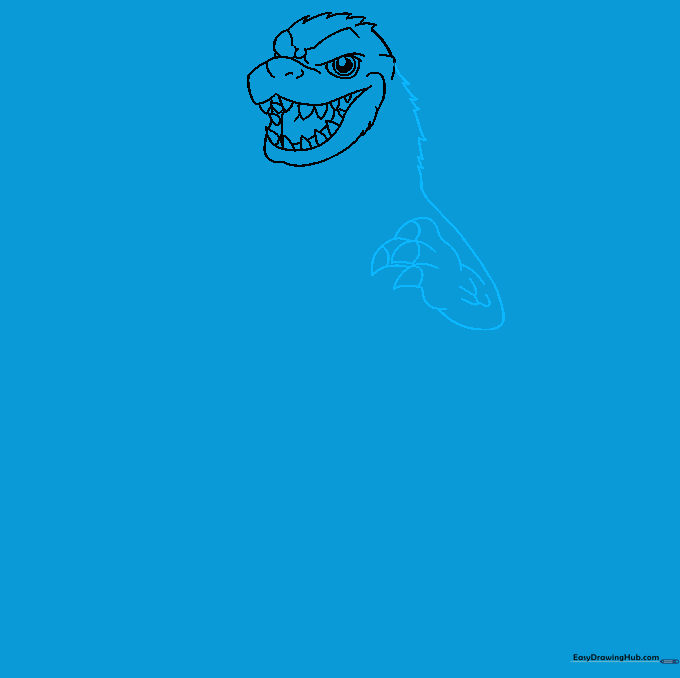
Draw jagged lines down from the head to form the neck. Create a 'U' shape for the arm, adding sharp, pointed fingers. Tip: Use small 'C' shapes on the arm to represent scales—this adds great texture!
Step 6: Drawing the Powerful Leg
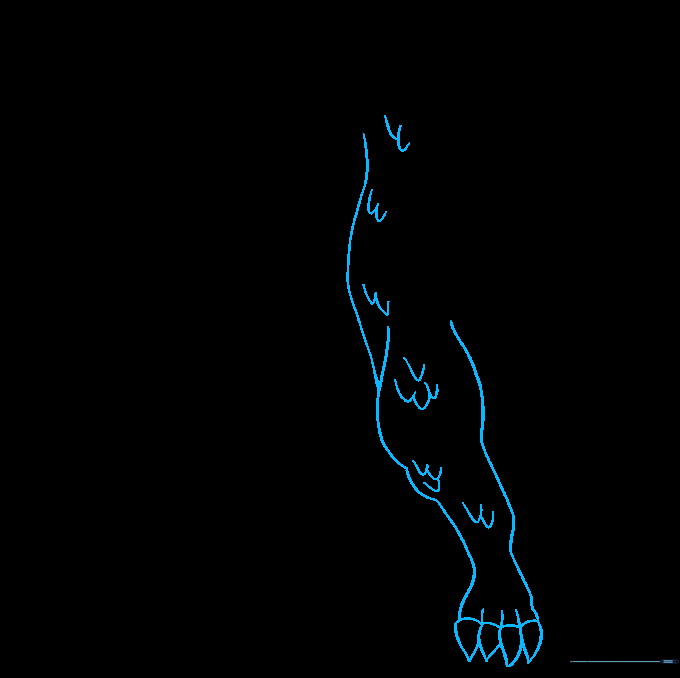
Sketch a long, curved line from the jaw down to the foot. Add toes using short, pointed lines. Tip: Think of the leg as a sturdy pillar; keep the lines bold to show Godzilla's strength.
Step 7: Adding the Ribbed Belly
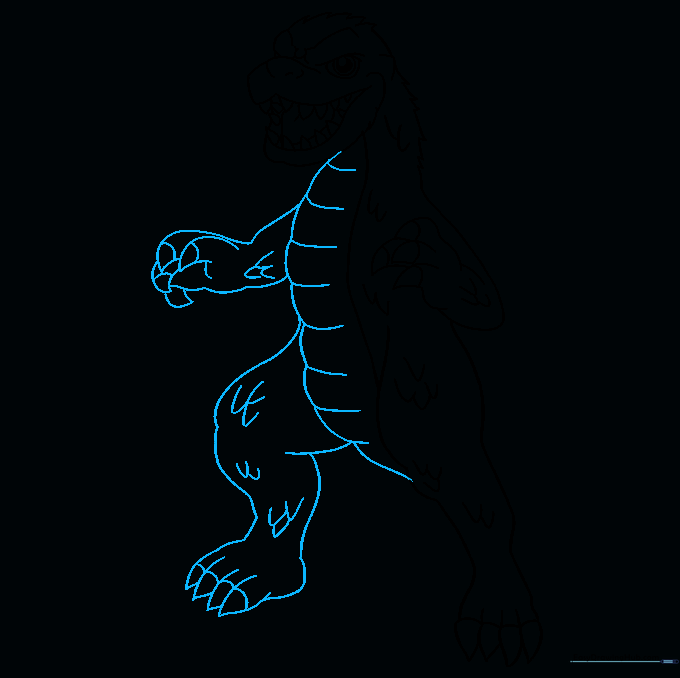
Use overlapping curved lines to create the ribbed belly. Continue adding 'C' shaped scale clusters on the limbs to maintain consistency throughout the body.
Step 8: Sketching the Tail
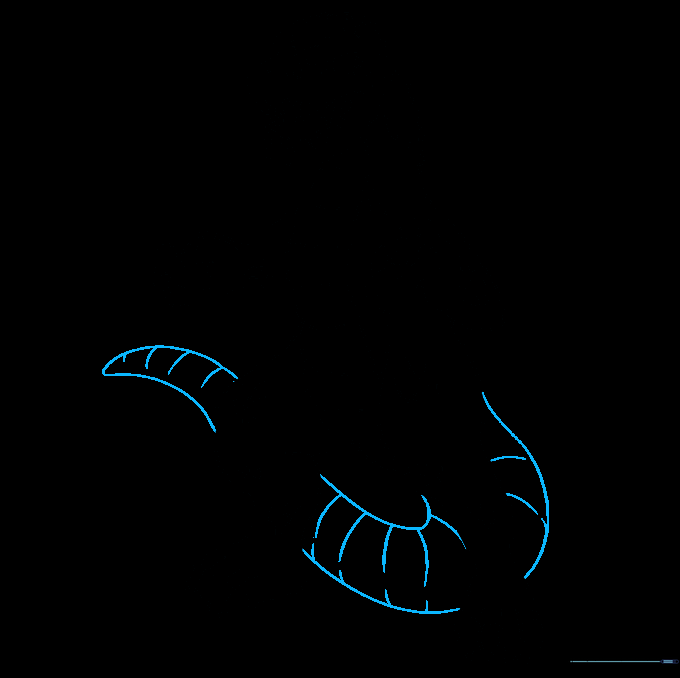
Draw a long, sweeping tail using curved lines that taper to a point. Add partial bands across the tail to give it depth. Tip: A longer tail helps balance the drawing!
Step 9: Adding Iconic Spikes
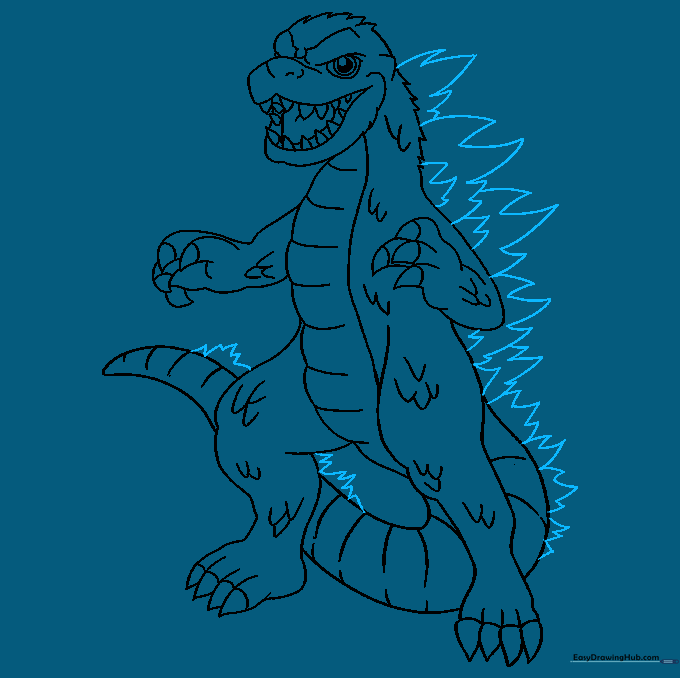
No Godzilla is complete without his dorsal fins! Add a series of jagged, triangular spikes along the back and tail. Vary the sizes to make them look organic.
Step 10: Final Touches and Color
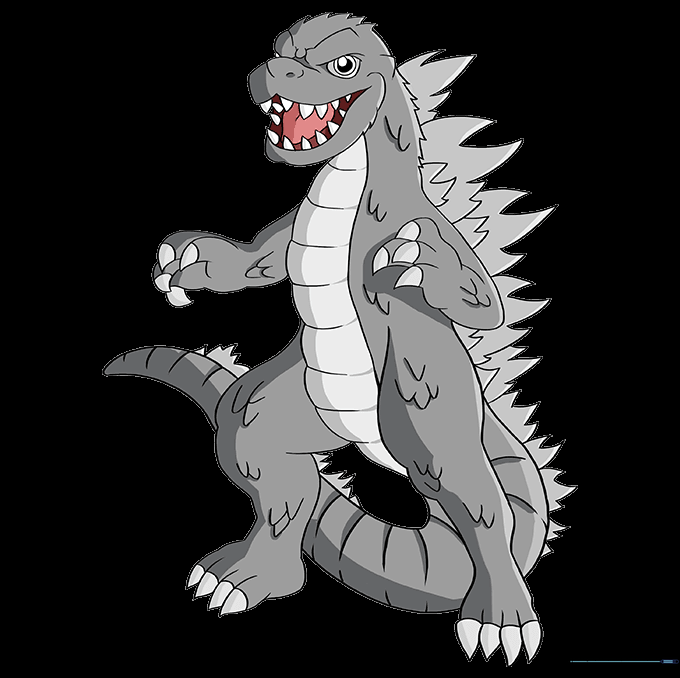
Erase any remaining guide lines. Color your Godzilla in shades of grey or forest green. Tip: Use a darker shade for the scales to make them pop!
More Tutorials


