How to Draw a Gravity Falls Gnome: Easy 10-Step Guide
Bring the mystery of Gravity Falls to your sketchbook! This tutorial is perfect for young artists ages 6+ looking to master cartoon proportions. You will only need a pencil, an eraser, and a piece of paper to bring this mischievous forest dweller to life.
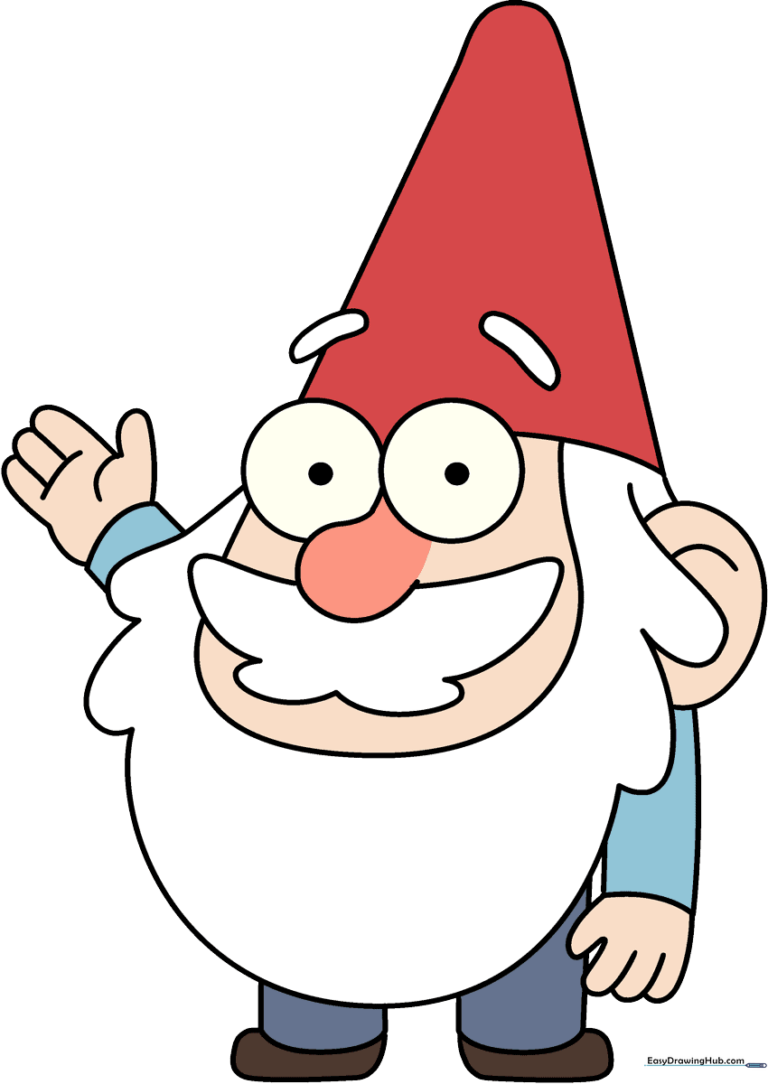
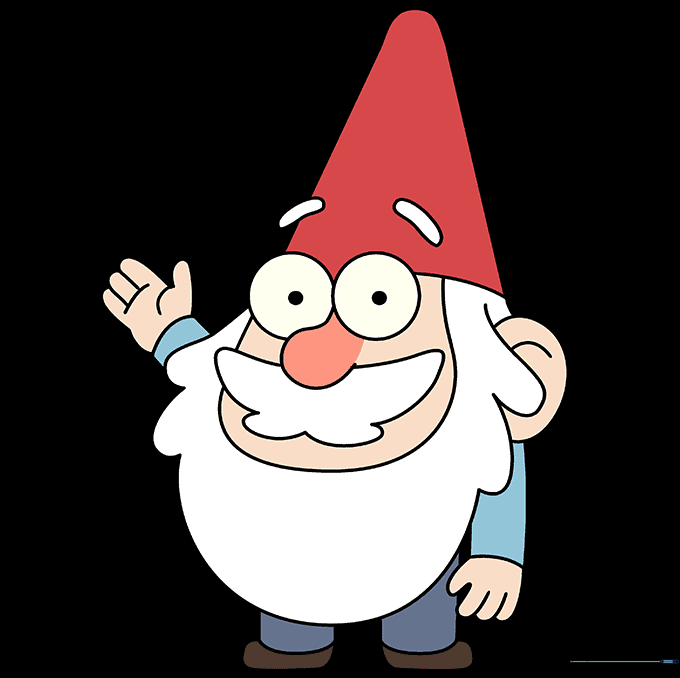
🎯 Final Result
Step-by-Step Instructions
Step 1: Sketching the Eyes

Draw two circles that slightly overlap. Add a small, dark pupil in the center of each. Teacher's Tip: Keep these circles close together to give your gnome that classic, wide-eyed cartoon look.
Step 2: Adding the Nose and Mustache

Sketch a small curved line for the nose, then add a butterfly-shaped outline for the mustache underneath. Teacher's Tip: Use light, feathery strokes for the mustache so you can adjust the symmetry.
Step 3: Defining the Face
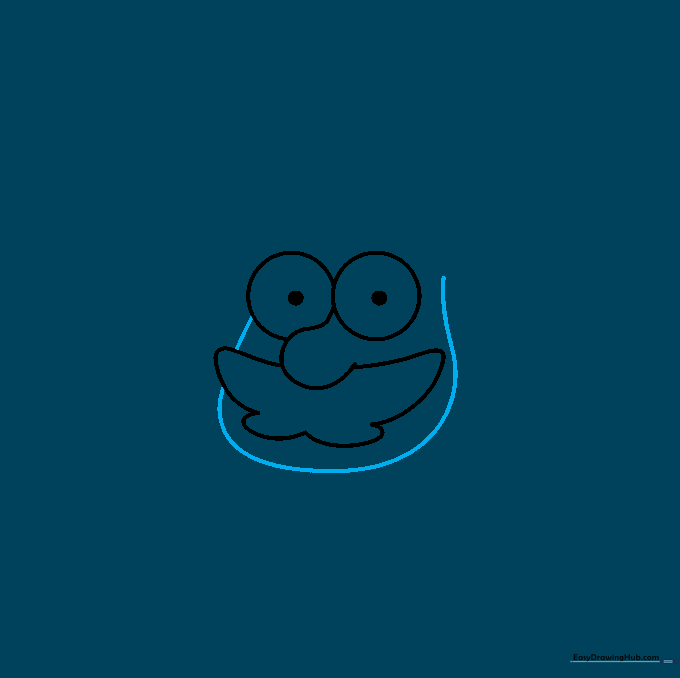
Draw a smooth, rounded line around the eyes and mustache to form the gnome's face. Teacher's Tip: Think of this as drawing a soft, squishy potato shape.
Step 4: The Hat and Eyebrows
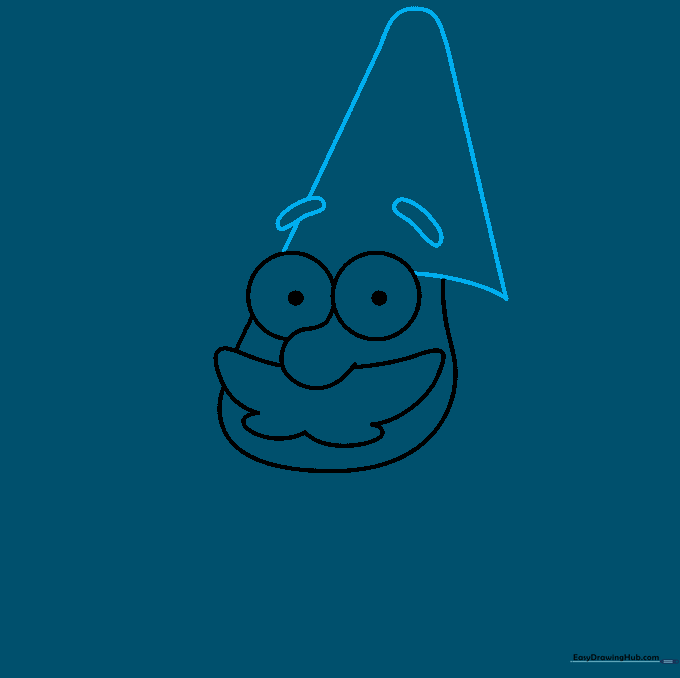
Draw a tall, rounded triangle for the hat and two curved lines for the bushy eyebrows. Teacher's Tip: Make the hat tip slightly rounded to give it a soft, fabric-like appearance.
Step 5: Sketching the Beard
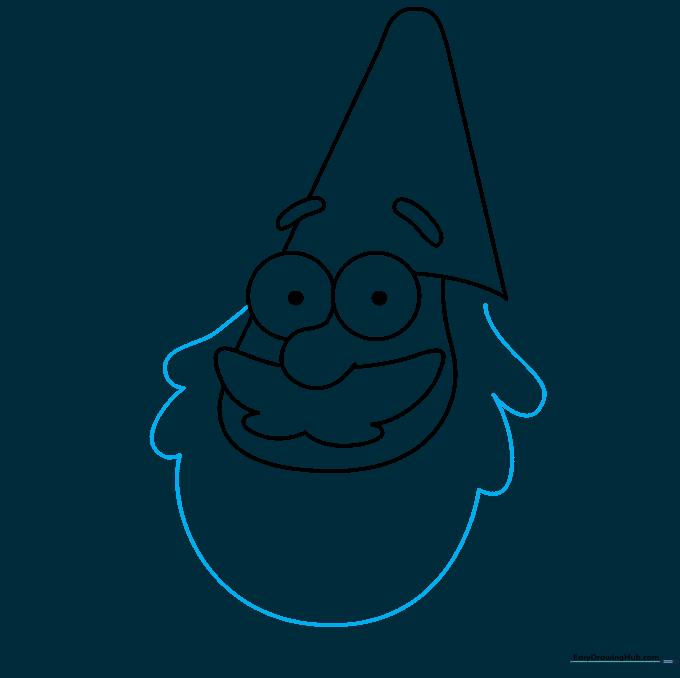
Use a series of connected, wavy 'U' lines to create the long, flowing beard. Teacher's Tip: Vary the size of the 'U' shapes to make the beard look more natural and fluffy.
Step 6: Adding the Ear
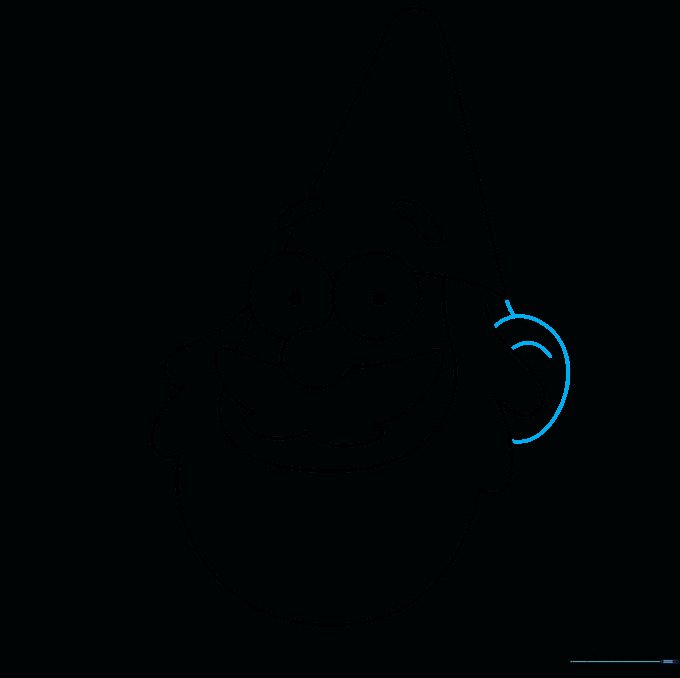
Draw a 'C' shape on the side of the head for the ear, adding a small curve inside for detail. Connect it to the hat. Teacher's Tip: Ensure the ear sits right at the level of the eyes.
Step 7: Drawing the First Arm
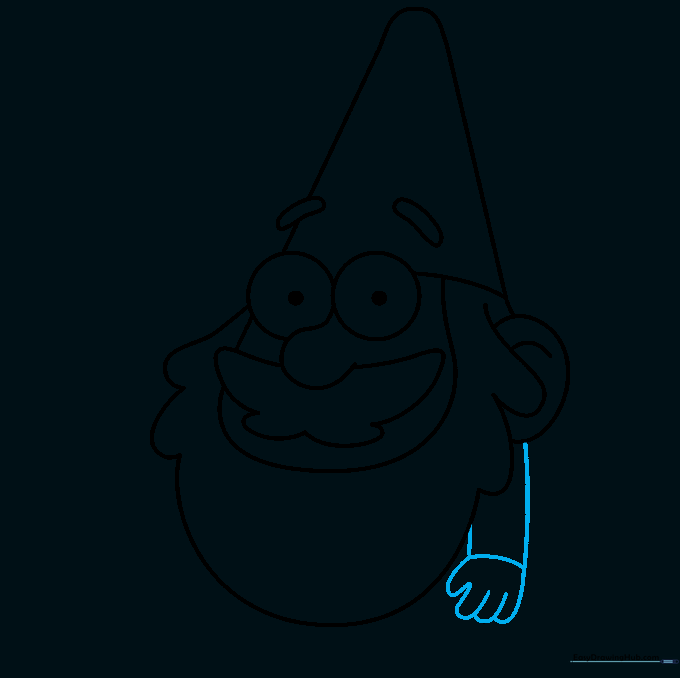
Extend two curved lines for the arm and use small 'U' shapes for the fingers. Teacher's Tip: Keep the arm slightly bent to give the character a relaxed posture.
Step 8: Adding the Second Arm
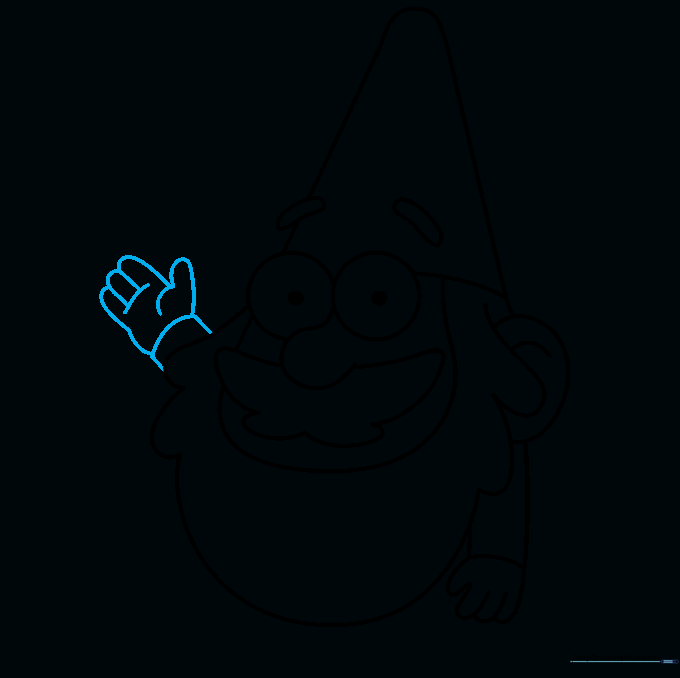
Repeat the process for the second arm, adding subtle lines to show the palm and knuckles. Teacher's Tip: Focus on the overlapping lines to create the illusion of depth in the hand.
Step 9: Legs and Shoes
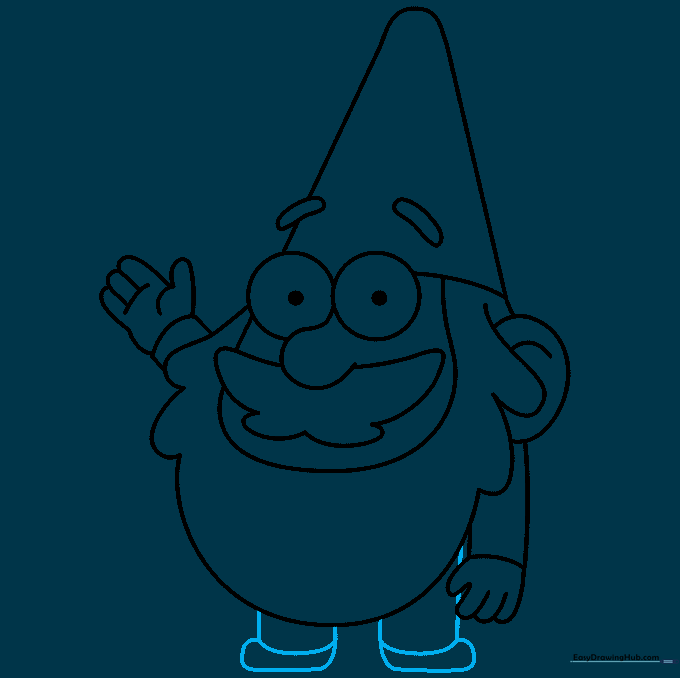
Draw two short, thick legs and add rounded shoes at the bottom. Teacher's Tip: Make the shoes slightly larger than the feet to give the gnome a sturdy, grounded look.
Step 10: Final Touches and Color
Erase your guide lines and add vibrant colors—think bright red for the hat and earthy tones for the clothes. Teacher's Tip: Use a darker shade of red for the hat's shadow to make it pop!
More Tutorials


