How to Draw Glasses: Easy 10-Step Guide for Kids
Ready to add some personality to your character drawings? This tutorial is perfect for young artists ages 5+ to practice symmetry and basic geometric shapes. All you need is a pencil, an eraser, and a piece of paper to get started.
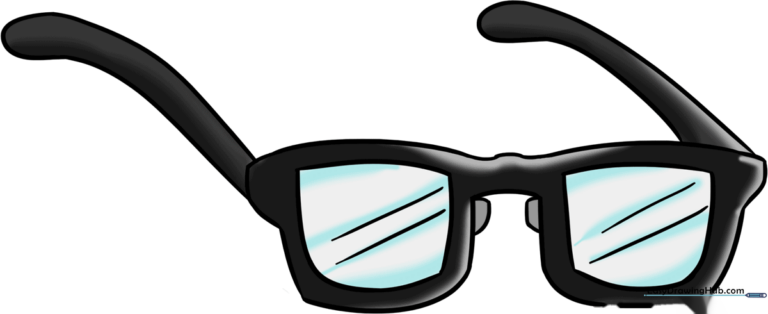
🎯 Final Result
Step-by-Step Instructions
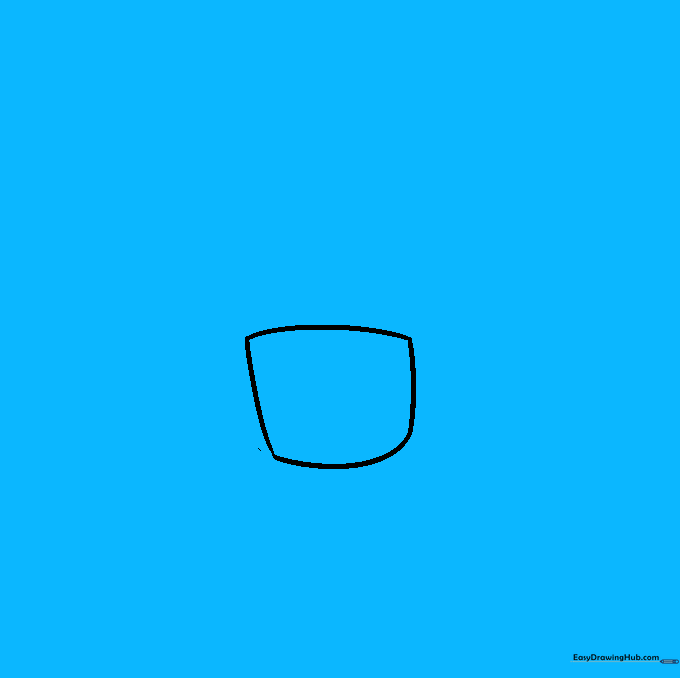
Step 1: Sketching the First Lens
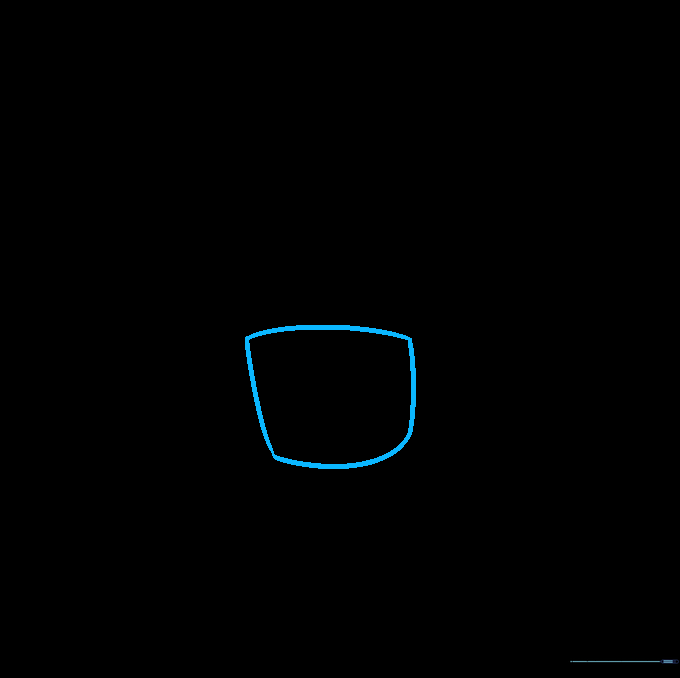
Draw a four-sided rectangular shape with soft, rounded corners. Tip: Keep the lines light so you can easily adjust the size if needed.
Step 2: Creating Symmetry
Draw a second, identical rectangular shape right next to the first one. Tip: Use your fingers to measure the distance between them to ensure they are perfectly aligned.
Step 3: Connecting the Bridge

Connect the top inner corners of the lenses with two small, curved lines. Erase the overlapping lines inside the bridge. Tip: This creates the 'bridge' that sits on the nose.
Step 4: Adding the Frame Hinges
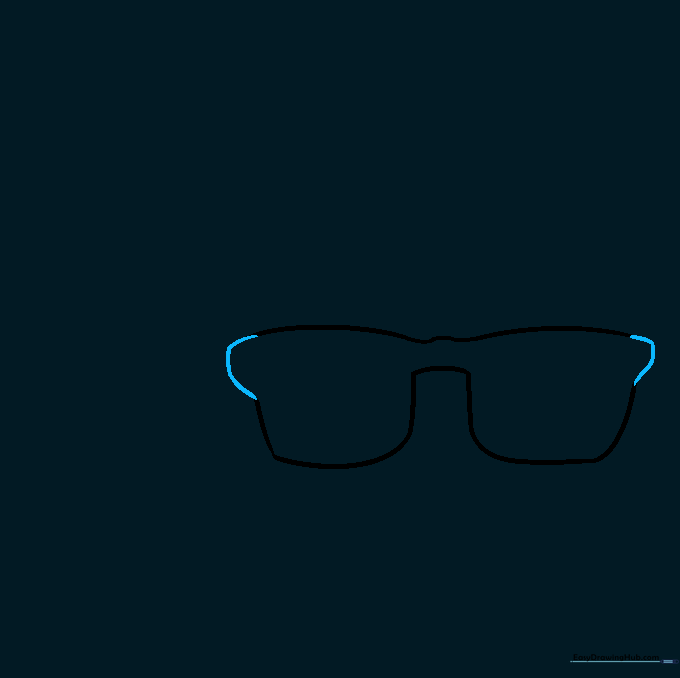
Draw a 'C' shaped curve on the outer top corners of the lenses. Erase the lines underneath these curves. Tip: These represent the hinges where the arms attach.
Step 5: Defining the First Lens
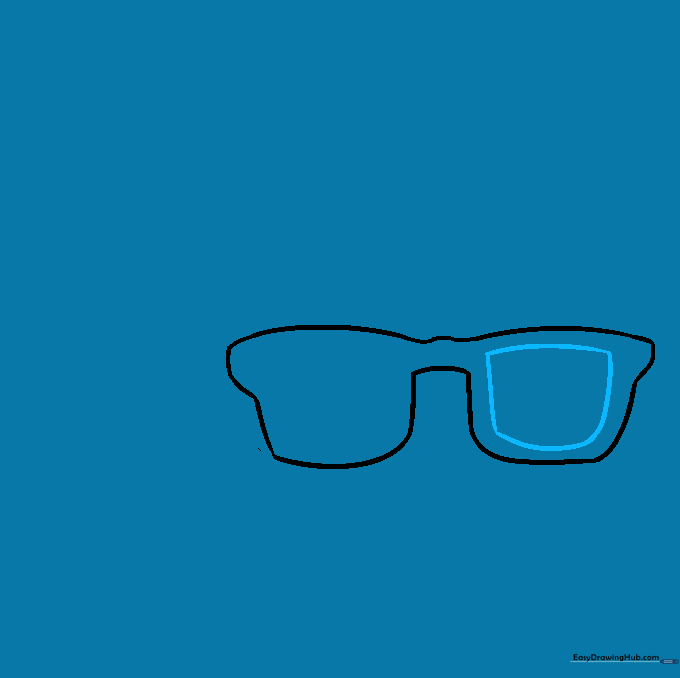
Draw a smaller curved rectangle inside the first lens shape. Tip: This creates the thickness of the frame, making it look more realistic.
Step 6: Defining the Second Lens
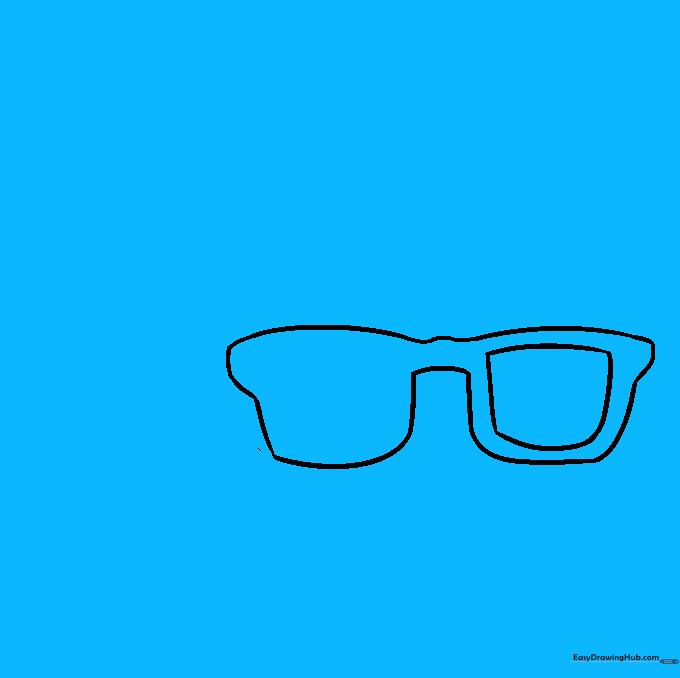
Repeat the previous step for the second lens. Tip: Try to keep the thickness of the frame consistent on both sides for a professional look.
Step 7: Drawing the First Earpiece

Extend a long, curved line from the side hinge and double it back to form the arm. Tip: Make sure the arm looks like it would comfortably fit behind an ear.
Step 8: Drawing the Second Earpiece

Add the second arm on the opposite side. Tip: Keep the curve similar to the first arm so the glasses look balanced.
Step 9: Adding Nosepieces and Glare

Draw small 'C' shapes in the center for nose pads. Add two diagonal lines on each lens to represent light reflection. Tip: These small details make the glasses look like real glass!
Step 10: Adding Color
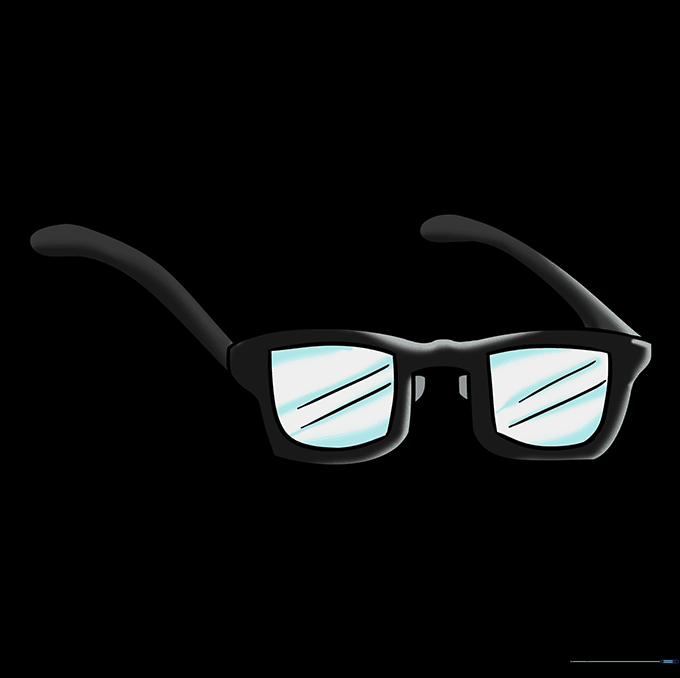
Bring your glasses to life with color! Use bold colors for the frames and a light blue or gray for the lenses. Tip: Leave a tiny white space on the lenses to make them look shiny.
More Tutorials


