How to Draw Genghis Khan: Easy Step-by-Step Guide
Bring history to life by drawing the legendary Genghis Khan! This tutorial is designed for young artists and history enthusiasts who want to capture his iconic features using basic shapes. Grab your pencil and eraser—we’ll break down his complex armor and face into manageable, fun steps.
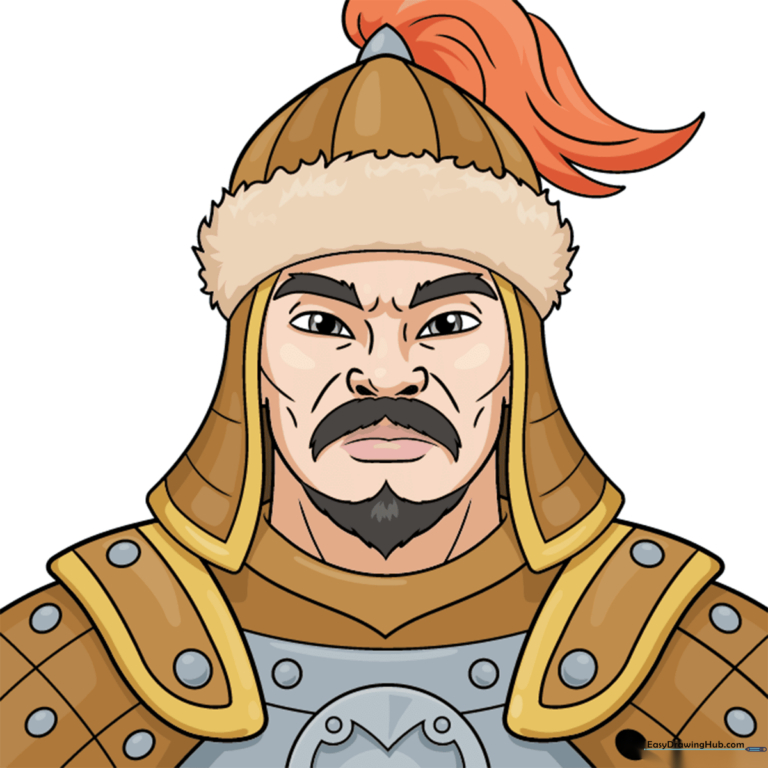
🎯 Final Result
Step-by-Step Instructions
Step 1: Sketching the Eyes and Brows

Draw two narrow teardrop shapes with circles inside for the eyes. Add a small dash to the left, then sketch two curves below the eyes for the cheekbones. Tip: Keep your pencil pressure light here so you can easily adjust the symmetry of the eyes.
Step 2: Defining the Nose and Mustache

Add the mustache using loose, sketchy triangles. Draw three curves for the nose, then outline the mouth with a wavy line. Tip: Use short, quick strokes for the mustache to give it a natural, textured look.
Step 3: Adding Facial Structure
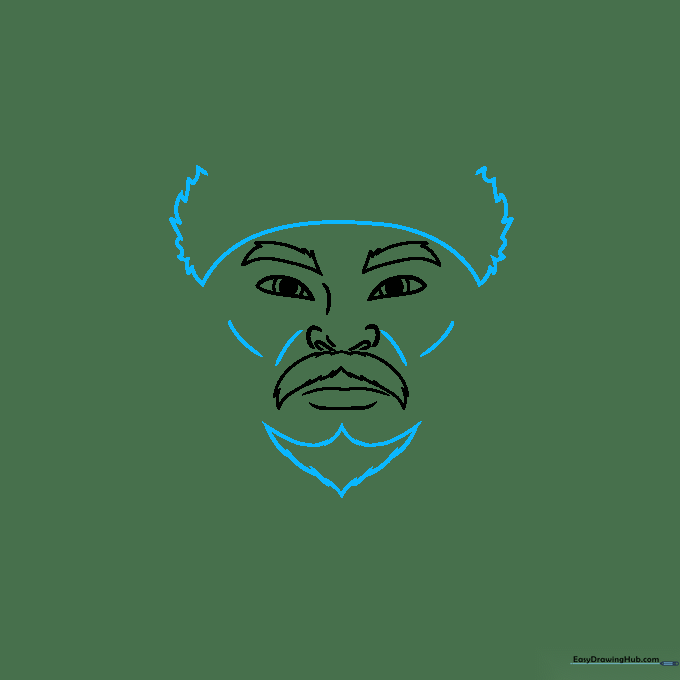
Sketch four diagonal lines on the face to define the jaw. Draw a curve above the eyebrows and add loose, uneven lines on the sides for the beard. Tip: Don't worry about perfect lines; historical figures look more authentic with slightly rugged, uneven edges.
Step 4: Outlining the Face
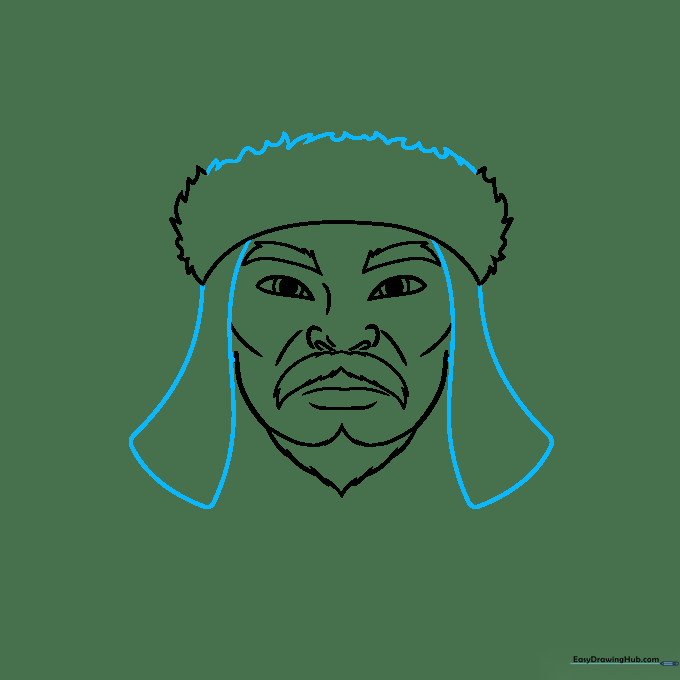
Complete the face shape with a squiggly line. On each side, draw two wavy lines and connect them with a straight line to form the base of the helmet. Tip: Ensure the lines connect smoothly to create a solid foundation for the headgear.
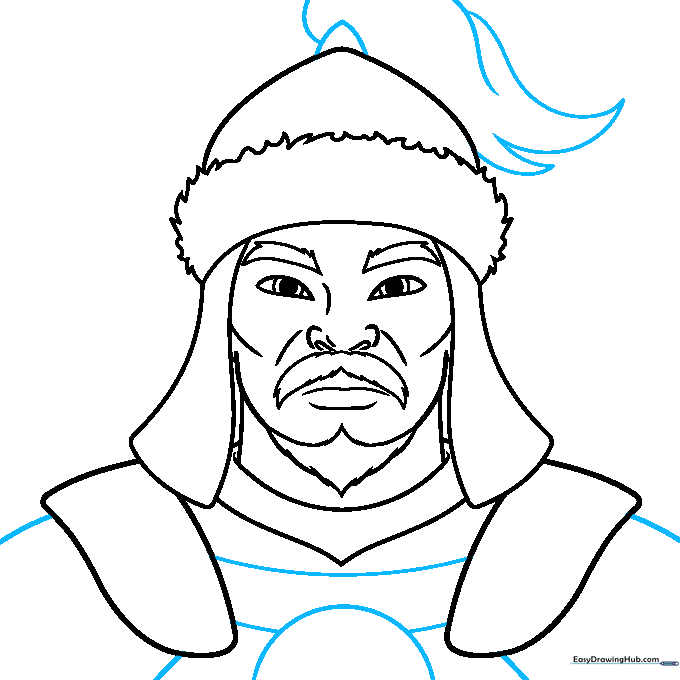
Step 5: Sketching the Helmet and Shoulders
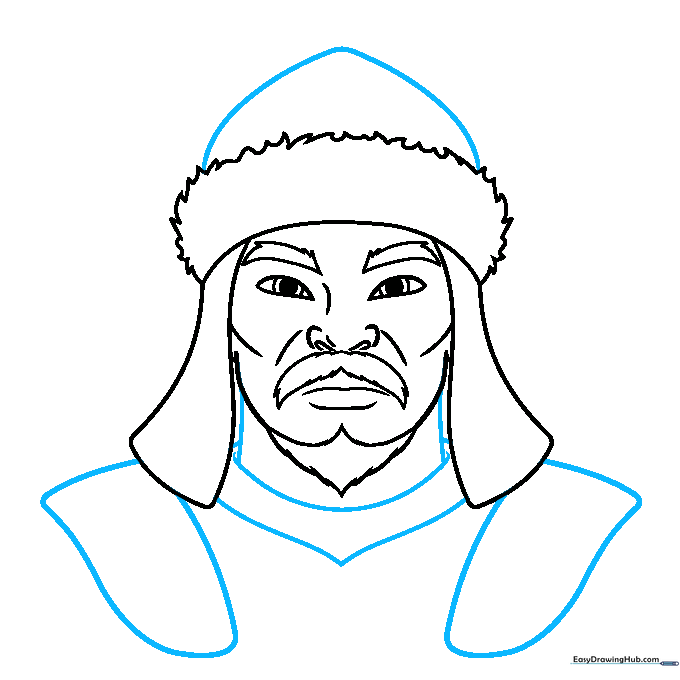
Sketch a dome on top of the head. Draw the neck with two vertical lines, then add a curve for the armor. For each shoulder, draw one diagonal line and an uneven semi-oval. Tip: The shoulders should look broad to represent the armor's weight.
Step 6: Adding Helmet Details
Top the helmet with a rounded triangle and swooping curves that resemble flames. Add a semi-oval on the chest with two curves behind it. Tip: Keep your lines fluid to make the helmet decoration look ornate.
Step 7: Armor Texture
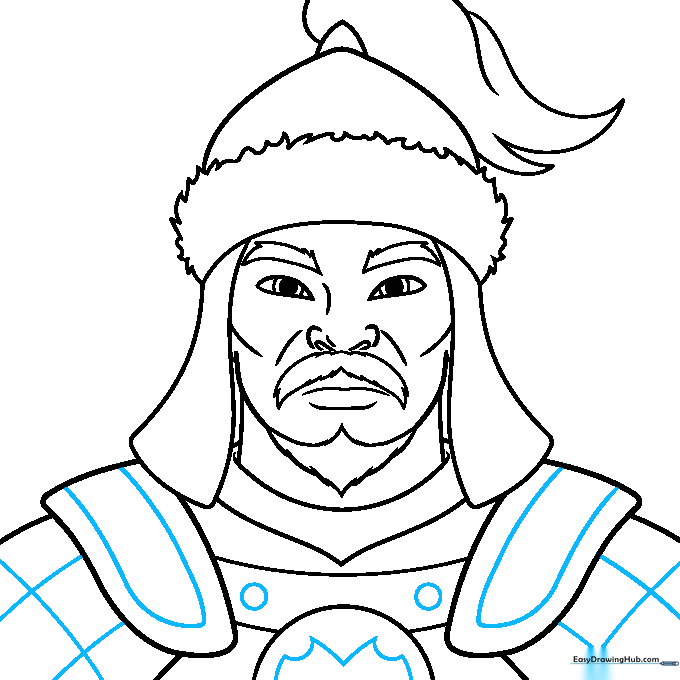
Use triangles to sketch a fire-like design on the chest plate, then add two circles above it. Sketch oblong shapes inside the shoulder straps and a criss-cross pattern on the pads. Tip: The criss-cross pattern adds depth to the armor, making it look like woven metal.
Step 8: Refining the Armor
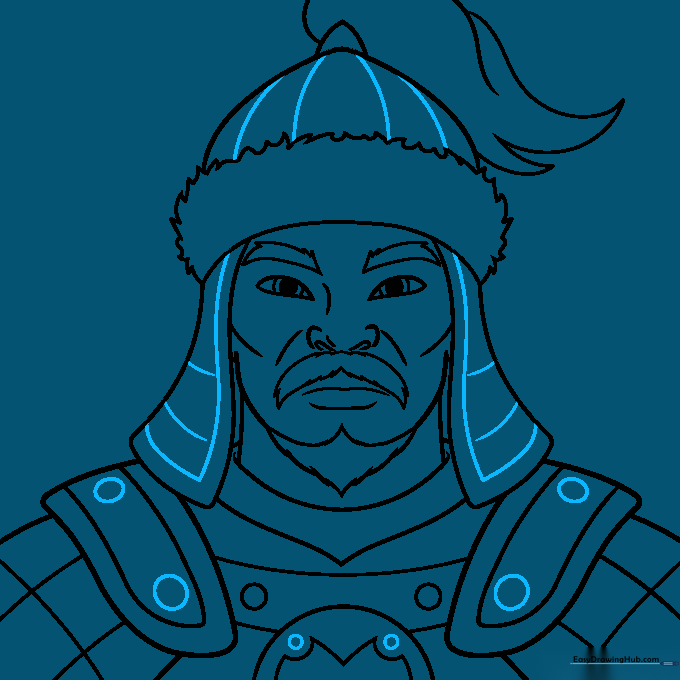
Draw more circles on the armor to represent rivets. Sketch a striped pattern on the helmet to give it a metallic sheen. Tip: Vary the size of your circles to make the armor look more realistic and less uniform.
Step 9: Finalizing the Outline
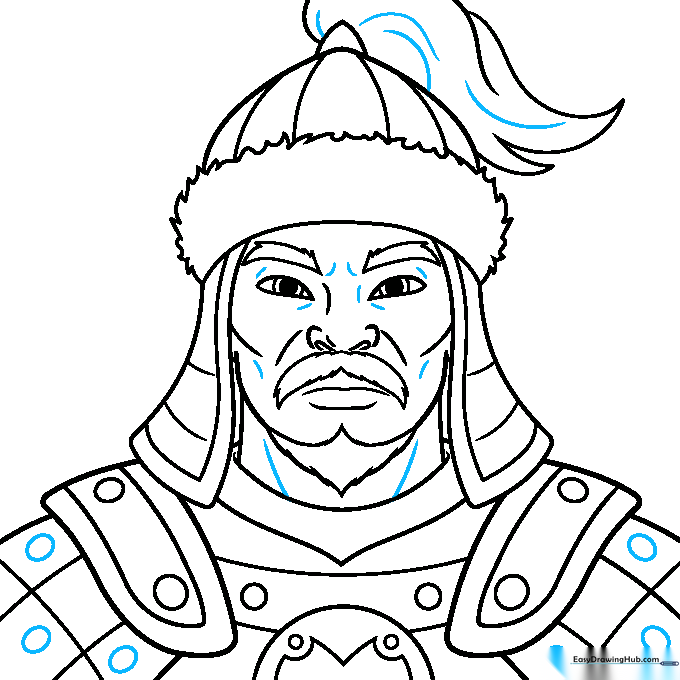
Add final circles to the armor and refine the lines on the face and helmet. Trace over your pencil lines with a black pen or marker. Tip: Use a steady hand for the outline, and erase any stray pencil marks once the ink is dry.
Step 10: Coloring Your Masterpiece
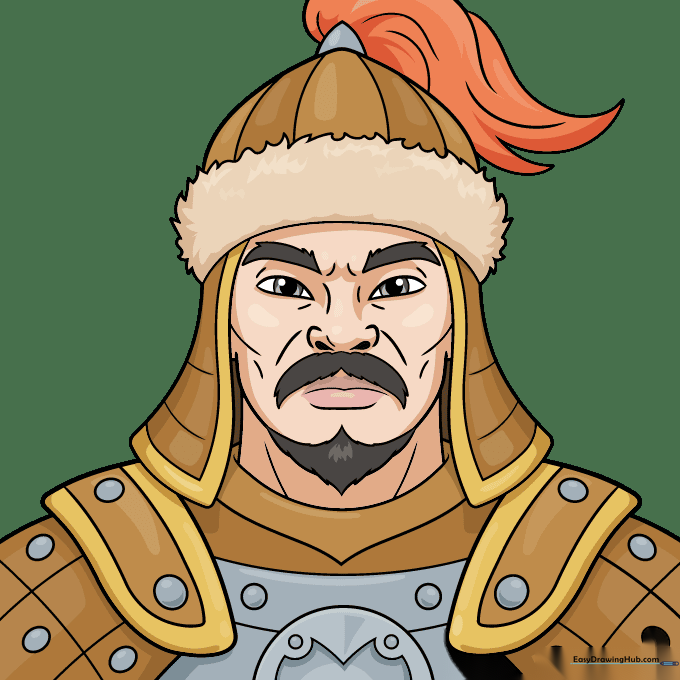
Color the armor using bronze, gold, and silver tones to mimic metal. Use pale tones for the skin and gray for the facial hair. Tip: Use darker shades of bronze in the crevices of the armor to create a 3D metallic effect.
More Tutorials


