How to Draw a Gas Mask: Easy 10-Step Guide
Looking for a unique drawing challenge? This step-by-step guide is perfect for young artists who want to practice drawing symmetrical shapes and mechanical details. Grab your pencil, eraser, and paper to build this protective gear design from scratch.
🎯 Final Result

Step-by-Step Instructions
Step 1: Sketching the Base Oval
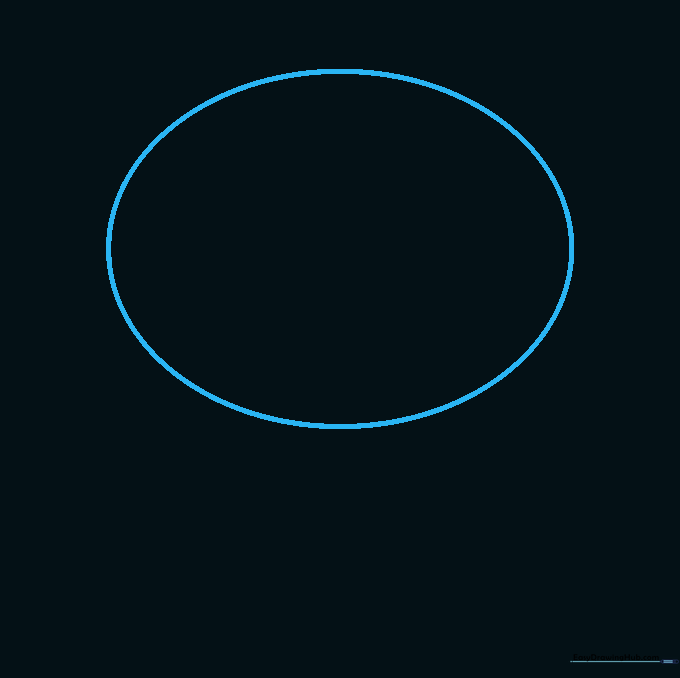
Start by drawing a light oval in the center of your page. Teacher's Tip: Keep your pencil strokes very faint so you can easily erase them later; this acts as the foundation for the entire mask.
Step 2: Defining the Chin Area
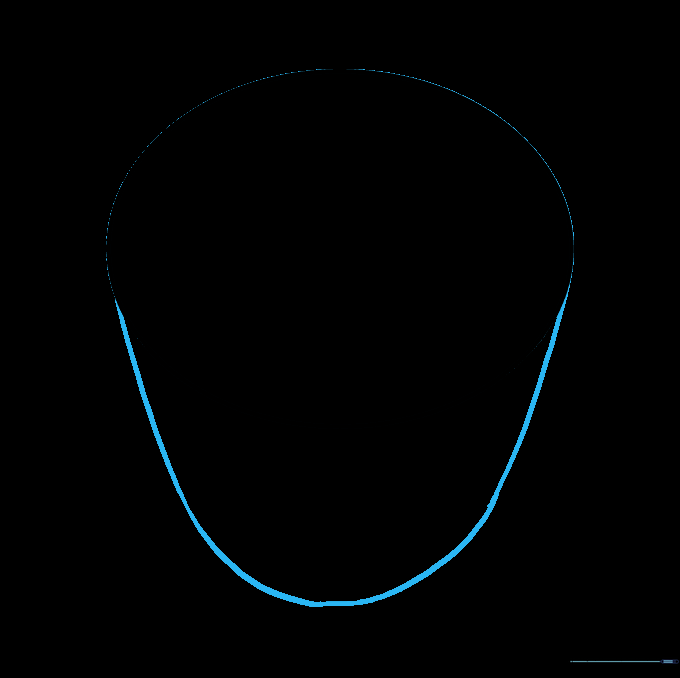
Beneath the oval, draw a curved line to create the chin and mouth guard section. Teacher's Tip: Think of this as a 'U' shape that connects to the sides of your original oval.
Step 3: Shaping the Forehead
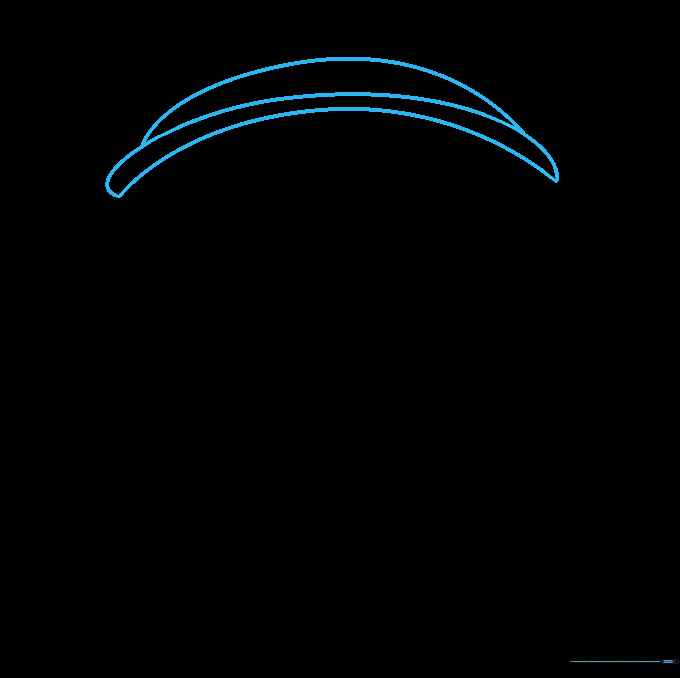
Sketch two curved lines across the top of the oval to build the forehead area. Teacher's Tip: Ensure these lines are symmetrical to keep the mask looking balanced.
Step 4: Drawing the Eye Lenses
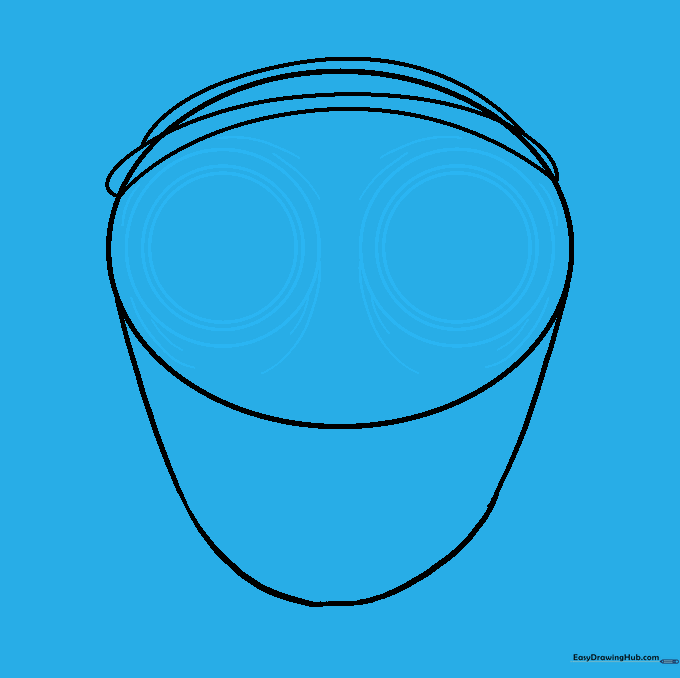
Draw two large circles for the eyes, then add smaller circles inside them for depth. Add short, curved lines around the edges to mimic fabric texture. Teacher's Tip: Use a steady hand for the circles; if they aren't perfect, that's okay—it adds character!
Step 5: Cleaning Up

Carefully erase the original oval guide lines inside the mask. Teacher's Tip: Use a soft eraser so you don't smudge your work. Now you have a clean outline to build upon.
Step 6: Adding the Respirator

Draw a large circle below the eyes, then add three smaller, nested circles inside it. Add three straight lines in the center. Teacher's Tip: These lines represent the filter vents, so keep them evenly spaced.
Step 7: Side Filter Details
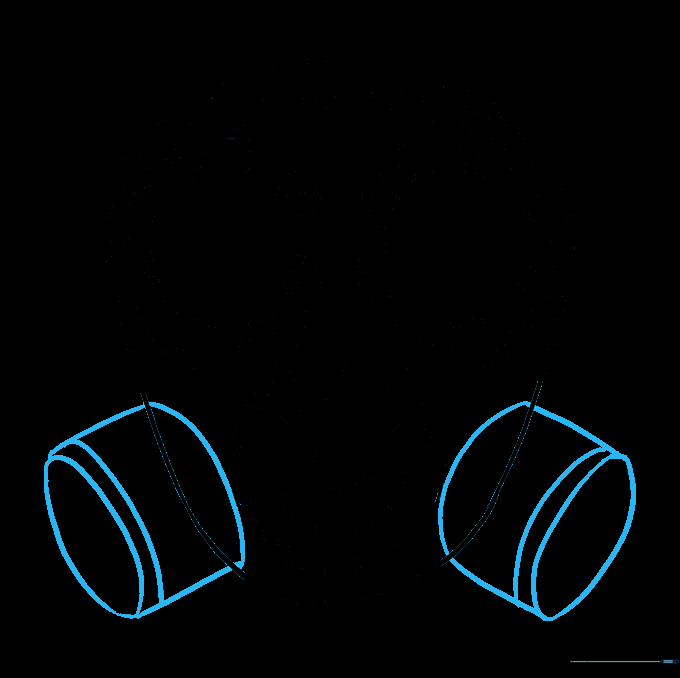
Draw ovals on the sides of the mask and connect them with curved lines to create a cylinder shape. Teacher's Tip: This adds a 3D effect to your drawing, making the mask look more realistic.
Step 8: Final Cleanup

Erase any remaining stray guide lines. Teacher's Tip: Check your drawing for any faint pencil marks you might have missed to ensure a professional finish.
Step 9: Adding Shading
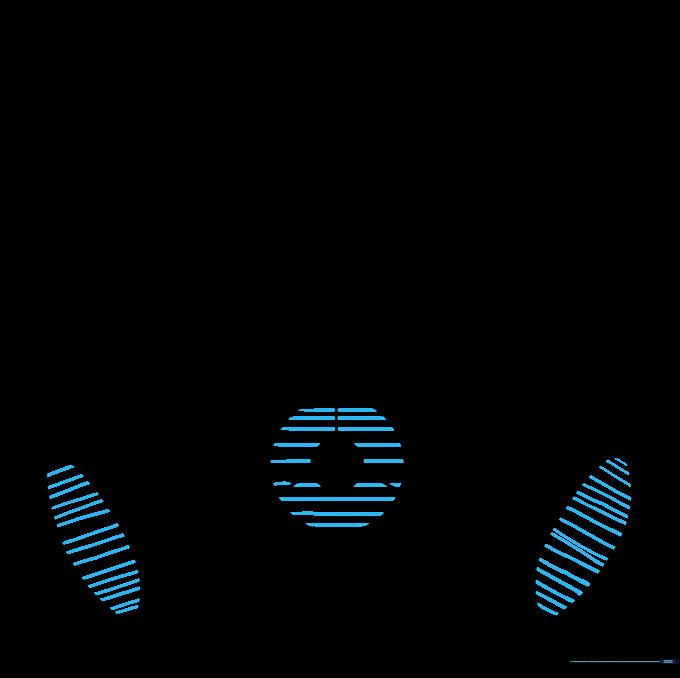
Use parallel straight lines to shade the respirator filters. Teacher's Tip: Vary the pressure of your pencil to create light and dark areas, which makes the mask look metallic.
Step 10: Adding Color
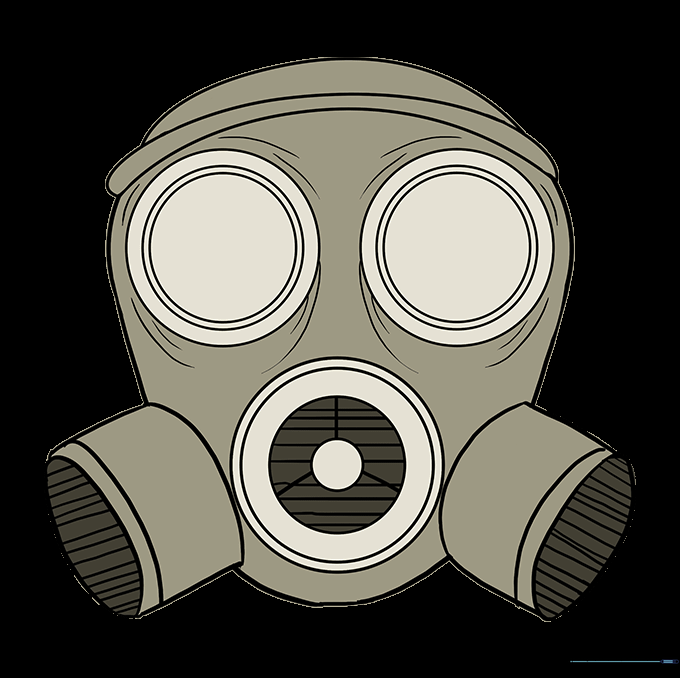
Time to color! Use shades of olive green, brown, or grey to give it an authentic military look. Teacher's Tip: Try using colored pencils to blend different shades of green for a realistic camouflage effect.
More Tutorials


