How to Draw Garlic: Easy 9-Step Guide for Beginners
Bring a touch of the garden to your sketchbook with this fun, beginner-friendly garlic drawing tutorial. Designed for ages 5 and up, this activity requires only a pencil, paper, and an eraser to build confidence in sketching organic shapes. Follow along to create a charming, detailed garlic bulb that looks great in any kitchen-themed art project.
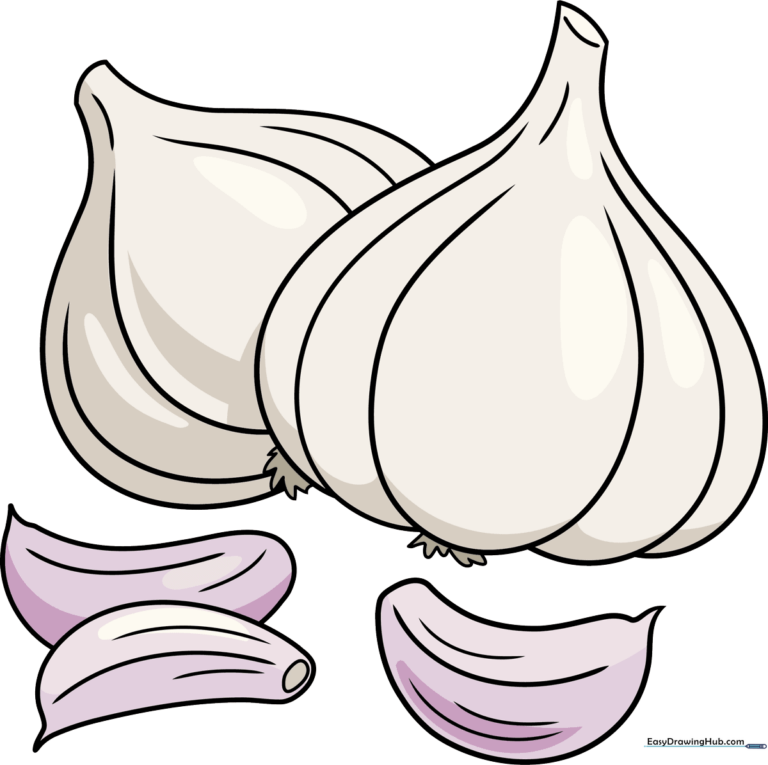
🎯 Final Result
Step-by-Step Instructions
Step 1: Sketching the First Cloves
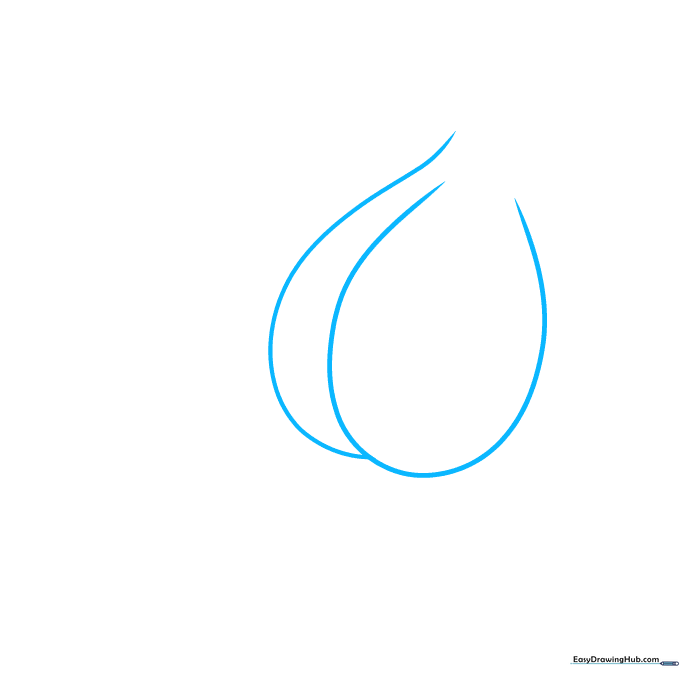
Start by drawing two overlapping 'U' shapes to form the base of your garlic cloves. Teacher's Tip: Keep your pencil pressure light here; these are just the foundation lines for the bulb's structure.
Step 2: Building the Bulb Neck
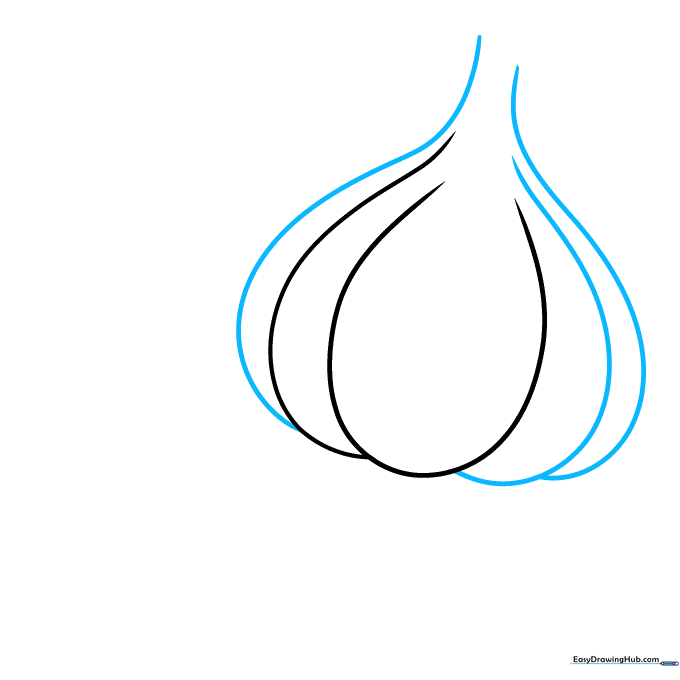
Add more cloves on either side using overlapping curved lines. As you move upward, make the lines slightly longer to create the neck of the garlic. Tip: Think of these as petals wrapping around a center point.
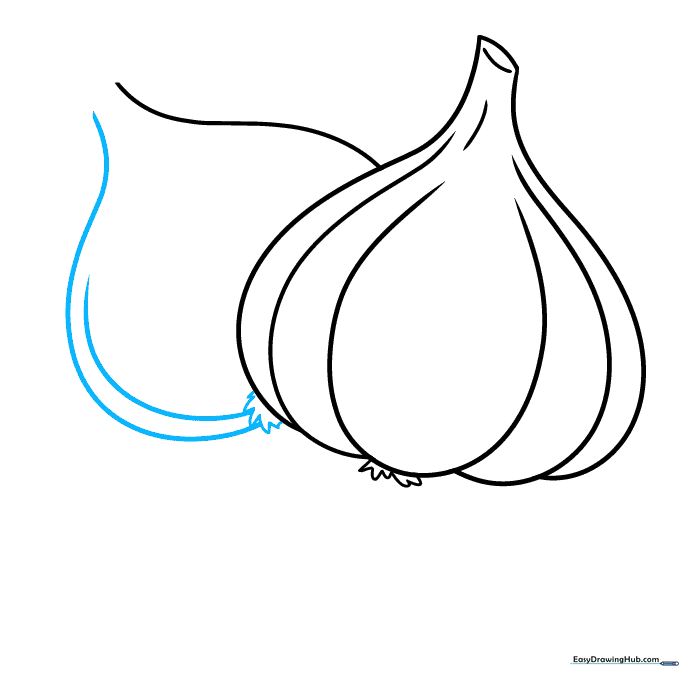
Step 3: Defining Roots and Shape

Connect the neck with a smooth curve and add short, jagged lines at the bottom for the roots. Then, extend a long curved line to the side to start a second bulb. Tip: Use quick, flicking motions with your pencil to make the roots look bushy and organic.
Step 4: Outlining the Second Bulb
Complete the second bulb with a long, sweeping curve and add more jagged lines for its roots. Tip: Ensure the roots look slightly different from the first bulb to give your drawing variety.
Step 5: Adding Clove Contours
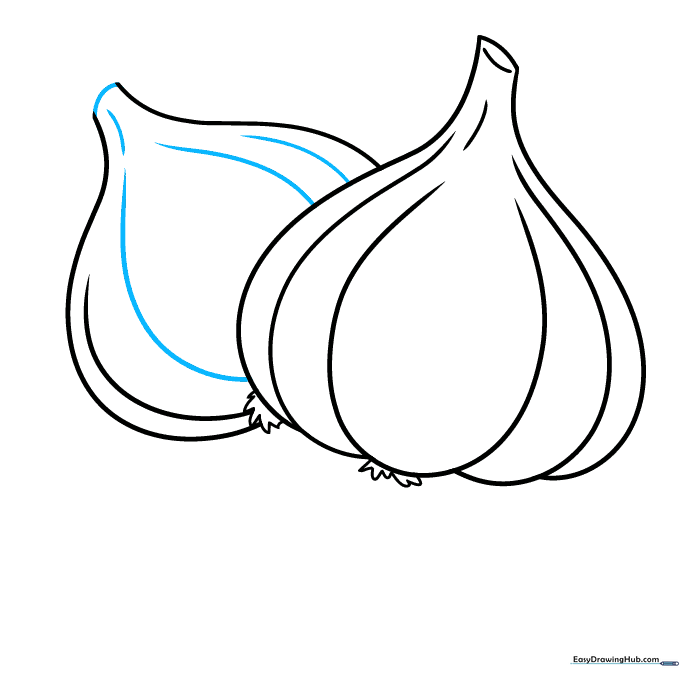
Refine the neck and add internal curved lines to define the individual cloves. Tip: Vary the length of your lines to show how the cloves overlap each other.
Step 6: Drawing a Loose Clove
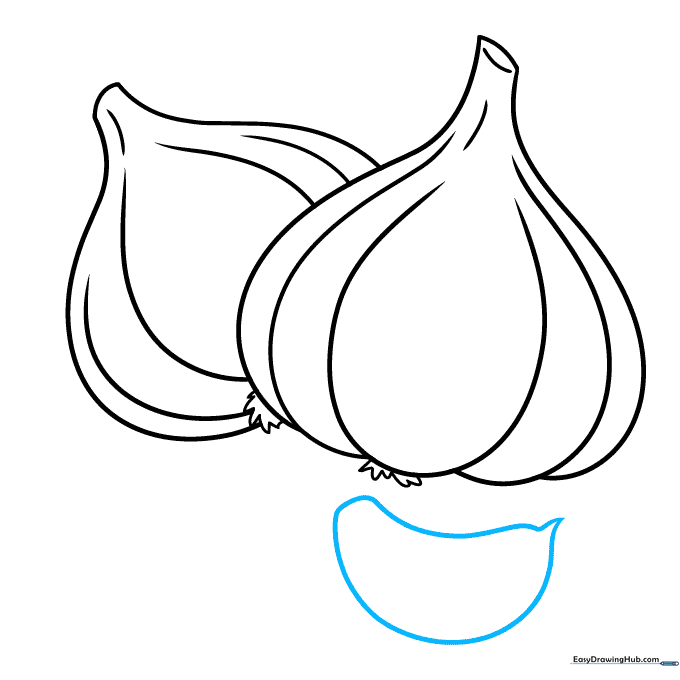
Draw a single, detached clove nearby using a long, pointed curved line. Tip: Make sure the two ends meet at a sharp point to mimic the natural shape of a peeled garlic clove.
Step 7: Detailing the Cloves
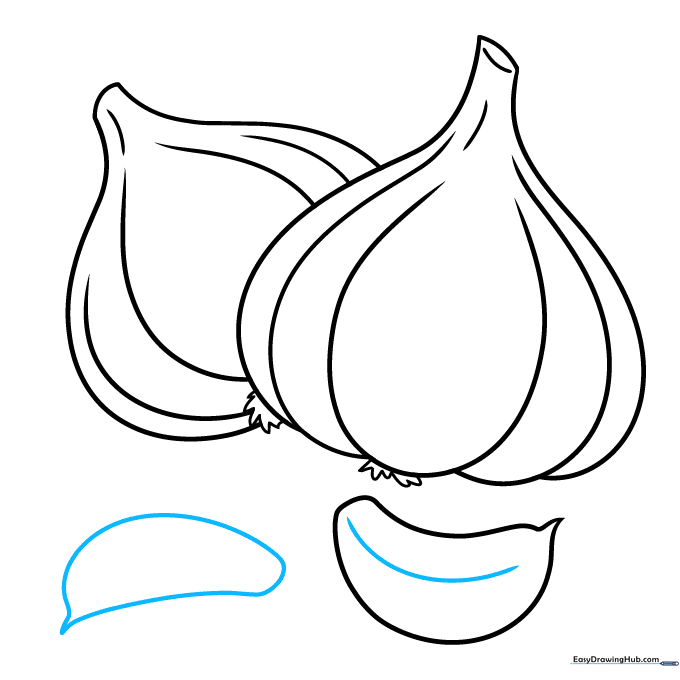
Add a curved line along the side of your loose clove for depth, then sketch another clove next to it. Tip: Overlapping your shapes makes the drawing look much more professional and realistic.
Step 8: Adding Depth
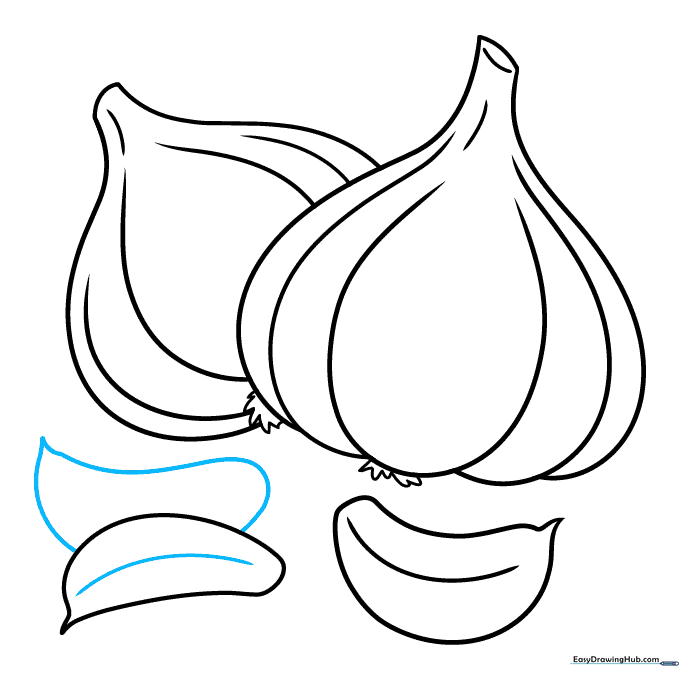
Contour the cloves with more curved lines and sketch one partially hidden behind the others. Tip: Use a 'hidden' line technique—don't draw the full shape of the back clove, just the visible parts.
Step 9: Final Textures
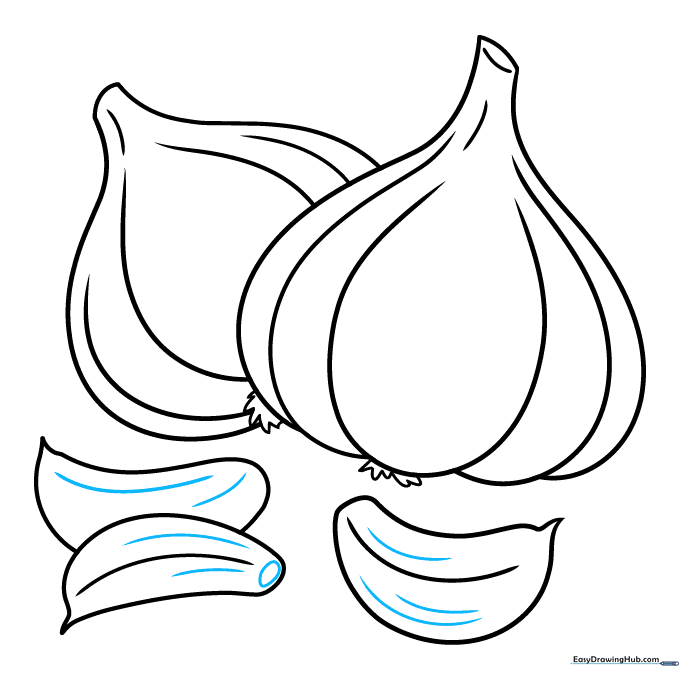
Add a small oval to the back of the clove and use light, curved lines to suggest the papery texture of the skin. Your garlic outline is now ready for color!
Step 10: Coloring Your Garlic
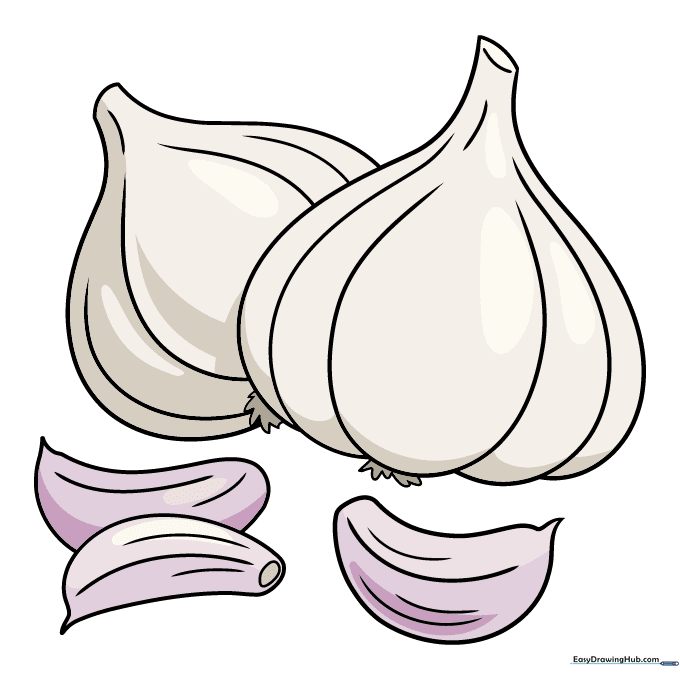
Bring your drawing to life with soft creams, whites, and hints of purple. Tip: Use a light touch with your colored pencils to create a papery, translucent look.
More Tutorials


