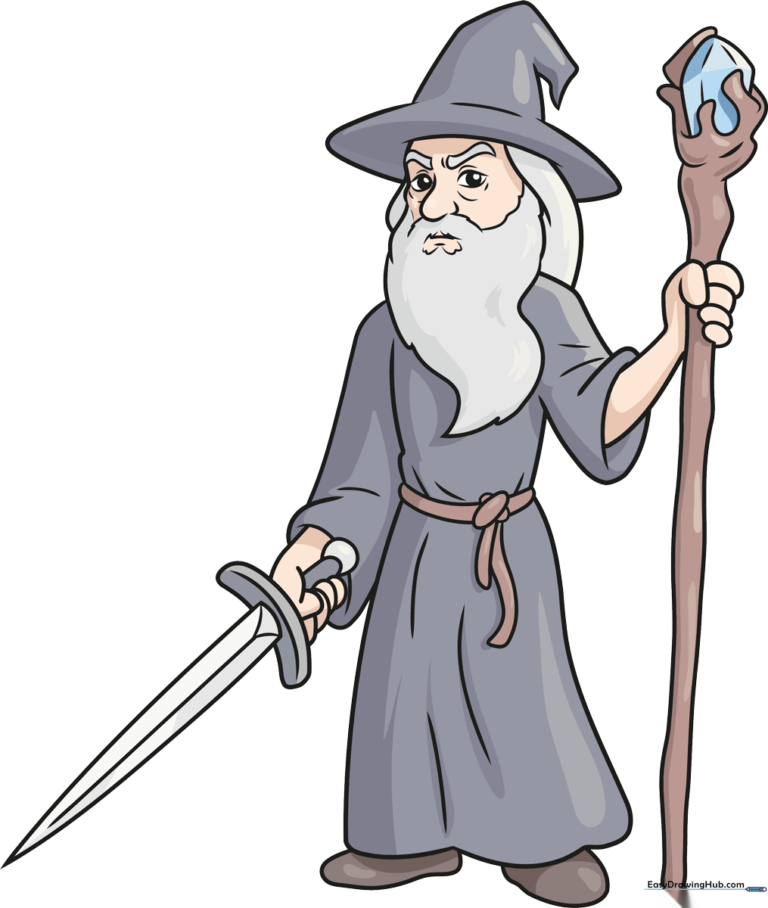
How to Draw Gandalf: Easy Step-by-Step Wizard Guide
Bring Middle-earth to life with this step-by-step guide to drawing Gandalf. Designed for young artists and fantasy enthusiasts, this tutorial uses basic shapes to build a complex character. Grab your pencil, an eraser, and a piece of paper to start your magical sketching journey.
🎯 Final Result
Step-by-Step Instructions
Step 1: Sketching the Face

Start by sketching the eyes, nose, and mustache. Teacher's Tip: Keep your pencil pressure light so you can easily adjust the proportions of the face if needed later.
Step 2: Defining Facial Features

Outline the bushy eyebrows and the flowing beard. Teacher's Tip: Use 'S' shaped curves for the brows to give him that signature wise, grumpy expression.
Step 3: Drawing the Wizard Hat
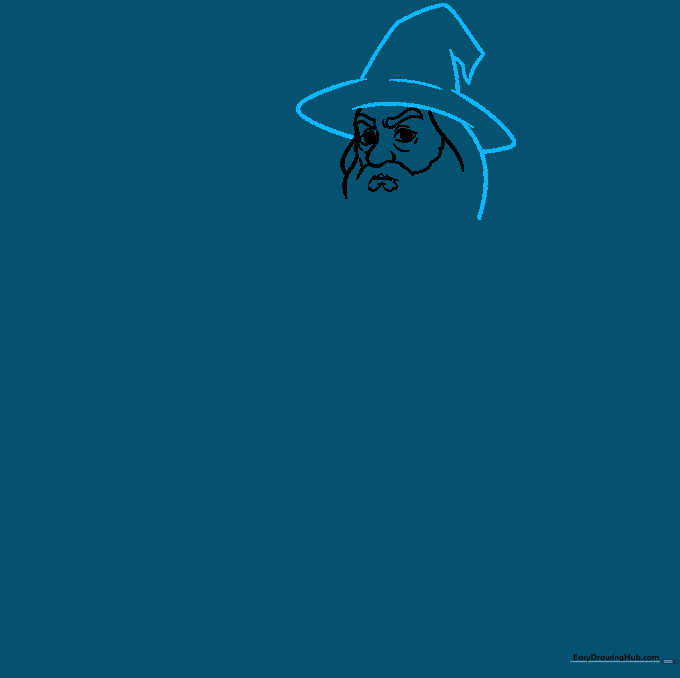
Draw the iconic pointed wizard hat atop his head. Teacher's Tip: Start with the brim first, then add the bent crown to ensure the hat looks balanced.
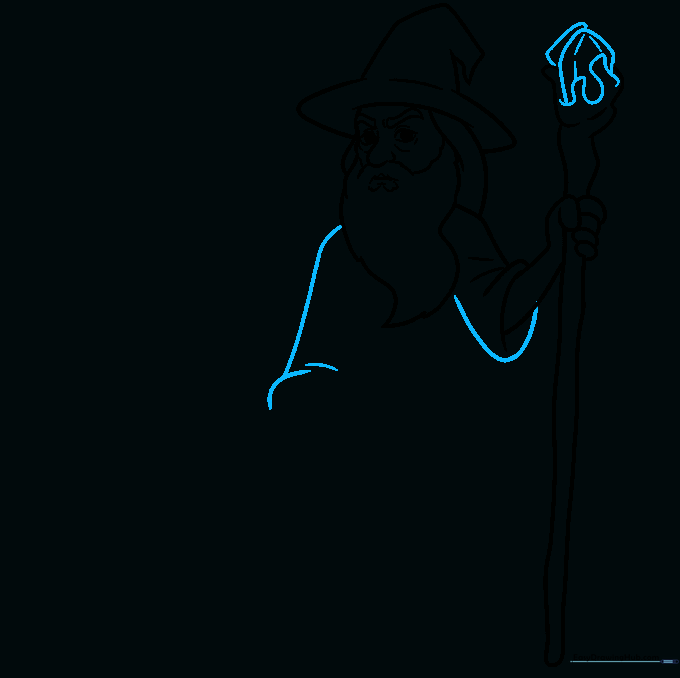
Step 4: Adding the Beard and Sleeve
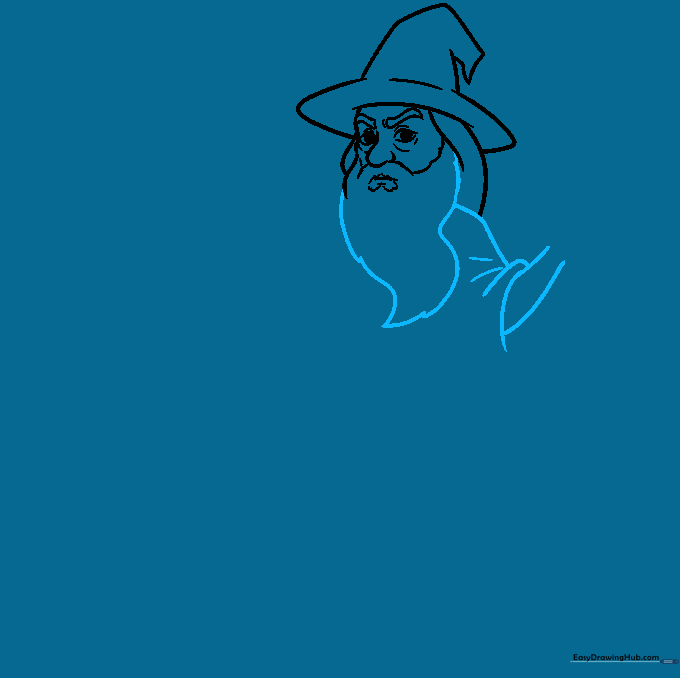
Extend the beard with jagged, flowing lines and sketch the arm. Teacher's Tip: Use short, overlapping strokes for the beard to create a realistic, textured look.
Step 5: Sketching the Staff
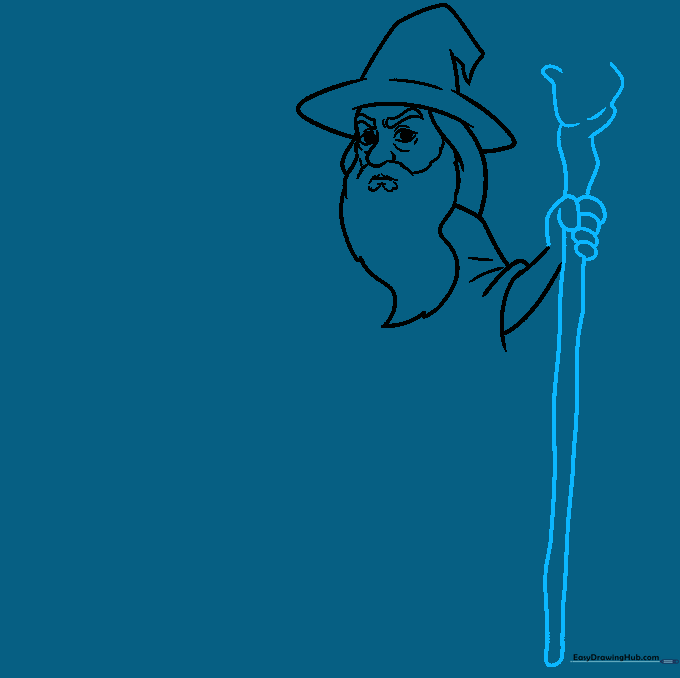
Draw the hand gripping the staff. Teacher's Tip: Focus on the overlapping ovals for the fingers to make the grip look natural and firm.
Step 6: Detailing the Crystal
Add the crystal to the top of the staff. Teacher's Tip: Use short, straight lines to create facets on the crystal, making it look like it's glowing.
Step 7: Drawing the Sword
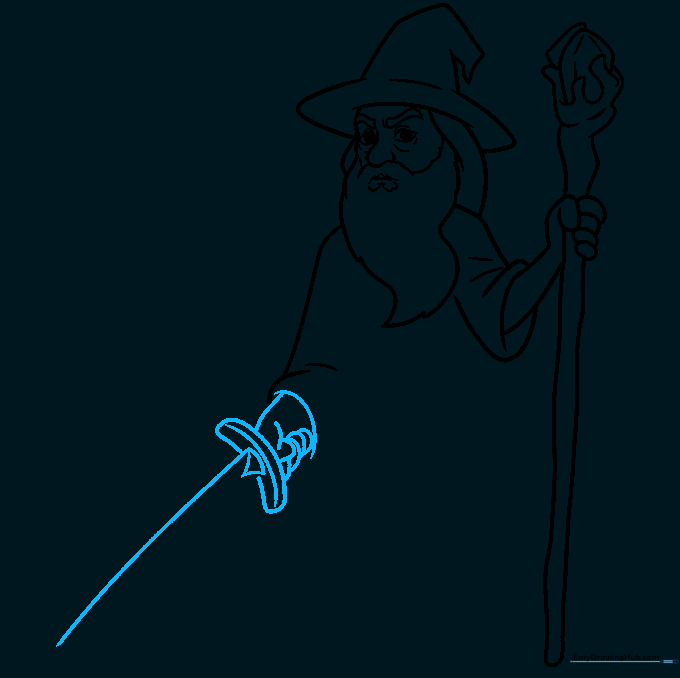
Sketch the sword handle and blade. Teacher's Tip: Use a ruler or a steady hand to keep the blade straight, contrasting with the curved lines of the robe.
Step 8: Adding Torso and Belt
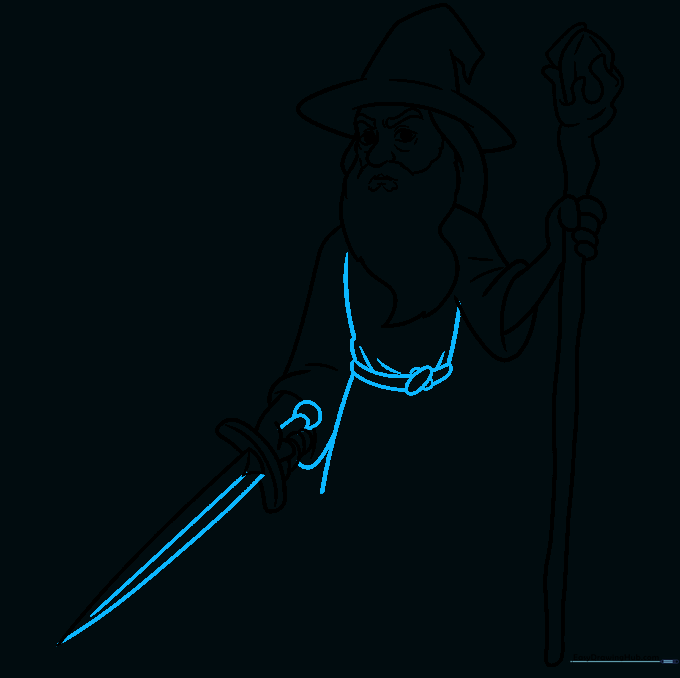
Draw the torso and the belt knot. Teacher's Tip: The 'X' shape for the belt knot adds a nice touch of realism to the fabric folds.
Step 9: Completing the Robe
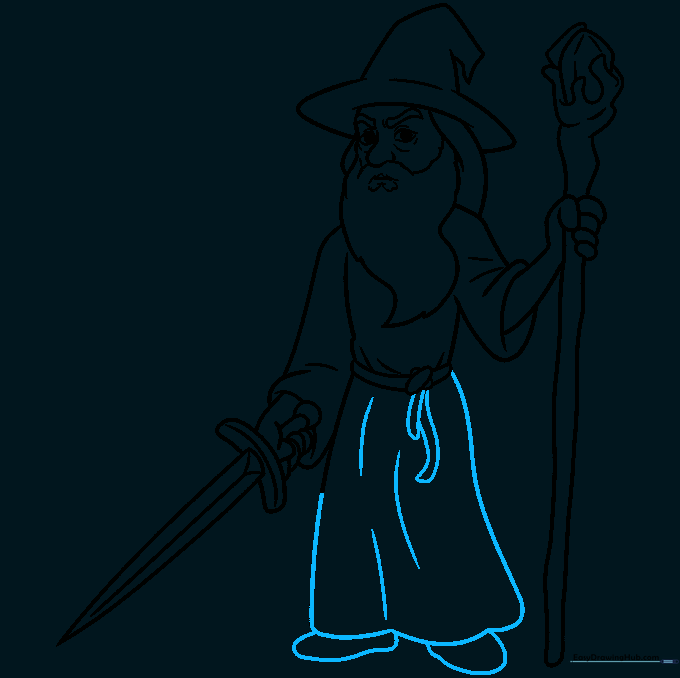
Finish the bottom of the robe and the feet. Teacher's Tip: Use long, sweeping lines for the robe to show movement and weight.
Step 10: Bringing Gandalf to Life

Add color to your drawing. Teacher's Tip: Use shades of grey and white for the robes and beard, and a touch of blue for the crystal to make it pop!
More Tutorials


