How to Draw Gabby from Gabby’s Dollhouse: Easy 9-Step Guide
Bring Gabby to life with this fun, screen-free art activity designed for young fans and budding artists. You will need a pencil, eraser, and your favorite coloring markers to complete this character portrait. Follow along to master Gabby’s signature look, from her cat ears to her cheerful expression.
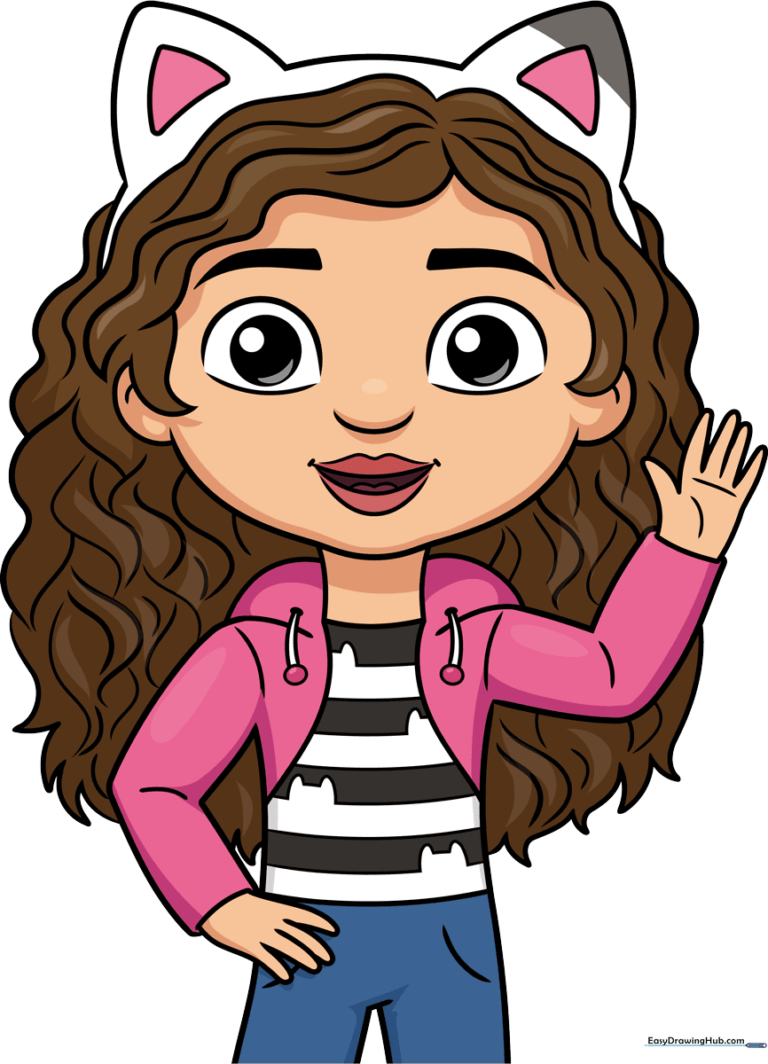
🎯 Final Result
Step-by-Step Instructions
Step 1: Sketching the Eyes and Brows
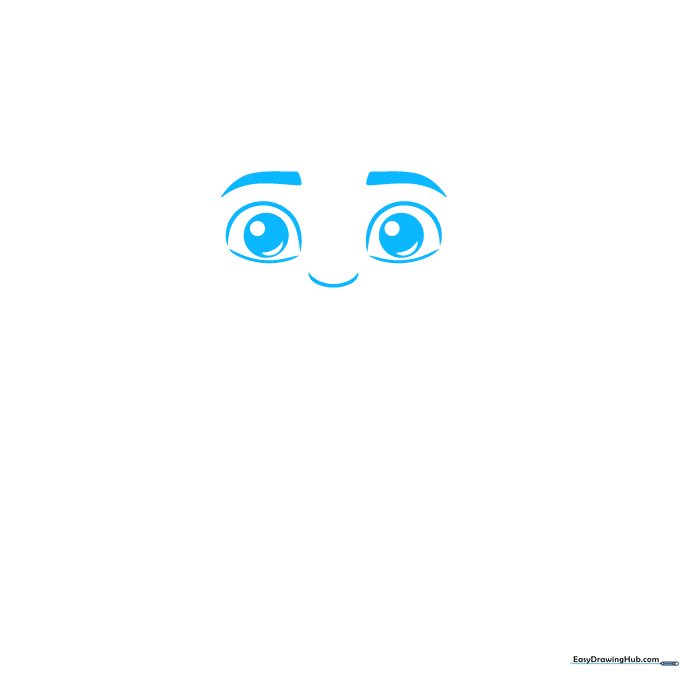
Draw two circles for the eyes, then frame them with soft semi-ovals. Add a smaller circle inside each for the iris and a crescent shape for the highlight. Connect them with a gentle curve and add two thick lines above for the eyebrows. Teacher's Tip: Keep the eyes symmetrical to give Gabby her friendly, wide-eyed look.
Step 2: Defining the Face and Mouth
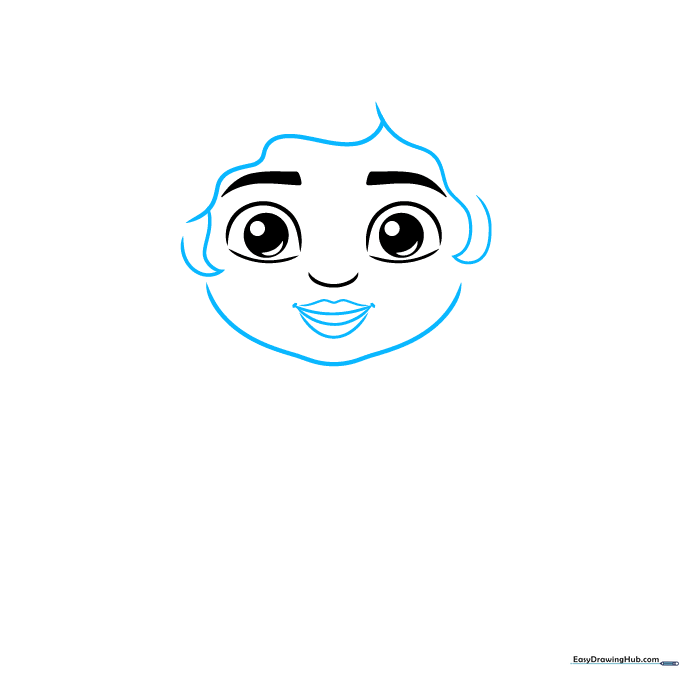
Sketch two small curves below the eyes for the nose, then outline the lips with a deep curve and an M-shape. Add small dashes at the corners of the mouth for a smile. Surround the face with soft, wavy lines to define her hair. Teacher's Tip: Use a light touch for the mouth to keep it looking sweet and natural.
Step 3: Adding Cat Ears and Details
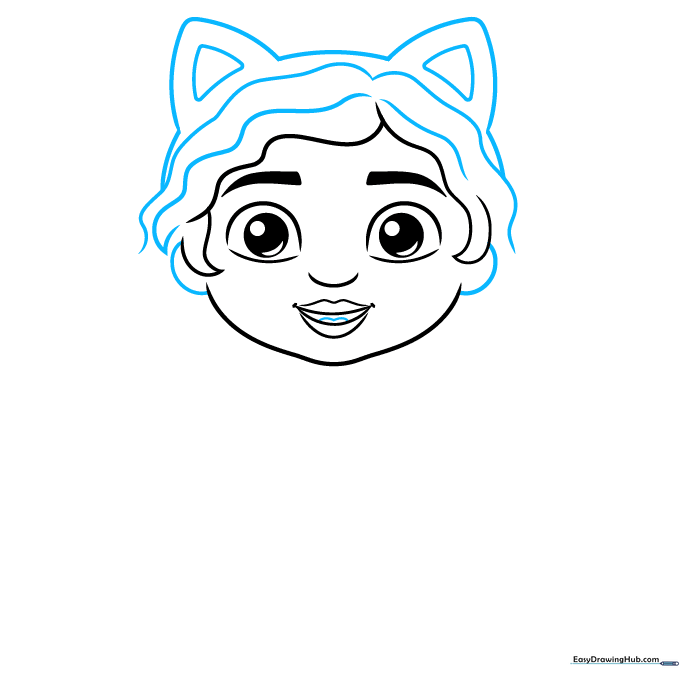
Draw two triangles near the top of the head with smaller triangles inside for the cat ears. Connect them with a horizontal line and add ovals for the ears on the sides. Draw two small 'hills' inside the mouth for teeth. Teacher's Tip: Ensure the cat ears are aligned with the top of the head for a balanced look.
Step 4: Sketching the Neck and Jacket
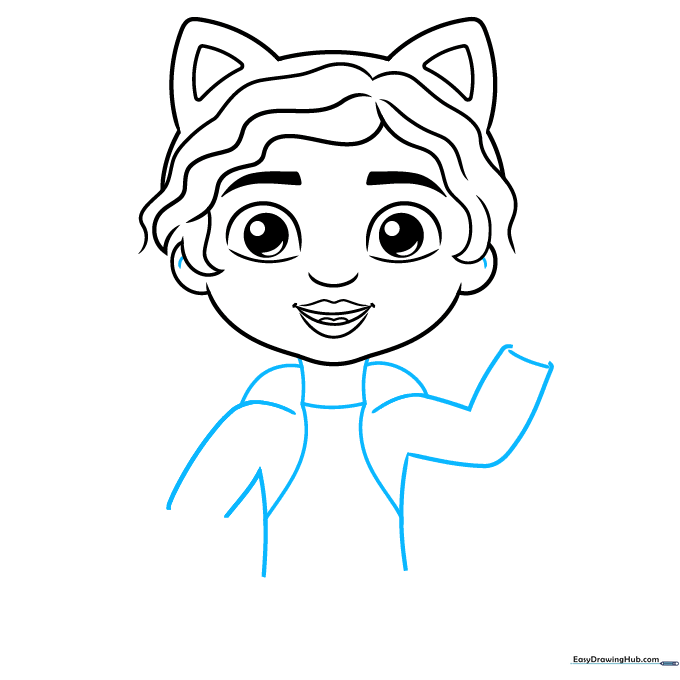
Draw a rectangle for the neck with a small curve on each side. Outline the body with vertical lines, adding curves for the shoulders and elbows. Sketch two lines inside the body to represent her jacket. Teacher's Tip: Use smooth, flowing lines for the shoulders to make her posture look relaxed.
Step 5: Drawing the Hands
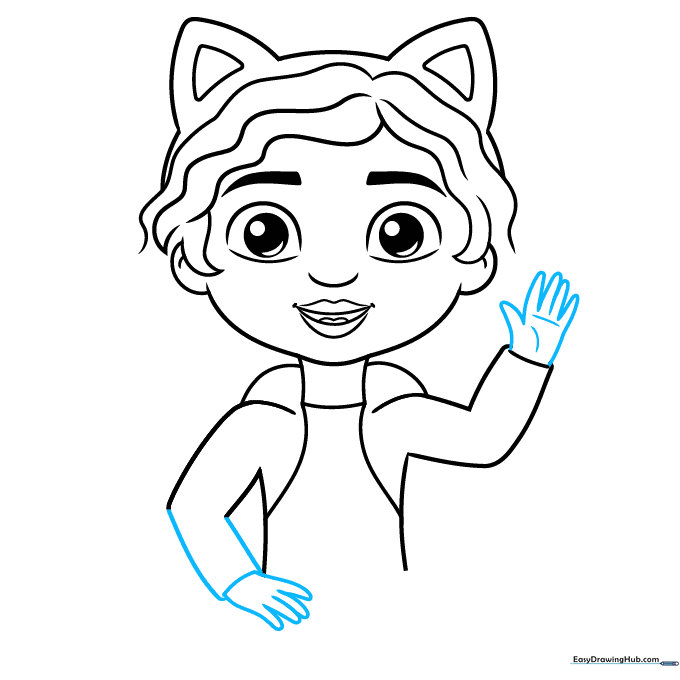
Complete the left arm with straight lines. Use simple 'hot dog' shapes for the fingers and add two lines inside the palm for detail. Teacher's Tip: Don't worry about making the fingers perfect; focus on the overall shape and position.
Step 6: Adding Legs and Hair Volume
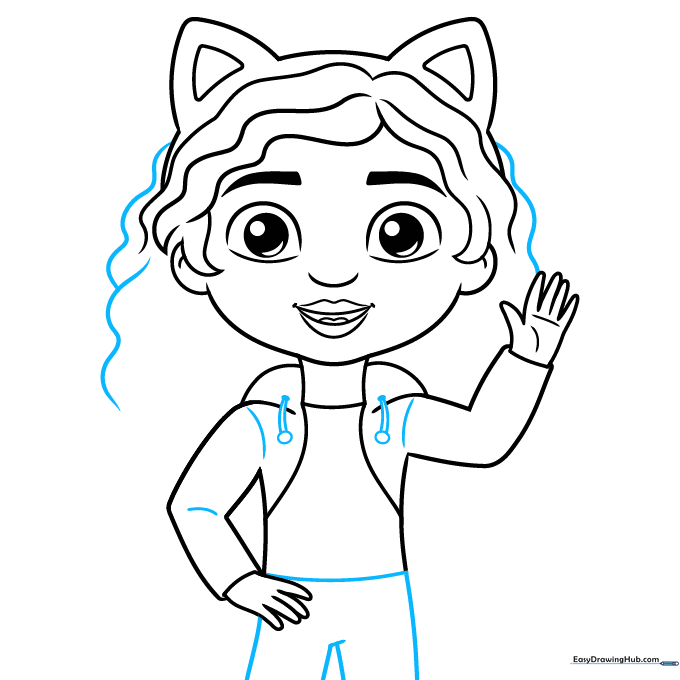
Add a horizontal line for the waist, then draw two vertical lines with a triangle in the middle for the legs. Add dashes on the shoulders and elbow. Sketch two circles and connect them to the hood with narrow triangles. Teacher's Tip: The wavy lines around the head create the illusion of hair volume.
Step 7: Refining the Hair and Shirt
Complete the hair with sketchy triangles and draw straight lines across the shirt. Add three hill-like shapes with a horizontal line between them to define her clothing. Teacher's Tip: Use quick, light strokes to make the hair look natural and bouncy.
Step 8: Adding Final Details
Add two straight lines and a hill shape, then sketch the pockets with small dashes. Add more loose, wavy lines to give the hair extra dimension. Teacher's Tip: Pockets add great character detail—keep them small and aligned.
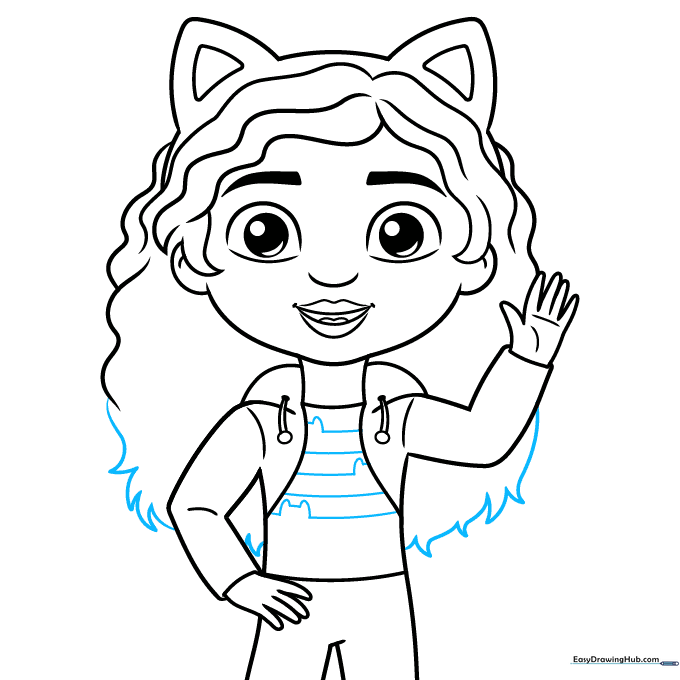
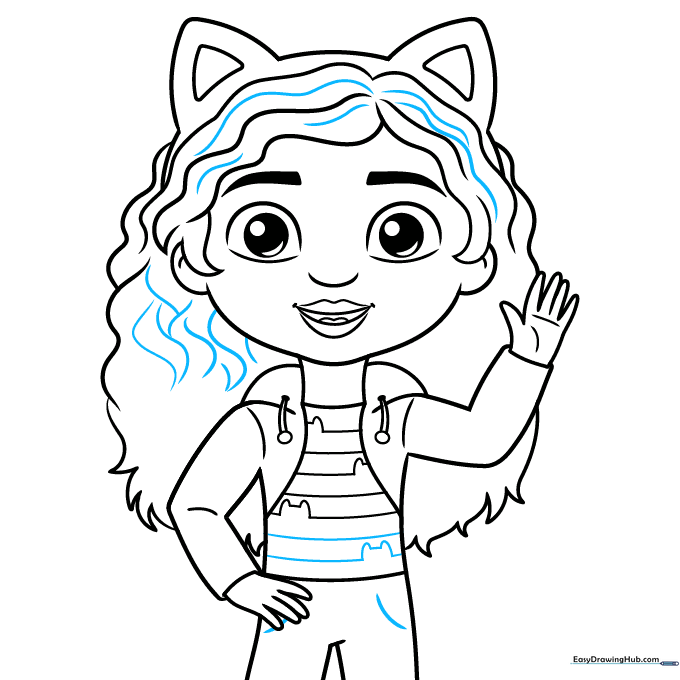
Step 9: Final Outline and Coloring
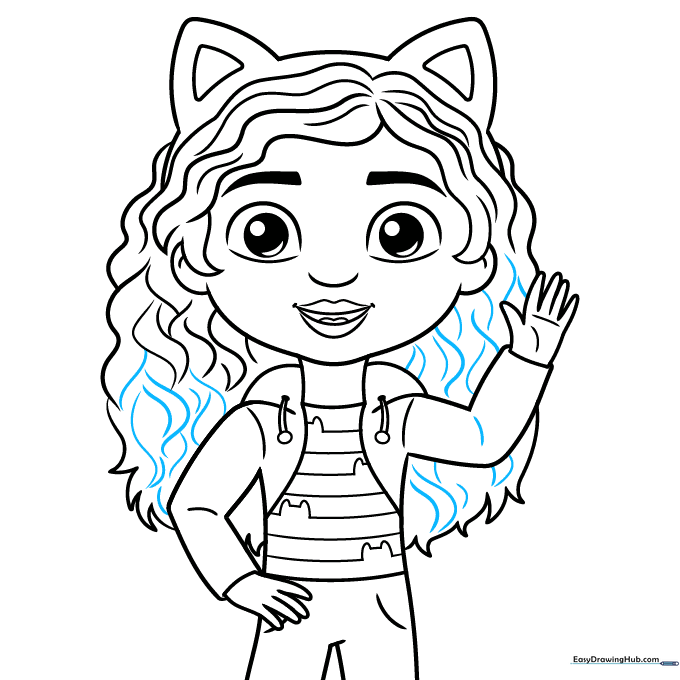
Fill in the rest of the hair with wavy lines. Outline your drawing with a black pen or marker for a clean look. Fill in the eyebrows and pupils with black. Teacher's Tip: Use a steady hand when outlining to ensure your lines are crisp and bold.
Step 10: Bring Gabby to Life with Color
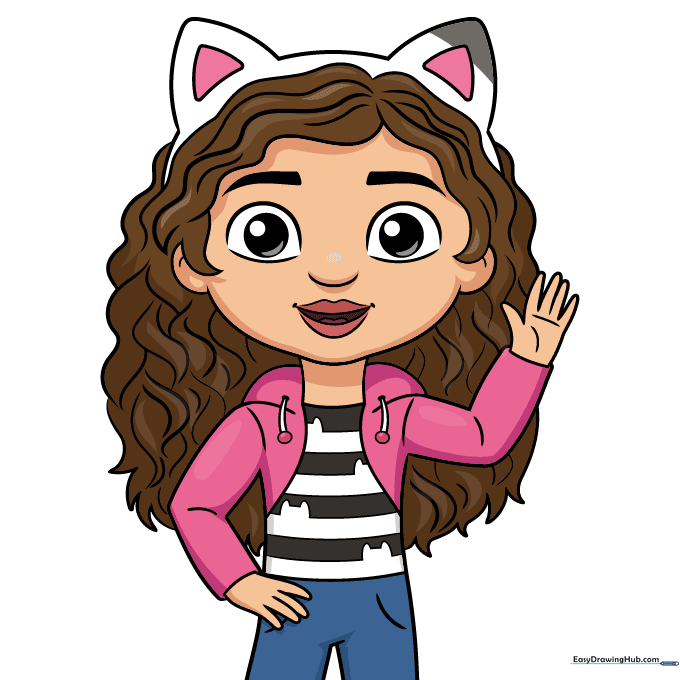
Use tan for her skin, brown for her hair, and pink for her mouth and jacket. Add a gray triangle on the right ear, use blue for the pants, and gray for the shirt. Teacher's Tip: Layer your colors lightly to achieve a vibrant, professional finish.
More Tutorials


