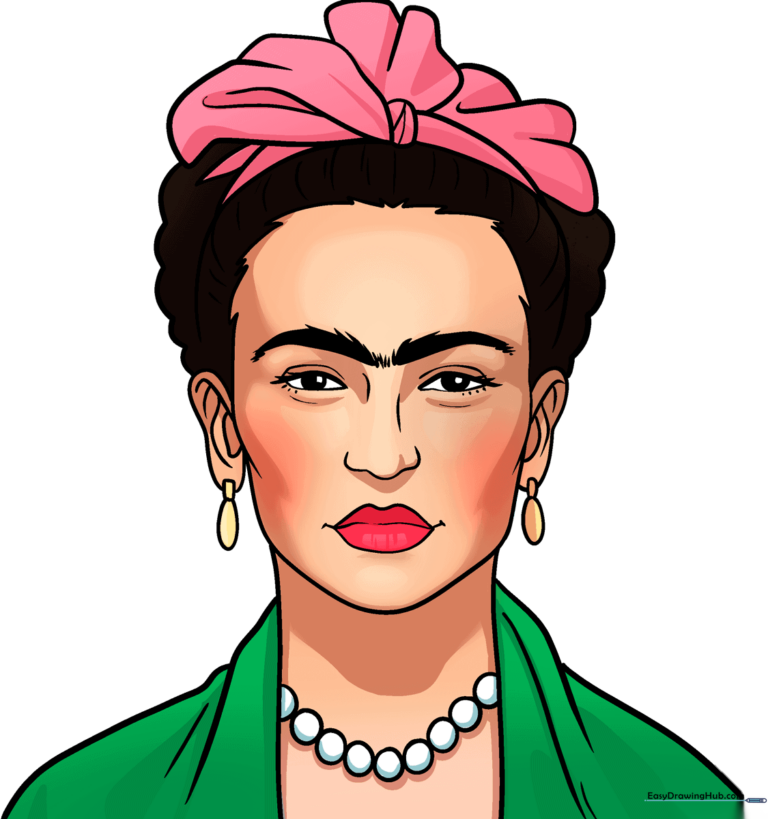
How to Draw Frida Kahlo: Easy 9-Step Portrait Guide
Celebrate the iconic style of Frida Kahlo with this approachable portrait tutorial. Designed for ages 8+, this lesson uses basic geometric shapes to help you capture her signature features, including her expressive brows and floral headdress. Grab your pencil, eraser, and paper to begin this creative journey into art history.
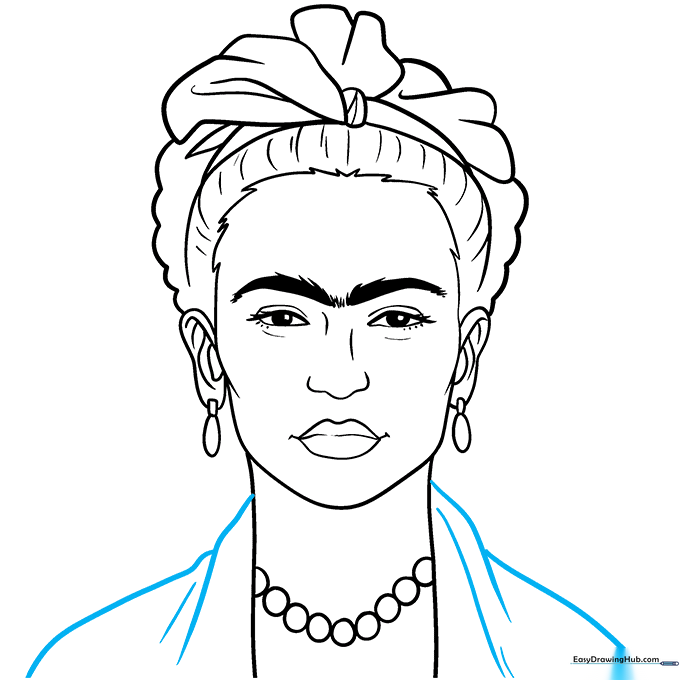
🎯 Final Result
Step-by-Step Instructions
Step 1: Sketching the Eyes and Nose
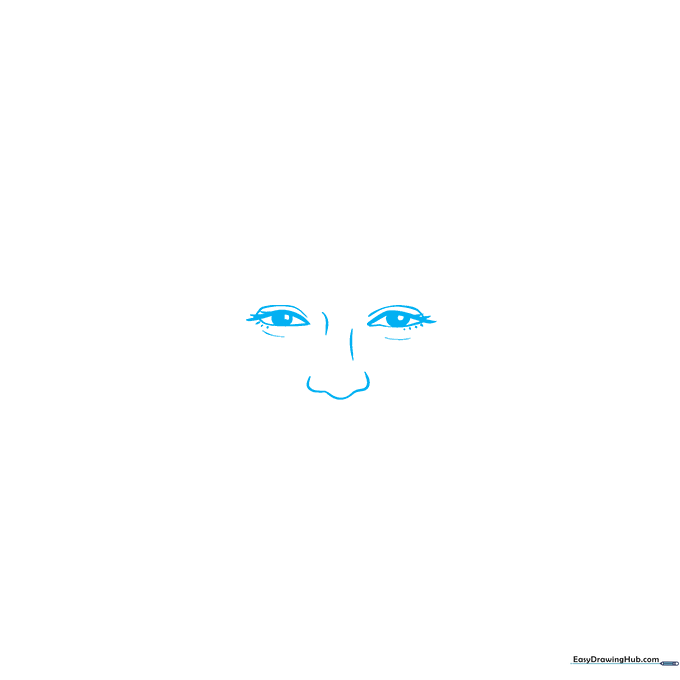
Draw two narrow lemon shapes for the eyes, adding small white highlights inside the pupils to give them life. Sketch the nose using a soft, wavy line that dips in the center. Teacher's Tip: Keep the eyes level with each other by drawing a faint horizontal guideline across your paper first.
Step 2: Adding the Iconic Brows
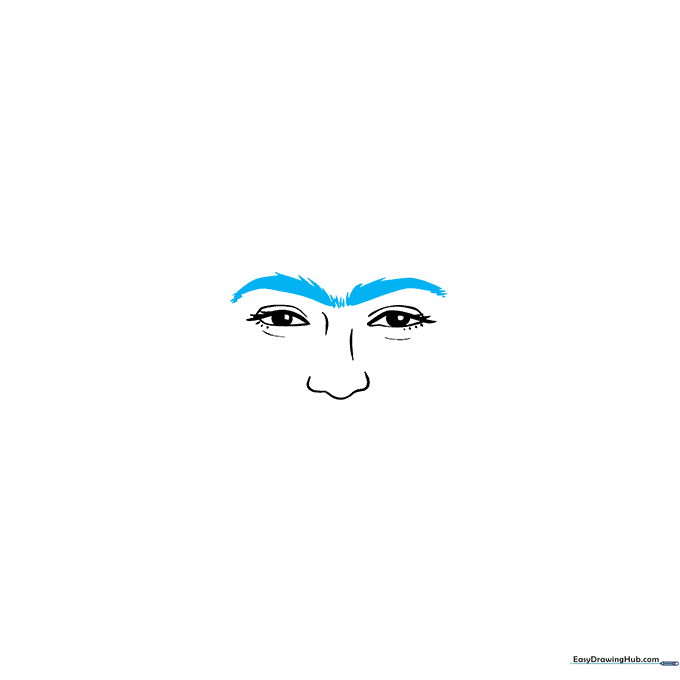
Draw Frida’s signature thick, expressive eyebrows using bold, brushy strokes that meet in the middle. Tip: Use short, flicking pencil motions to mimic the texture of real hair.
Step 3: Defining the Mouth and Face Shape
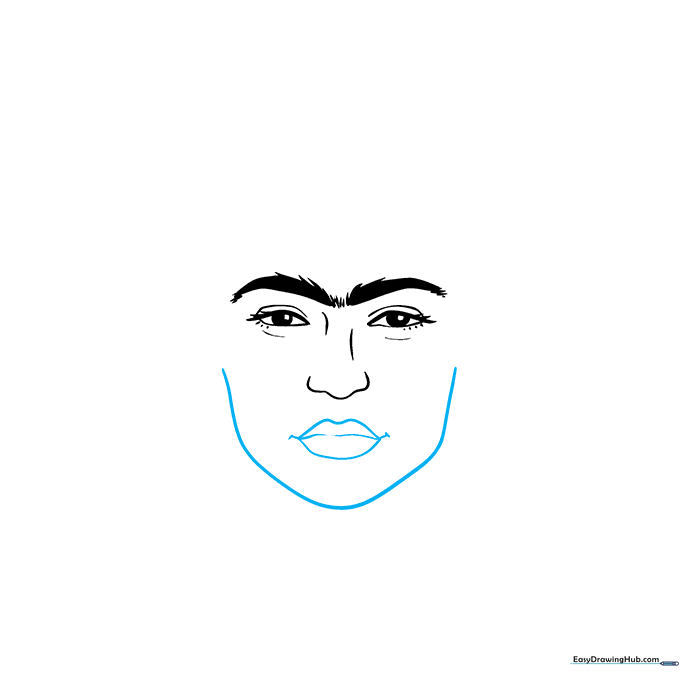
Sketch a soft, wavy line for the mouth, adding a gentle M-shape for the upper lip. Outline the jawline using diagonal and vertical lines to create a soft, rounded face shape. Tip: Draw the mouth slightly wider than the nose for a natural look.
Step 4: Drawing Ears and Earrings
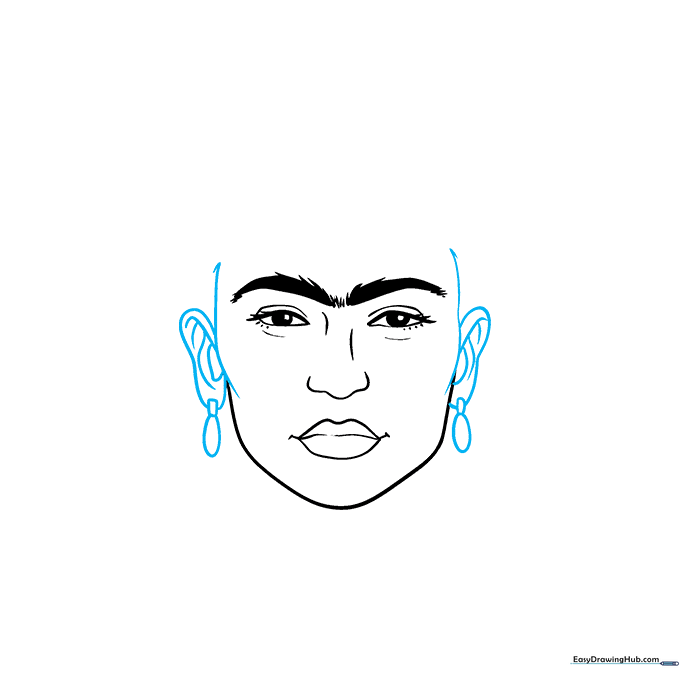
Frame the face with two vertical lines. Draw two semi-ovals for the ears, adding small curves inside for detail. Add dangling earrings using simple ovals and rectangles. Tip: Ensure the ears align with the top and bottom of the nose.
Step 5: Sketching the Hairline
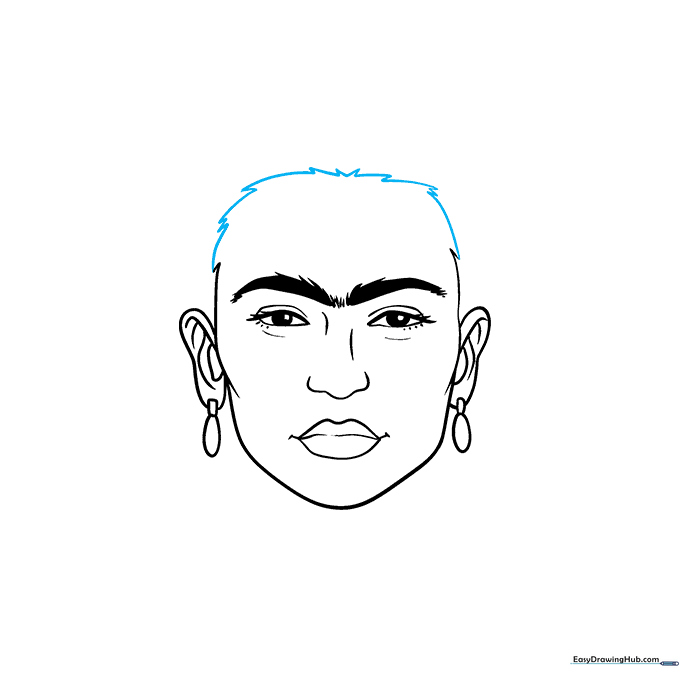
Draw the hairline using a loose, sketchy line with small triangles to suggest hair texture. Tip: Don't worry about making it perfectly smooth; hair has natural, irregular movement.
Step 6: Creating the Hair Volume

Surround the hairline with two large curves. Add wavy, cloud-like lines around the head to represent the volume of her hair. Tip: Keep these lines light so you can layer the headdress on top later.
Step 7: Designing the Floral Headdress
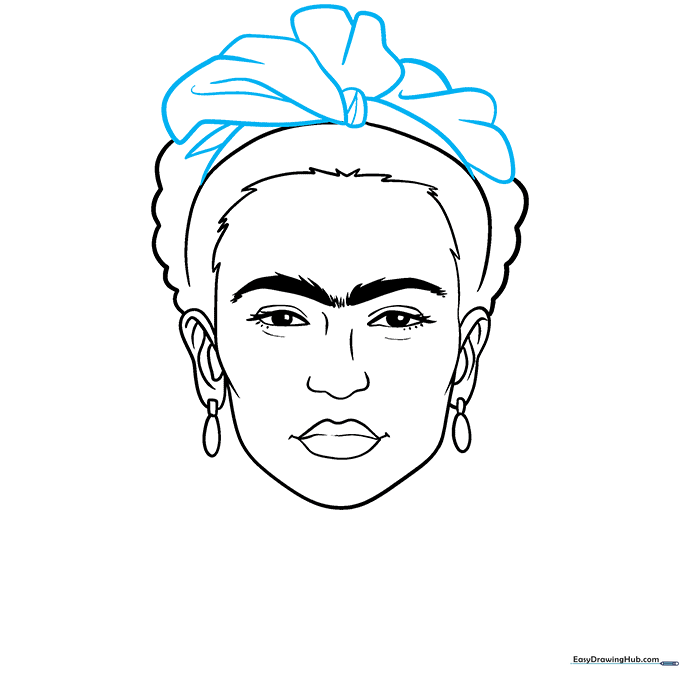
Draw a small rounded rectangle in the center of the hairline, then add large, blocky shapes around it to represent the flowers in her crown. Use crooked lines to suggest fabric folds and petals. Tip: Vary the sizes of the shapes to make the flowers look more realistic.
Step 8: Adding Texture and Details
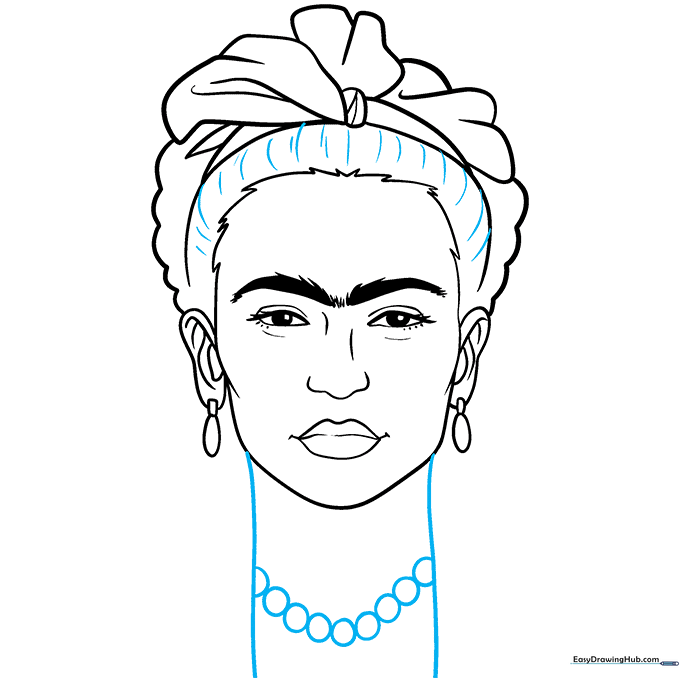
Add small dashes inside the hair to show direction. Sketch two vertical lines for the neck and add a string of circles to represent her iconic pearl necklace. Tip: Use a steady hand for the pearls to keep them round.
Step 9: Final Outline and Inking
Outline your entire drawing with a fine-tip black marker. Fill in the eyes and brows with solid black ink to make them pop. Tip: Let the ink dry completely before erasing any leftover pencil marks to avoid smudging.
Step 10: Adding Color
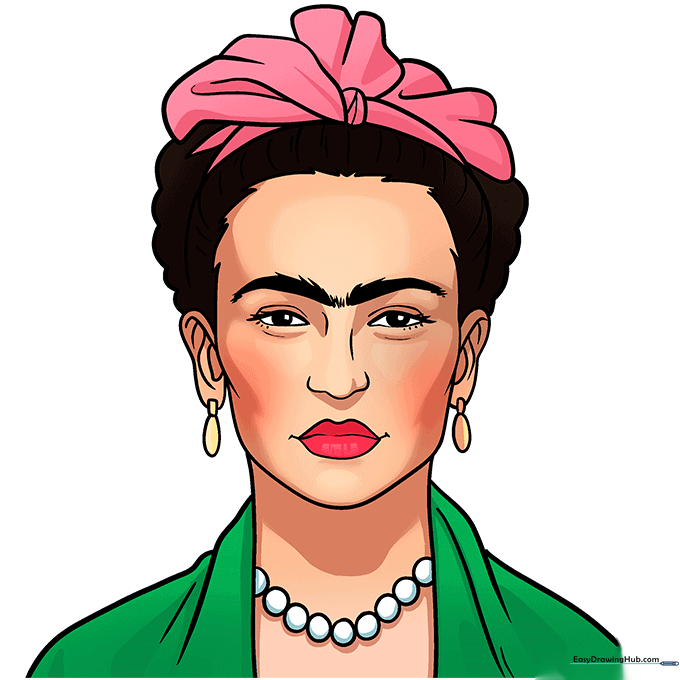
Bring your portrait to life! Use dark brown for the hair, vibrant pinks and reds for the flowers, and gold for the earrings. Use a soft tan for the skin and add a touch of pink blush to the cheeks. Tip: Use blue colored pencil to add subtle shadows to the white pearls for a realistic 3D effect.
More Tutorials


