How to Draw Freddy Krueger: Easy Step-by-Step Guide
Ready to bring a classic horror icon to your sketchbook? This tutorial is designed for intermediate artists looking to master character proportions and expressive line work. Grab your pencils and an eraser; we’ll focus on capturing Freddy’s signature fedora and iconic clawed hand through simple, manageable shapes.
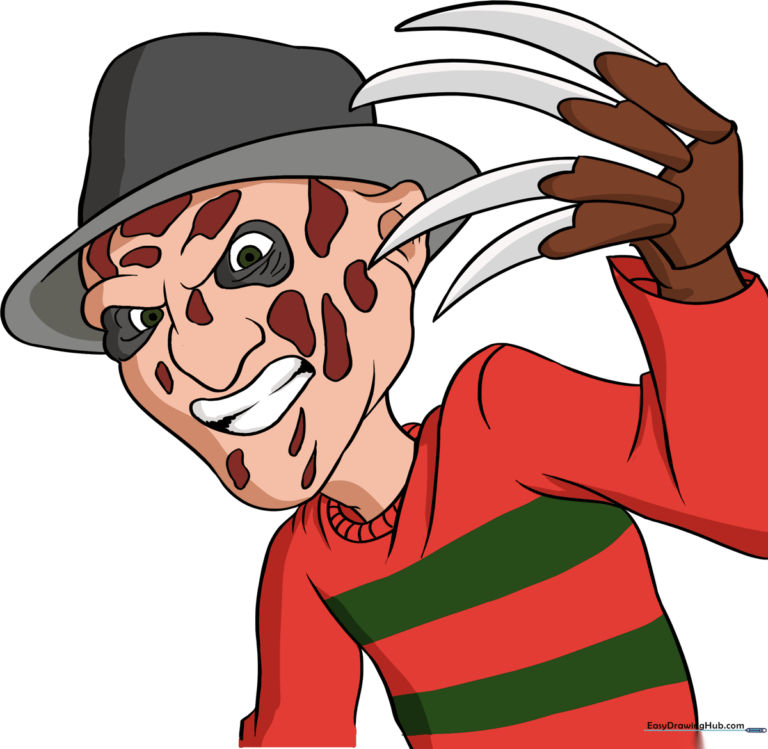
🎯 Final Result
Step-by-Step Instructions
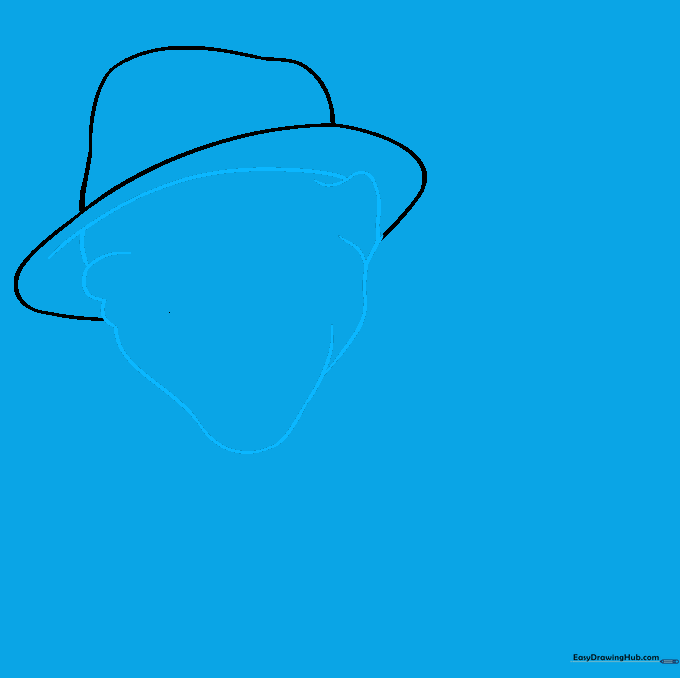
Step 1: Sketching the Fedora Brim

Start by drawing an irregular oval for the brim of the fedora. Add a curved line above it to form the crown. Teacher's Tip: Keep your pencil pressure light here—you'll be adjusting these lines as you build the head shape.
Step 2: Shaping the Face
Erase the bottom of the hat brim and draw a curved line to define the hat's opening. Sketch the face using overlapping curves to suggest the brow, cheek, and pointed chin. Teacher's Tip: Use short, quick strokes to make the face look slightly weathered.
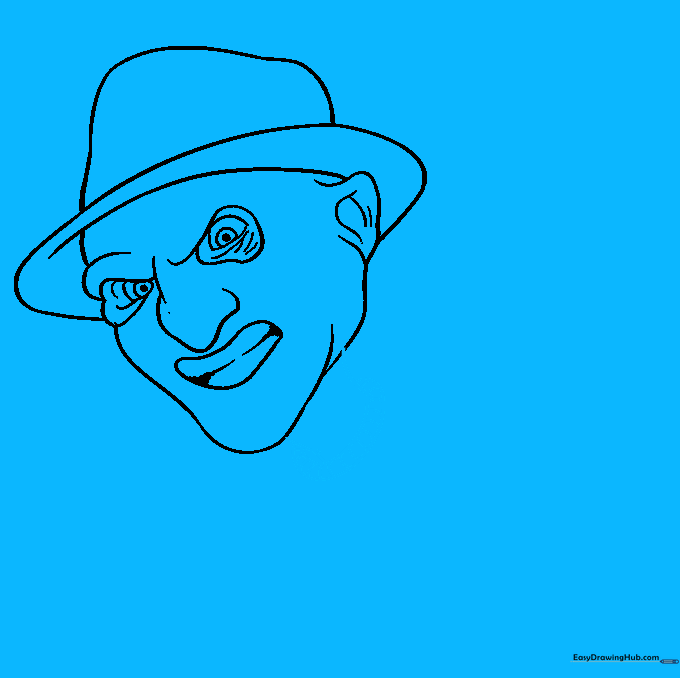
Step 3: Adding Facial Features

Outline the eyes with curved lines and add pupils. Draw the nose, ear details, and a wide, snarling mouth. Shade small triangles at the corners of the mouth for teeth. Teacher's Tip: Keep the eyes narrow to give him that signature intense look.
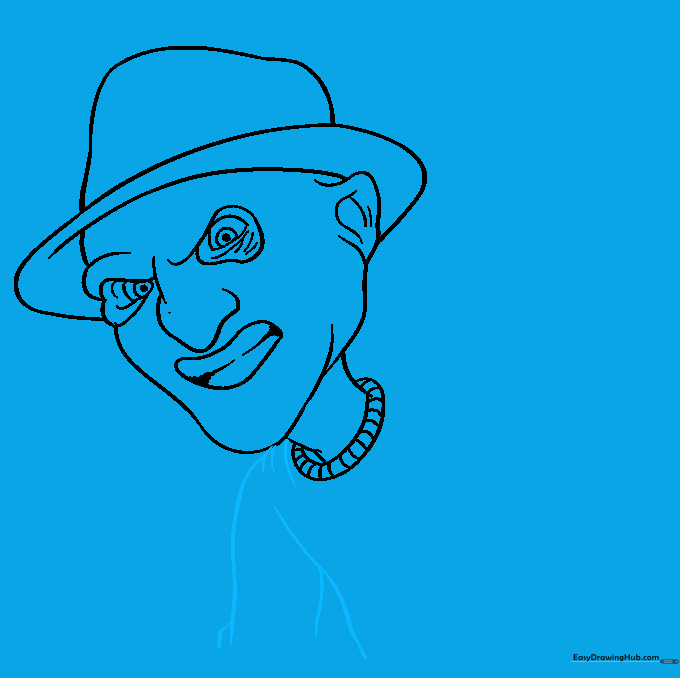
Step 4: Drawing the Neck and Collar
Extend two lines down for the neck and add a 'C' shaped collar. Use short lines to band the collar. Teacher's Tip: Adding these small details helps create a sense of depth in the clothing.
Step 5: Sketching the First Arm
Use curved lines to draw the shoulder and arm, adding extra lines to suggest wrinkles in the fabric. Teacher's Tip: Don't worry about making the lines perfectly straight; fabric folds are naturally organic and wavy.
Step 6: Sketching the Second Arm
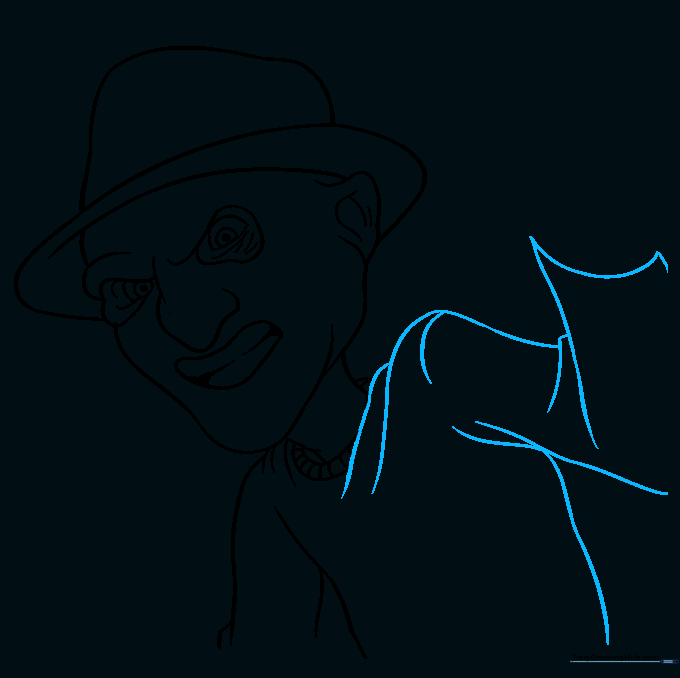
Draw the second arm with a bend at the elbow, continuing the wrinkle pattern. Teacher's Tip: Ensure the arm length matches the first one to maintain proper proportions.
Step 7: Defining the Wrist

Enclose the wrist and the back of the hand using smooth, curved lines. Teacher's Tip: This provides the base for the claw fingers in the next step.
Step 8: Adding the Claw Fingers
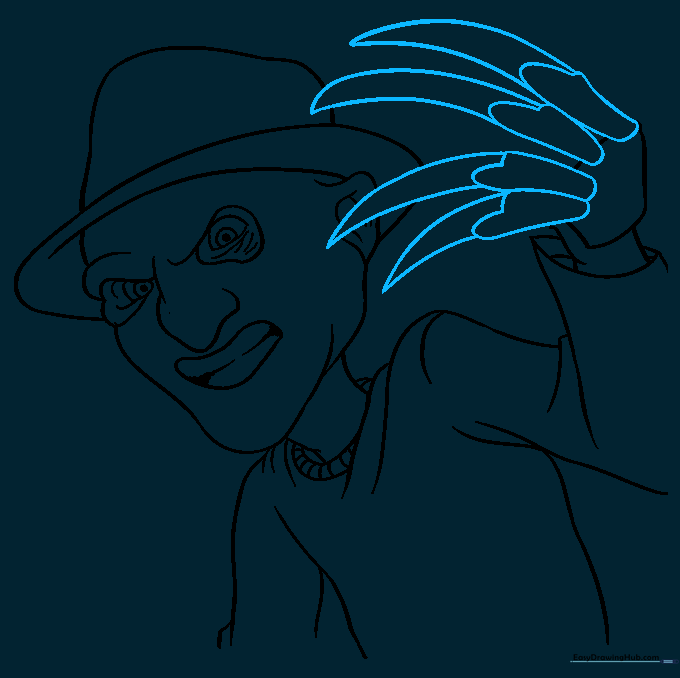
Erase small sections of the hand and draw the claw-like fingers using pointed, curved lines. Teacher's Tip: Make the fingers long and sharp to emphasize the character's menacing look.
Step 9: Adding Skin Texture

Add irregular, blotchy shapes across the face to represent skin texture. Teacher's Tip: Vary the size of these shapes so the skin looks natural rather than uniform.
Step 10: Final Coloring

Bring your drawing to life with color! Use deep reds and browns for the sweater and hat. Teacher's Tip: Use a light wash of color first, then layer darker tones to create shadows and depth.
More Tutorials


