How to Draw Flames and Smoke: Easy 10-Step Guide
Ready to bring some heat to your sketchbook? This tutorial is perfect for artists ages 6 and up, focusing on fluid, organic line work. All you need is a pencil, an eraser, and some colored pencils or markers to bring your fire to life.
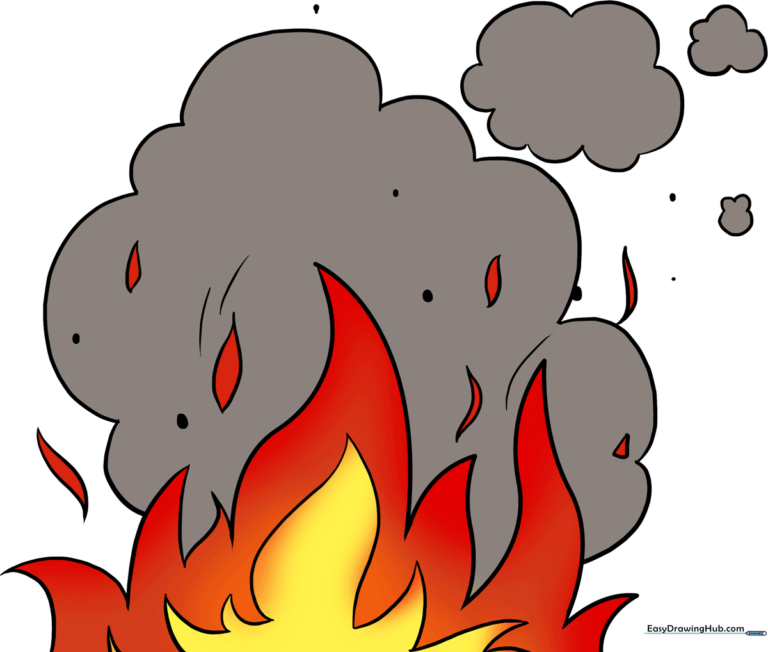
🎯 Final Result
Step-by-Step Instructions
Step 1: Sketching the Base Flame

Start by drawing a tall, curved line that tapers to a sharp point at the top. Tip: Keep your pencil pressure light so you can easily adjust the shape later if it looks too stiff.
Step 2: Adding Licking Flames

Draw smaller, curved lines branching off the sides. Tip: Vary the lengths of these lines to make the fire look natural and energetic rather than perfectly symmetrical.
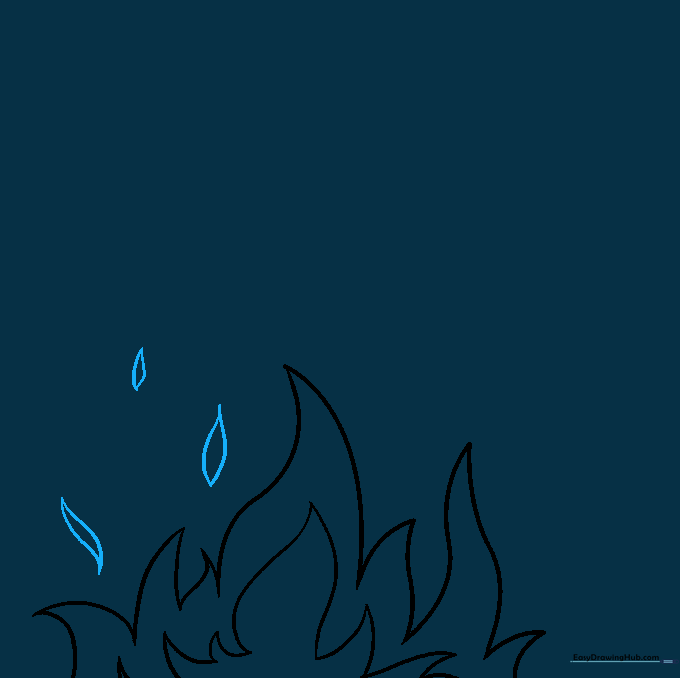
Step 3: Building the Foreground

Add a few more curved shapes in the front to create depth. Tip: Imagine the flames are dancing; overlapping your lines helps create a 3D effect.
Step 4: Refining the Flame Edges

Continue adding short, sharp-pointed curves around the base. Tip: Don't worry about making them perfect; real fire is chaotic and unpredictable!
Step 5: Adding Rising Sparks
Draw small, teardrop-shaped sparks floating above the fire. Tip: Make them point in different directions to show movement and heat rising.
Step 6: Adding Detail and Heat Lines
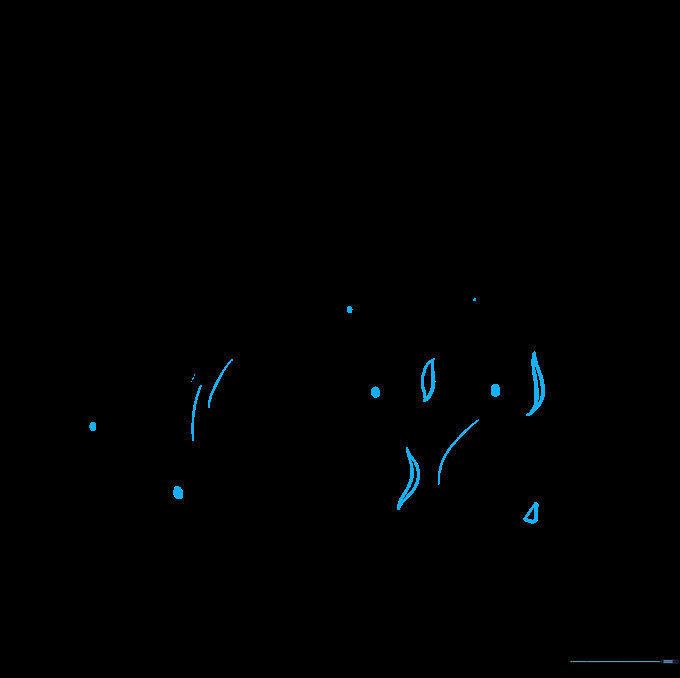
Add more sparks and small dots for ash. Draw faint, curved lines above the flames to represent heat waves. Tip: Use a very light touch for the heat lines so they look like shimmering air.
Step 7: Drawing the First Smoke Plume
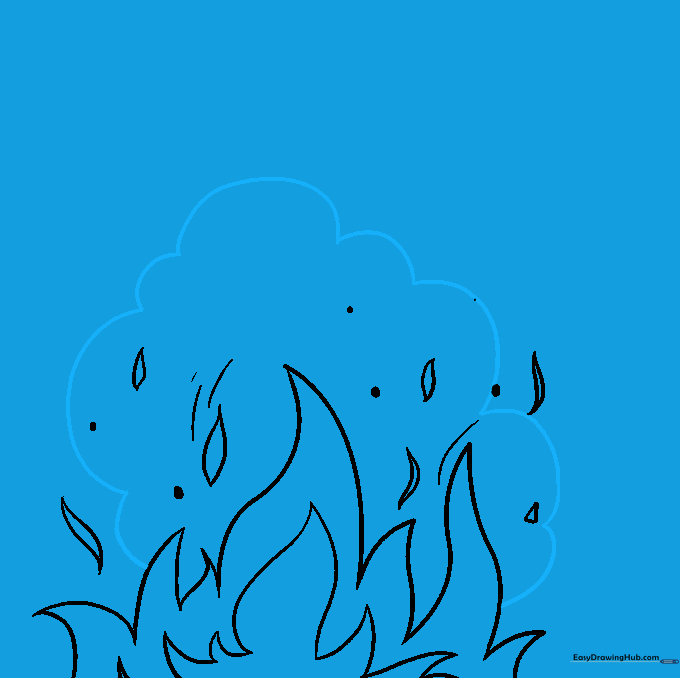
Draw a large, rounded, irregular shape above the fire for smoke. Tip: Keep the lines soft and bubbly—smoke doesn't have sharp edges like fire does!
Step 8: Adding More Smoke Clouds

Add a smaller, secondary cloud of smoke hovering higher up. Tip: Make this one slightly different in shape to show how smoke drifts and changes in the wind.
Step 9: Final Touches
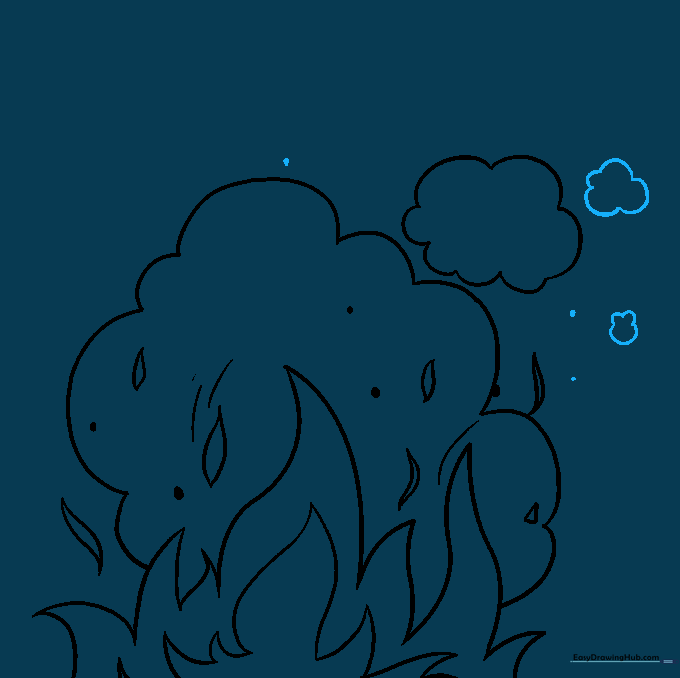
Add a few more small, wispy smoke clouds and extra ash dots near the top. Tip: Less is more here—don't crowd the page too much.
Step 10: Bringing It to Life with Color
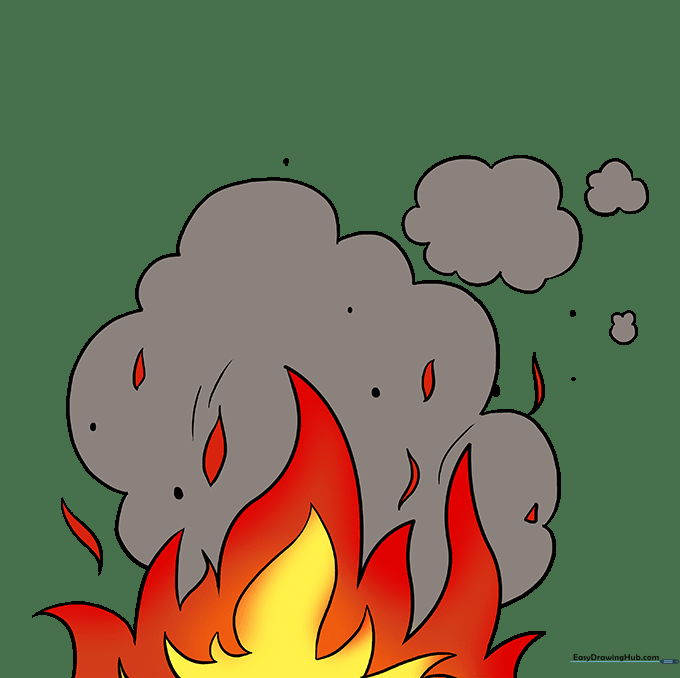
Time to color! Use bright yellows, oranges, and reds for the fire, and soft greys or blues for the smoke. Tip: Use a blending technique—start with yellow in the center and layer orange and red toward the edges for a realistic glow.
More Tutorials


