How to Draw Firestar: Easy Warrior Cats Step-by-Step Guide
Bring the brave leader of ThunderClan to life with this easy-to-follow drawing tutorial. Designed for young fans and budding artists, this guide uses simple shapes to help you master Firestar’s iconic look. Grab your pencil and paper, and let’s start sketching your favorite warrior cat!
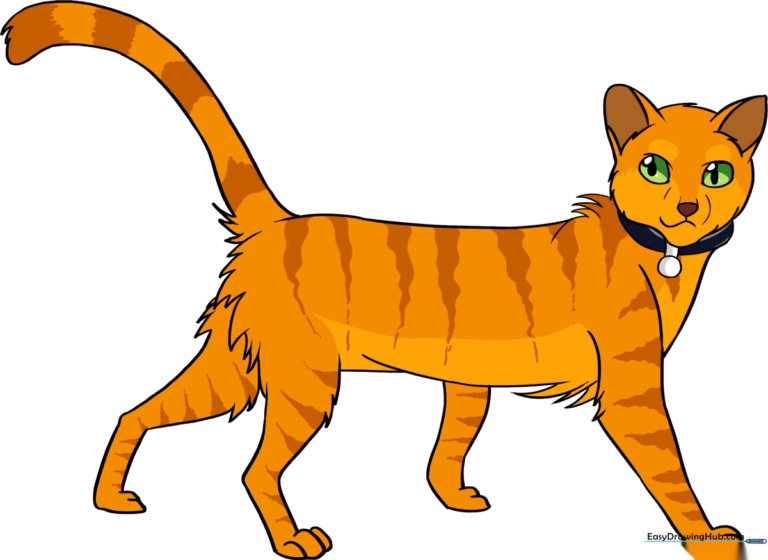
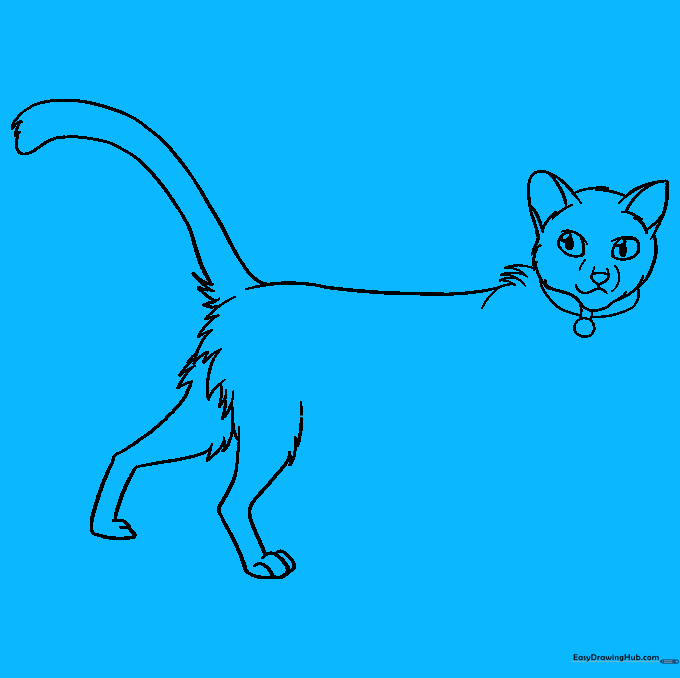
🎯 Final Result
Step-by-Step Instructions
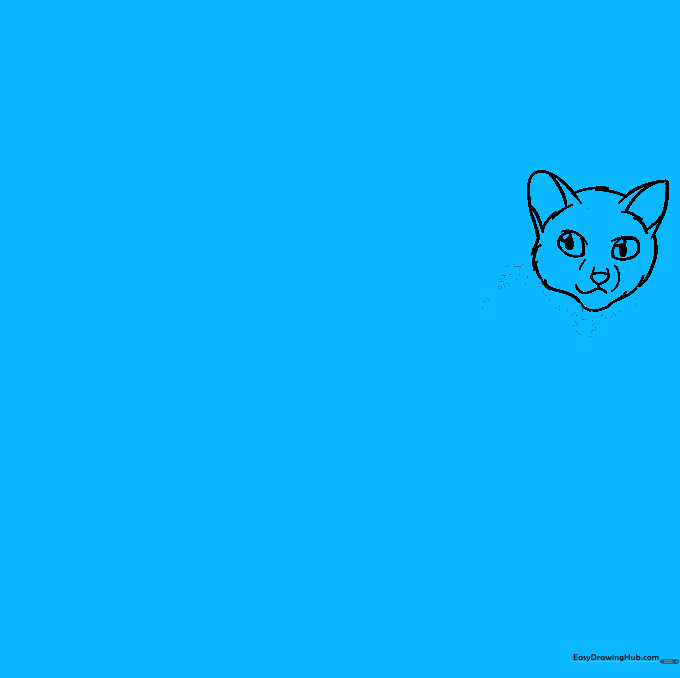
Step 1: Sketching the Head Base

Draw a light oval to serve as the foundation for Firestar's head. Teacher's Tip: Keep your pencil pressure very light here so you can easily erase these guidelines later once the facial features are set.
Step 2: Adding Ears and Fur Texture

Erase the top of your oval and add two rounded, open-bottomed triangles for the ears. Use short, jagged strokes to connect the ears, which creates the look of fluffy fur. Teacher's Tip: Think of the fur as small 'V' shapes to make it look realistic.
Step 3: Defining the Muzzle and Cheeks

Erase the bottom of the oval and sketch the furry cheeks using overlapping curves. Add a rounded nose and a wavy mouth line. Teacher's Tip: The muzzle should look slightly rounded to give Firestar a friendly, heroic expression.
Step 4: Drawing the Eyes

Sketch two irregular rounded shapes for the eyes. Add small circles inside for pupils and shade them in. Teacher's Tip: Leaving a tiny white dot unshaded in the pupil creates a 'sparkle' effect, making the eyes look alive.
Step 5: The Collar and Shoulders
Draw two small circles under the chin for the name tag and connect them with curved lines to form the collar. Add jagged lines for the shoulder. Teacher's Tip: Keep the collar lines smooth to contrast with the jagged fur lines.
Step 6: Back and Tail
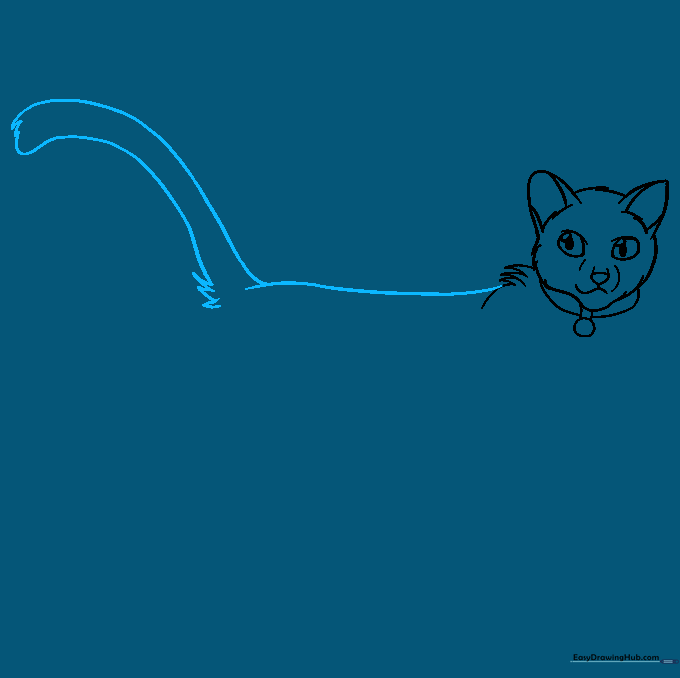
Use a long, sweeping curved line for the back. Extend two lines for the tail, finishing with a jagged tip. Teacher's Tip: Make the tail look bushy by using quick, flicking motions with your pencil.
Step 7: Drawing the Rear Legs
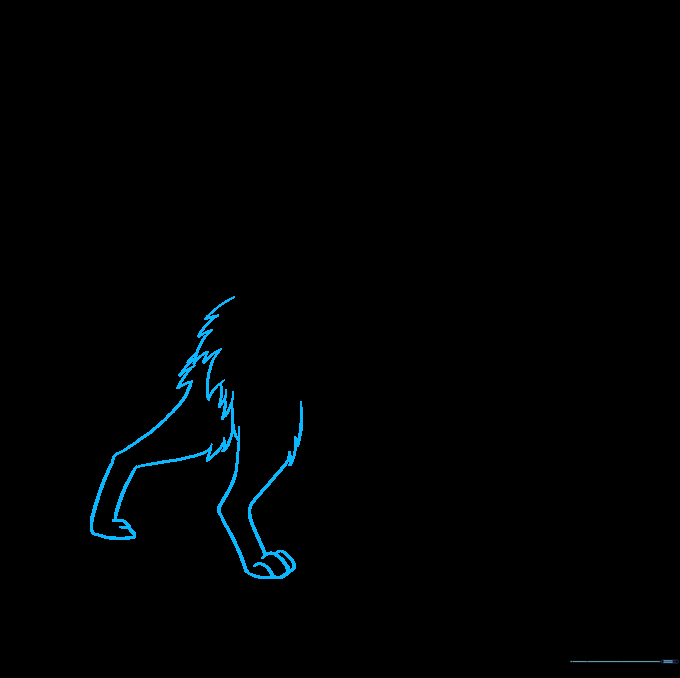
Sketch the hip and thigh using jagged lines. Draw the lower legs with a slight curve for the ankle and 'U' shapes for the toes. Teacher's Tip: Focus on the curve of the leg to give the cat a natural, standing posture.
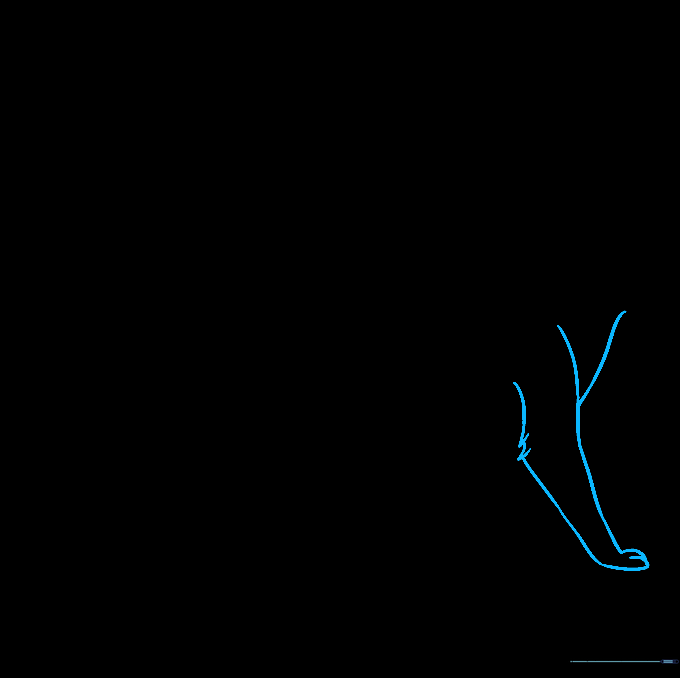
Step 8: Belly and Front Leg
Add the belly line with a tuft of chest fur. Draw the far front leg using curved lines. Teacher's Tip: Ensure the chest fur looks slightly messy to add character to your drawing.
Step 9: Finalizing the Outline
Draw the final leg and connect it to the collar. Go over your main lines with a darker pencil or pen to finish the outline. Teacher's Tip: Erase any remaining guide circles before you start coloring.
Step 10: Coloring Firestar
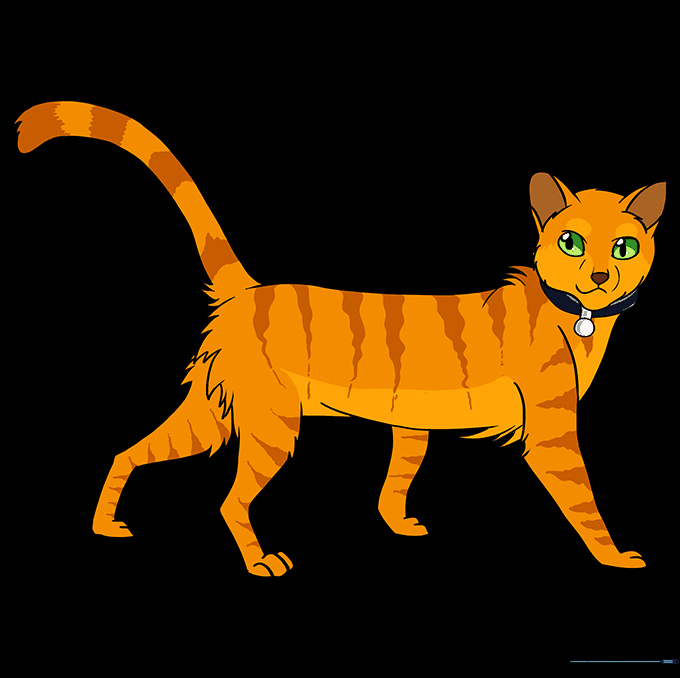
Bring your drawing to life! Use vibrant oranges for the fur and light brown for the stripes. Teacher's Tip: Use a 'flicking' motion with your colored pencils to mimic the texture of real fur.
More Tutorials


