How to Draw Falling Leaves: Easy 10-Step Autumn Art Guide
Capture the magic of autumn with this beginner-friendly drawing guide, perfect for artists ages 5 and up. You will only need a pencil, an eraser, and your favorite coloring supplies to bring this windy scene to life. Follow along to master the art of drawing organic shapes and creating a sense of movement on the page.
🎯 Final Result

Step-by-Step Instructions
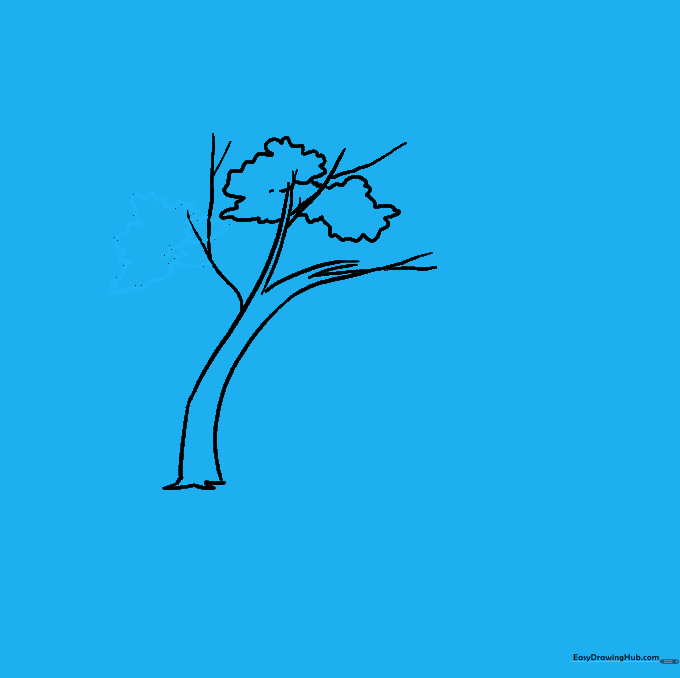
Step 1: Sketching the Tree Trunk

Draw two long, slightly curved lines to form the trunk, leaning them to one side to suggest a breeze. Add jagged, V-shaped lines at the base for roots and at the top for primary branches. Teacher's Tip: Keep your pencil pressure light so you can easily adjust the shape if the tree looks too stiff.
Step 2: Adding Branch Details

Extend smaller, forked lines from your main branches to create a network of twigs. Teacher's Tip: Don't worry about making these perfectly straight; trees in nature are wonderfully irregular, so embrace those wobbly lines!
Step 3: Creating the First Leaf Cluster

Use short, connected, curved lines to draw a cloud-like shape near the top branches. This represents the dense foliage. Teacher's Tip: Think of this as drawing a fluffy cloud sitting on top of the tree.
Step 4: Adding Depth to Foliage
Draw a second cloud-like cluster that slightly overlaps the first one. This overlapping technique is a simple way to create depth and volume in your drawing.
Step 5: Completing the Canopy
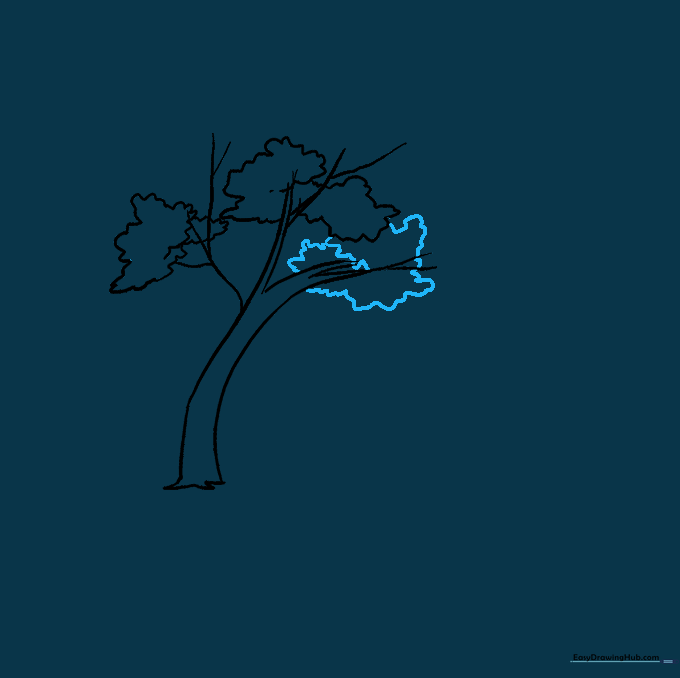
Add a third fluffy cluster to fill out the tree. Vary the size of your curves to make the tree look natural and organic.
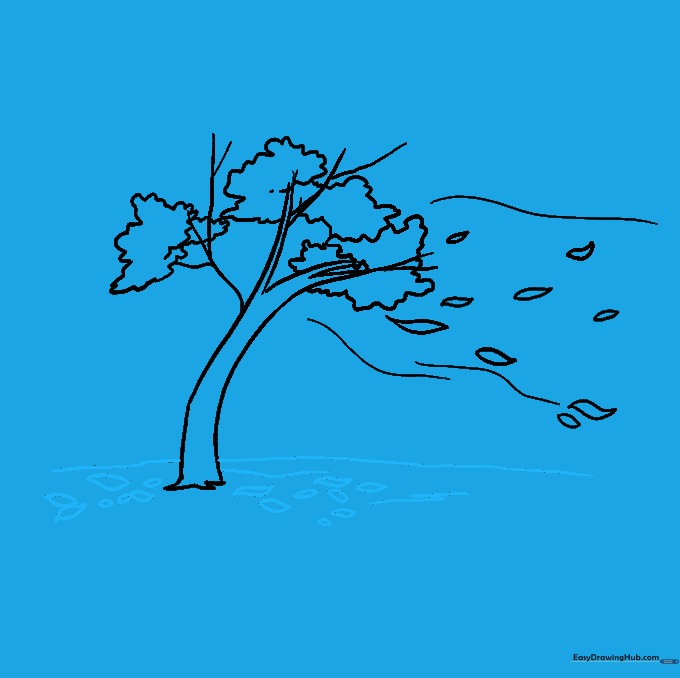
Step 6: Drawing Falling Leaves
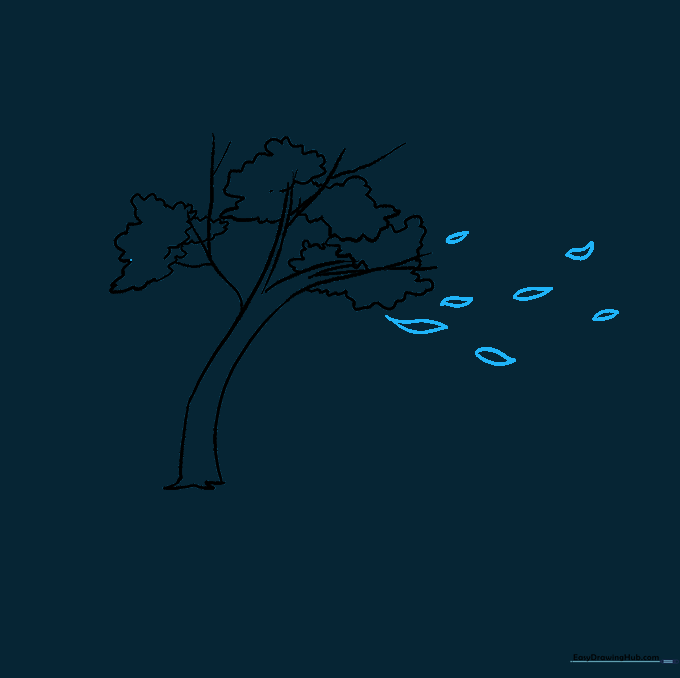
Draw small teardrop shapes around the tree to represent leaves caught in the wind. Teacher's Tip: Vary the angles of these leaves to show they are tumbling through the air.
Step 7: Adding Wind and Ground
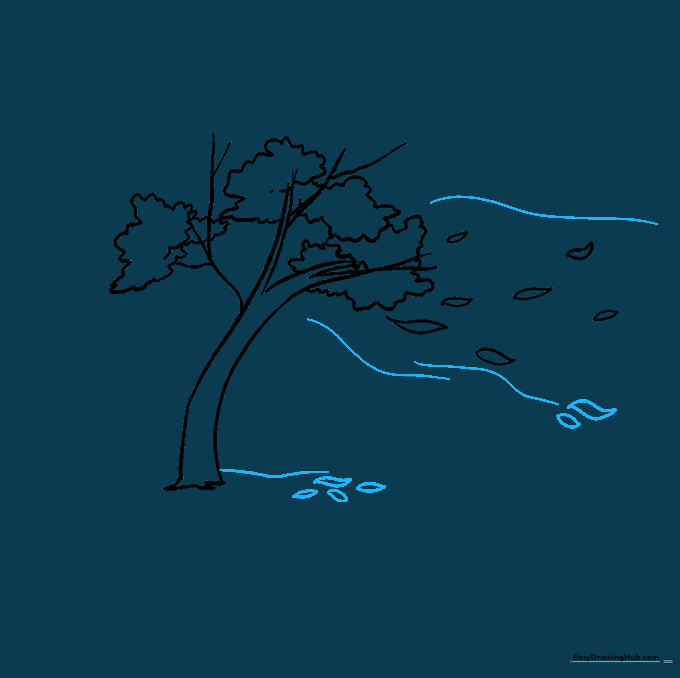
Draw long, sweeping curved lines near the leaves to suggest gusty wind. Add a horizon line starting from the trunk to ground your tree in the scene.
Step 8: Detailing the Ground
Extend the horizon line across the page and scatter more leaves on the ground. Teacher's Tip: Draw some leaves slightly overlapping each other to create a realistic pile.
Step 9: Final Touches
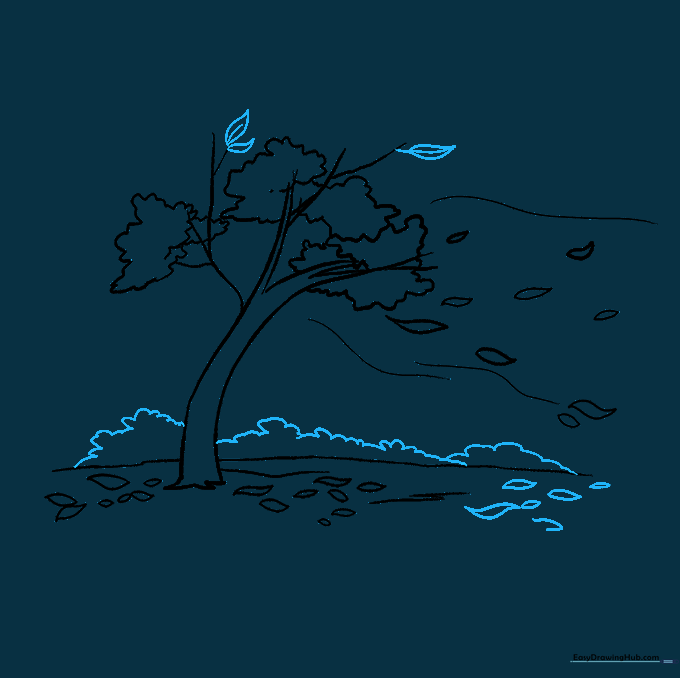
Add a few final leaves still attached to the branches and draw some soft, rounded shrubbery in the background to complete the landscape.
Step 10: Bringing It to Life with Color
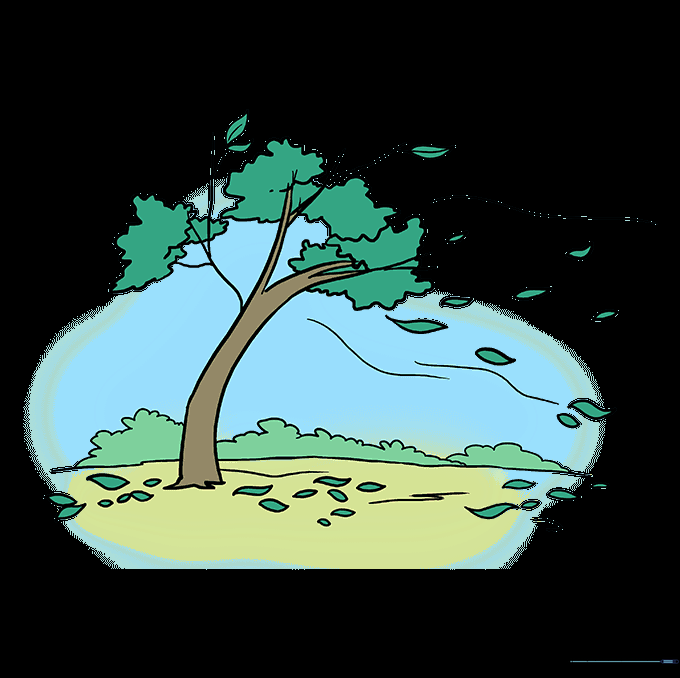
Time to color! Use warm autumn tones like vibrant reds, oranges, yellows, and browns. Teacher's Tip: Try using different shades of the same color on different leaves to make your drawing pop!
More Tutorials


