How to Draw Enderman: Easy Minecraft Drawing Guide
Bring the mysterious Enderman to life with this step-by-step drawing tutorial designed for young Minecraft fans. All you need is a pencil, paper, and an eraser to master this blocky character. Follow along to practice your geometric shapes and build confidence in your character design skills.
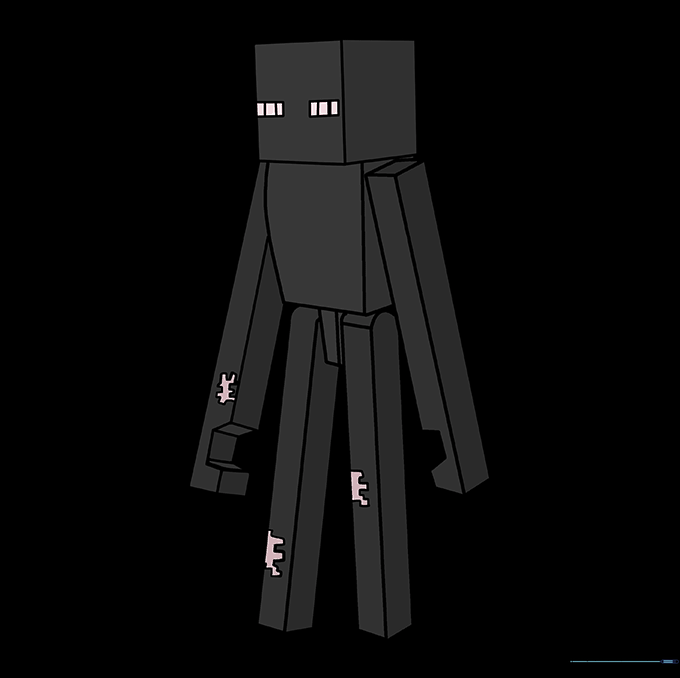
🎯 Final Result

Step-by-Step Instructions
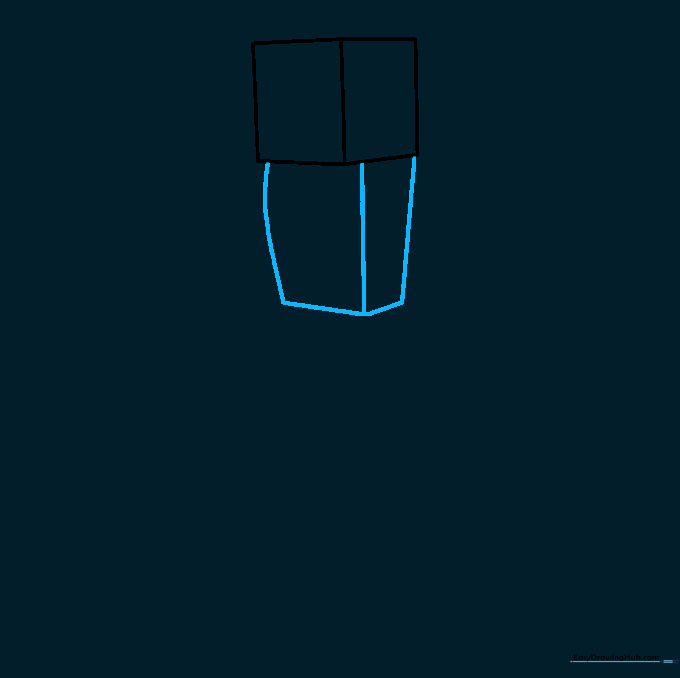
Step 1: Sketching the Head

Start by drawing a cube to form the Enderman's head. Draw a square, then add three straight lines to create a 3D box effect. Teacher's Tip: Use a ruler if you want perfectly straight edges, or practice freehand to improve your steady-hand control.
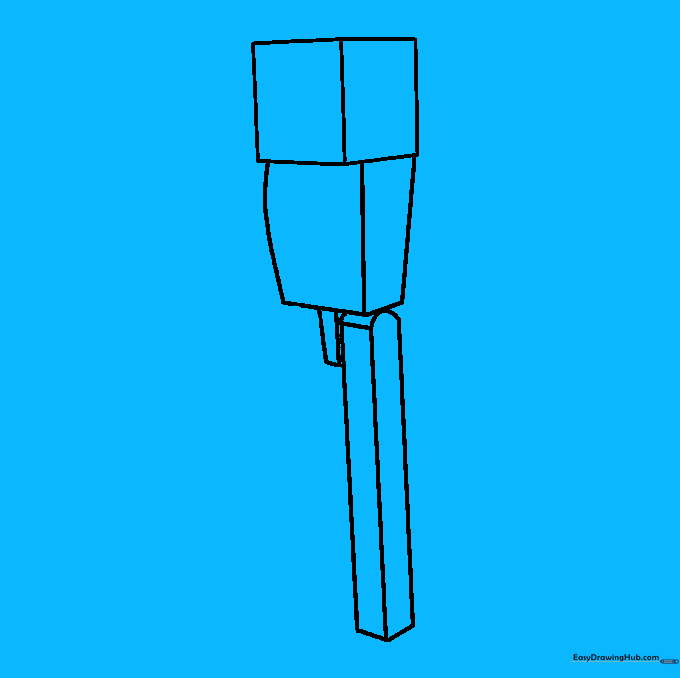
Step 2: Defining the Torso
Draw three lines descending from the head to create the long, slender body. Connect them at the bottom with two straight lines. Tip: Keep the body thin—Endermen are known for being tall and lanky!
Step 3: Starting the Legs
Draw two short lines for the first leg and three longer lines for the second, connecting them at the bottom. Add a horizontal line near the top of the leg to show the joint. Tip: Think of these as stacked blocks.
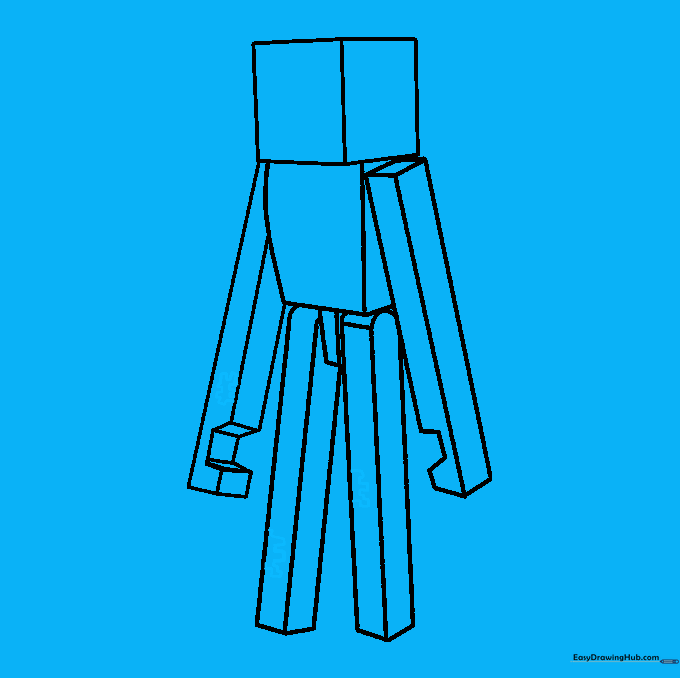
Step 4: Completing the Legs
Draw the remaining leg behind the first one using three straight lines. Connect them at the bottom. Tip: Ensure the legs look parallel to give your character a balanced stance.
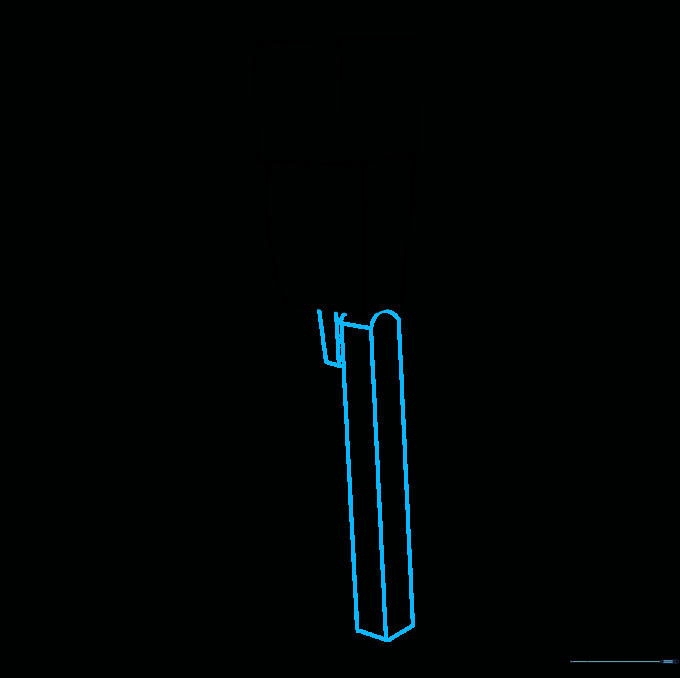
Step 5: Sketching the First Arm

Draw three parallel lines crossing the body for the arm. Add a small diamond shape at the top to create a joint. Tip: Don't worry if the lines aren't perfect; Minecraft's pixelated style is very forgiving!
Step 6: Cleaning Up

Gently erase any overlapping guide lines on the arm to make the shape look clean and solid. Tip: Use a soft eraser to avoid tearing your paper.
Step 7: Adding the Second Arm

Extend three lines from the other side of the body. Create a 'notch' for the hand by drawing small parallelograms and squares. Tip: This adds that signature Minecraft 'pixel' detail.
Step 8: Adding Pixel Details
Add small, irregular shapes on the arms and legs to represent the pixelated texture of the Enderman. Tip: Keep these shapes small to maintain the scale of the character.
Step 9: Drawing the Eyes
Draw two small horizontal rectangles on the face. Add vertical lines inside each to give them that glowing, intense look. Tip: Place them near the center of the head for the best look.
Step 10: Coloring Your Enderman
Use black for the body, and bright purple or white for the eyes. Tip: If you want a retro look, use green for the eyes like in early game versions!
More Tutorials


