How to Draw Elvis: Easy 10-Step Portrait Guide
Ready to draw the King of Rock and Roll? This tutorial is perfect for young artists ages 8+ looking to practice facial proportions and iconic style. You will only need a pencil, an eraser, and a piece of paper to capture Elvis’s signature look.
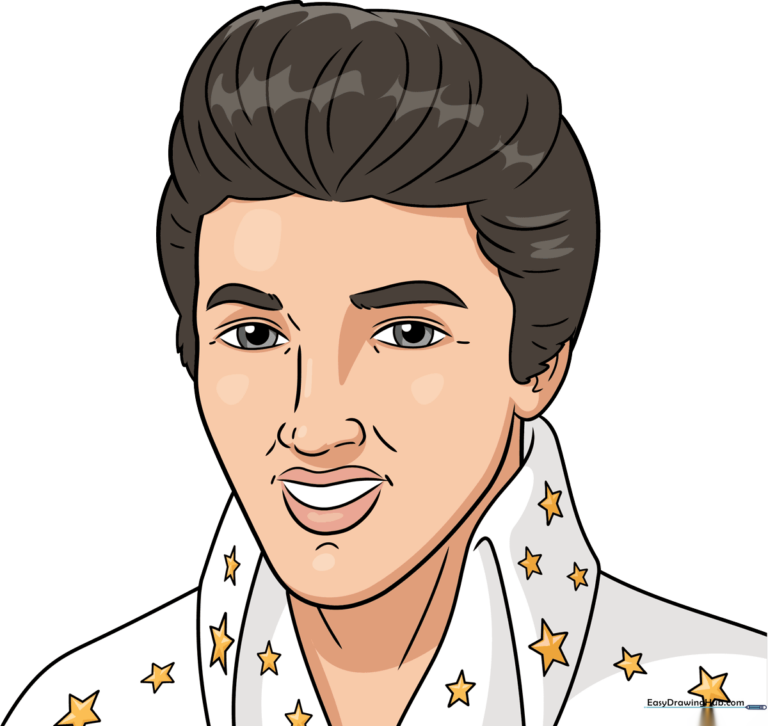
🎯 Final Result
Step-by-Step Instructions
Step 1: Sketching the Eyes
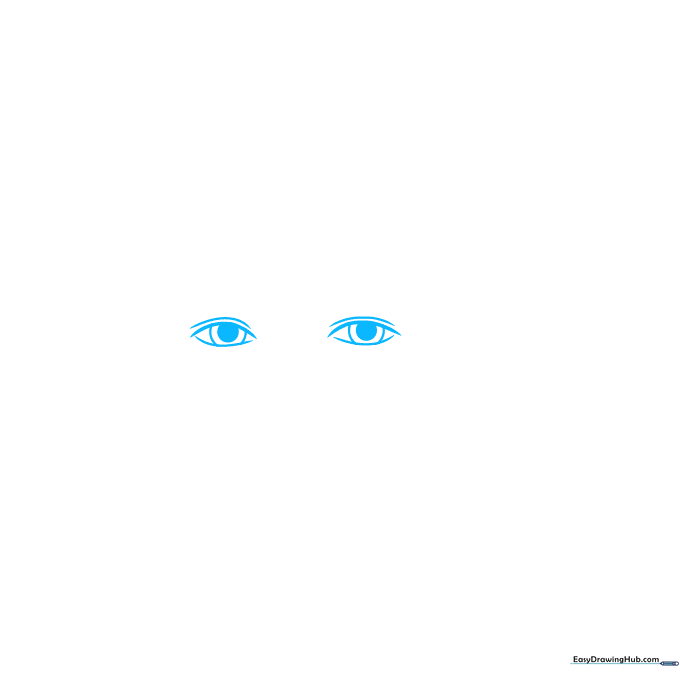
Start by drawing two almond-shaped outlines for the eyes. Add a small circle inside each for the pupil and shade them in. Teacher's Tip: Keep your pencil lines light so you can easily adjust the shape if the eyes look uneven.
Step 2: Brows and Nose Bridge
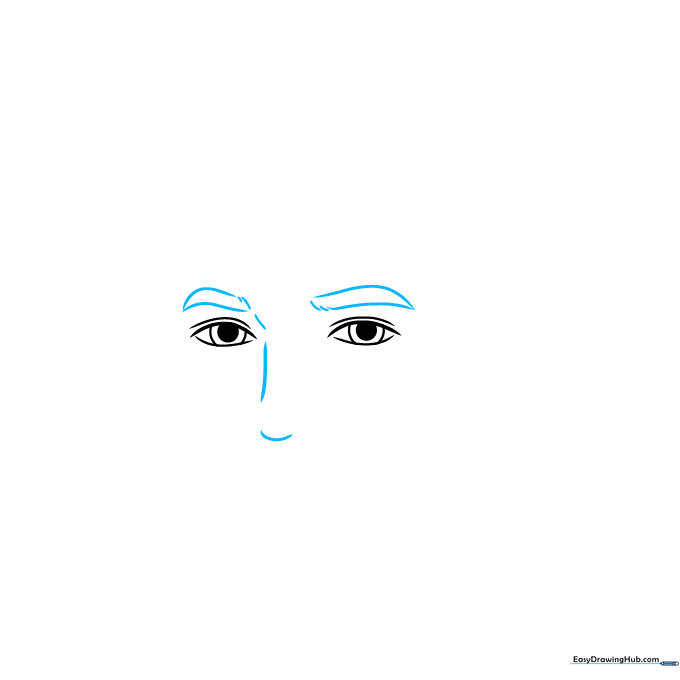
Draw thick, arched eyebrows using short, flicking strokes to mimic hair texture. Connect the bridge of the nose with a gentle curve. Tip: Use a light touch for the nose bridge to keep the face looking soft.
Step 3: Defining the Nose and Mouth
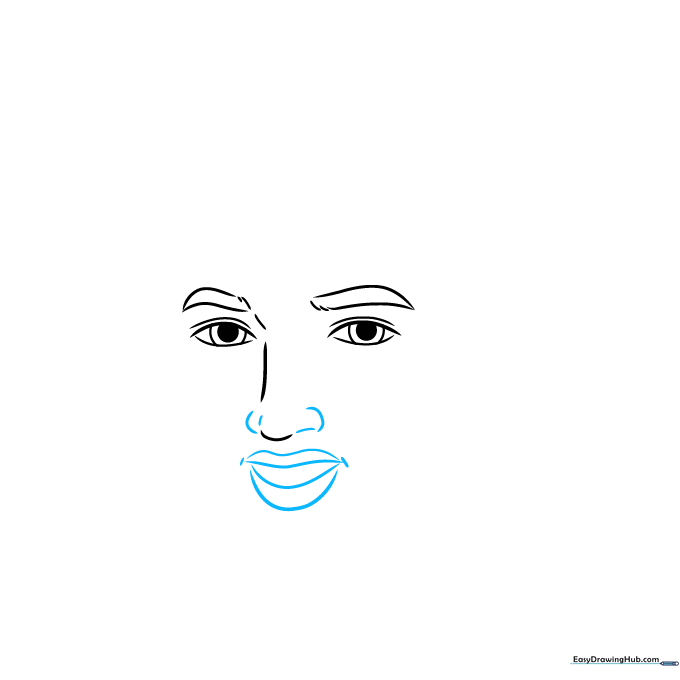
Add the nostrils with small curved lines and outline the mouth. Use short, angled lines at the corners of the lips to give Elvis his famous smirk. Tip: Don't draw the mouth too wide; keep it proportional to the eyes.
Step 4: The Iconic Pompadour
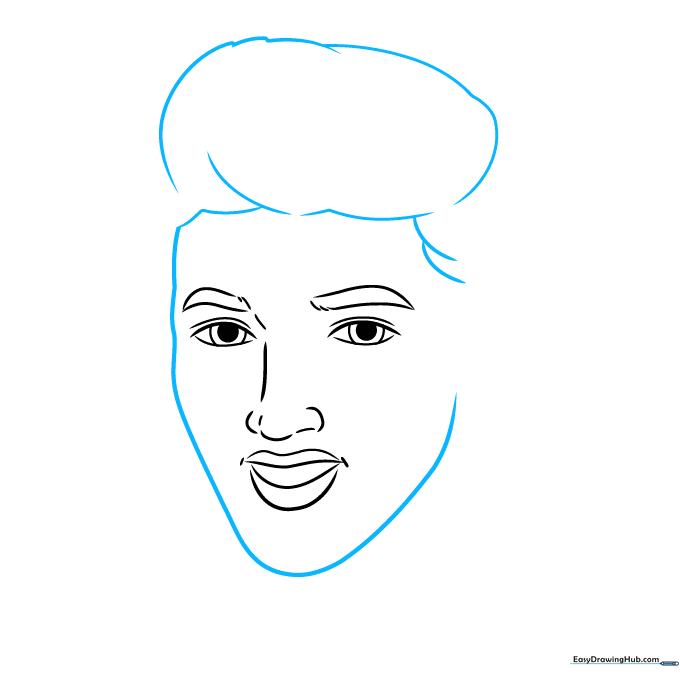
Draw the outline of the hair using large, sweeping curved lines that rise high above the forehead. Connect these to the sides of the face. Tip: Elvis’s hair is all about volume, so don't be afraid to make it big!
Step 5: Ears and Neckline
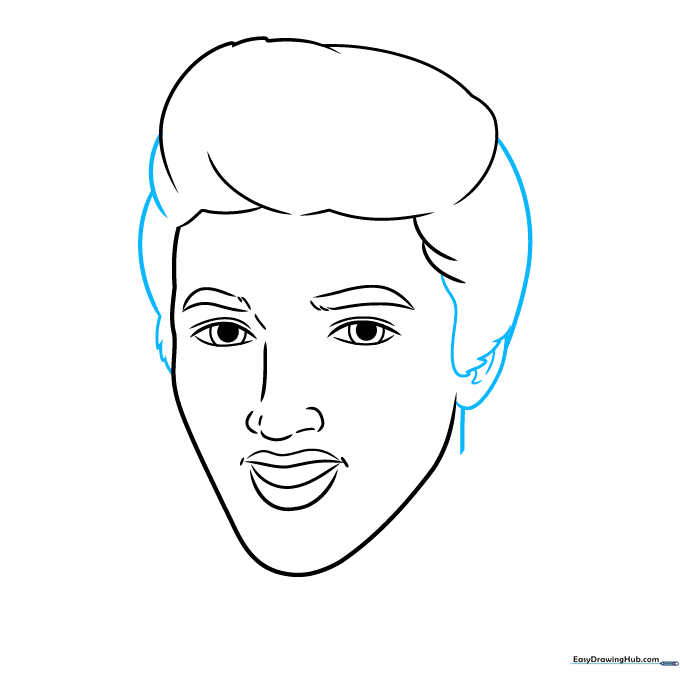
Use jagged, overlapping lines to define the sideburns and the ear. Continue the line down to form the neck. Tip: Sideburns were a huge part of his look—make them thick and bold.
Step 6: The Famous Collar
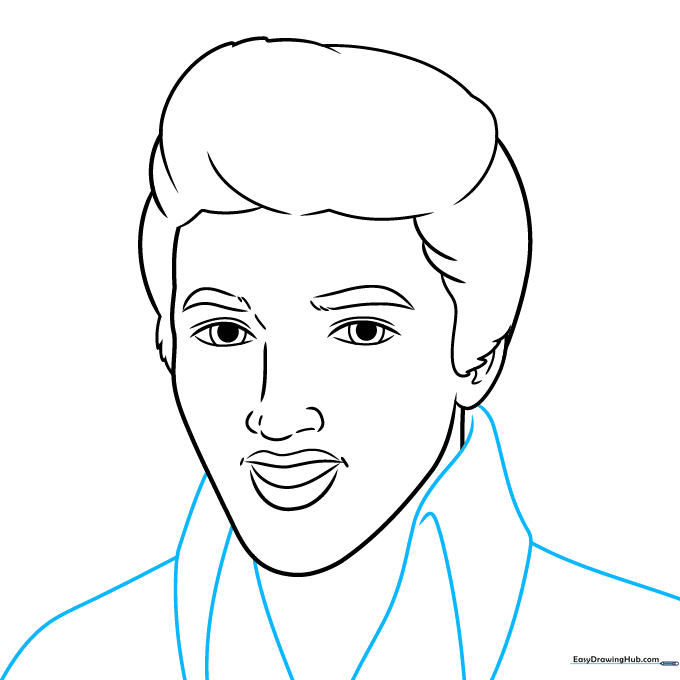
Draw the large, high collar using wide, angled lines that frame the neck. This gives the drawing that classic 70s stage-costume feel. Tip: Keep the collar symmetrical to make the drawing look balanced.
Step 7: Refining Contours
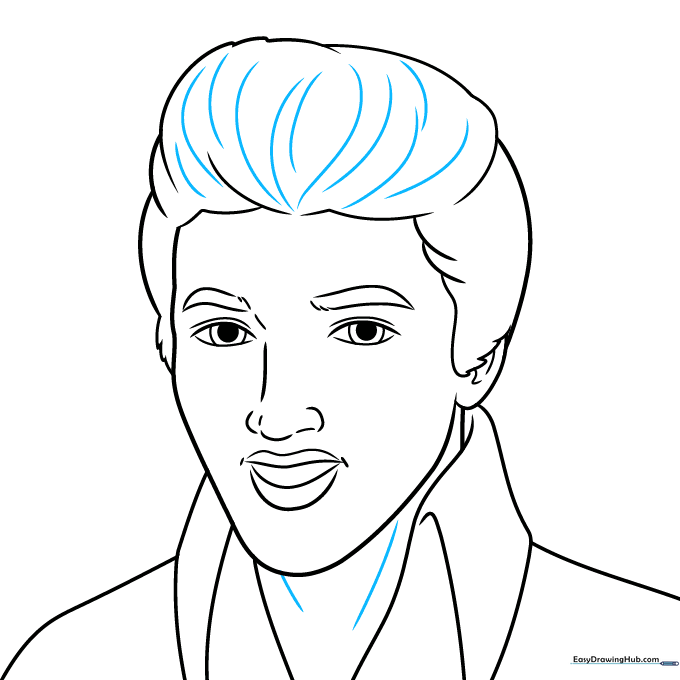
Add subtle curved lines to define the jawline and the texture of the hair. This adds depth to the portrait. Tip: Use very light pressure for these contour lines to avoid making the face look too harsh.
Step 8: Adding Star Details
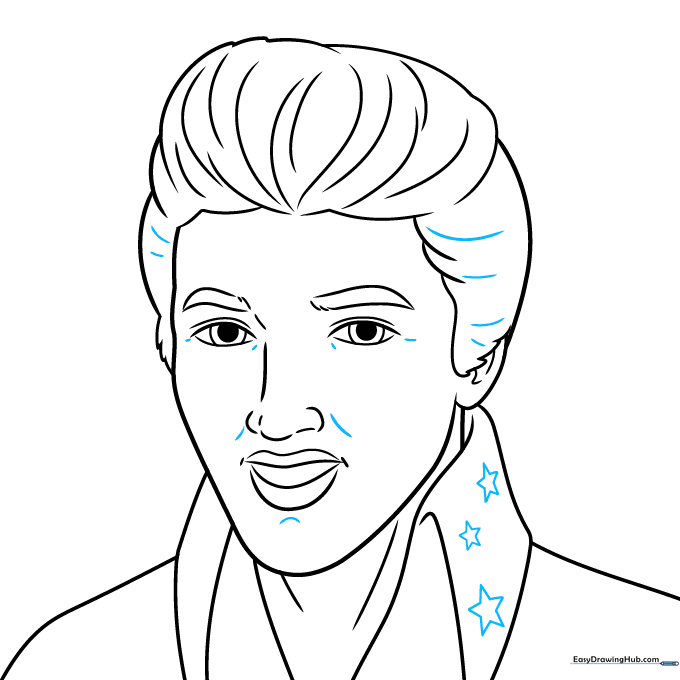
Add texture to the hair with more curved lines and draw small, five-pointed stars on the collar. Tip: If drawing stars is tricky, start by drawing a small 'A' shape and connecting the points.
Step 9: Final Touches
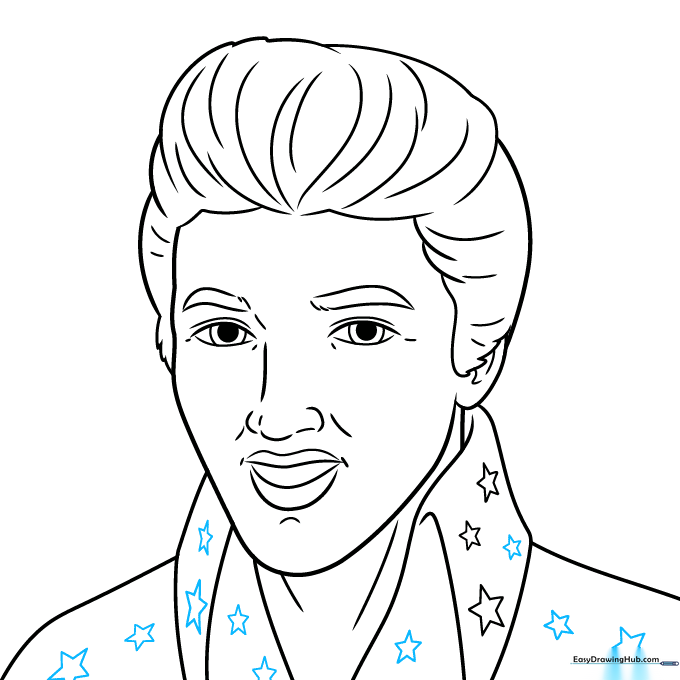
Fill in the rest of the collar and jacket with more stars to complete the bedazzled look. Tip: Vary the size of the stars slightly to make the drawing look more natural.
Step 10: Bring Him to Life with Color
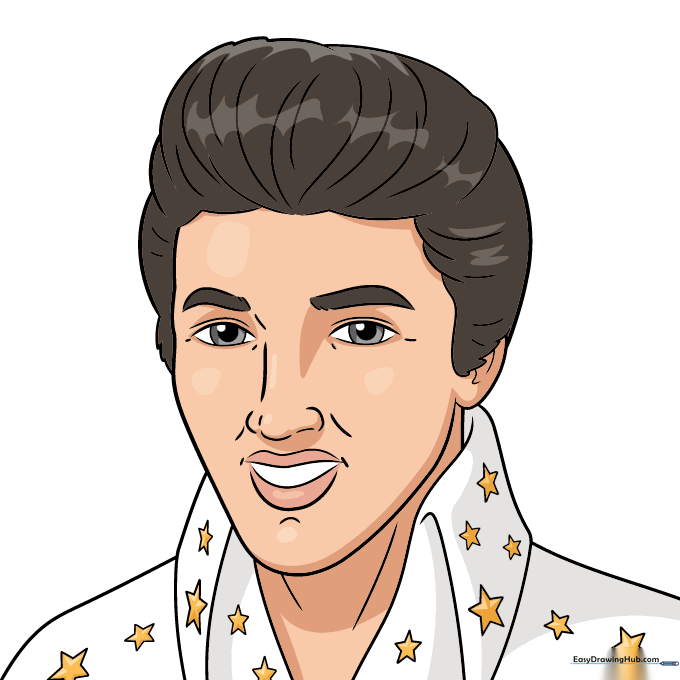
Time to color! Use deep black for the hair and bright white or gold for the suit. Tip: Use a light grey pencil to add shadows under the chin and nose to make your drawing pop off the page.
More Tutorials


