How to Draw Elmo: Easy 10-Step Guide for Kids
Bring everyone's favorite red monster to life with this simple, step-by-step drawing guide. Designed for ages 5 and up, this activity uses basic shapes to build confidence in young artists. All you need is a pencil, an eraser, and a piece of paper to start your Sesame Street masterpiece.
🎯 Final Result

Step-by-Step Instructions
Step 1: Sketching the Eyes and Nose

Start by drawing a circle for the nose. Then, draw two circles above it that overlap slightly. Add a small dot inside each eye for the pupils. Teacher's Tip: Draw the nose circle first to act as an anchor for the eyes.
Step 2: Drawing the Smile

Draw a wide, curved line beneath the nose, then add a 'U' shape underneath to form the mouth. Teacher's Tip: Keep the smile wide to capture Elmo's happy personality.
Step 3: Outlining the Head

Use short, jagged strokes to draw a round shape around the nose and mouth. Teacher's Tip: Use quick, flicking motions with your pencil to make the outline look like fuzzy fur.
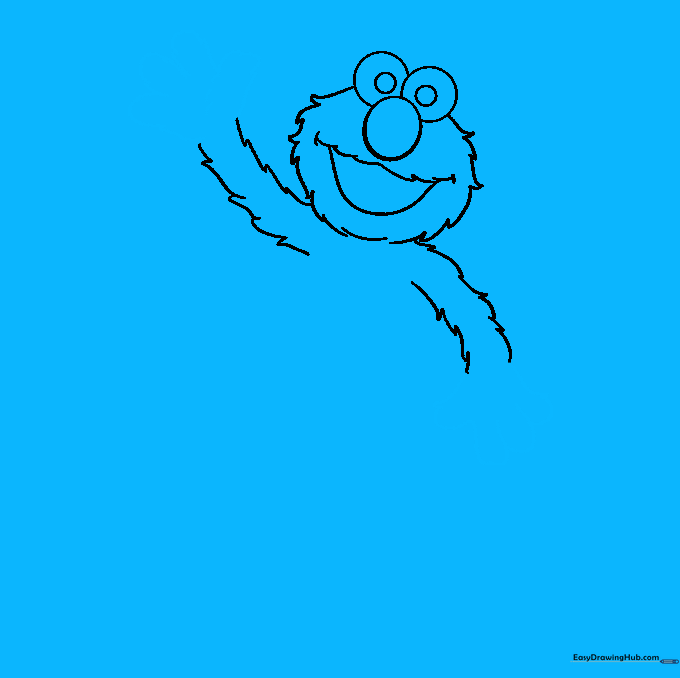
Step 4: Sketching the Arms
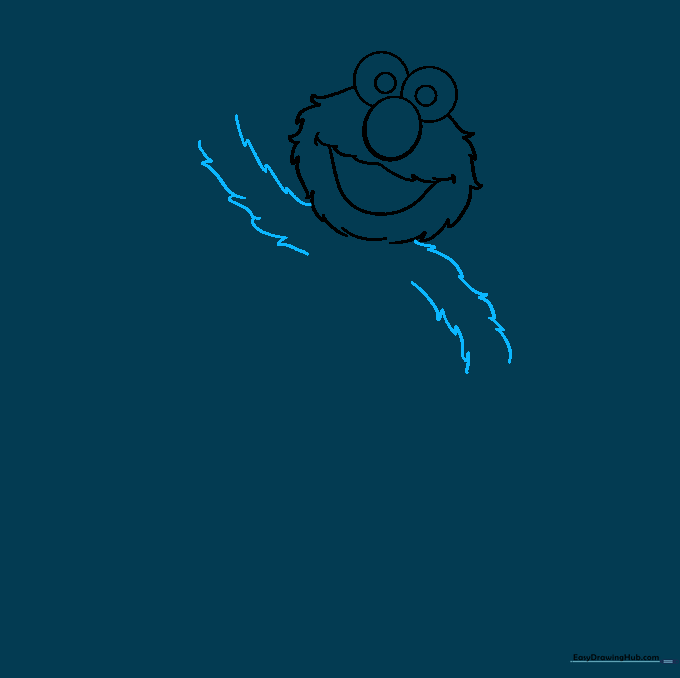
Draw two arms using parallel, jagged lines. One arm should be raised as if he's waving. Teacher's Tip: Keep the arms relatively short to maintain Elmo's proportions.
Step 5: Adding Hands
Use small, curved lines at the ends of the arms to create the shape of his fingers. Teacher's Tip: Don't worry about perfect fingers; Elmo's hands are soft and rounded.
Step 6: Forming the Belly

Connect the arms with a large, curved line to form the belly. Teacher's Tip: Ensure the belly is round and plump to give him that classic, huggable look.
Step 7: Adding Fur and Legs
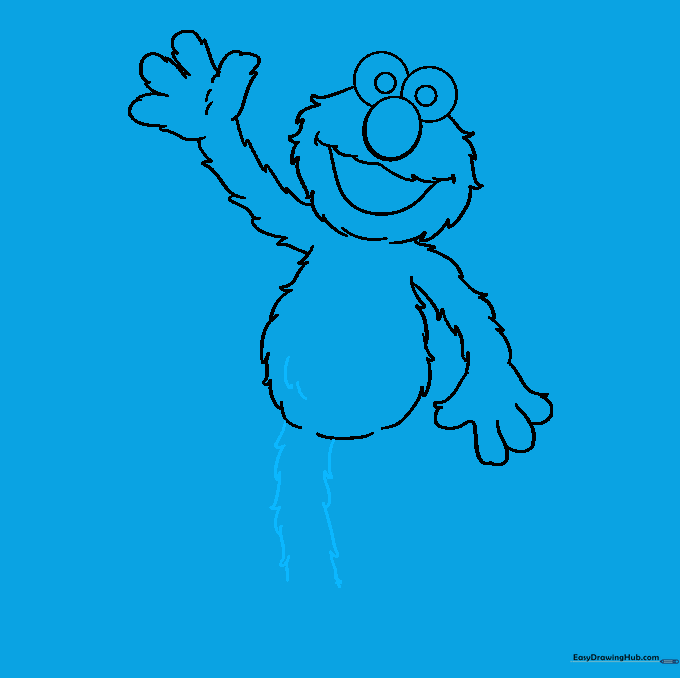
Add texture to the belly with short lines. Extend two parallel, jagged lines downward for the legs. Teacher's Tip: The jagged lines are key to making him look like a Muppet.
Step 8: Refining the Fur
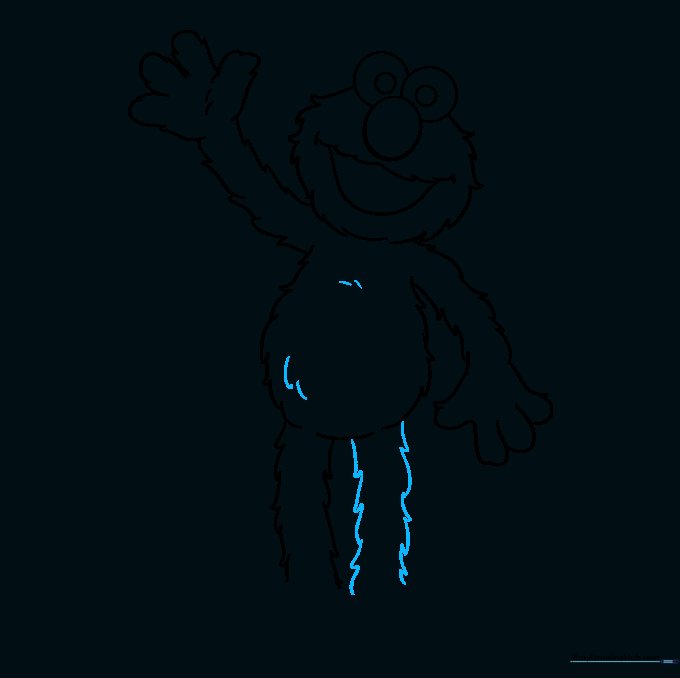
Add more jagged lines across the body to emphasize the fur texture. Teacher's Tip: Vary the length of your lines to make the fur look natural and messy.
Step 9: Drawing the Feet
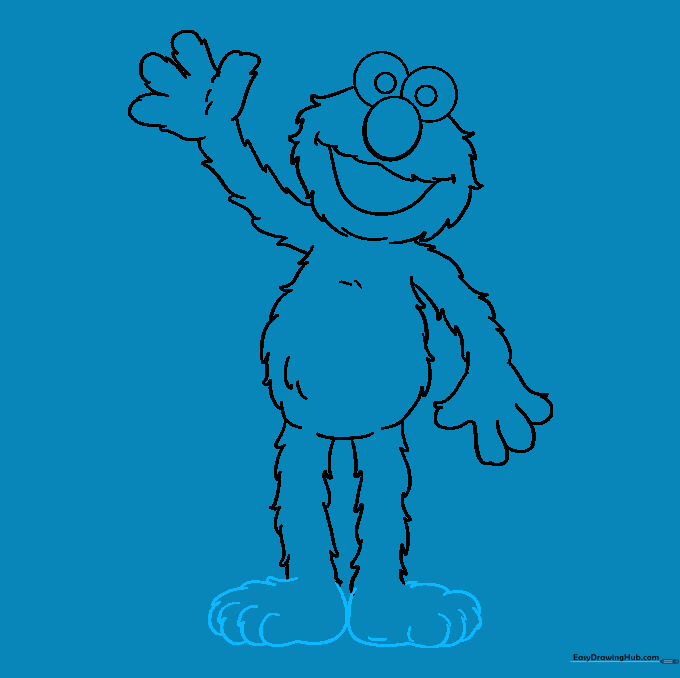
Draw rounded shapes at the bottom of the legs for the feet. Teacher's Tip: Keep the feet slightly oversized to match Elmo's cartoonish proportions.
Step 10: Bringing Elmo to Life with Color
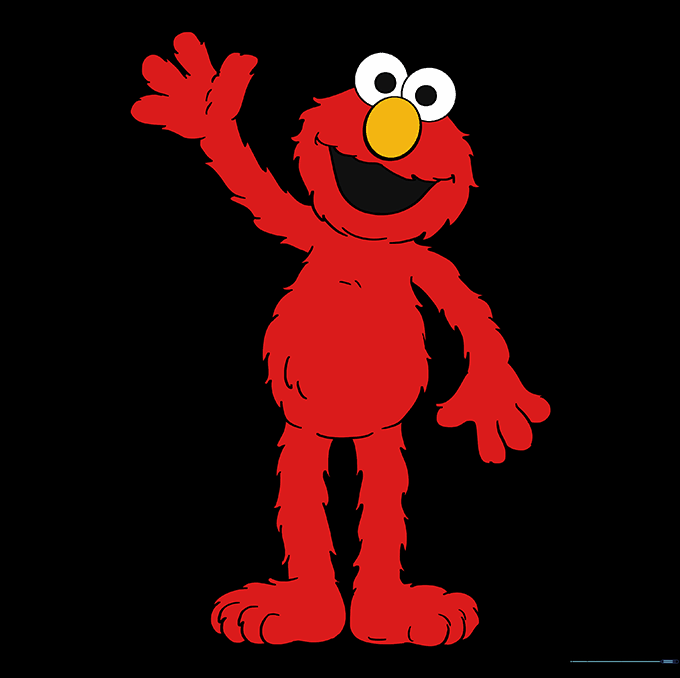
Color Elmo bright red and his nose orange. Teacher's Tip: Use light pressure with your red pencil to create a soft, furry look, then press harder for the shadows.
More Tutorials


