How to Draw Eevee: Easy 10-Step Pokémon Tutorial
Bring your favorite Pokémon to life with this beginner-friendly drawing guide. Designed for ages 5 and up, this activity requires only a pencil, paper, and an eraser to master Eevee’s iconic look. Follow these simple steps to build confidence and develop your artistic skills.
🎯 Final Result

Step-by-Step Instructions
Step 1: Sketching the Head

Draw a light circle to form the base of Eevee’s head. Teacher's Tip: Keep this circle about the size of a coin and use a light touch so it's easy to erase later.
Step 2: Defining the Jawline

Draw a curved line beneath the circle to define the chin. Teacher's Tip: Think of this as a soft 'U' shape that connects to the sides of your circle.
Step 3: Sketching the Ears
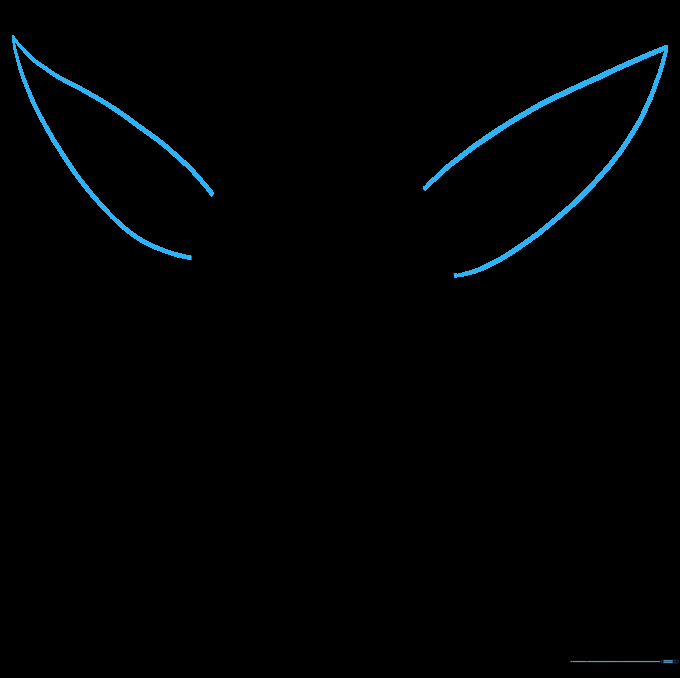
Extend two long, curved lines diagonally from the top of the head, meeting at a sharp point. Teacher's Tip: Make them tall and wide to capture Eevee's alert expression.
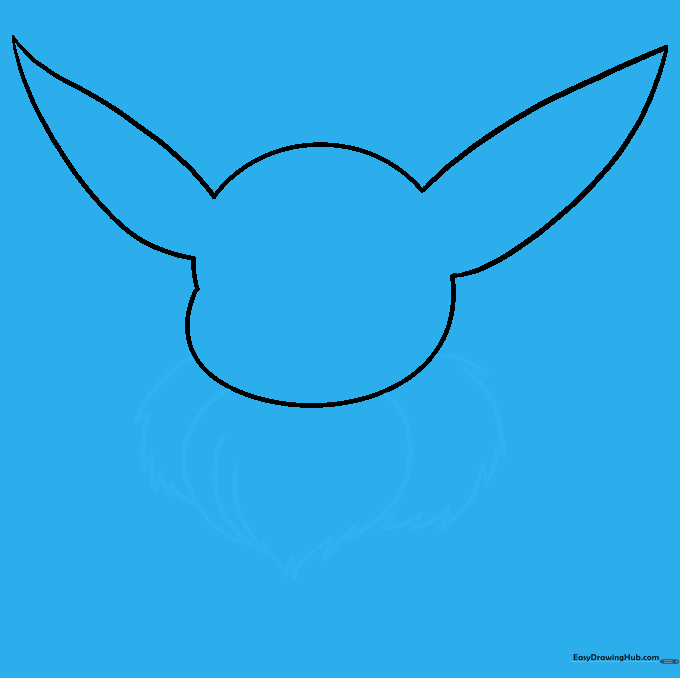
Step 4: Cleaning the Outline

Gently erase the overlapping guide lines inside the head and ears. Teacher's Tip: Use a clean eraser and brush away the crumbs so your paper stays smudge-free.
Step 5: Adding the Fur Ruff
Draw a series of jagged, pointed lines around the neck to create the fluffy ruff. Teacher's Tip: Vary the size of the points to make the fur look natural and soft.
Step 6: Adding Head Tufts

Sketch a small, wavy tuft of fur on the top of the head. Teacher's Tip: Keep these lines short and quick to give the fur a bouncy, light appearance.
Step 7: Drawing the Legs
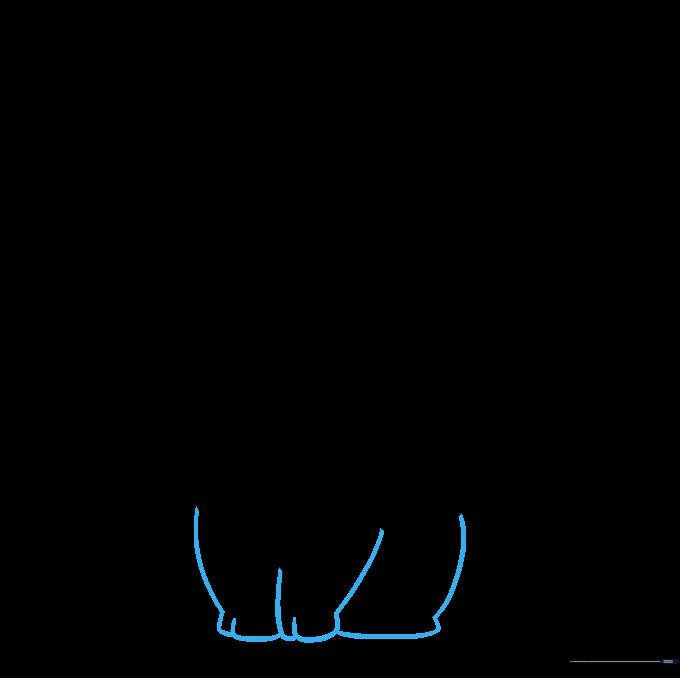
Draw four curved lines for the legs, adding small notches at the bottom for toes. Teacher's Tip: Keep the legs close together to maintain Eevee’s cute, compact posture.
Step 8: Drawing the Tail
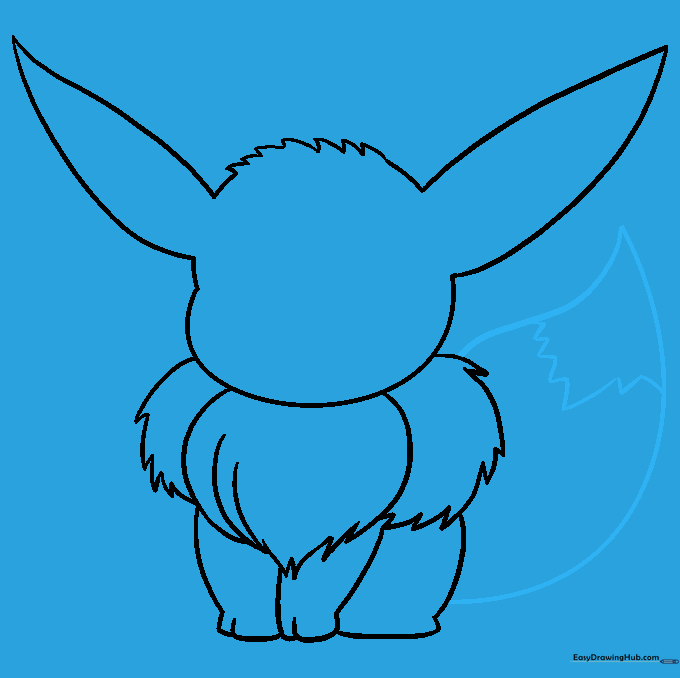
Extend a large, fox-like tail from the back, adding a jagged line to separate the tip. Teacher's Tip: The tail should be large and bushy—don't be afraid to make it big!
Step 9: Adding Facial Features
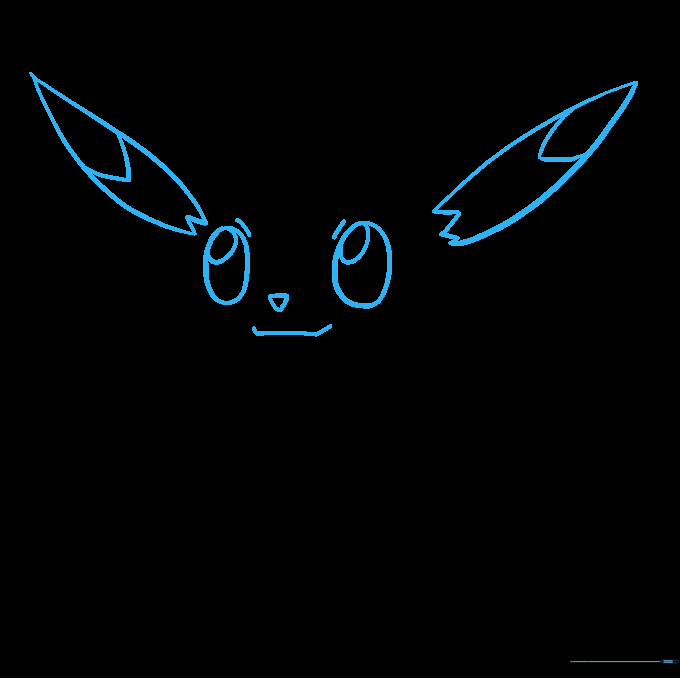
Draw the eyes, nose, and mouth. Use ovals for eyes, a small triangle for the nose, and a curved line for the smile. Teacher's Tip: Make sure the eyes are symmetrical to give Eevee a friendly look.
Step 10: Coloring Your Eevee
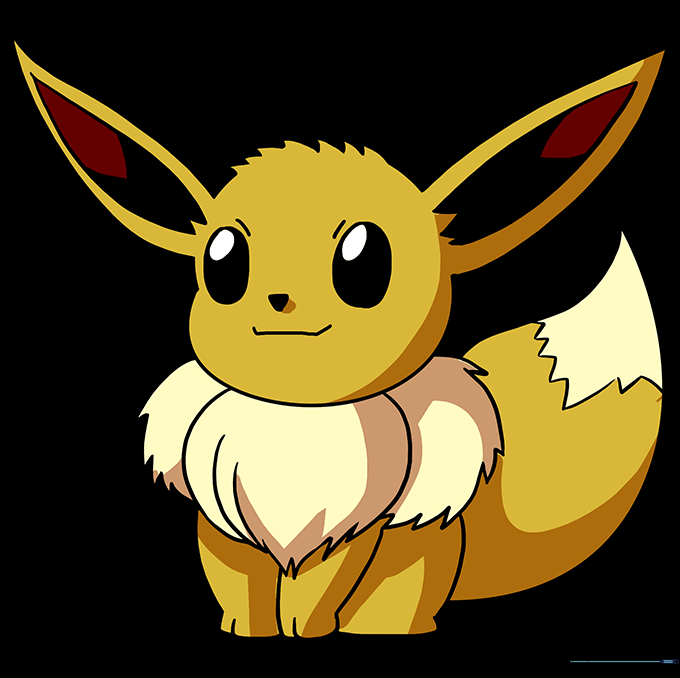
Color your drawing using brown for the body and tan for the ruff and tail tip. Teacher's Tip: Use light, circular motions with your colored pencils for an even, smooth finish.
More Tutorials


