How to Draw Ebenezer Scrooge: Easy Step-by-Step Guide
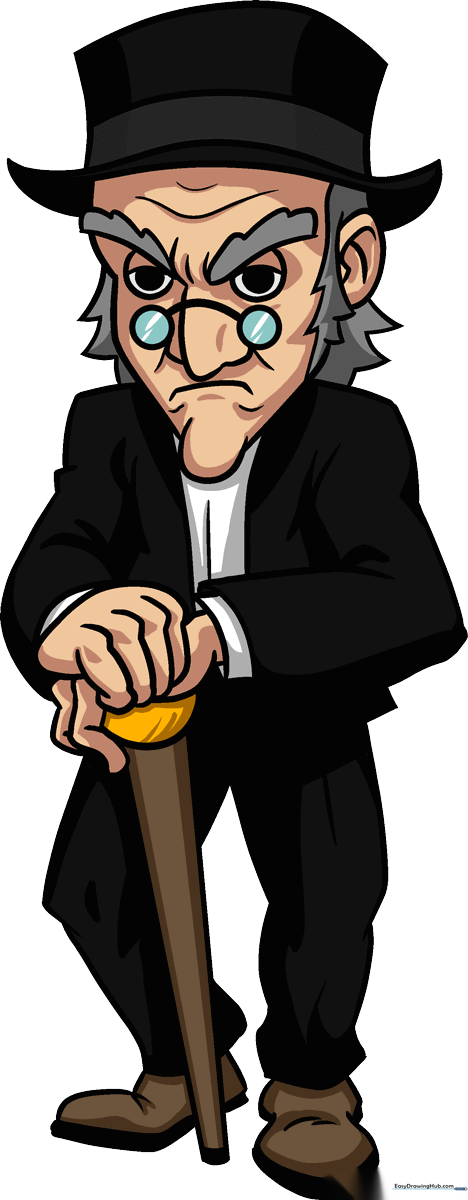
Bring the classic Victorian miser to life with this fun, character-focused drawing tutorial. Designed for young artists and beginners, this project uses basic geometric shapes to build Scrooge’s iconic silhouette. Grab your pencil and eraser—we’ll be focusing on expressive facial features and vintage clothing details to capture his grumpy personality.
🎯 Final Result
Step-by-Step Instructions
Step 1: Sketching the Top Hat

Start by drawing Scrooge’s signature top hat. Use curved lines for the wide brim and a rectangle for the crown. Teacher's Tip: Keep your lines light and loose; if the hat looks a bit crooked, it just adds to his quirky, old-fashioned charm!
Step 2: Defining the Face Shape
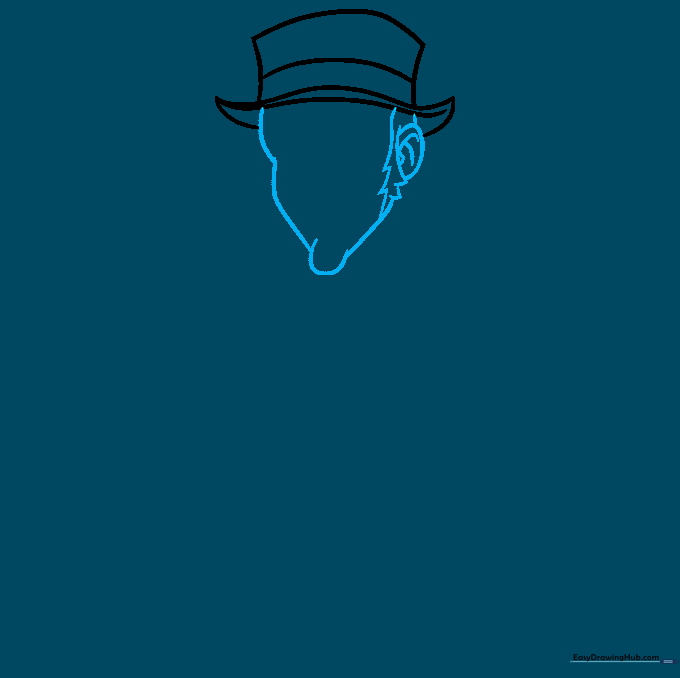
Sketch the outline of his face, including the brow, cheeks, and chin. Add jagged lines for his unruly sideburns. Teacher's Tip: Use short, quick strokes for the hair to give it a textured, wispy look rather than a smooth, solid shape.
Step 3: Adding Expressive Eyes
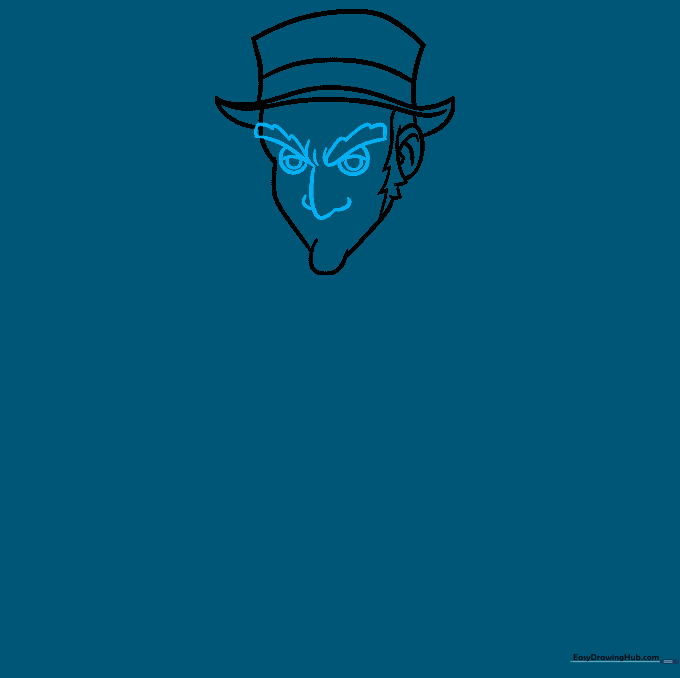
Draw the heavy brows and circular eyes beneath them. Add pupils and eyelids to give him a focused look. Teacher's Tip: To make him look truly grumpy, tilt the inner corners of the eyebrows downward toward the nose.
Step 4: Glasses and Grumpy Mouth
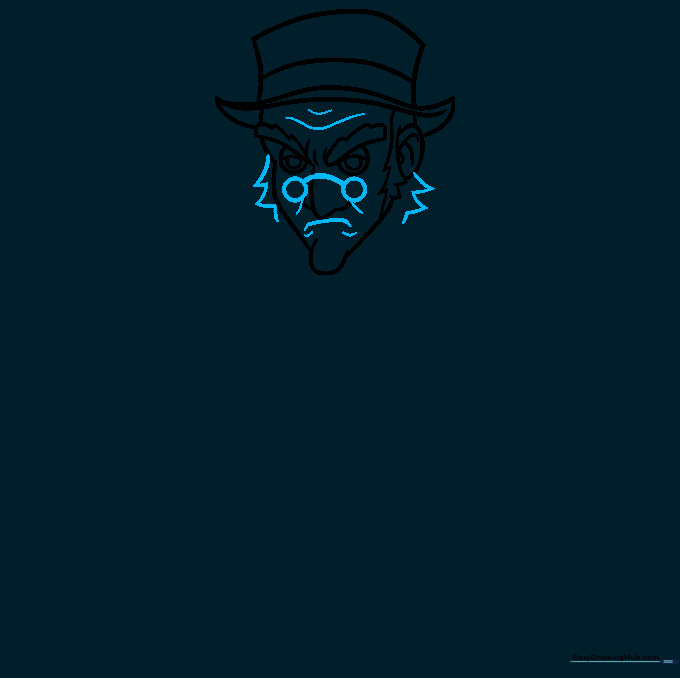
Add his round spectacles across the nose and a downward-curved line for his mouth. Teacher's Tip: Keep the glasses small and perched on the bridge of the nose to emphasize his 'old-fashioned' appearance.
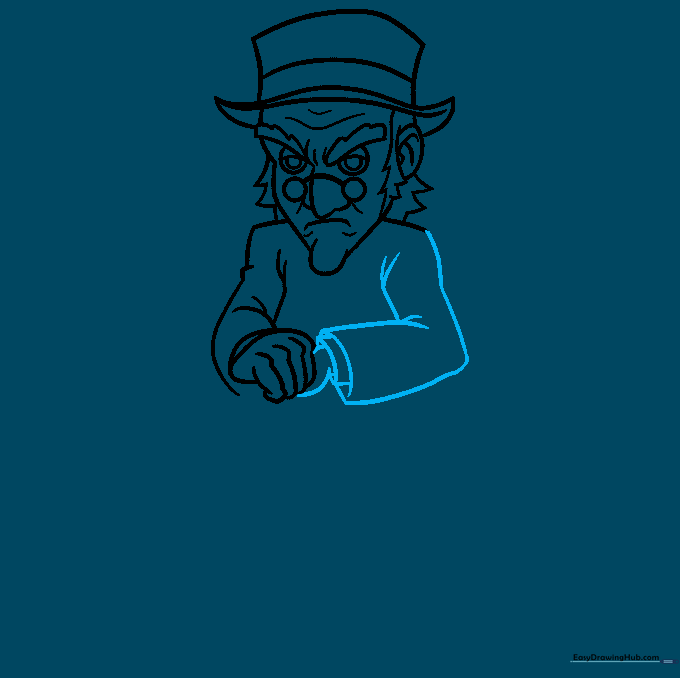
Step 5: Shoulders and Coat Folds
Sketch the shoulders and the sleeve of his coat. Use overlapping lines to suggest the heavy fabric of his winter jacket. Teacher's Tip: Adding a few extra 'V' shaped lines near the elbows makes the fabric look like it's bunching up.
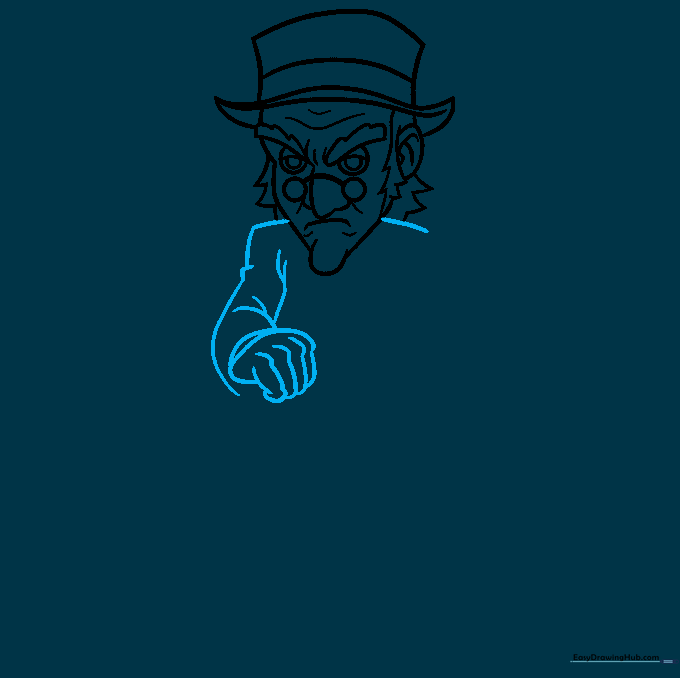
Step 6: Drawing the Arms
Draw the second arm and the cuff of his shirt. Teacher's Tip: Ensure the sleeves look slightly baggy—it helps convey the Victorian style of his clothing.
Step 7: Fingers and Cane
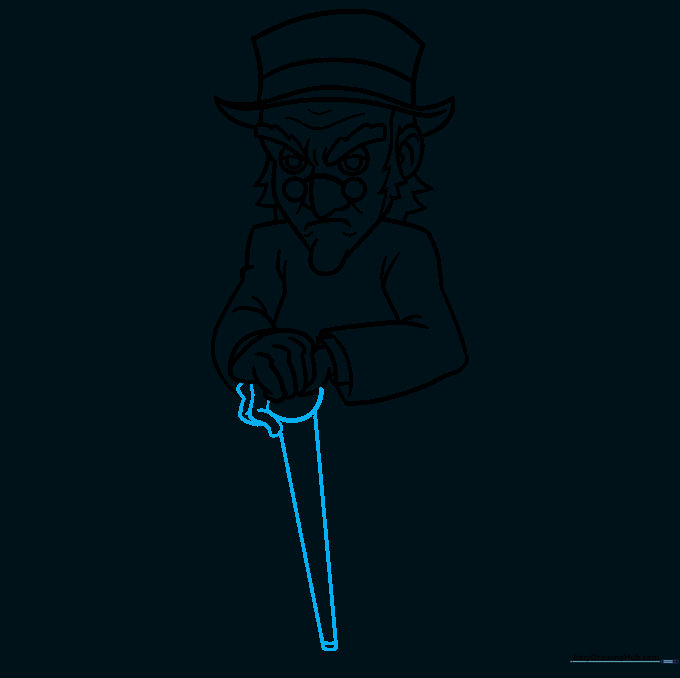
Draw the long, thin fingers and the handle of his cane. Teacher's Tip: When drawing the cane, use a ruler or a steady hand to keep the lines straight, contrasting with the curvy lines of his coat.
Step 8: Refining the Jacket
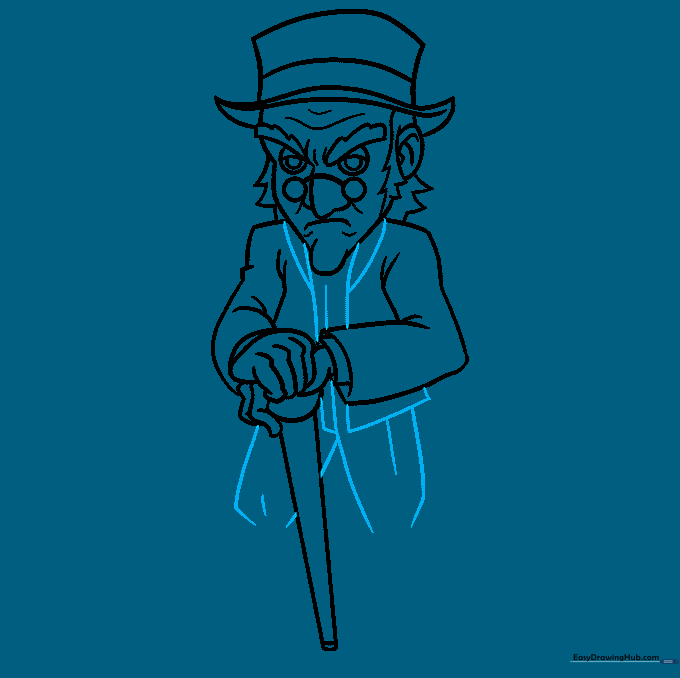
Add the collar and lapels to his jacket. Teacher's Tip: Draw the lapels as triangles to give his coat a sharp, formal look.
Step 9: Legs and Shoes
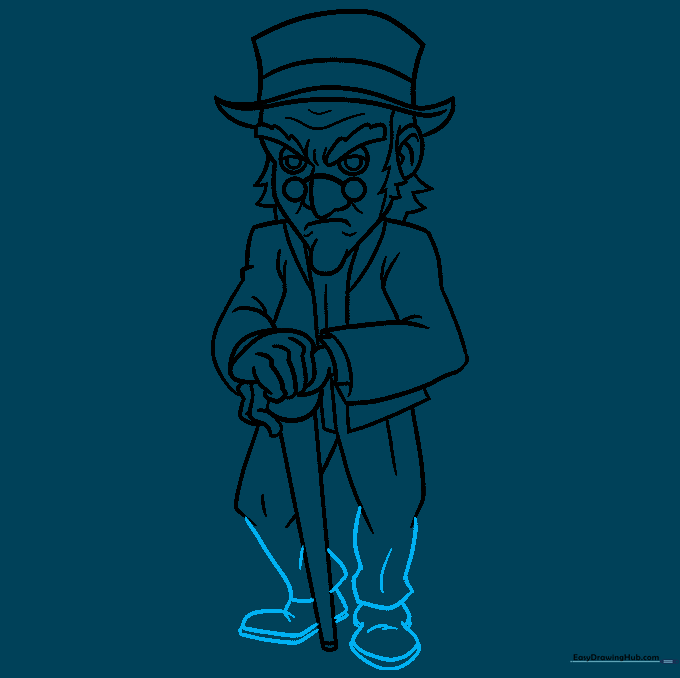
Finish the drawing by adding his pant legs and shoes. Teacher's Tip: Draw the shoes with a slight curve at the toe to make them look like classic leather boots.
Step 10: Bringing Scrooge to Life with Color

Add color to your masterpiece! Use muted tones like charcoal, dark brown, and deep red to capture the classic, somber mood of the story. Teacher's Tip: Use a light grey for his hair to show his age.
More Tutorials


