How to Draw Drift Mask: Easy Step-by-Step Fortnite Guide
Bring the legendary Drift character to life with this beginner-friendly drawing tutorial. Designed for ages 7+, this activity requires only a pencil, eraser, and paper to help you practice symmetry and geometric detailing. Follow along to build your confidence and create your own stylized gaming fan art.
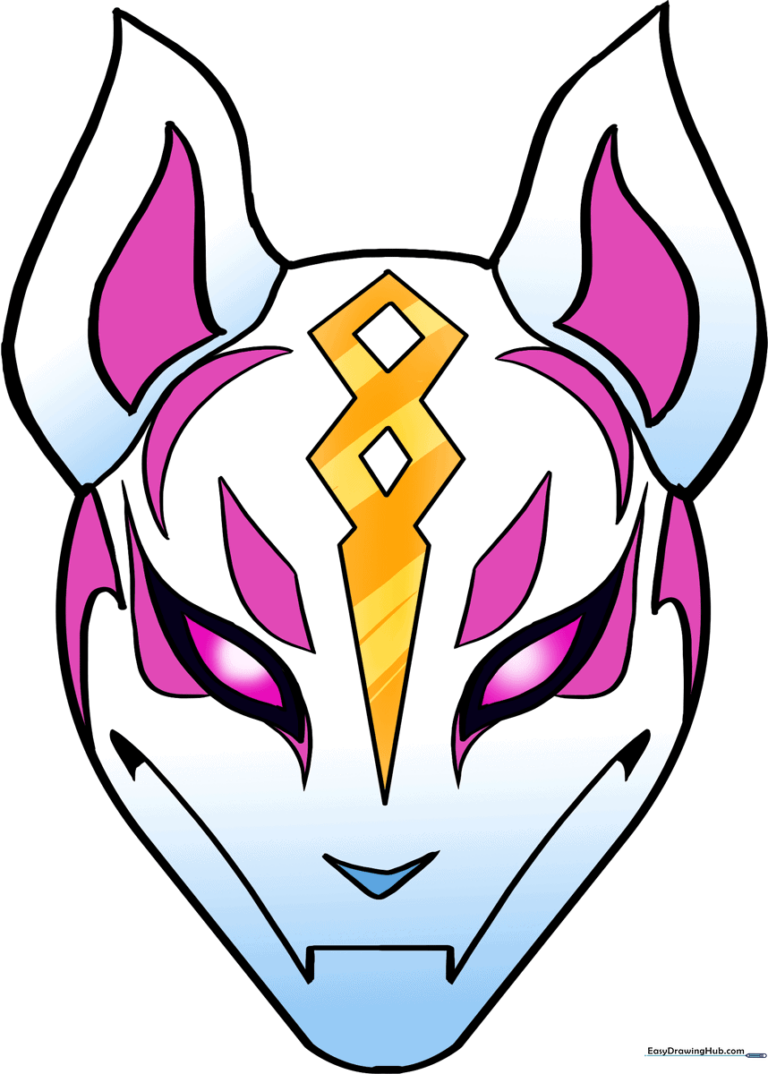
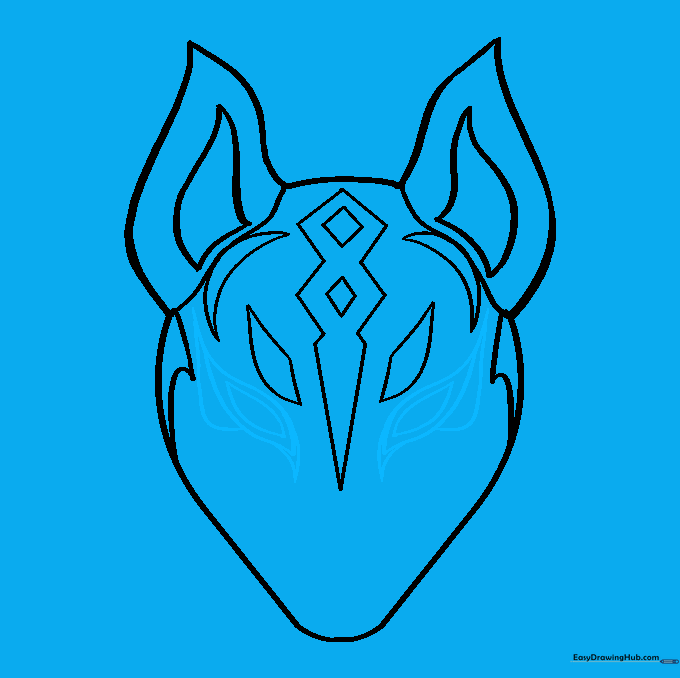
🎯 Final Result
Step-by-Step Instructions
Step 1: Sketching the Jawline

Draw a long, curved line shaped like a wide, rounded letter “V.” This serves as the foundation for the mask's chin. Teacher's Tip: Keep your pencil pressure light so you can easily adjust the shape if it looks a bit lopsided.
Step 2: Forming the First Ear
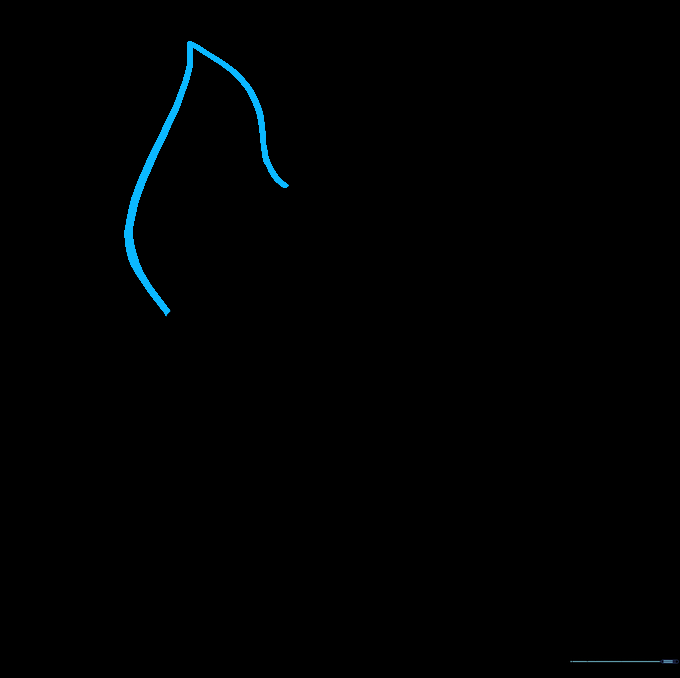
Extend a long, curved line upward from the top of the jaw, then bring it back down to meet the base at a sharp point. This creates the first fox-like ear. Tip: Try to make the ear look tall and slender to capture the mask's sleek aesthetic.
Step 3: Adding the Second Ear
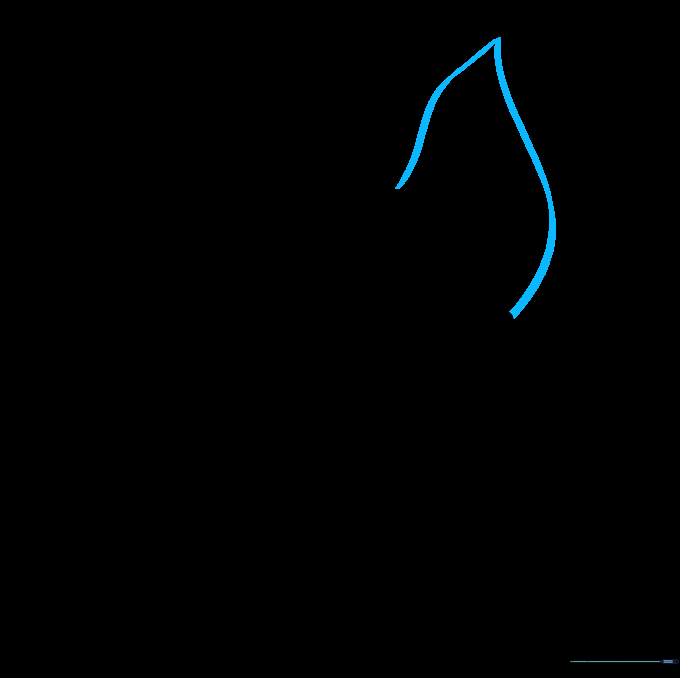
Mirror the process from the previous step to draw the second ear on the opposite side. Tip: If you struggle with symmetry, lightly draw a vertical center line down your paper to help keep both ears balanced.
Step 4: Connecting and Detailing Ears
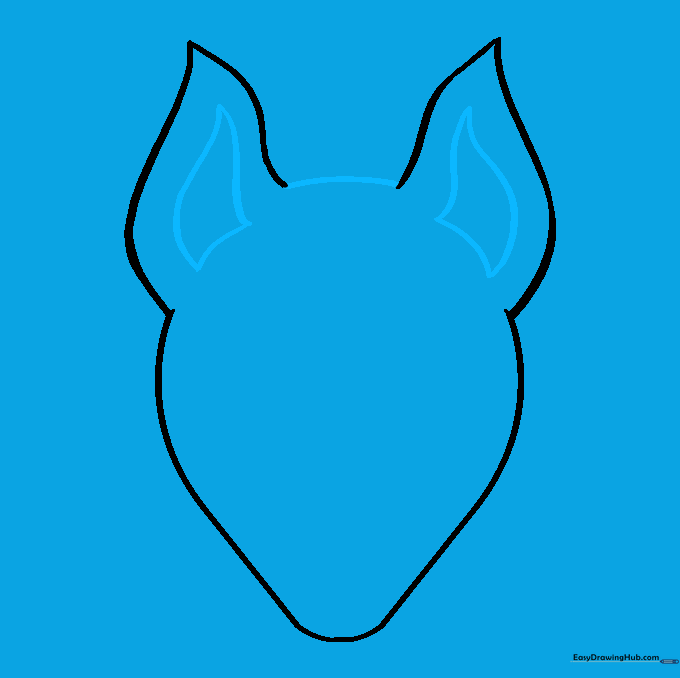
Connect the ears with a smooth curved line across the top. Inside each ear, draw a smaller, curvy triangle shape. Tip: Leave a small gap between the inner triangle and the outer ear edge to create a sense of depth.
Step 5: Defining the Cheeks
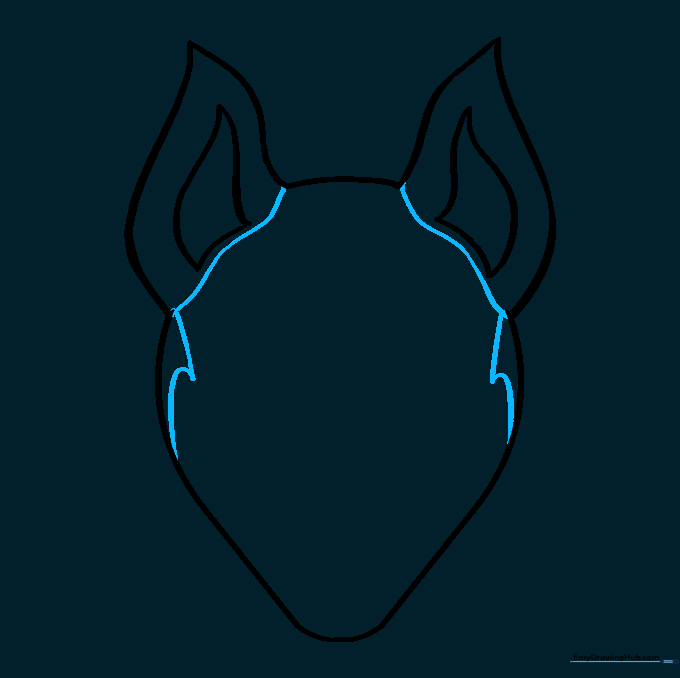
Draw a curved line at the base of each ear to separate them from the face. Then, add two curved lines along each cheek that meet at sharp points. Tip: These sharp angles give the mask its aggressive, stylized look.
Step 6: Forehead Markings
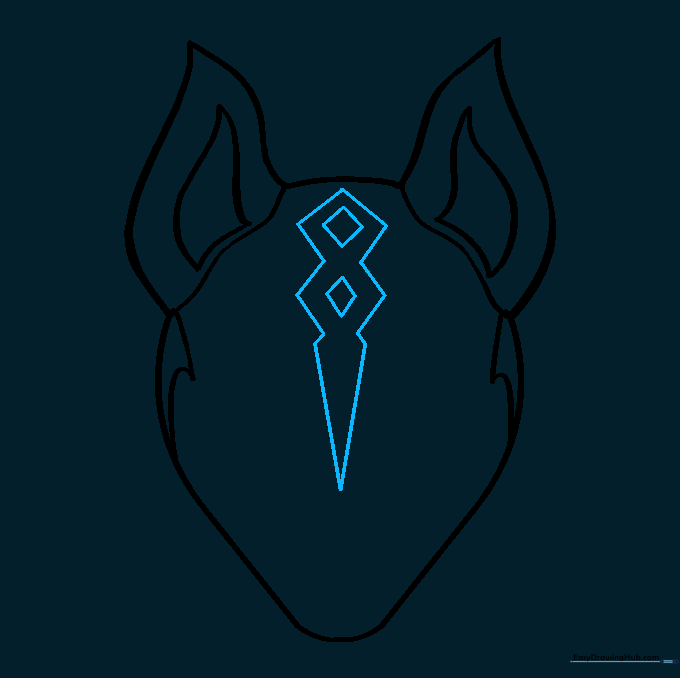
Draw two small diamonds on the forehead, then frame them with larger, open-bottomed diamond shapes. Add an elongated diamond extending downward. Tip: Focus on keeping these lines straight and precise to make the mask look professional.
Step 7: Adding Face Details
Enclose a curved shape beneath each ear and add decorative shapes on either side of the central diamond. Tip: Take your time with these curves; they define the character's unique expression.
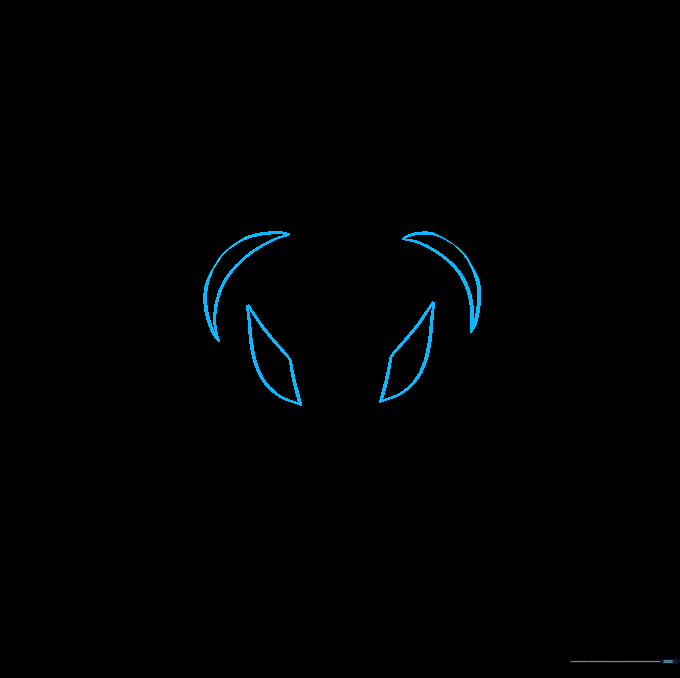
Step 8: Drawing the Eyes
Draw pointed, teardrop-shaped eyes on both sides of the central diamond. Layer a larger teardrop around the first for a bold outline. Tip: Use short, quick strokes to create the sharp, tapered corners of the eyes.
Step 9: Nose and Mouth
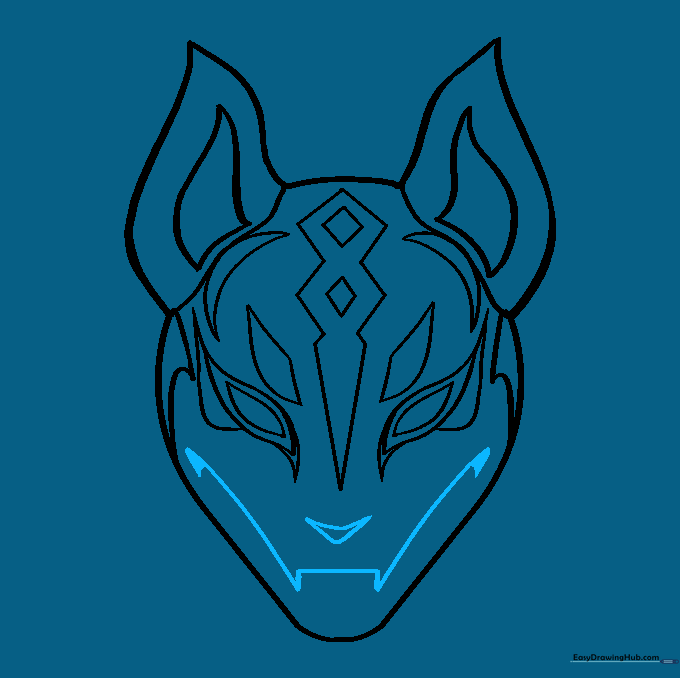
Draw a wide, rounded “V” for the nose, then add a larger “V” on top. For the mouth, draw an open-bottomed rectangle with curved lines extending upward. Shade the corners to finish. Tip: Shading adds volume, making the mask look like a 3D object.
Step 10: Adding Color
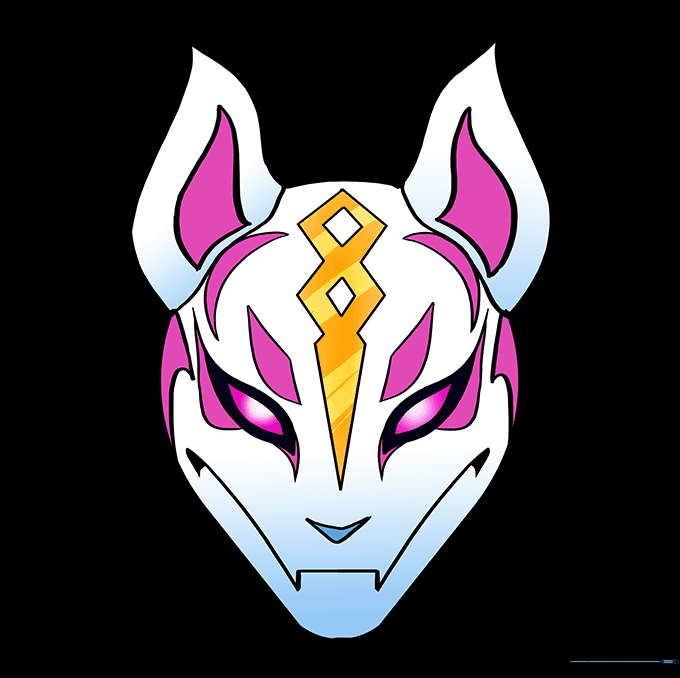
Bring your drawing to life using purple, gold, white, and black. Tip: Use colored pencils to layer the purple and gold for a vibrant, metallic effect. Once finished, you've successfully created your own Drift Mask!
More Tutorials


