How to Draw a School Bus: Easy 10-Step Guide for Kids
Ready to hit the road? This tutorial is perfect for young artists ages 5 and up who want to learn how to draw a classic school bus. All you need is a pencil, an eraser, and a piece of paper to get started. By the end, you will have a vibrant, custom-drawn bus ready for your next creative project.
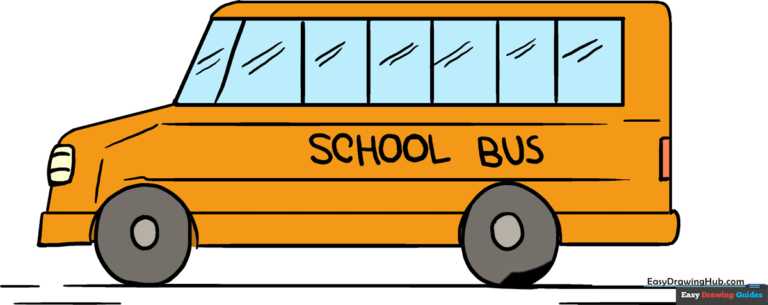
🎯 Final Result
Step-by-Step Instructions
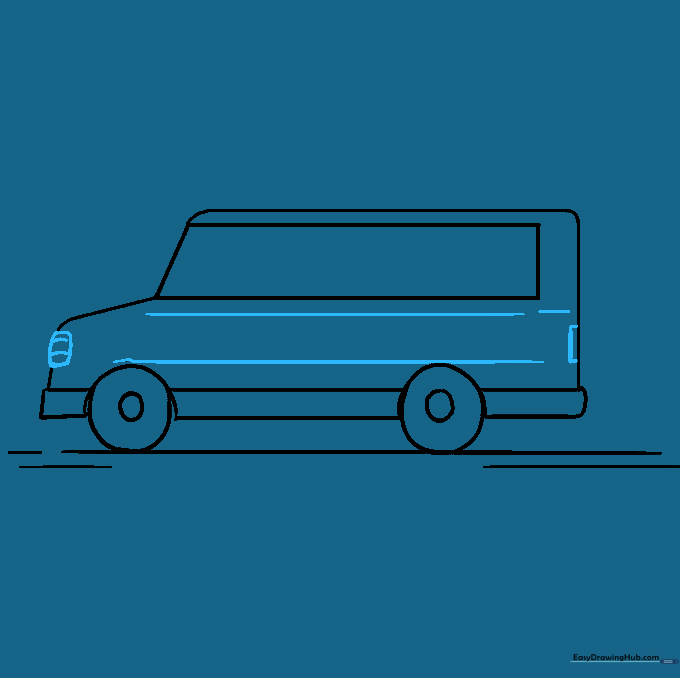
Step 1: Sketching the Main Body

Draw a long, horizontal rectangle for the bus body. On the right side, angle the short edge slightly to create the front windshield. Teacher's Tip: Keep your pencil grip loose to ensure these lines stay light and easy to adjust.
Step 2: Defining the Hood

Extend a slanted line from the bottom of the windshield and a short vertical line to form the front hood. Add a horizontal line along the bottom to connect the front to the back. Tip: Use a ruler if you want perfectly straight lines, or go freehand for a more organic look.
Step 3: Closing the Outline
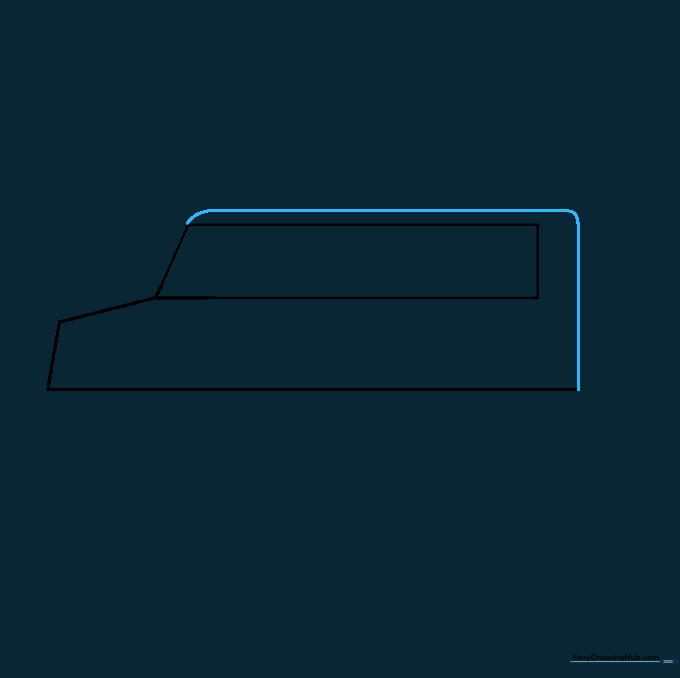
Draw a line parallel to the top of the windows and connect it to the bottom. Gently curve the corners to give the bus a rounded, friendly appearance. Tip: Rounded corners make the bus look more like a cartoon and less like a rigid box.
Step 4: Adding Wheel Wells
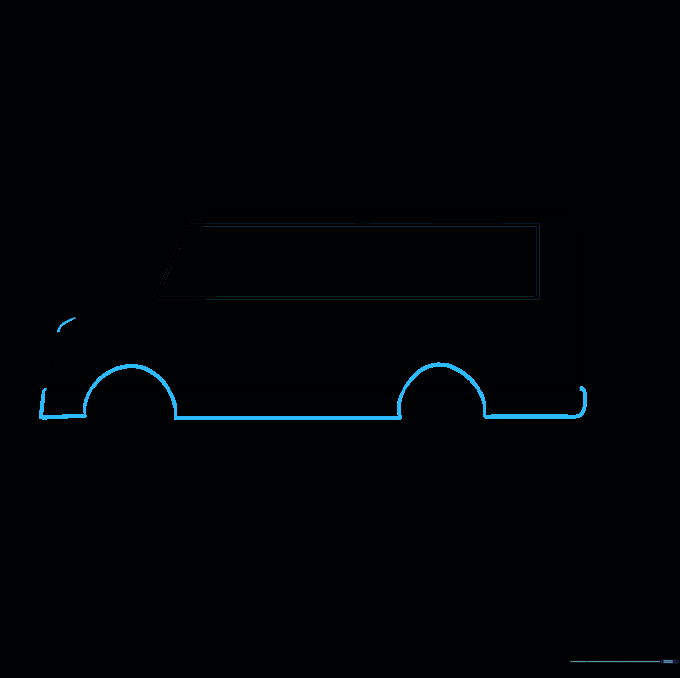
Draw two semicircles along the bottom edge to create the wheel wells. Connect them with straight lines to form the lower bumper area. Tip: Make sure the semicircles are wide enough to fit your future tires comfortably.
Step 5: Cleaning Up

Carefully erase the guide lines inside the wheel wells so they look like clean cutouts. Tip: Use a soft eraser to avoid smudging your paper.
Step 6: Drawing the Wheels
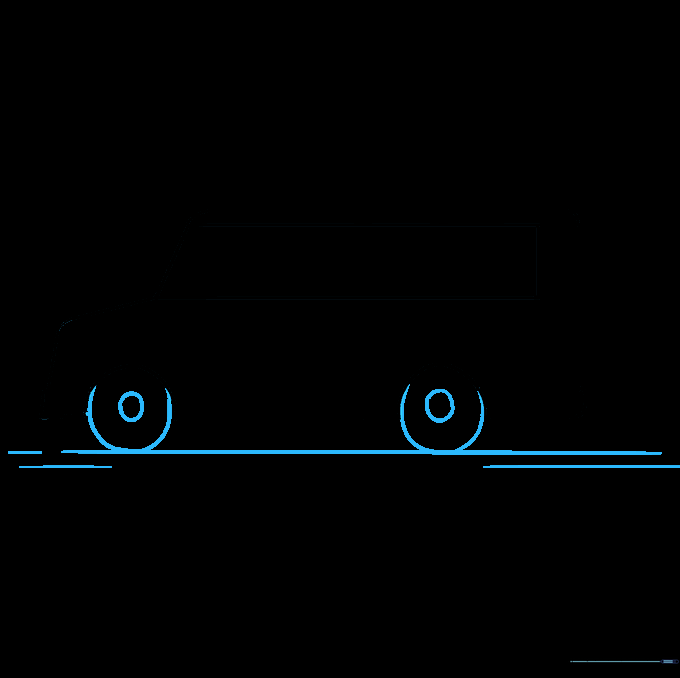
Draw two circles inside the wheel wells for the tires, and smaller circles inside those for the hubcaps. Add a horizontal line underneath to represent the ground. Tip: Drawing the ground line helps ground your drawing so it doesn't look like it's floating!
Step 7: Adding Lights and Details
Add a small rectangle for the tail light and a rounded rectangle for the front headlight. Use horizontal lines inside the headlight to show the lens texture. Tip: Small details like these make your drawing look much more professional.
Step 8: Windows and Reflections
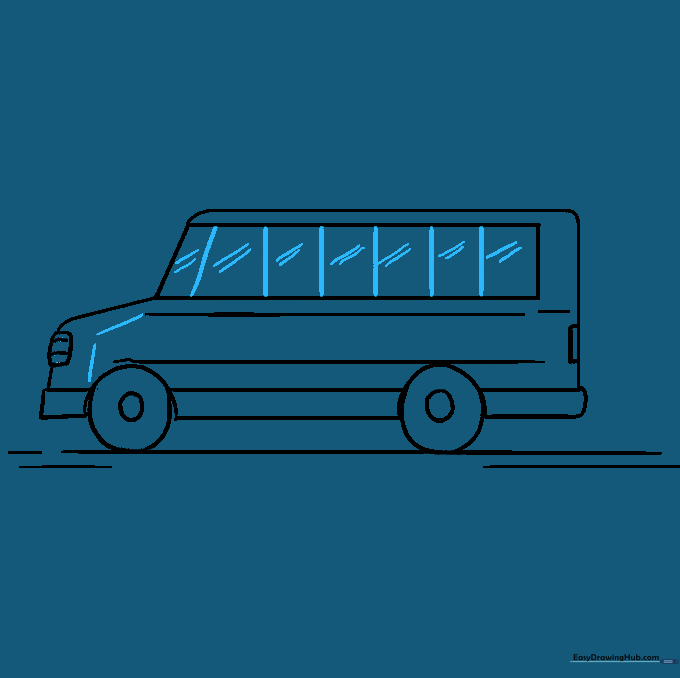
Draw vertical lines along the side to create window panes. Add diagonal lines in the corners of the windows to represent glass reflections. Tip: Reflections make the windows look like real glass rather than just empty holes.
Step 9: Final Touches
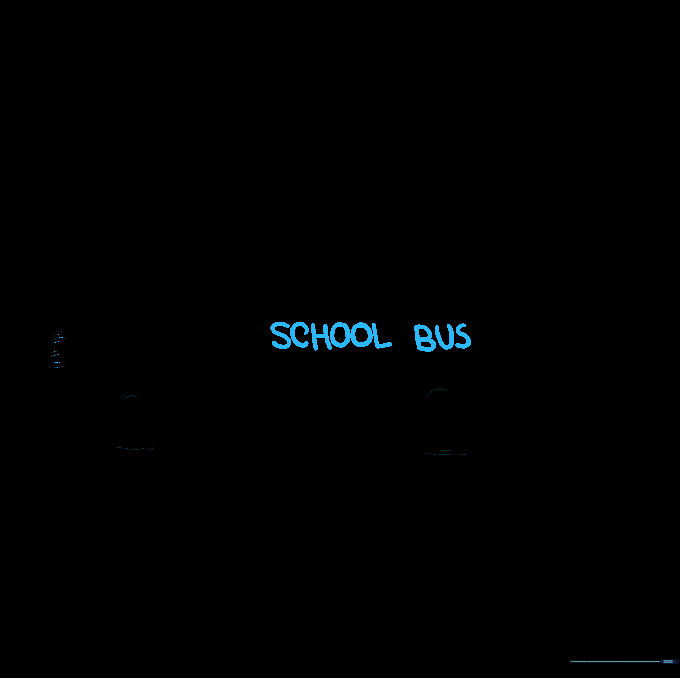
Write 'SCHOOL BUS' clearly on the side of the vehicle. Tip: Use block letters to make the text stand out, just like on a real bus.
Step 10: Bring It to Life with Color
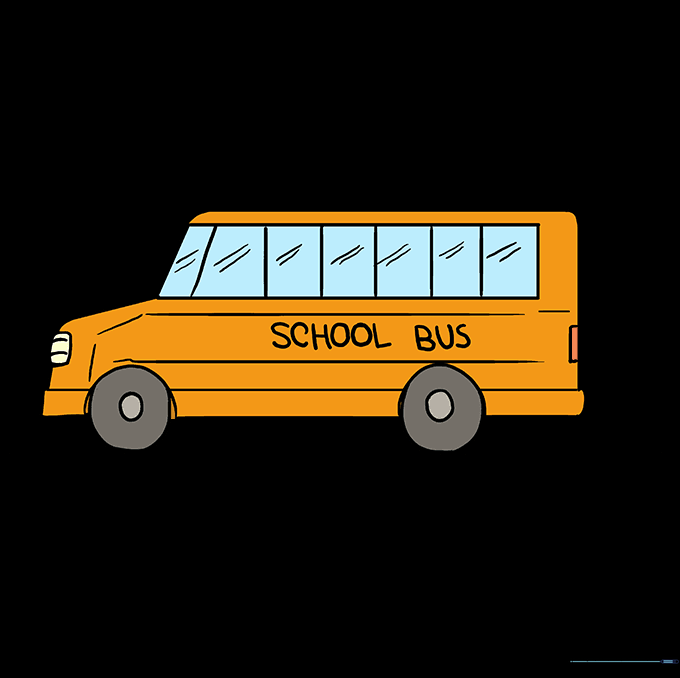
Time to color! Use a bright yellow for the body and grey or black for the tires. Tip: Don't be afraid to use other colors if you want to create a fun, custom bus for your own imaginary school.
More Tutorials


