How to Draw Dragon Fruit: Easy 10-Step Guide for Kids
Bring the exotic colors of a dragon fruit to life with this simple drawing guide, perfect for young artists ages 5 and up. All you need is a pencil, an eraser, and your favorite markers or crayons to get started. Follow these steps to master the unique, flame-like scales of this tropical treat.
🎯 Final Result

Step-by-Step Instructions
Step 1: Sketching the First Scale

Start by drawing the central scale on the fruit using two curved lines that meet at a sharp point. Teacher's Tip: Keep your pencil pressure light so you can easily adjust the shape if it looks a bit too pointy or rounded.
Step 2: Building the Fruit Shape

Add more scales around the first one, using pairs of curved lines to create a teardrop-like silhouette. Teacher's Tip: Think of these as little waves hugging the side of the fruit.
Step 3: Connecting the Scales

Continue adding scales to connect the two sections of the fruit. Use two curved lines for each scale, ensuring they meet at a sharp, flamelike point. Teacher's Tip: Vary the size of the scales to make the fruit look more natural and organic.
Step 4: Filling the Center

Fill in the center of the fruit with additional scales. Teacher's Tip: Don't worry about making them perfectly symmetrical; real dragon fruit scales grow in all directions!
Step 5: Starting the Second Fruit
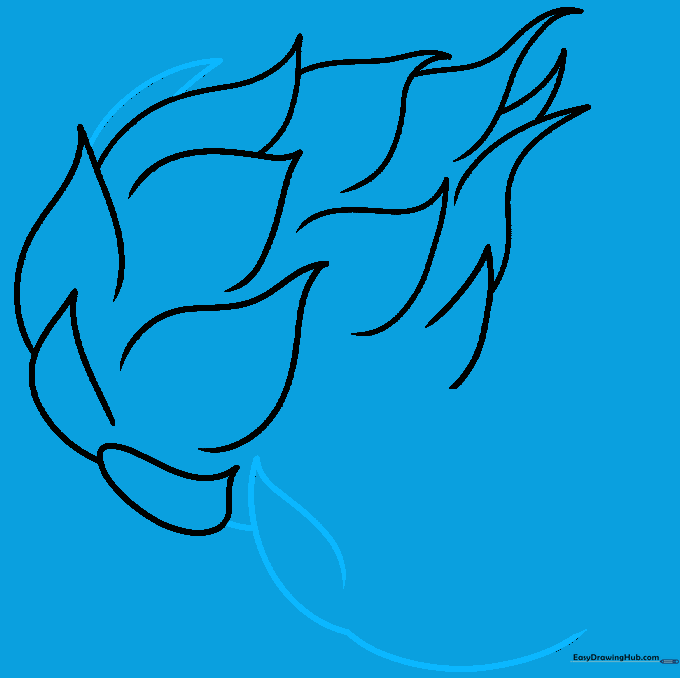
Outline the base of a second piece of fruit using a smooth, curved line. Add a scale on one side to match the style of the first. Teacher's Tip: Placing the second fruit slightly behind the first creates a sense of depth.
Step 6: Drawing the Cut Fruit

Draw a large oval to represent the cut side of the second fruit. Add a scale on the side to maintain consistency. Teacher's Tip: Use a light touch for the oval so it looks soft and fleshy compared to the tough outer skin.
Step 7: Adding Rind Detail

Draw a smaller oval inside the first one to separate the rind from the flesh. Continue adding scales to both fruits. Teacher's Tip: Keep the space between the two ovals even for a clean, professional look.
Step 8: Adding Seeds and Texture
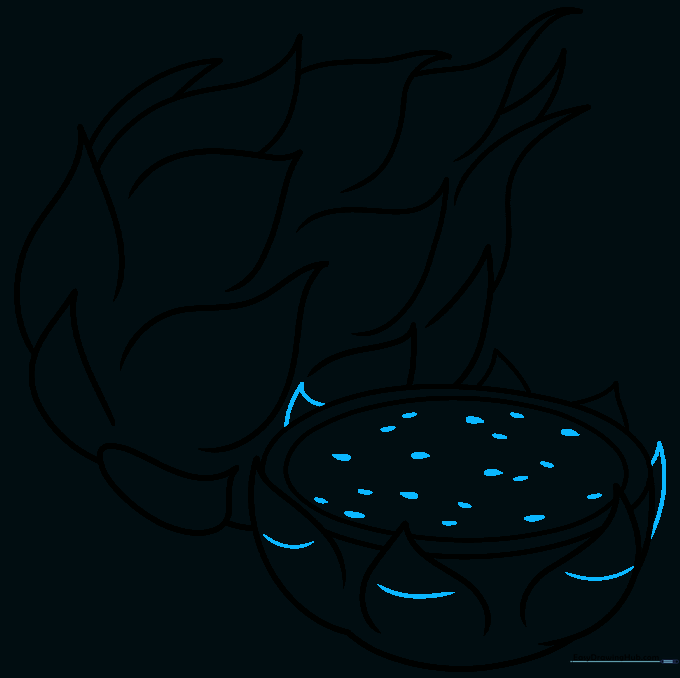
Add tiny ovals on the flesh of the cut fruit to represent seeds. Band the scales with curved lines for extra detail. Teacher's Tip: Don't overdo the seeds; a few scattered dots look more realistic than a crowded bunch.
Step 9: Finalizing the Outline
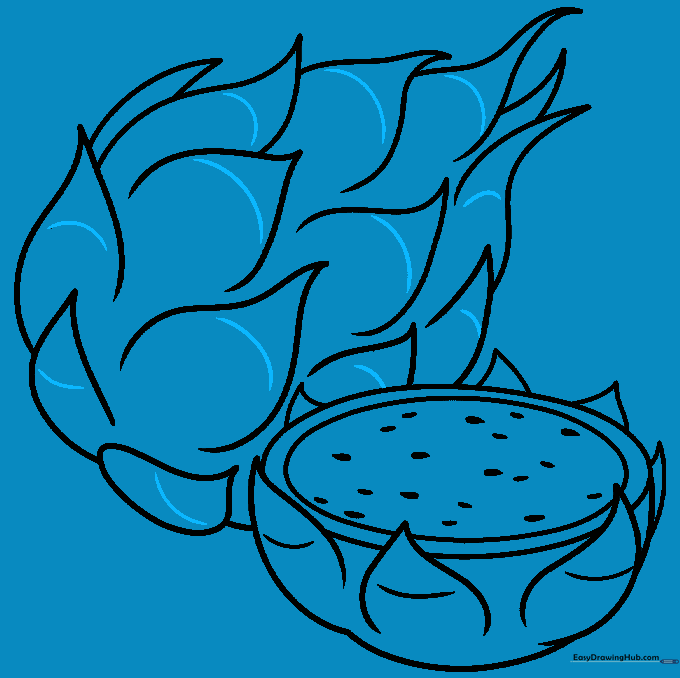
Complete your drawing by adding final banding lines to the scales of the first fruit. Teacher's Tip: Use a darker pencil or fine-liner to go over your final lines before erasing your initial sketch marks.
Step 10: Bringing it to Life with Color
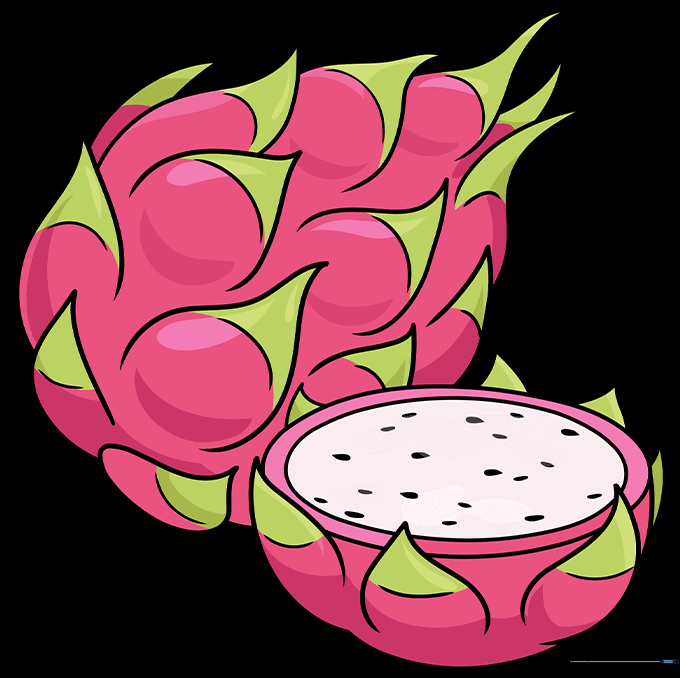
Time to color! Use bright pink for the skin and vibrant green for the tips of the scales. The flesh is typically white with black seeds. Teacher's Tip: Use a light grey or blue to add a small shadow under the fruit to make it 'pop' off the page.
More Tutorials


