How to Draw Draculaura: Easy Step-by-Step Guide
Bring your favorite Monster High character to life with this guided drawing lesson. Designed for young artists and fans, this tutorial uses simple shapes to build Draculaura’s iconic look. Grab your pencil, eraser, and paper to start creating your own masterpiece.
🎯 Final Result
Step-by-Step Instructions
Step 1: Sketching the Head Shape
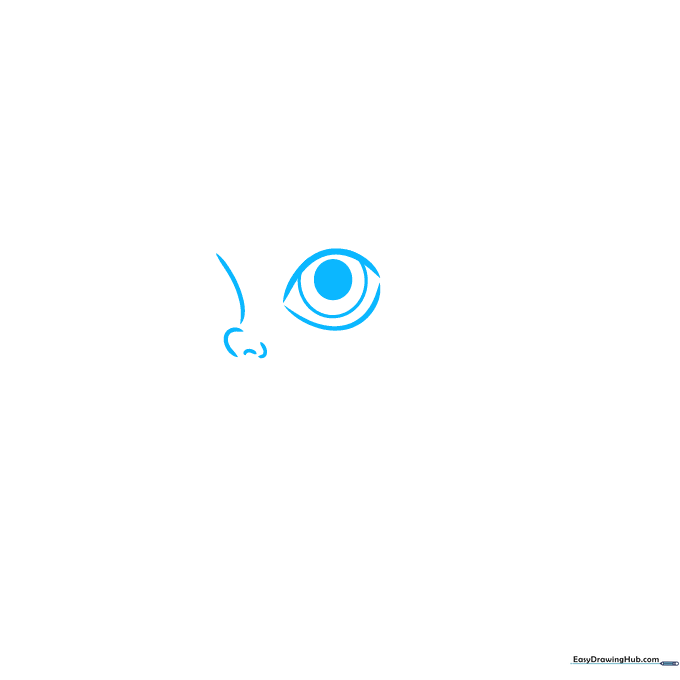
Draw a soft lemon shape to serve as the head. Inside, sketch two circles for the eyes. Teacher's Tip: Keep your pencil pressure light so you can easily erase your guide lines later.
Step 2: Defining Facial Features
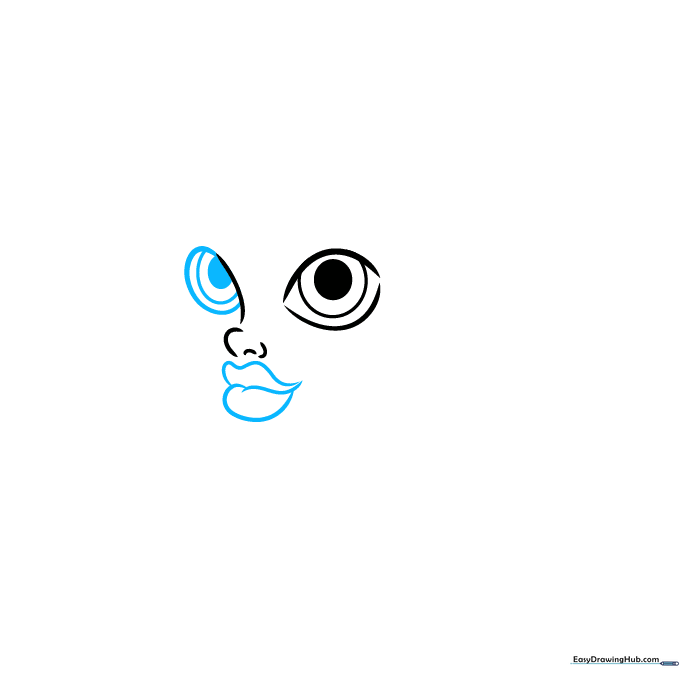
Add an oval for the nose and define the mouth with a wavy line. Use a curvy 'M' shape for the upper lip and a deep curve for the lower lip to give her a pouty expression. Teacher's Tip: Focus on the symmetry of the lips to make her look expressive.
Step 3: Adding Character Details
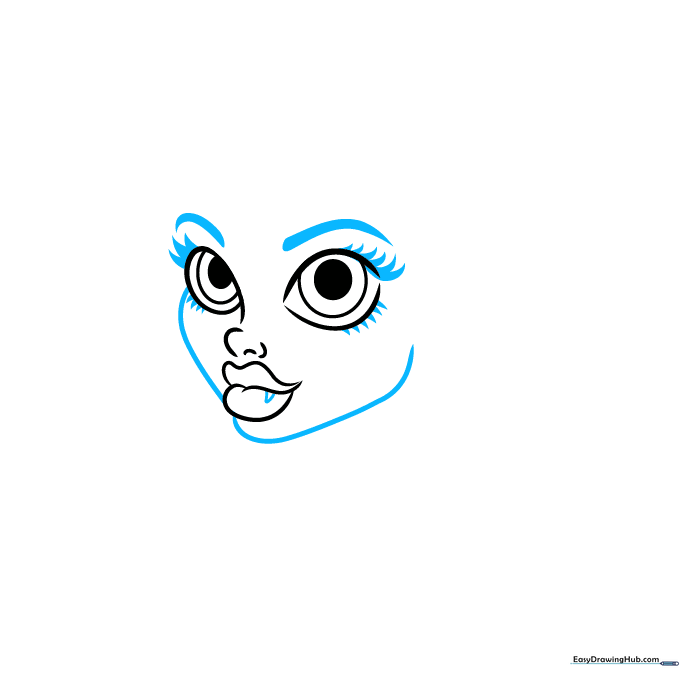
Sketch thick, arched eyebrows and triangular eyelashes. Add a small triangle for her signature fang and outline the face with a loose heart shape. Teacher's Tip: The heart-shaped face is key to her unique Monster High style!
Step 4: Hair and Earring Placement
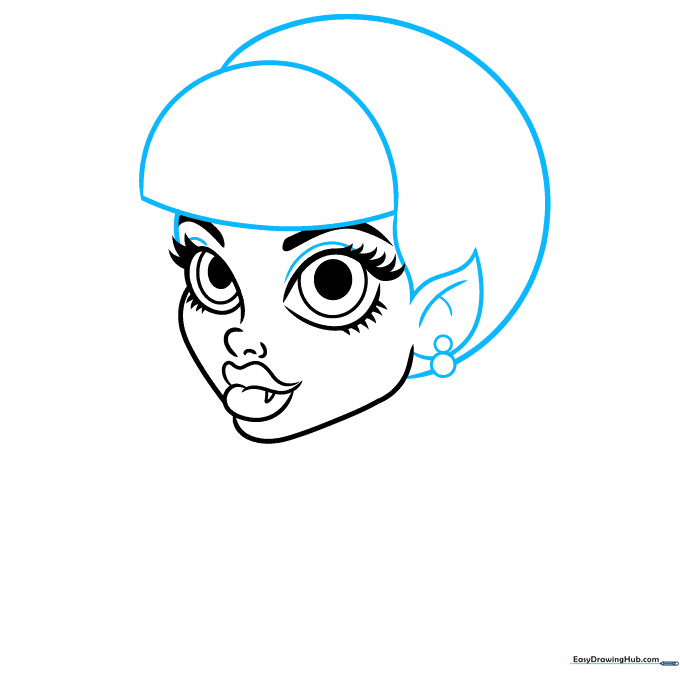
Draw a large semi-circle over the head for her hair. Add a teardrop shape for the ear, including two internal lines and two circles for her earring. Teacher's Tip: Use smooth, sweeping motions for the hair to make it look voluminous.
Step 5: Jewelry and Neckline

Add a U-shape beneath the earring, connecting it with rectangles. Sketch the neck and add eight small circles in a flower pattern. Teacher's Tip: Take your time with the small circles; they add a lovely, intricate touch to her outfit.
Step 6: Adding Ruffles
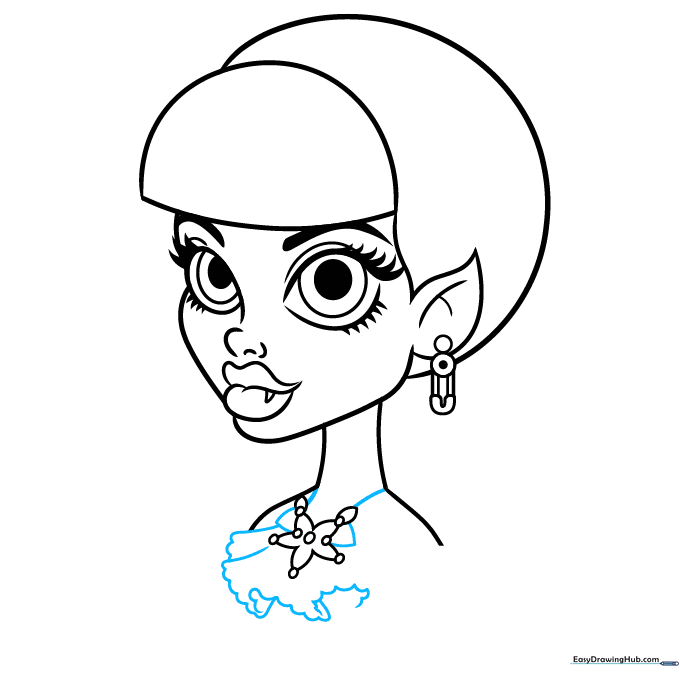
Sketch lines and triangles around the flower shape. Add ruffles using bumpy, cloud-like lines. Teacher's Tip: The 'bumpy' lines don't need to be perfect—the more organic they look, the better the ruffles will appear.
Step 7: Body and Arms

Complete the ruffles and outline the body with two curves. Draw an uneven Y-shape beneath the ruffles and use diagonal lines to suggest the arms. Teacher's Tip: Keep the arm lines simple to maintain the cartoon aesthetic.
Step 8: Finalizing Details
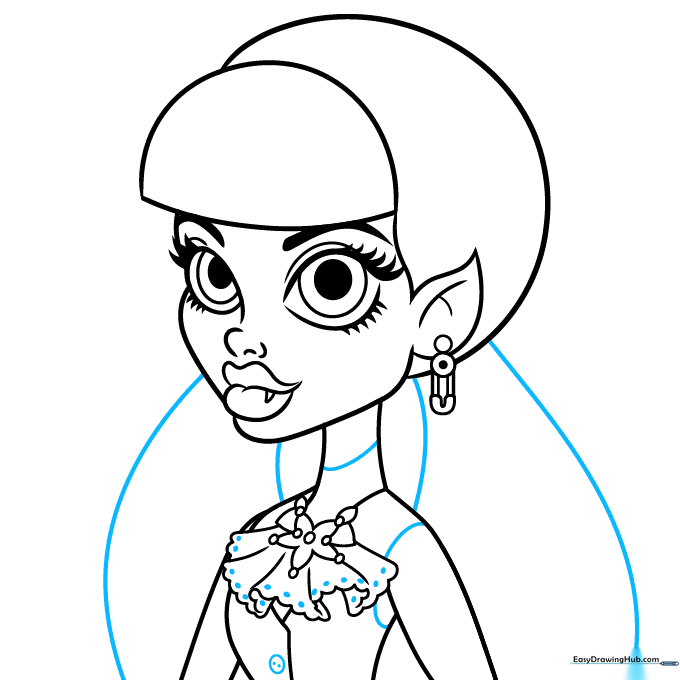
Add wide curves for the hair. Sketch dots inside the ruffles and add a button detail with a circle and two dots. Teacher's Tip: Adding these small textures makes the drawing look much more professional.
Step 9: Outlining and Finishing Touches
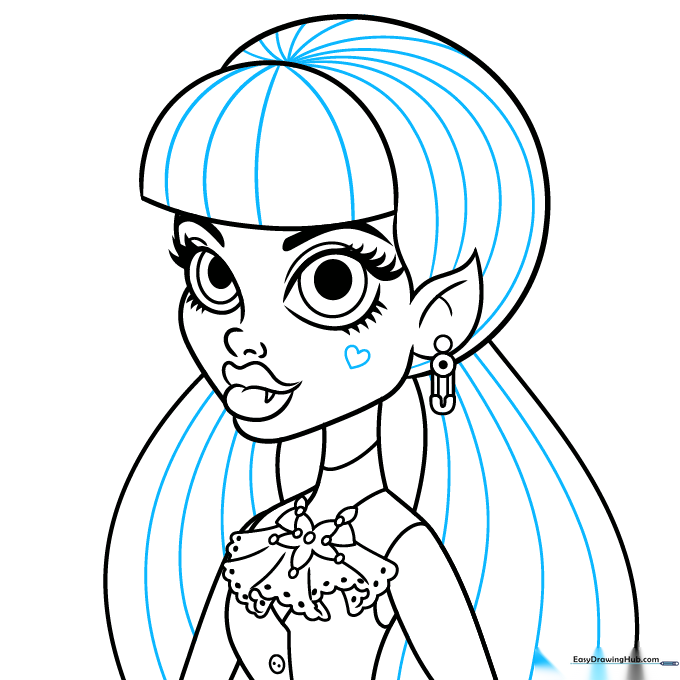
Add curved lines to the hair and a small heart on her cheek. Use a black pen to outline your drawing, filling in the pupils and eyelashes. Teacher's Tip: A steady hand when outlining makes all the difference—go slow!
Step 10: Bringing Her to Life with Color
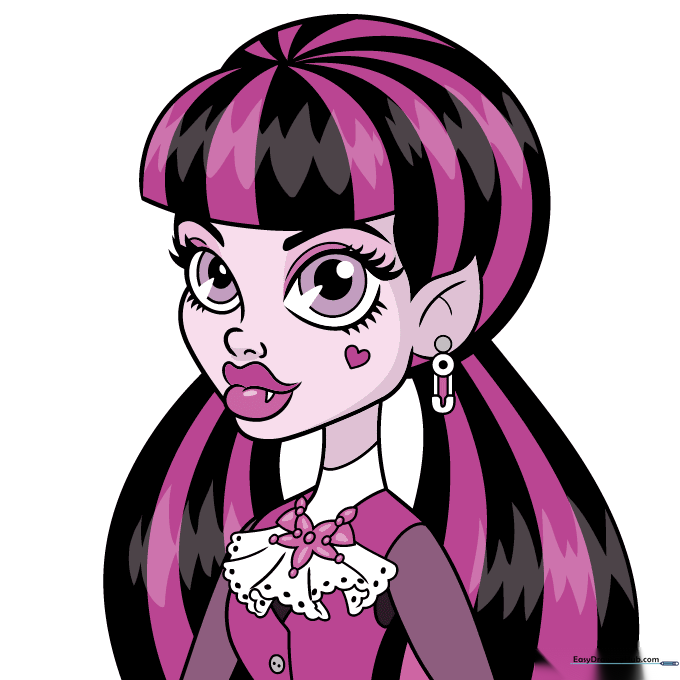
Use black and violet for her hair, and various shades of purple for her outfit. Use lavender for her skin, and leave the collar and earring white. Teacher's Tip: Layer your purples to create depth and make her look like the real character.
More Tutorials


