How to Draw Doraemon: Easy 10-Step Guide for Kids
Bring the beloved robotic cat to life with this beginner-friendly tutorial. Designed for young artists, this activity requires only a pencil, paper, and an eraser to build confidence and hand-eye coordination. Follow along to master Doraemon's iconic look in just ten simple steps.
🎯 Final Result

Step-by-Step Instructions
Step 1: Sketching the Eyes

Draw two egg-shaped ovals near the center of your page. Add small circles inside for the pupils and shade them in. Teacher's Tip: Keep your pencil pressure light so you can easily adjust the spacing if the eyes look a bit too far apart.
Step 2: The Nose and Mouth

Place a small circle between the eyes, overlapping the left one slightly. Add a vertical line down from the nose and a horizontal curve for the mouth. Teacher's Tip: Use a light touch for the mouth curve to ensure it looks friendly and symmetrical.
Step 3: Defining the Head

Draw a large, loose circle around the face features to form the head. It doesn't need to be perfectly round! Teacher's Tip: If you struggle with circles, try rotating your paper as you draw to keep your hand in a comfortable position.
Step 4: Adding Whiskers
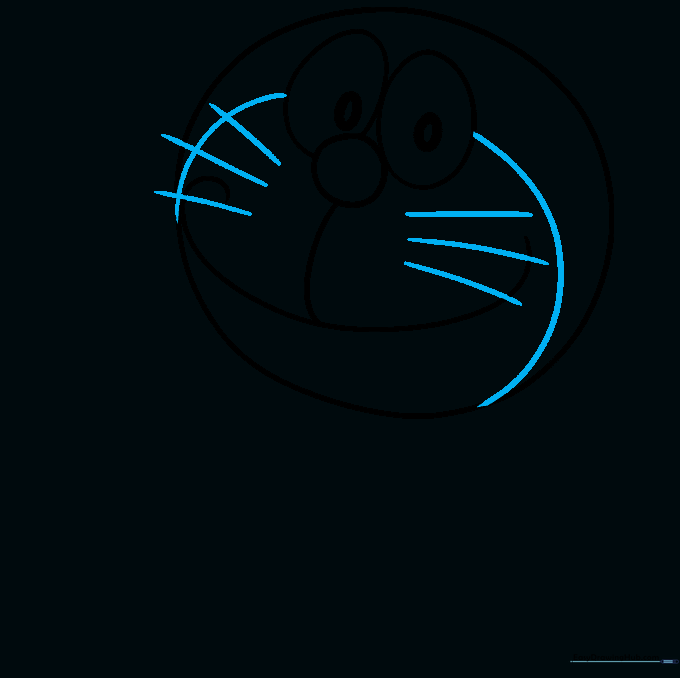
Add three straight lines on each side of the face for the whiskers, then finish the face shape with curved lines. Teacher's Tip: Make the whiskers sharp and quick to give them that classic cartoon look.
Step 5: The Collar and Bell
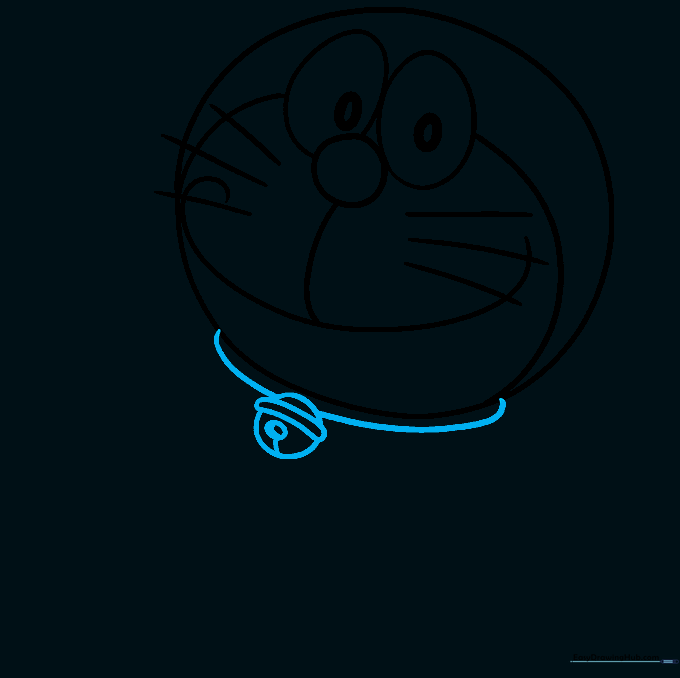
Draw a long, horizontal 'noodle' shape for the collar and a circle for the bell. Add a crescent moon shape inside the bell. Teacher's Tip: Focus on the bell's center; it’s the anchor for the rest of the body.
Step 6: Shaping the Body
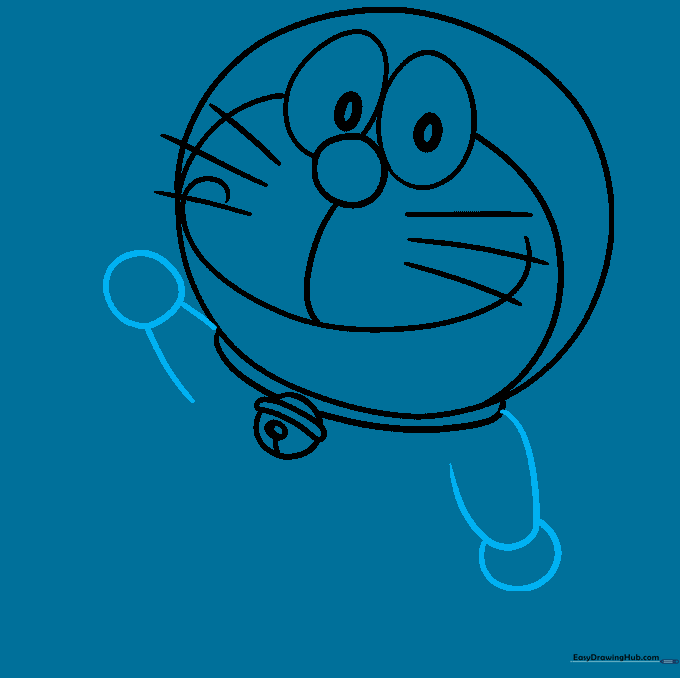
Sketch a large circle with a slightly flattened bottom for the body, and add an oblong shape for the arm. Teacher's Tip: Keep the body shape rounded to maintain Doraemon's cute, soft appearance.
Step 7: Drawing the Feet
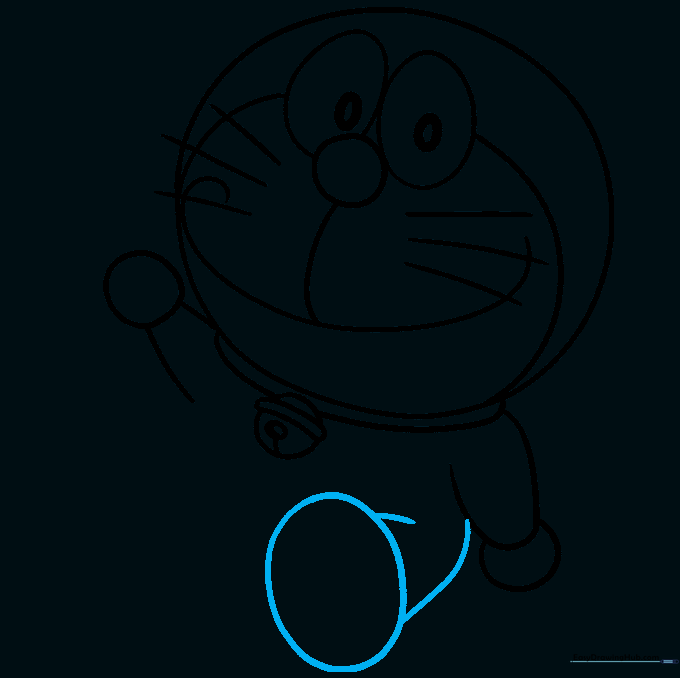
Add a large circle on the right side for the foot, with a curved line to define the sole. Teacher's Tip: Think of the foot as a bean shape—it helps to keep the proportions balanced.
Step 8: Completing the Lower Body

Draw the second foot and connect them with a smooth, upward-curving line. Teacher's Tip: Ensure the feet are level so your character looks like it's standing firmly on the ground.
Step 9: Final Details and Cleanup
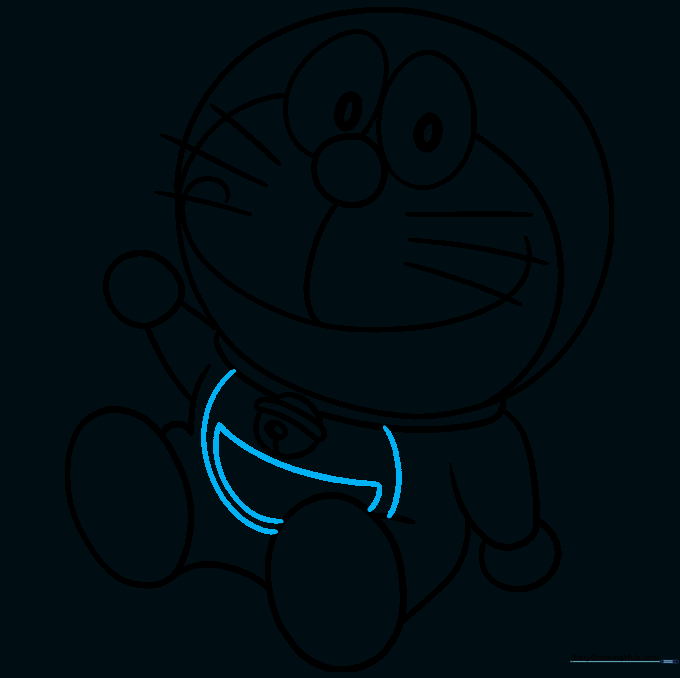
Draw the circular pouch on the stomach with a mouth-like curve inside. Now, use a pen to trace your final lines and erase the stray pencil marks. Teacher's Tip: Use a soft eraser to avoid crinkling your paper.
Step 10: Adding Color

Bring your Doraemon to life! Use bright red for the nose and collar, yellow for the bell, and sky blue for the body. Teacher's Tip: Use light, circular coloring motions to keep the blue smooth and even.
More Tutorials


