How to Draw Donald Duck: Easy 10-Step Guide for Kids
Bring Disney's most famous duck to life with this simple, step-by-step tutorial designed for ages 5 and up. All you need is a pencil, an eraser, and a piece of paper to master Donald's iconic sailor look. Follow along to build your confidence and improve your character sketching skills in just 20 minutes.
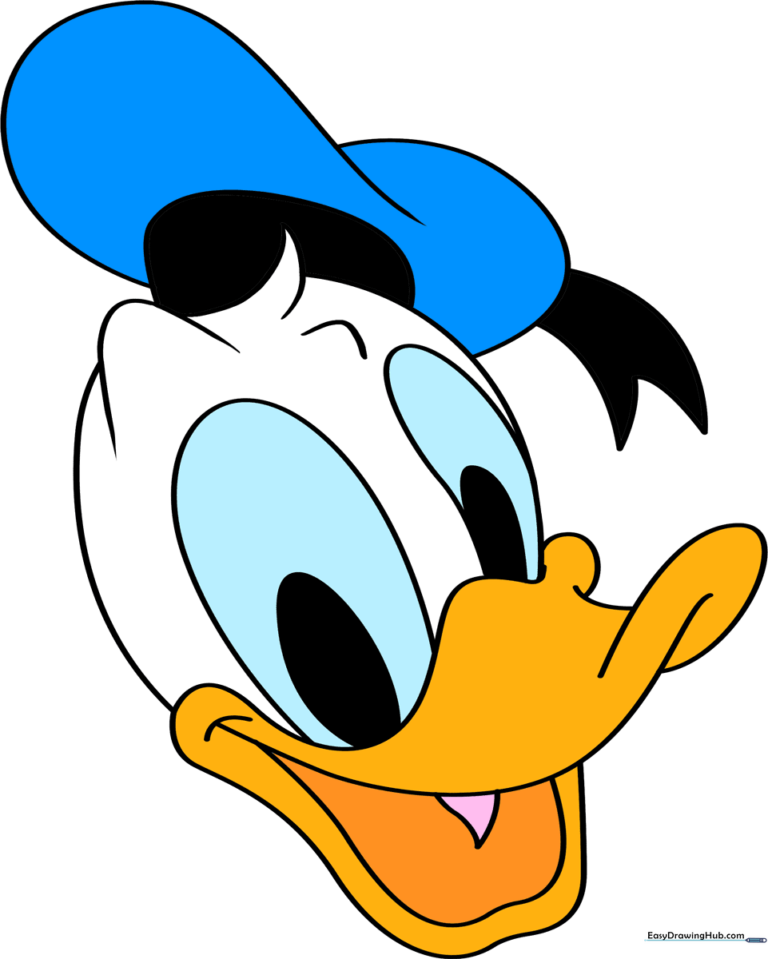
🎯 Final Result
Step-by-Step Instructions
Step 1: Sketching the Head Base

Draw a large 'C' shaped line to outline the top of Donald's head. Teacher's Tip: Keep this curve wide and rounded; it serves as the foundation for his entire face, so don't press too hard!
Step 2: Adding Feather Tufts
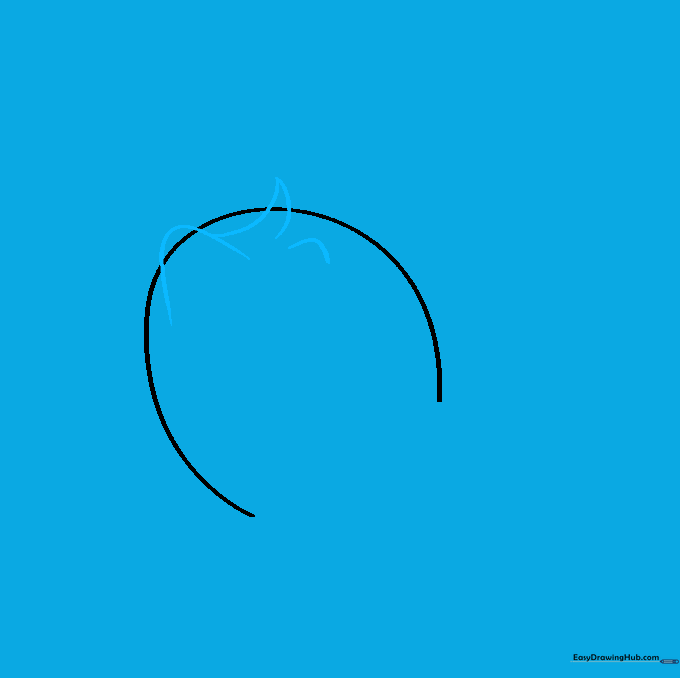
Add small, sharp curves on top of the head to represent his feathers. Teacher's Tip: Use quick, flicking motions with your pencil to make the feathers look soft and natural.
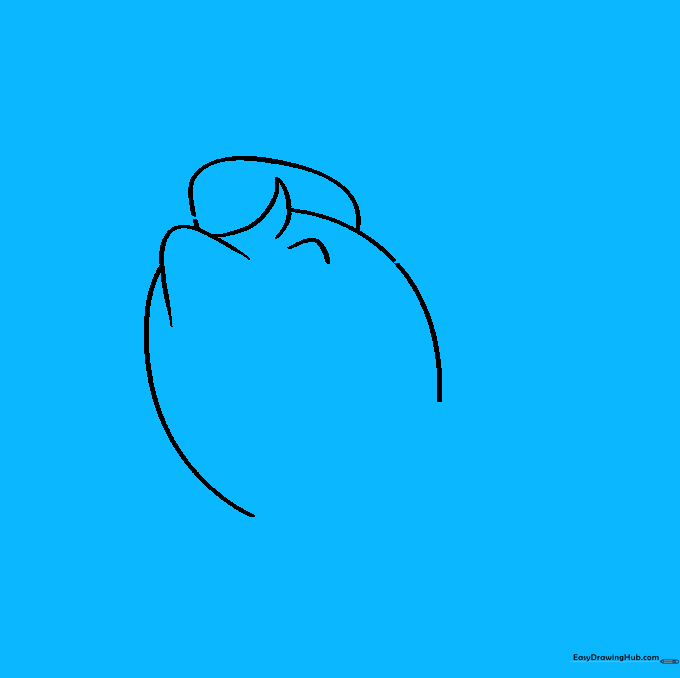
Step 3: Cleaning the Outline

Carefully erase the original 'C' line where it intersects with the feathers. Teacher's Tip: Use a clean eraser and brush away the crumbs so your drawing stays crisp.
Step 4: Drawing the Hat Base
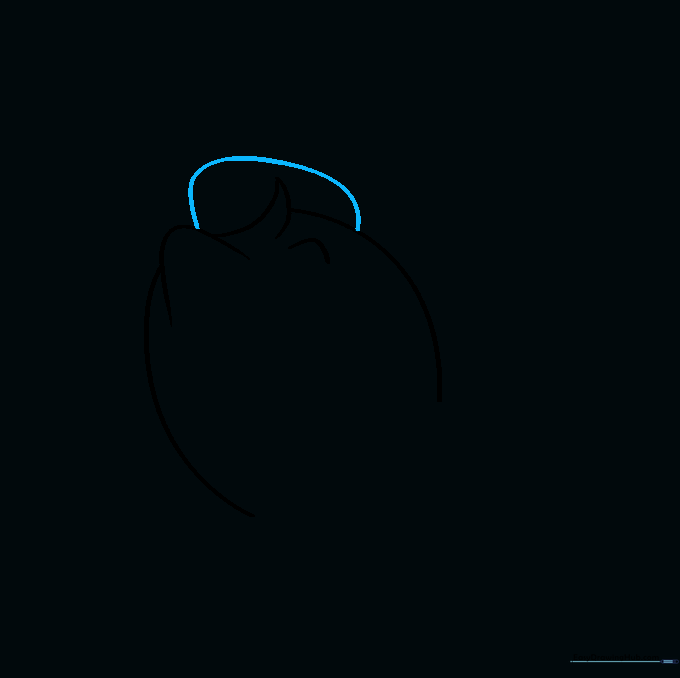
Draw an irregular rounded shape resting on top of the head. Teacher's Tip: Think of this as a flat oval that sits slightly tilted to give Donald his signature look.
Step 5: Completing the Hat
Use two overlapping curved lines to close the top of the hat. Teacher's Tip: Keep the lines smooth to make the hat look like soft fabric.
Step 6: Adding the Hat Ribbon

Draw two lines extending from the back of the hat, connected by a 'V' shape for the ribbon. Teacher's Tip: Make the 'V' sharp to contrast with the roundness of the hat.
Step 7: Sketching the Beak
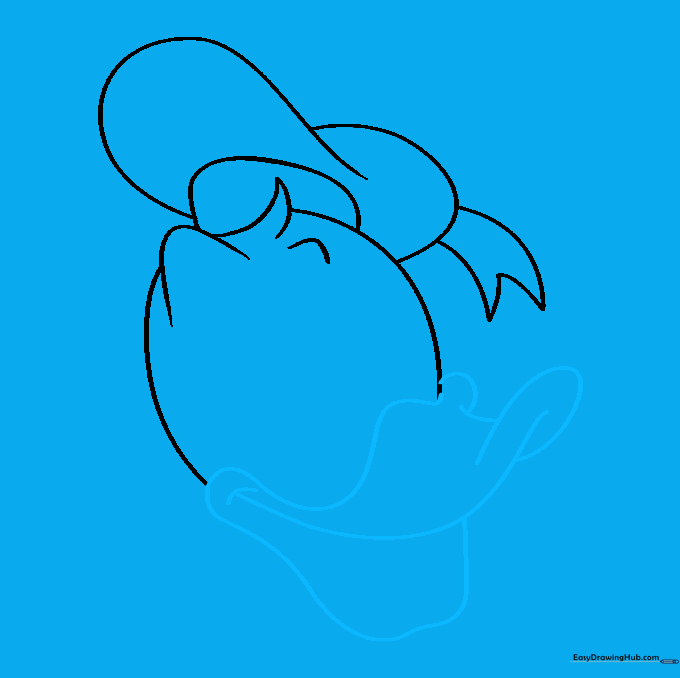
Enclose the beak using curved lines, focusing on the 'W' shape where it meets the face. Teacher's Tip: Notice how the lines overlap at the tip to create depth.
Step 8: Adding Mouth Detail
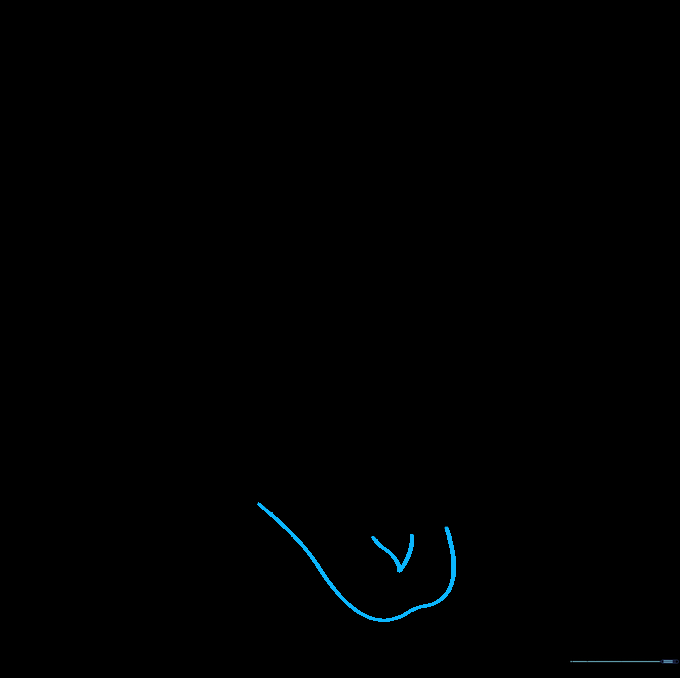
Draw a curved line inside the beak for the mouth and a small 'V' shape for the tongue. Teacher's Tip: Keep the tongue small so it doesn't crowd the beak.
Step 9: Drawing the Eyes

Add two large ovals above the beak, with smaller, shaded ovals inside for pupils. Teacher's Tip: Make sure the eyes are symmetrical to give Donald his friendly expression.
Step 10: Adding Color
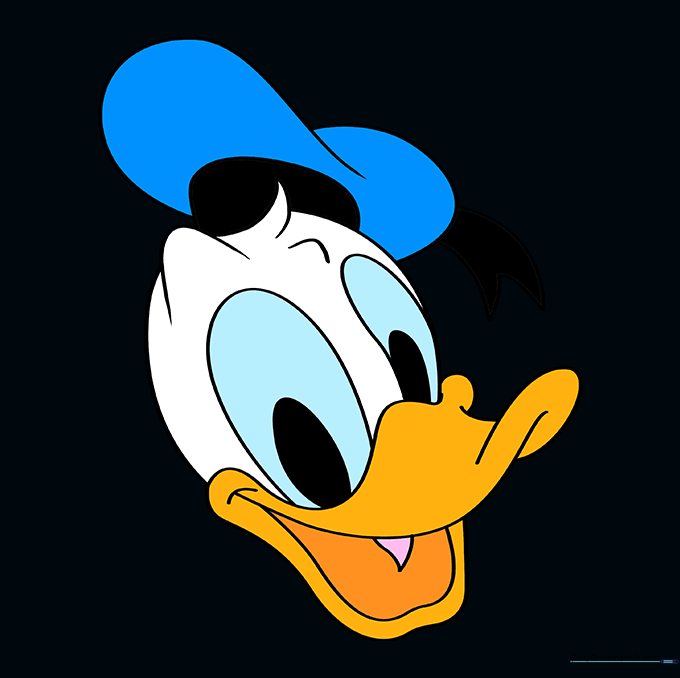
Color your drawing! Use white for the feathers and a vibrant blue for the hat. Teacher's Tip: Use light, even strokes to keep the colors looking smooth and professional.
More Tutorials


