How to Draw Dog Man: Easy 10-Step Guide for Kids
Bring your favorite comic book hero to life with this easy-to-follow drawing guide! Designed for young artists and beginners, this activity requires only a pencil, paper, and an eraser. Follow these steps to master Dog Man’s iconic look while building your sketching confidence.
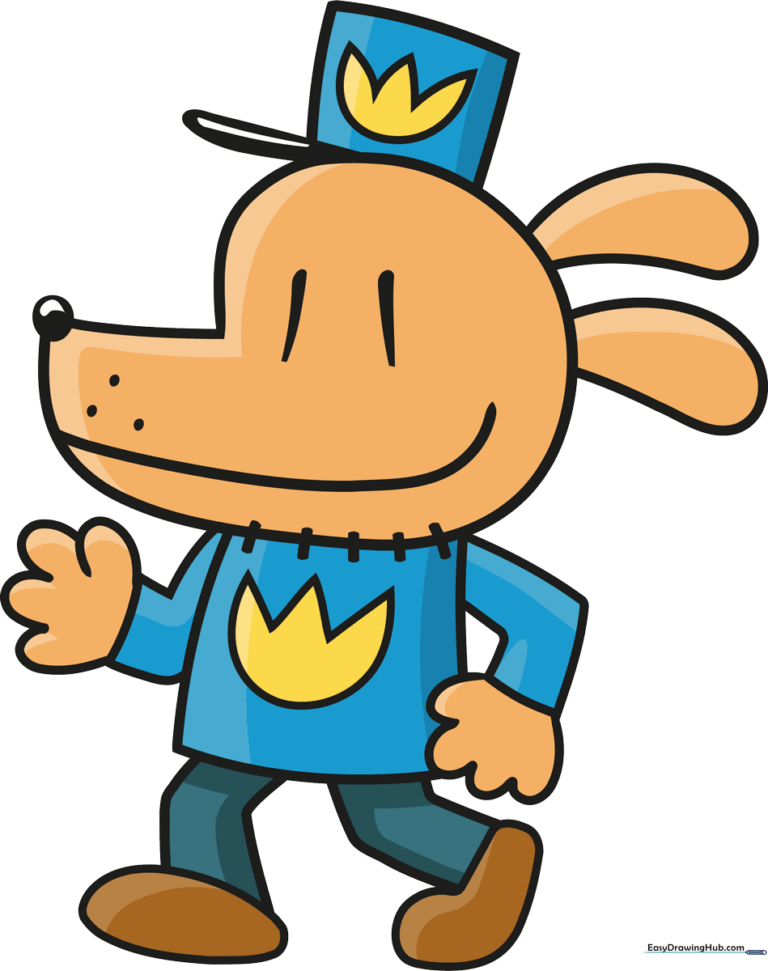
🎯 Final Result
Step-by-Step Instructions
Step 1: Sketching the Head and Snout

Draw a long, curved line to create the shape of Dog Man's head. Add a small, shaded circle at the tip of the snout for his nose, and a curved line below for his friendly smile. Teacher's Tip: Keep your pencil lines light so you can easily adjust the shape if needed.
Step 2: Adding the Hat and Facial Features
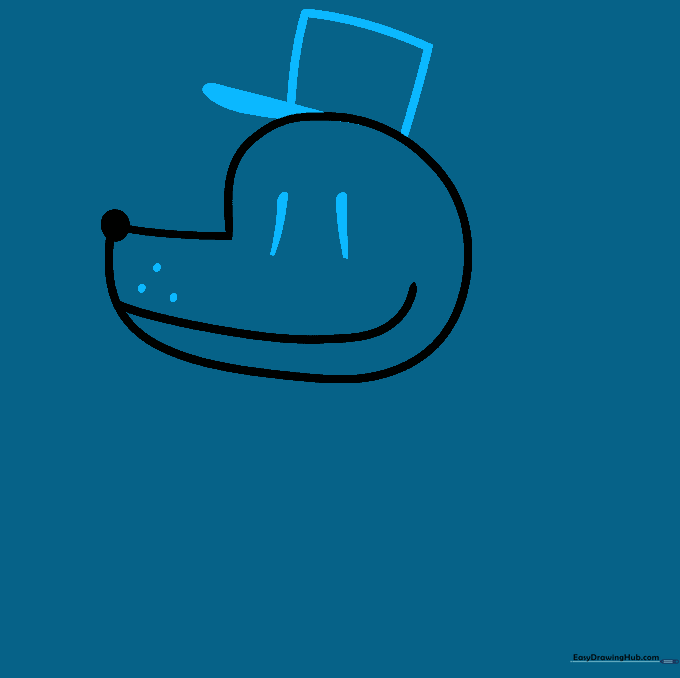
Draw a square on top of the head for his police cap, adding a thick line at the bottom for the brim. Sketch two vertical curved lines for his eyes and three small dots near the nose for whiskers. Teacher's Tip: Use a ruler if you want the hat to look extra sharp!
Step 3: Detailing the Hat and Ear

Draw a tulip-like shape on the front of the hat. Extend a curved line from the side of the head and loop it back to form the ear. Teacher's Tip: Make sure the ear is rounded to give him that classic cartoon look.
Step 4: Drawing the Torso and Second Ear
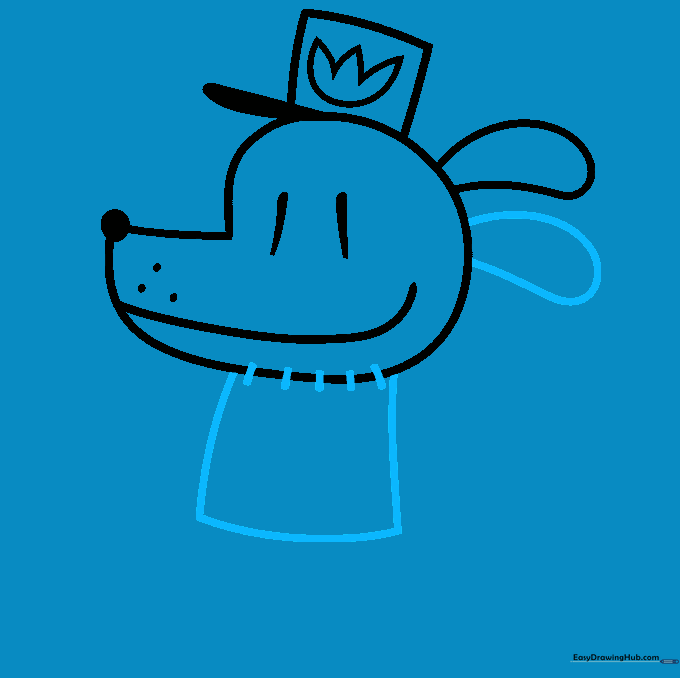
Sketch a slightly curved square below the head for the torso. Add short lines between the head and body to create his beard, then draw the second ear on the opposite side. Teacher's Tip: Keep the beard lines short and quick to mimic fur texture.
Step 5: Outlining the Arms
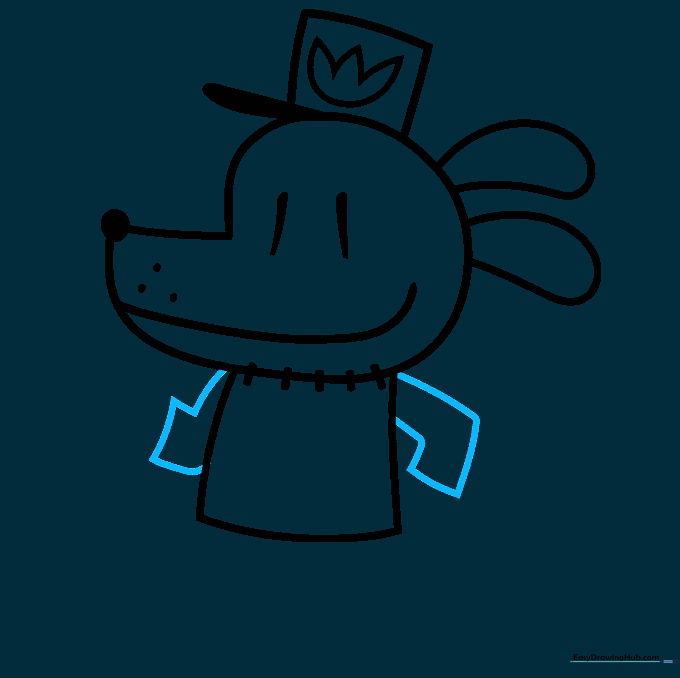
Draw two 'L' shaped lines extending from the torso to form the arms. Teacher's Tip: Imagine where his shoulders would be to ensure the arms look proportional to his body.
Step 6: Drawing the First Hand
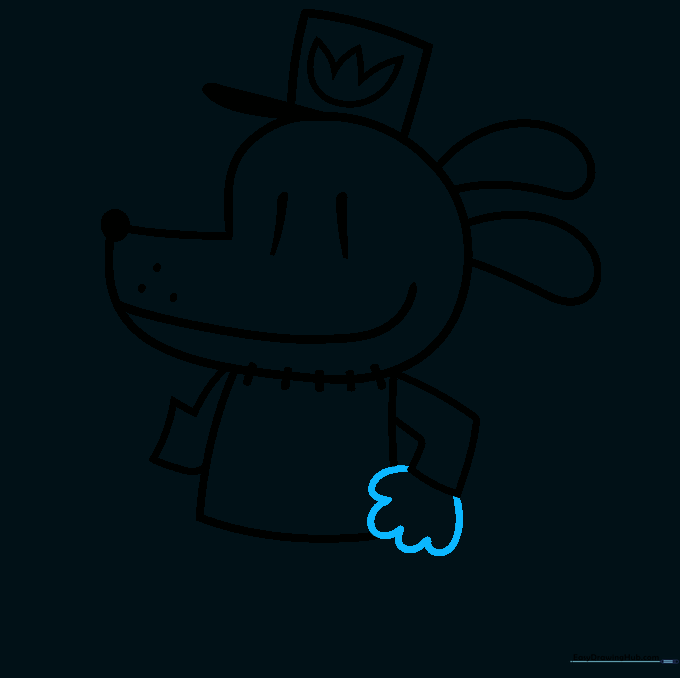
Draw the hand at the end of the arm using short, curved lines for the fingers. Erase any overlapping lines from the arm to make it look clean. Teacher's Tip: Don't worry if the fingers look a bit wobbly; cartoon hands are meant to be expressive!
Step 7: Drawing the Second Hand
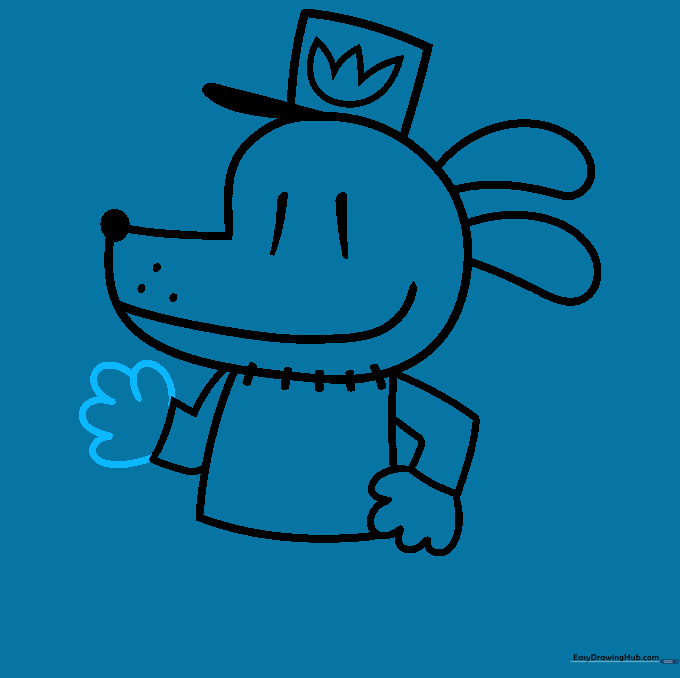
Repeat the process for the second hand, using the same short, curved lines for the fingers. Teacher's Tip: Try to match the size of the fingers on both hands for a balanced look.
Step 8: Sketching the Legs and Feet
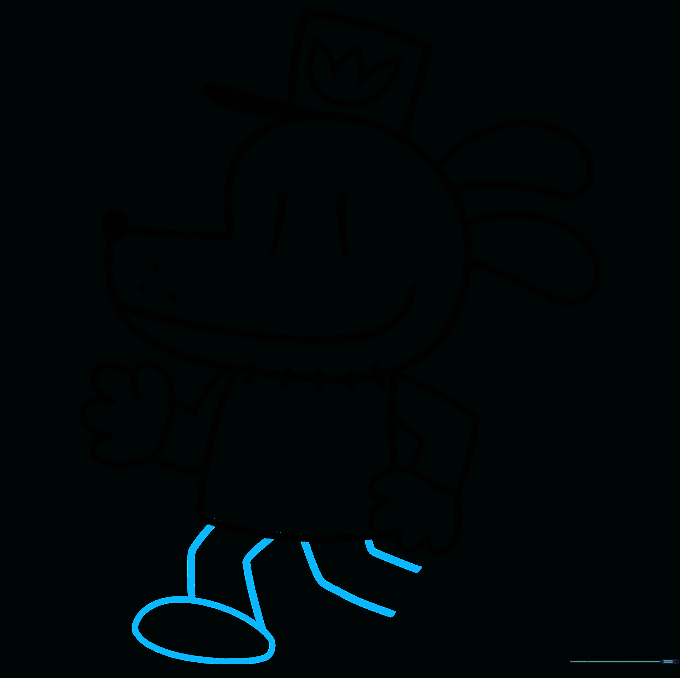
Draw two parallel lines for each leg, bending them slightly to form the knees. Add an oval at the bottom of each leg for the feet. Teacher's Tip: The bend in the knee gives your character a sense of movement.
Step 9: Finalizing the Details
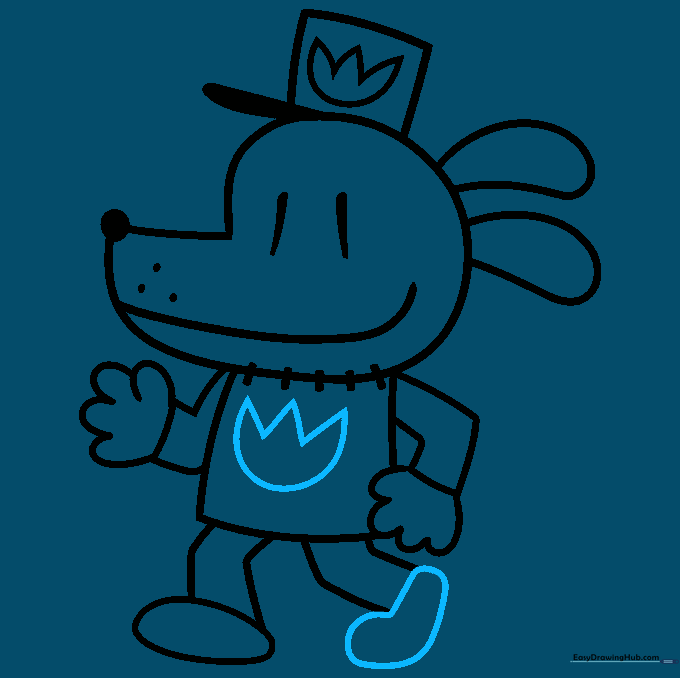
Complete the outline of the feet and add the tulip-shaped icon to his shirt using a curved line and two 'V' shapes. Teacher's Tip: Use a darker pencil or fine-liner to trace your final lines before coloring.
Step 10: Coloring Your Masterpiece
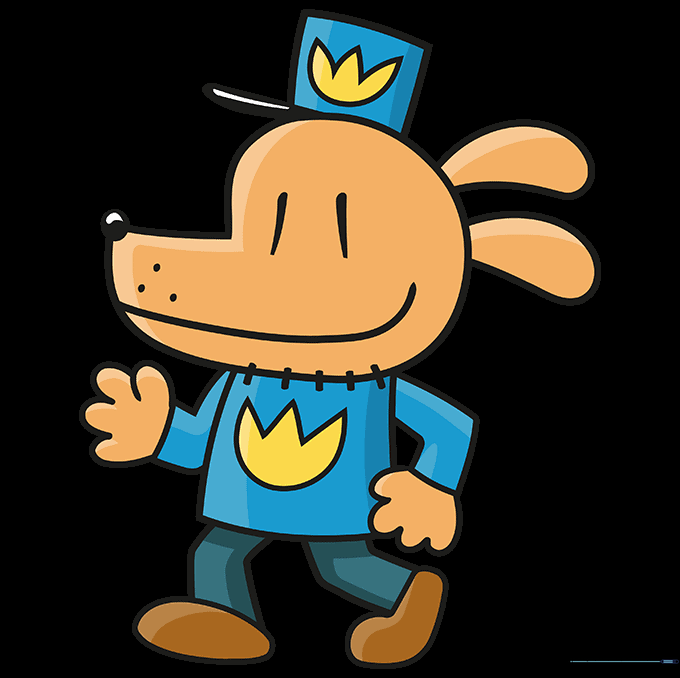
Bring Dog Man to life with color! Use brown for his fur, blue for his uniform, and yellow for the logo. Teacher's Tip: Try using colored pencils and layering your colors to create depth and shadow.
More Tutorials


