How to Draw DNA: Simple 10-Step Science Art Tutorial
Bring biology to life with this step-by-step guide to drawing a DNA double helix. Designed for students and budding artists, this project requires only a pencil, eraser, and paper. You will master the rhythmic, twisting structure of DNA while developing steady hand-eye coordination.
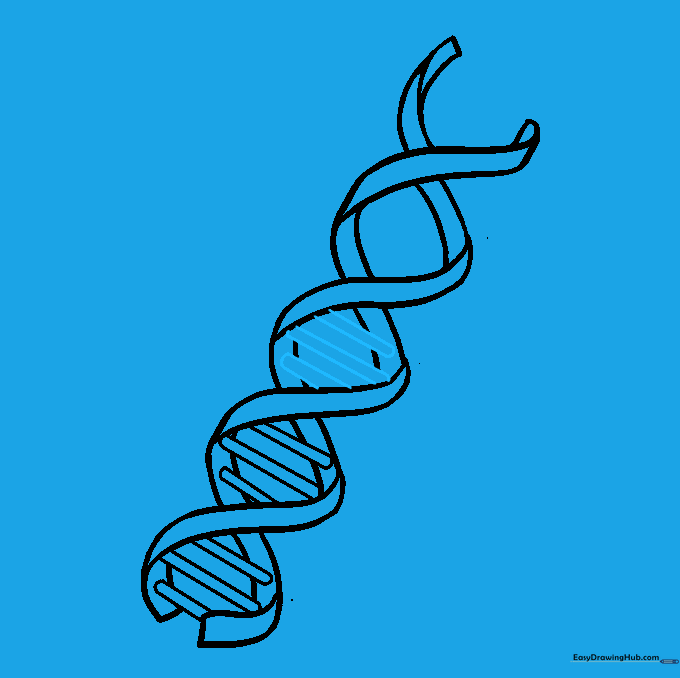
🎯 Final Result

Step-by-Step Instructions
Step 1: Establishing the Guide Lines

Draw two long, parallel diagonal lines. These act as the 'rails' for your helix. Teacher's Tip: Use a ruler if you struggle with straight lines, but keep the pressure light so you can erase them later.
Step 2: Adding the First Curve Set

Draw pairs of curved lines connecting your two guide lines. These should slant diagonally. Teacher's Tip: Imagine you are drawing small, soft 'U' shapes tilted on their sides.
Step 3: Creating the Cross-Over
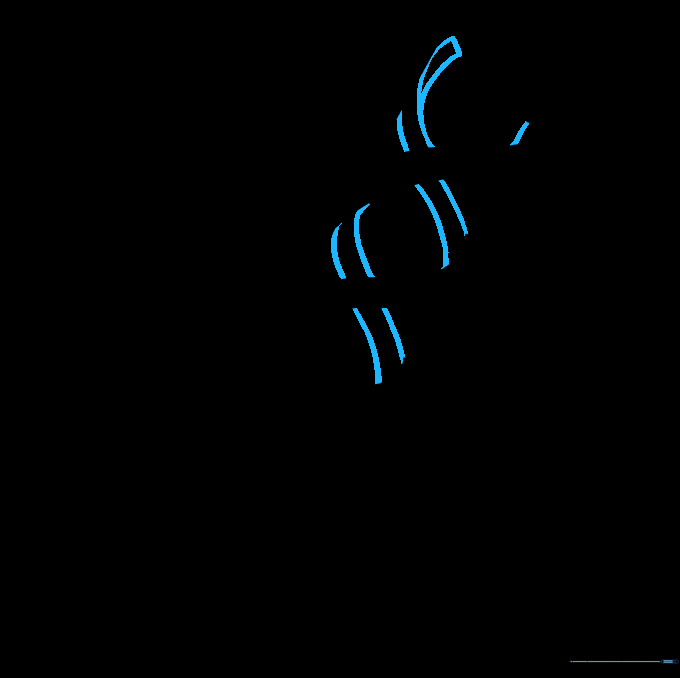
Draw a second set of curves that cross the first ones, forming an 'X' pattern. Teacher's Tip: Keep the spacing between your curves consistent to ensure the DNA looks uniform.
Step 4: Completing the Helix Frame
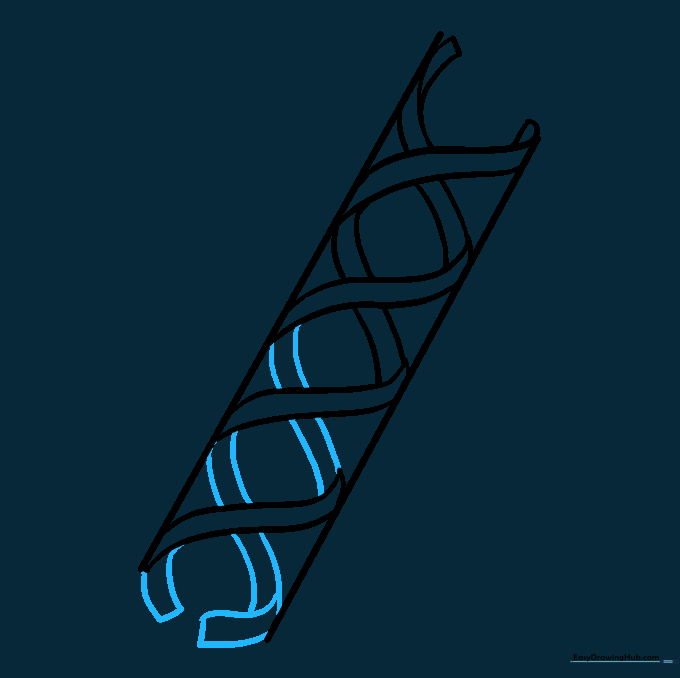
Continue the pattern down to the bottom. Cap off the ends with short lines to close the shape. Teacher's Tip: Don't worry if the curves aren't perfect; the organic look of DNA is actually quite forgiving!
Step 5: Cleaning the Structure

Carefully erase the long, straight guide lines from Step 1. You should now see the twisting ribbon shape clearly. Teacher's Tip: Use a kneaded eraser to lift the graphite gently without smudging your work.
Step 6: Adding Nucleotide Bars
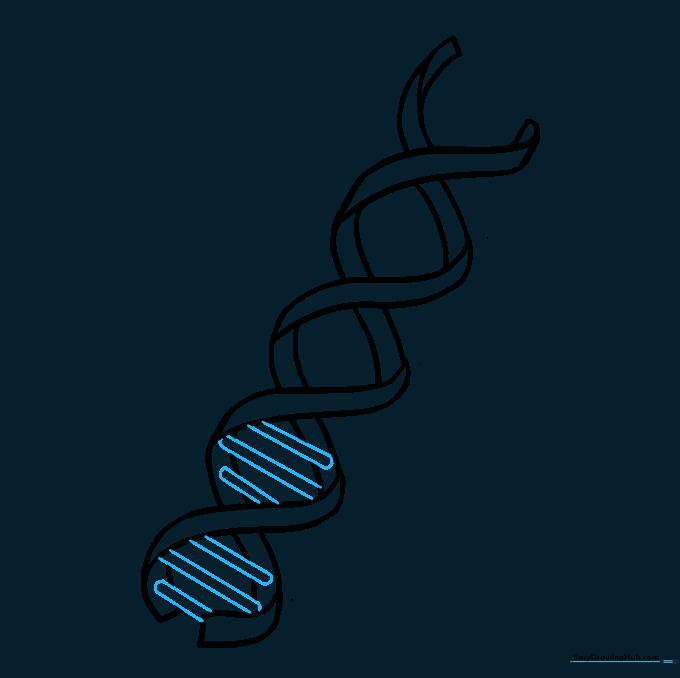
Draw three small, parallel bars inside each section of the helix. These represent the nucleotide base pairs. Teacher's Tip: Keep these bars short and centered within the curves.
Step 7: Filling the Next Section
Repeat the process by adding three more bars in the next opening. Teacher's Tip: Take your time—this is great practice for fine motor control.
Step 8: Continuing the Pattern

Continue adding three bars to each remaining section of the helix. Teacher's Tip: If your hand gets tired, take a quick break and stretch your fingers before finishing.
Step 9: Finalizing the Outline
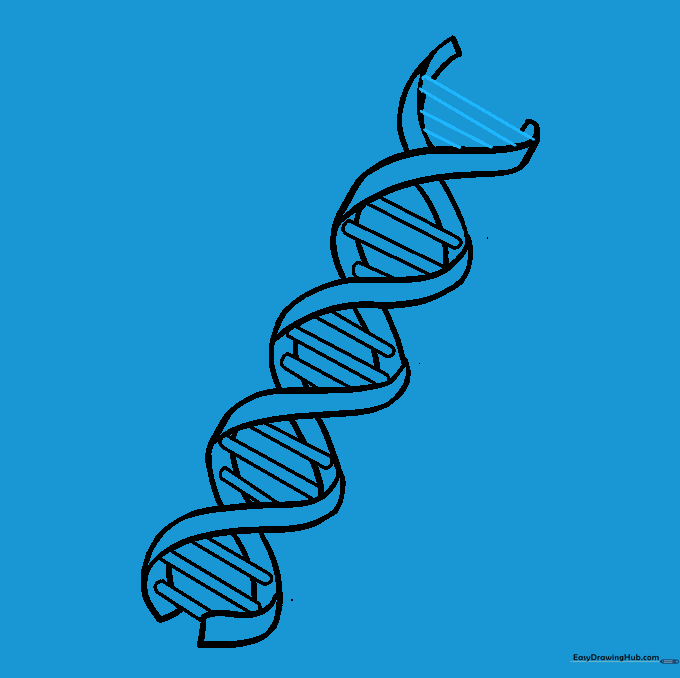
Draw the final set of bars at the bottom to complete your strand. Check your work and erase any stray pencil marks. Teacher's Tip: Use a fine-liner pen to trace over your pencil lines for a professional look.
Step 10: Adding Color
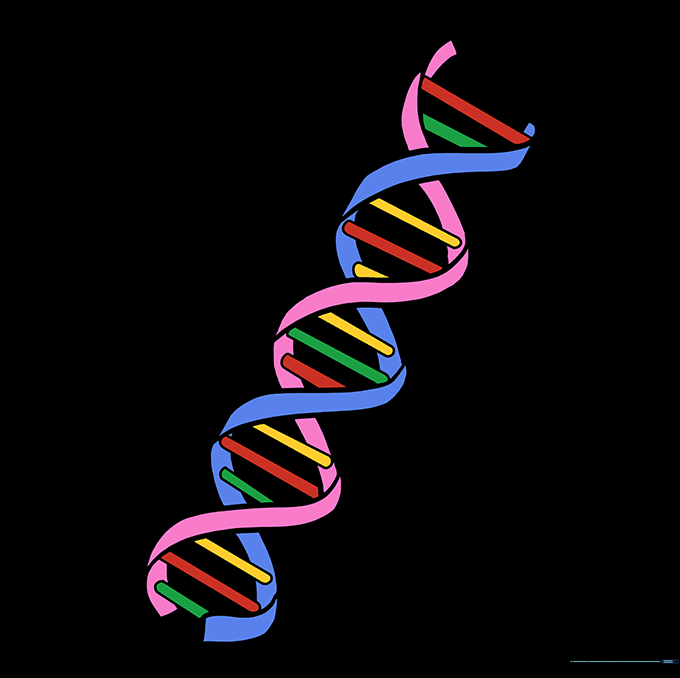
Bring your DNA to life with color! Use different shades for each bar to represent the unique genetic code. Teacher's Tip: Use bright, contrasting colors to make the structure pop off the page.
More Tutorials


