How to Draw Dice: Easy 10-Step Guide for Beginners
Ready to master 3D shapes? This tutorial is perfect for artists ages 6+ looking to practice perspective. You only need a pencil, eraser, and paper to create these classic game dice. Follow along to build your confidence with geometric drawing.
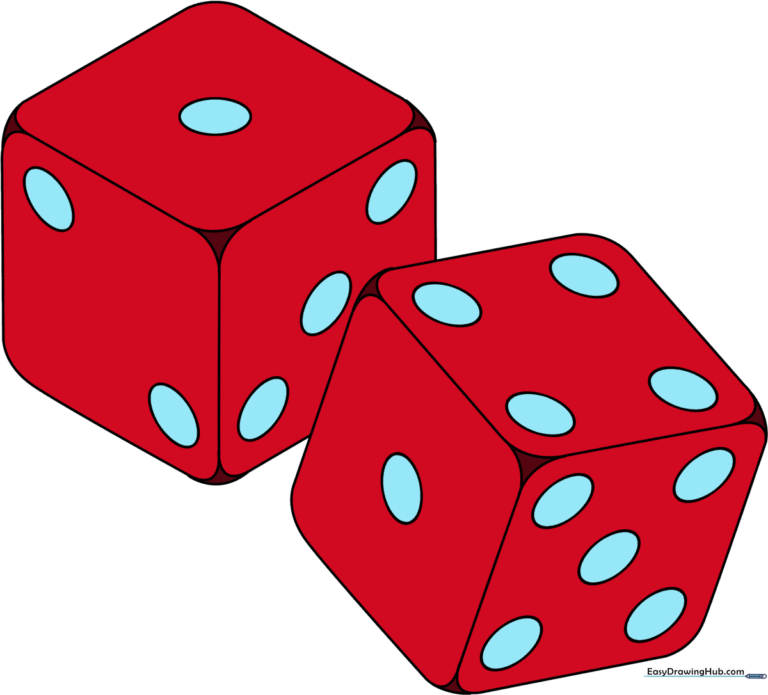
🎯 Final Result
Step-by-Step Instructions
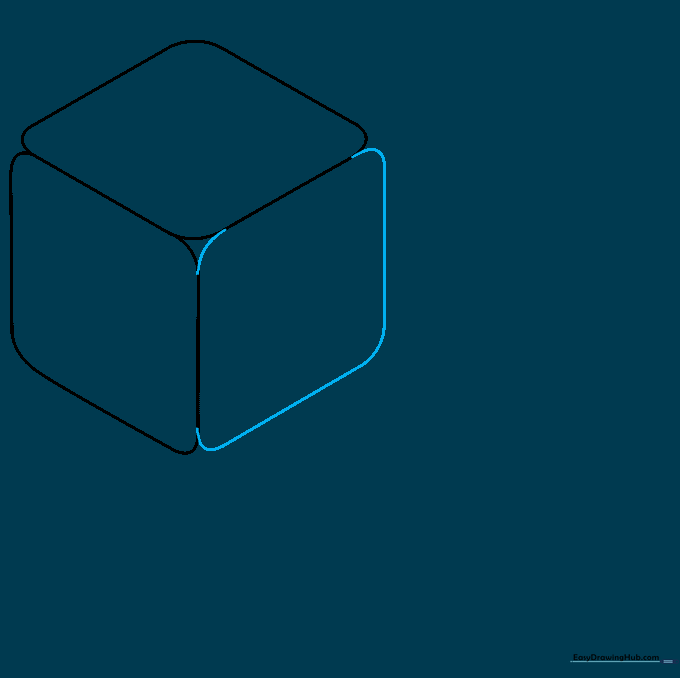
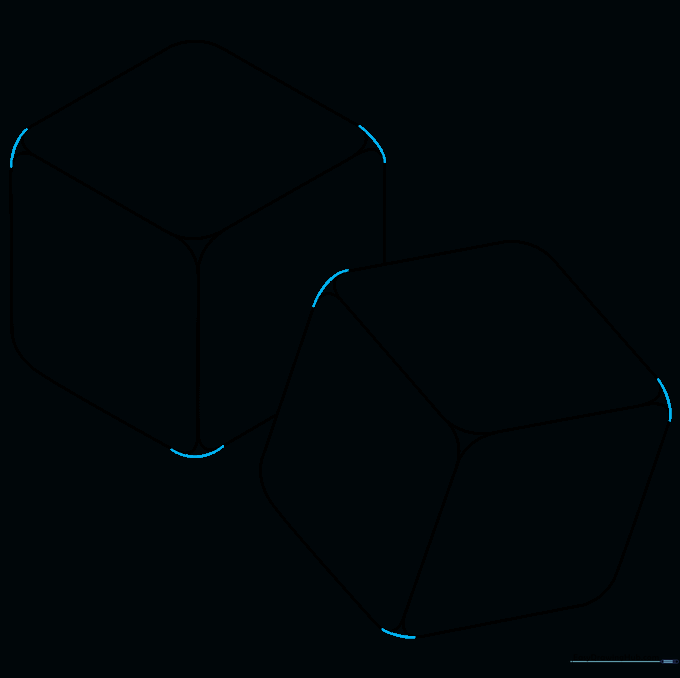
Step 1: Sketching the Top Face

Draw a horizontal diamond shape with rounded corners. This represents the top surface of your first die. Teacher's Tip: Keep your pencil pressure light—this is just a guide for the cube's structure.
Step 2: Adding the Side Face

Draw a second rounded diamond beneath the first, sharing the bottom corner. This creates the side of the cube. Tip: Ensure the two shapes touch perfectly at the center point.
Step 3: Completing the First Cube
Draw a third rounded diamond to close the shape, sharing sides with the previous two. You now have a 3D cube! Tip: If it looks a bit wonky, don't worry—that's why we draw lightly first.
Step 4: Starting the Second Die
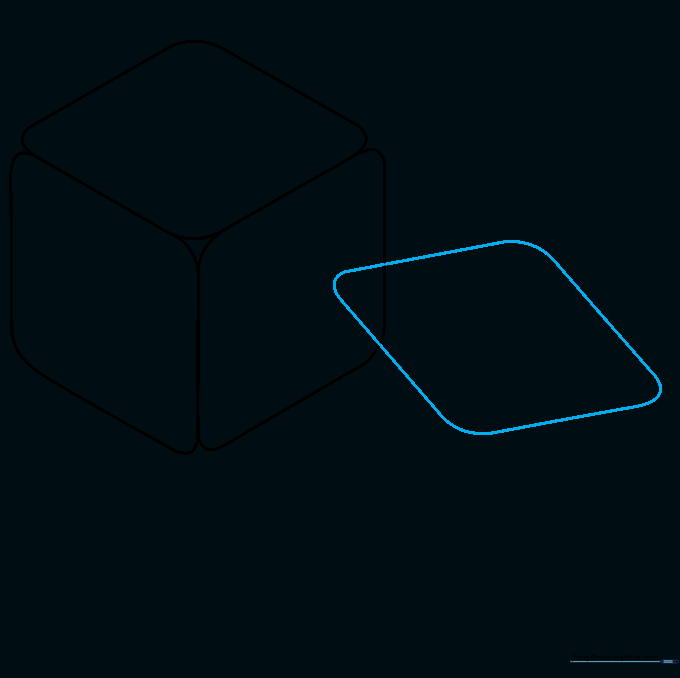
Draw another rounded diamond overlapping the first die. This will be the base for your second die. Tip: Overlapping creates depth, making your drawing look more professional.
Step 5: Building the Second Die
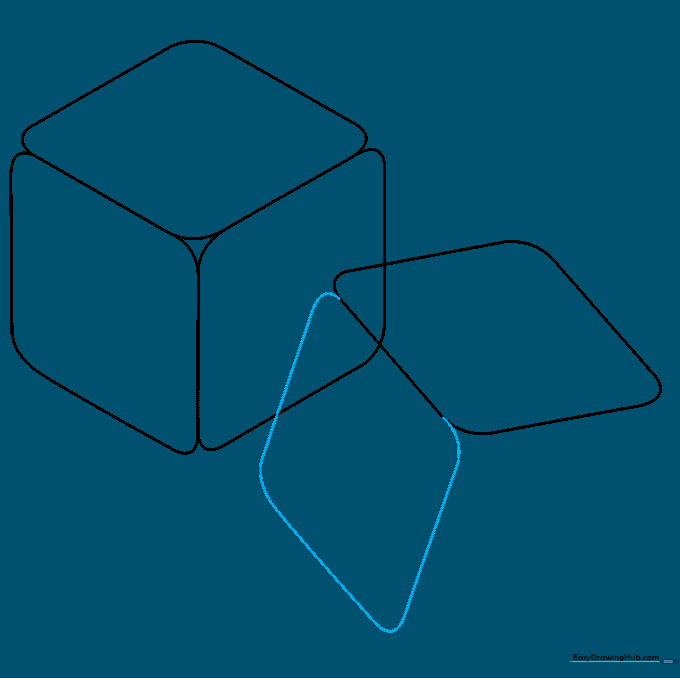
Add another diamond shape next to the one you just drew. Tip: Keep your lines consistent in size so the two dice look like they belong together.
Step 6: Finishing the Second Cube

Draw the final diamond to complete the second cube. Tip: Check that all corners are rounded to give the dice a smooth, realistic look.
Step 7: Refining the Edges
Erase the overlapping lines where the dice touch. Connect the corners with short, curved lines to soften the edges. Tip: Use a clean eraser to keep your paper smudge-free.
Step 8: Adding Pips to Die One
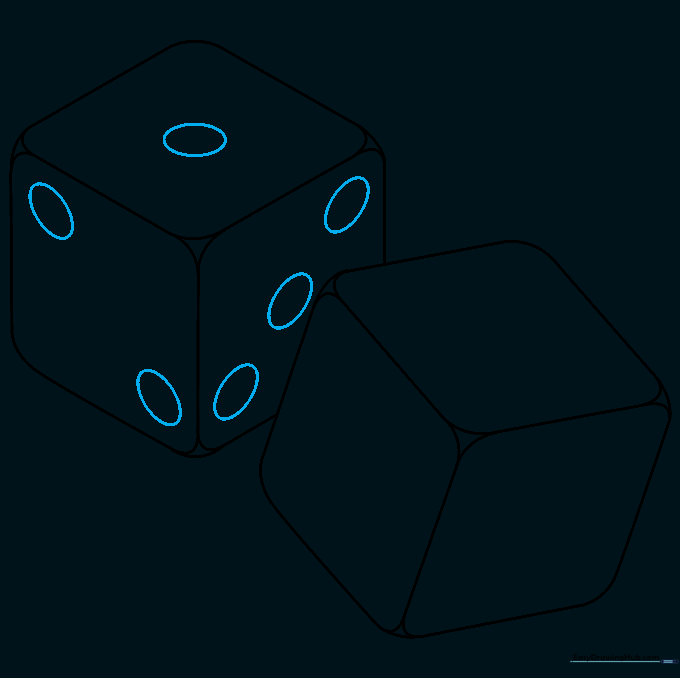
Draw the pips (dots) on the faces of the first die. Place one, two, and three dots on the visible sides. Tip: Space them evenly so they don't look crowded.
Step 9: Adding Pips to Die Two
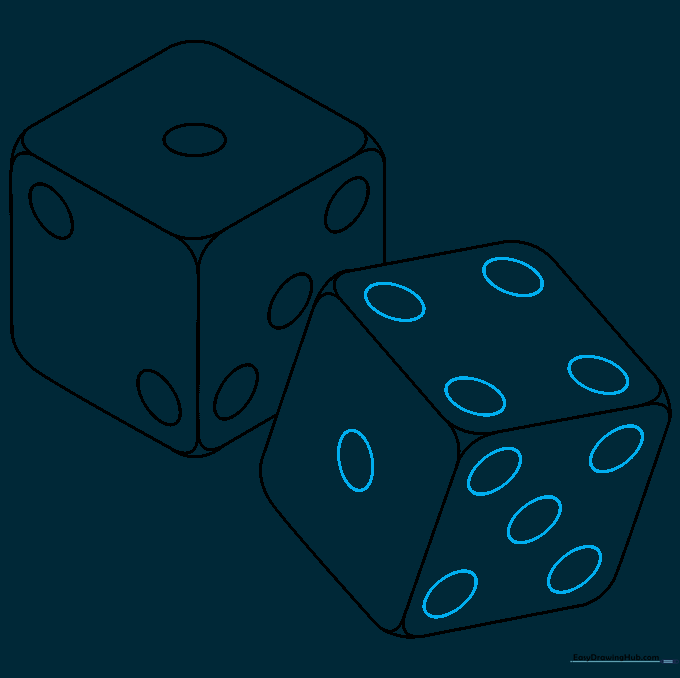
Repeat the process for the second die, adding one, four, and five pips. Tip: Remember that opposite sides of a standard die always add up to seven!
Step 10: Adding Color
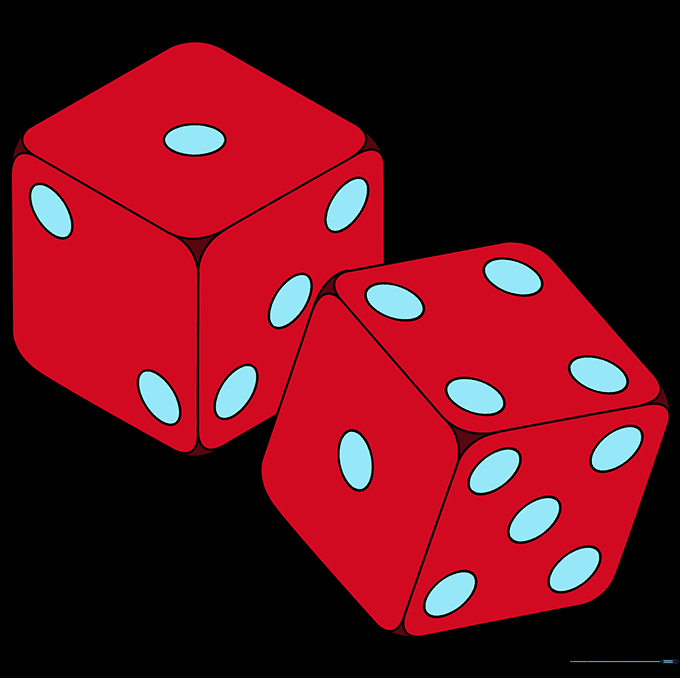
Color your dice! Classic white with black dots is great, but feel free to get creative with bright colors. Tip: Use a dark marker for the pips to make them pop against the lighter cube faces.
More Tutorials


