How to Draw Deathstroke: Easy 10-Step Character Guide
Ready to bring the legendary mercenary to life? This tutorial is perfect for artists ages 8+ looking to practice comic book anatomy and armor detailing. Grab your favorite graphite pencil, a good eraser, and some paper to start building your own action-packed character sketch.
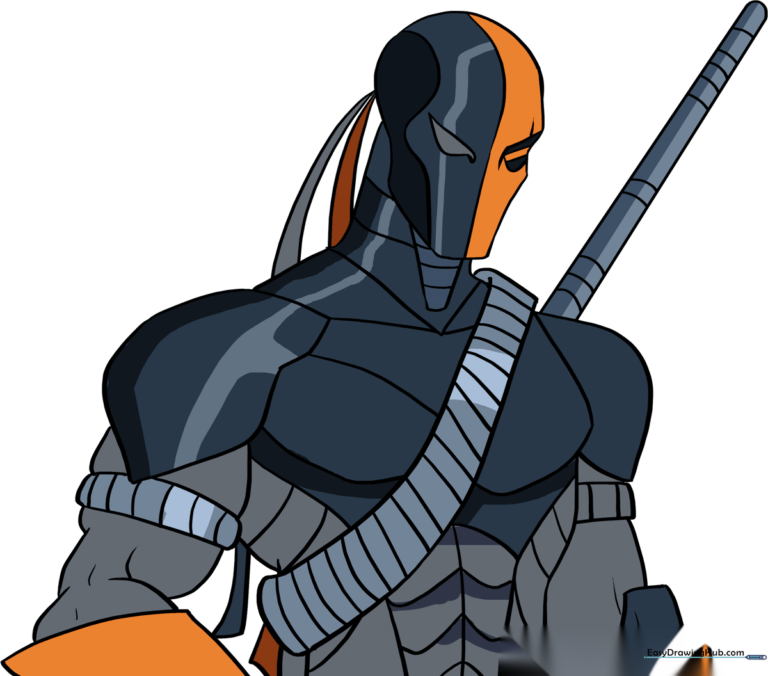
🎯 Final Result
Step-by-Step Instructions
Step 1: Sketching the Head Base
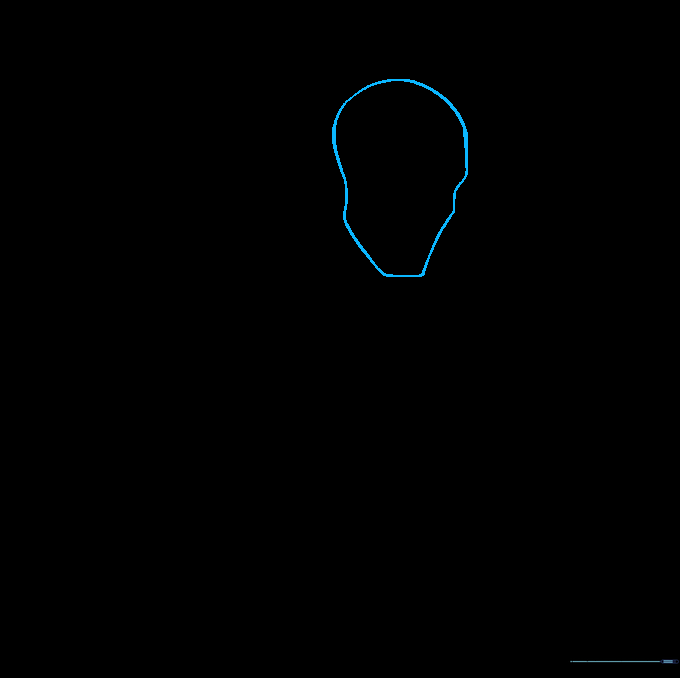
Start by sketching the irregular shape of the head. Tip: Focus on the square chin—it gives the character that tough, heroic look. Keep your lines light so you can refine the shape later.
Step 2: Defining the Neck and Collar
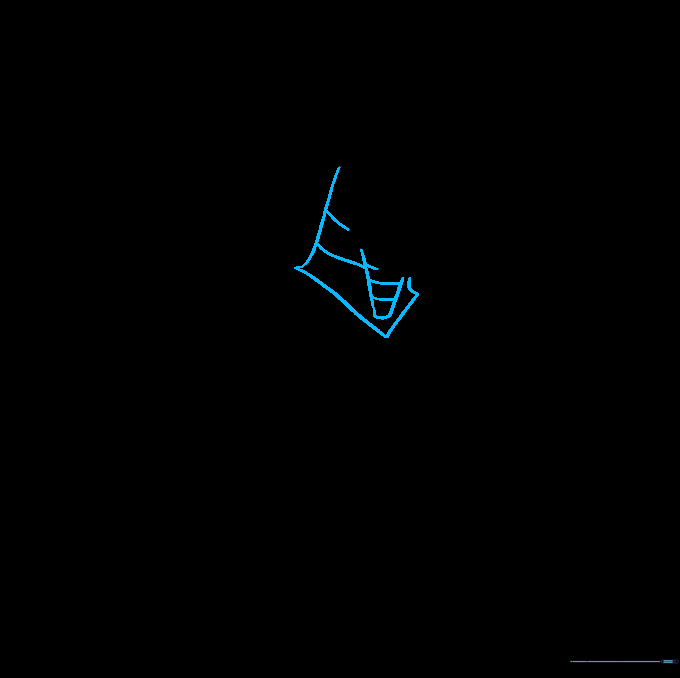
Extend lines from the chin to form the neck, connecting them with a sharp 'V'. Add an inverted triangle below the chin for the chest armor base. Tip: Use smooth, curved lines to represent the flexible material of his suit.
Step 3: Constructing Shoulder Armor

Extend a line from the neck to create the shoulder, then enclose it in an irregular shape. Tip: Think of this as a protective cap; keep the edges slightly rounded to show it's made of sturdy material.
Step 4: Adding Arm Details
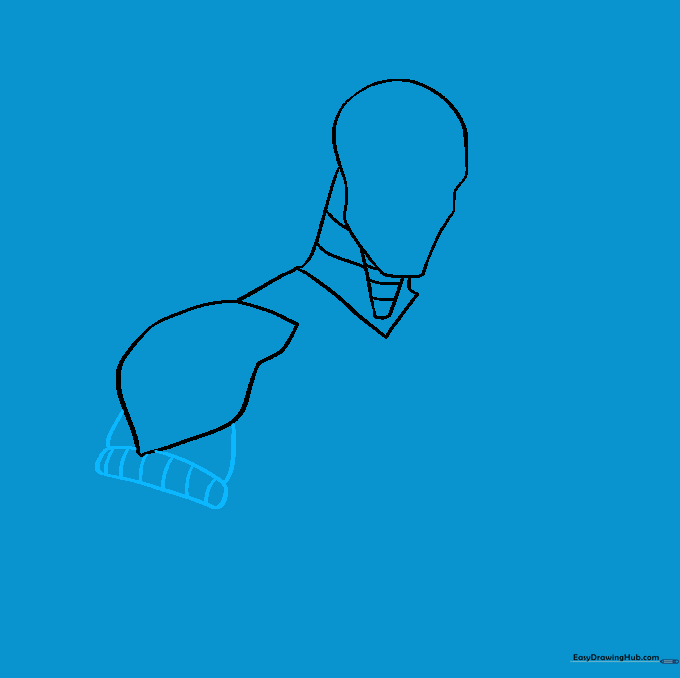
Draw two short, curved lines extending from the shoulder armor, connecting them at the bottom. Add small bands between these lines. Tip: These bands create the 'segmented' look common in tactical gear.
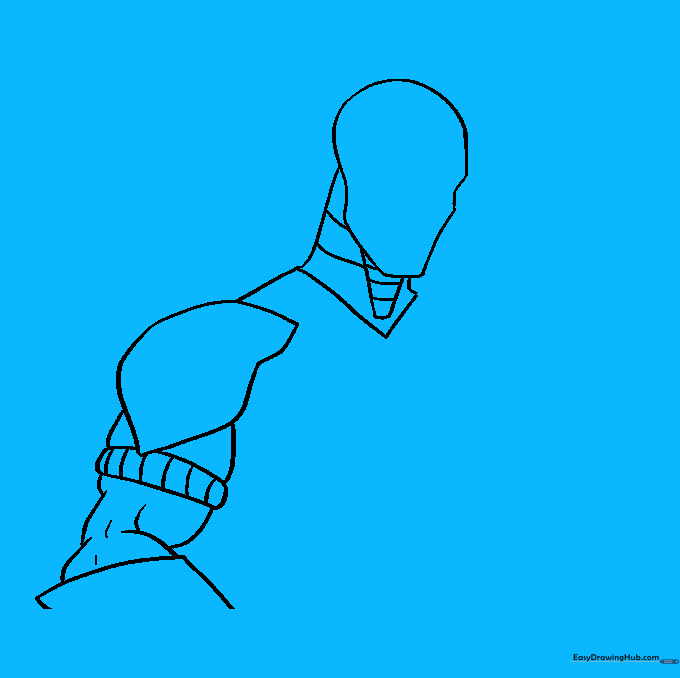
Step 5: Drawing the Forearm
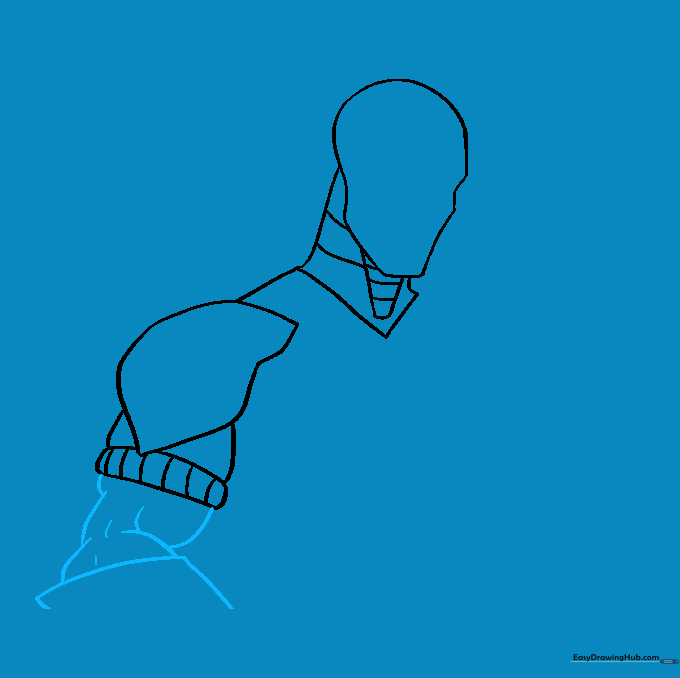
Use pairs of curved lines to sketch the muscular arm bent at the elbow. Add the top of the gauntlet. Tip: To make the arm look muscular, make the lines slightly wider at the bicep and taper them toward the wrist.
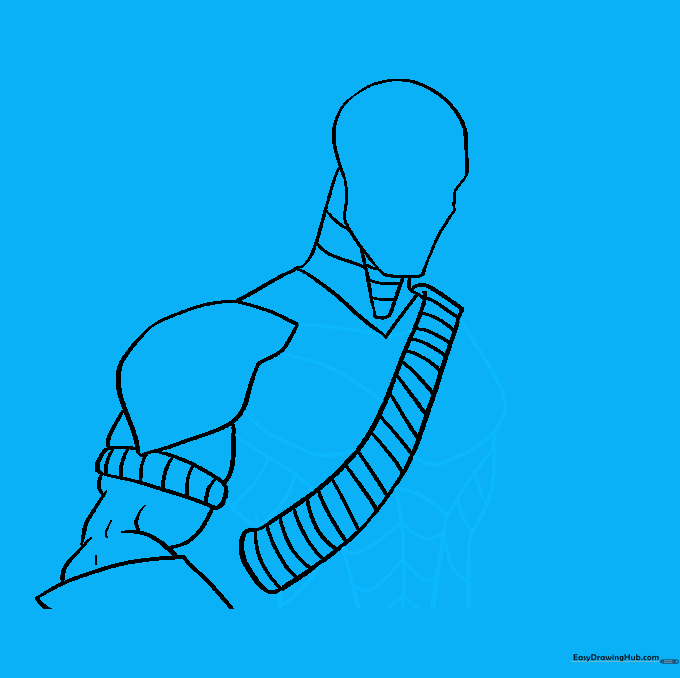
Step 6: Adding the Bandolier
Draw a long bandolier running diagonally across the torso. Add narrow, vertical lines to represent the pouches. Tip: Draw these lines parallel to each other to keep the gear looking neat and organized.
Step 7: Detailing the Torso
Outline the chest and abdomen muscles using curved lines. Add parallel lines down the center of the abdomen to show the suit's texture. Tip: Use soft curves for the pectorals to give the chest a natural, powerful shape.
Step 8: Completing the Arm and Face
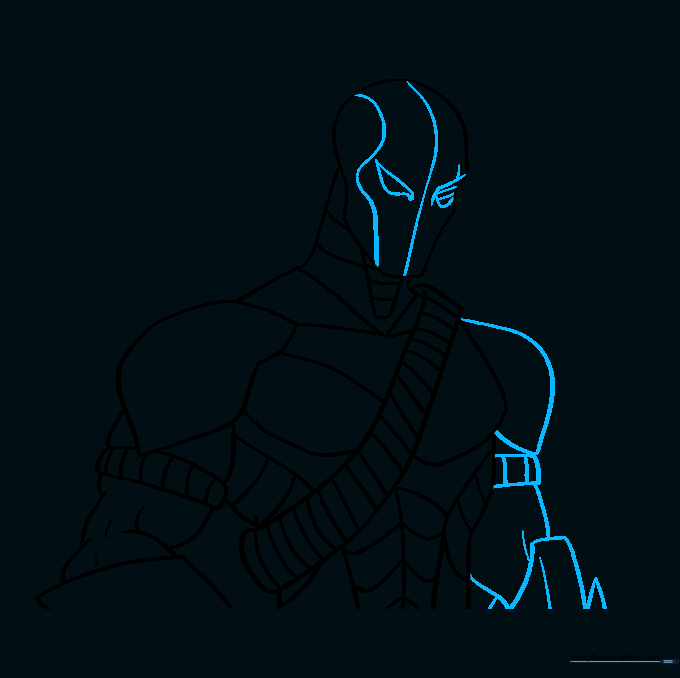
Draw the remaining arm and gauntlet. Then, add the face details—use curved lines to define the mask and the narrow, pointed eyes. Tip: The eyes are key to his intimidating look; keep them sharp and angular.
Step 9: Adding the Weapon

Draw a weapon extending from the shoulder using parallel lines, then add bands for detail. Finish with long, curved lines behind the head to suggest movement. Tip: Use a ruler if you want the weapon to look extra straight and sharp!
Step 10: Bringing it to Life with Color
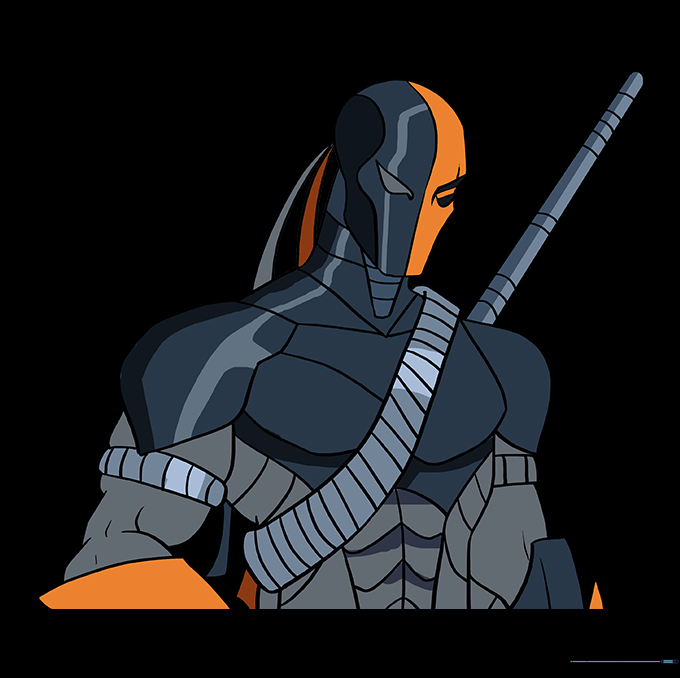
Time to color! Use bold orange and black to capture Deathstroke's iconic look. Tip: Use a light touch with your black marker to avoid smudging the orange areas.
More Tutorials


