How to Draw Darth Maul: Easy Step-by-Step Star Wars Guide
Ready to bring a Sith Lord to life? This tutorial is perfect for young artists and Star Wars fans looking to practice character proportions and symmetrical facial features. Grab your pencil, eraser, and paper, and let’s master the iconic look of Darth Maul together.
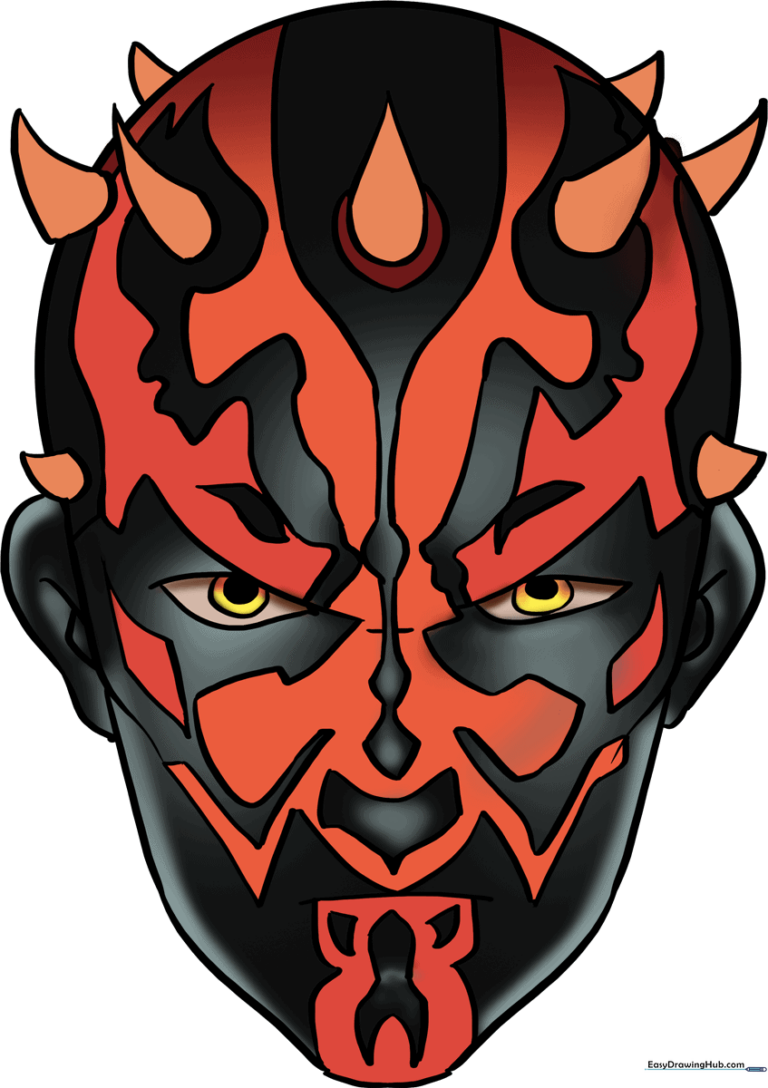
🎯 Final Result
Step-by-Step Instructions
Step 1: Sketching the Head Base

Start by drawing a light circle to serve as the head. Teacher's Tip: Keep your pencil pressure very light here; this is just a guide, and you'll want to erase it later once the facial features are set.
Step 2: Defining the Jawline
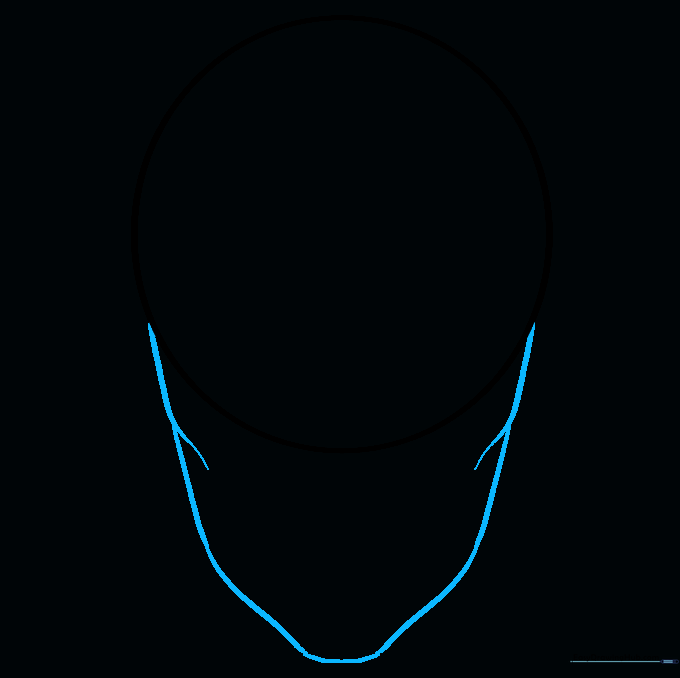
Use long, curved lines to extend from the circle to create the lower face. Aim for a slightly angular, pointed chin. Teacher's Tip: Focus on creating a strong, sharp jawline to capture Maul's intense expression.
Step 3: Cleaning the Canvas

Carefully erase the overlapping guide lines from your original circle. You should now have a clean, solid outline of the face. Teacher's Tip: Use a kneaded eraser if you have one to lift the graphite without smudging your paper.
Step 4: Detailing Eyes and Forehead
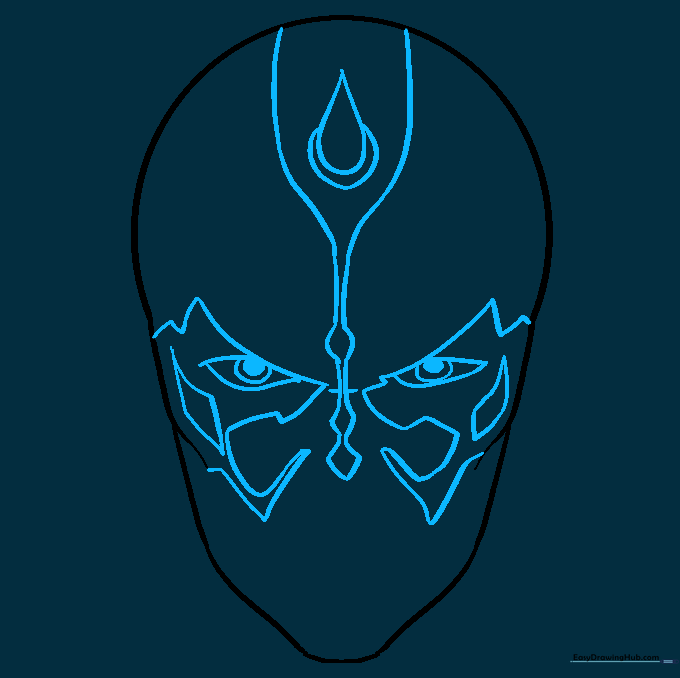
Draw a teardrop shape on the forehead for the central horn base. Add the eyes using double-pointed teardrop shapes, adding circles inside for pupils. Teacher's Tip: Take your time with the pupils; keeping them centered makes the character look more focused.
Step 5: Sketching the Nose
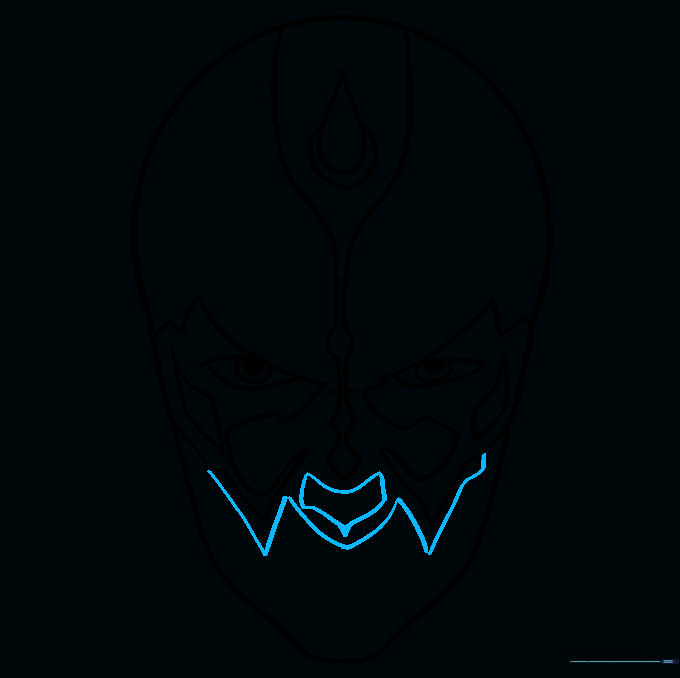
Draw an irregular shape for the nose tip, followed by a small zigzag line underneath. Teacher's Tip: The zigzag helps suggest the bridge of the nose and adds to the character's aggressive, sharp features.
Step 6: Drawing the Mouth
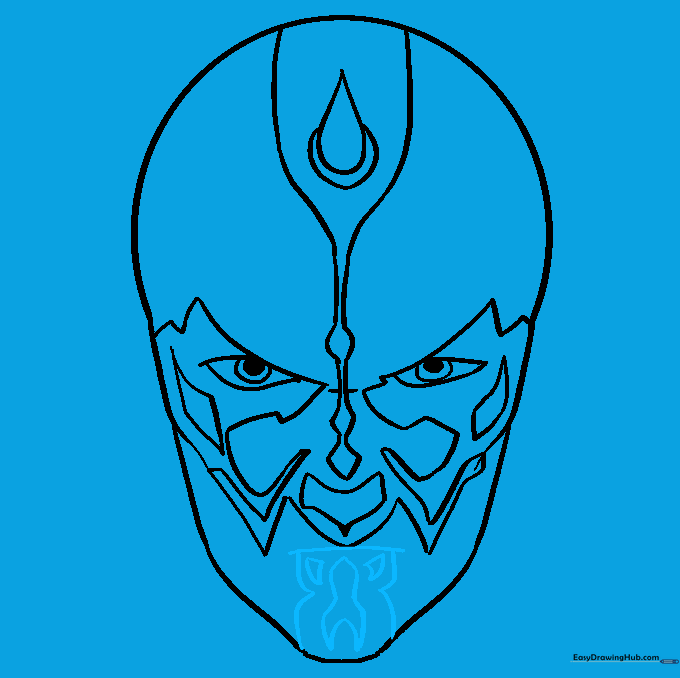
Add a curved line below the nose for the mouth, connecting it to the chin with two curved lines. Teacher's Tip: Keep the mouth line slightly downturned to maintain that signature Sith scowl.
Step 7: Adding Horns and Tattoos
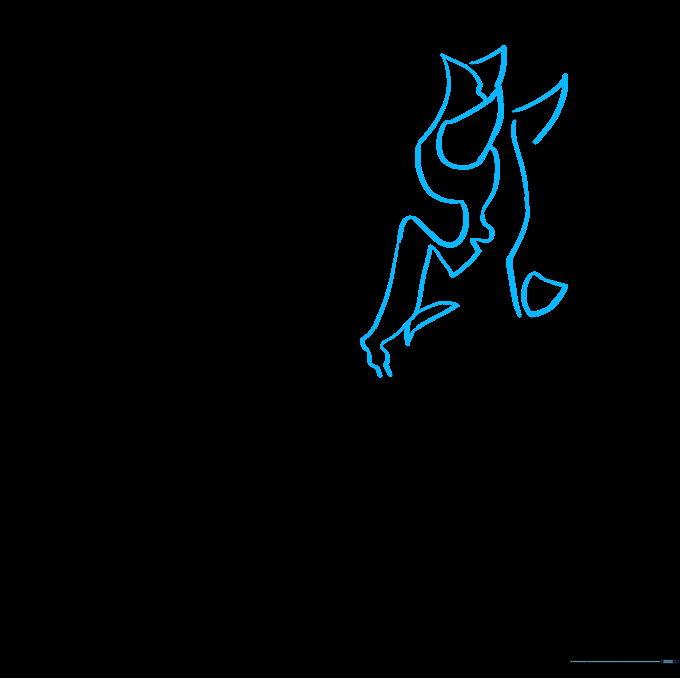
Sketch several curved, triangular horns on one side of the head. Use light, flowing lines to outline the facial tattoo patterns. Teacher's Tip: Don't worry about perfect symmetry; organic, slightly irregular lines look more natural for tattoos.
Step 8: Completing the Horns
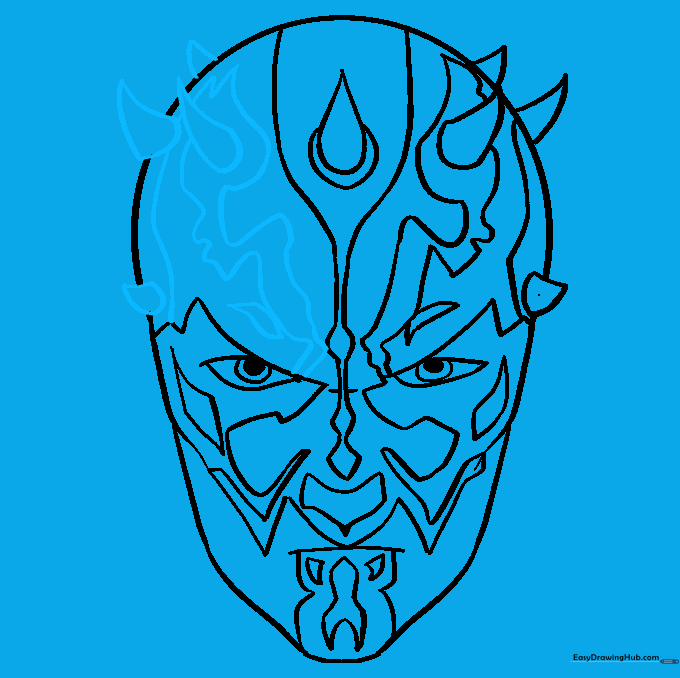
Repeat the process on the other side of the head, adding the remaining triangular horns and completing the tattoo patterns. Teacher's Tip: Check your spacing to ensure the horns look balanced across the top of the head.
Step 9: Adding Ears
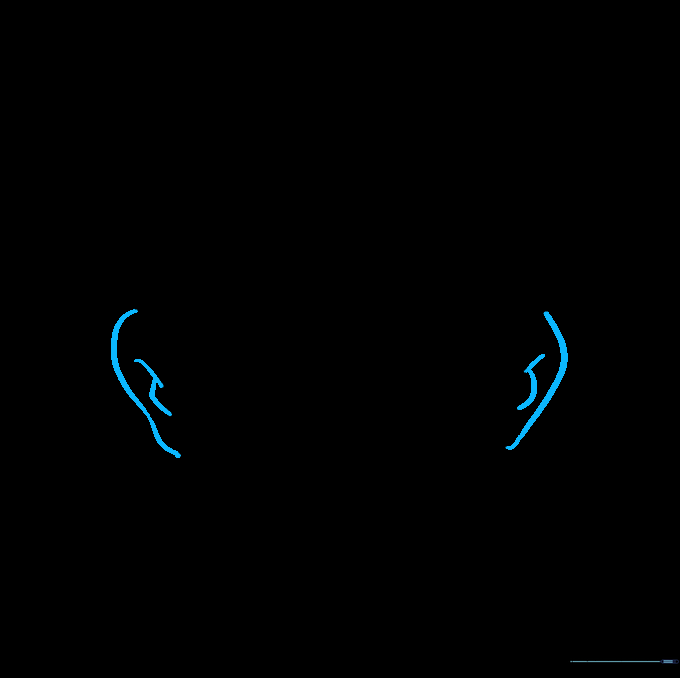
Draw a curved line on each side of the head to form the ears, adding small lines inside for detail. Teacher's Tip: Keep the ears relatively small to maintain the focus on the face and horns.
Step 10: Coloring Your Masterpiece

Bring your drawing to life with red and black markers or pencils. Use red for the base skin and black for the iconic tattoo patterns. Teacher's Tip: Use a light touch with the black to ensure the red underneath still shows through for a vibrant finish.
More Tutorials


