How to Draw Daffy Duck: Easy 10-Step Cartoon Guide
Ready to bring the classic Looney Tunes star to life? This tutorial is perfect for artists ages 6 and up. All you need is a pencil, an eraser, and a piece of paper to master Daffy’s iconic, mischievous look.
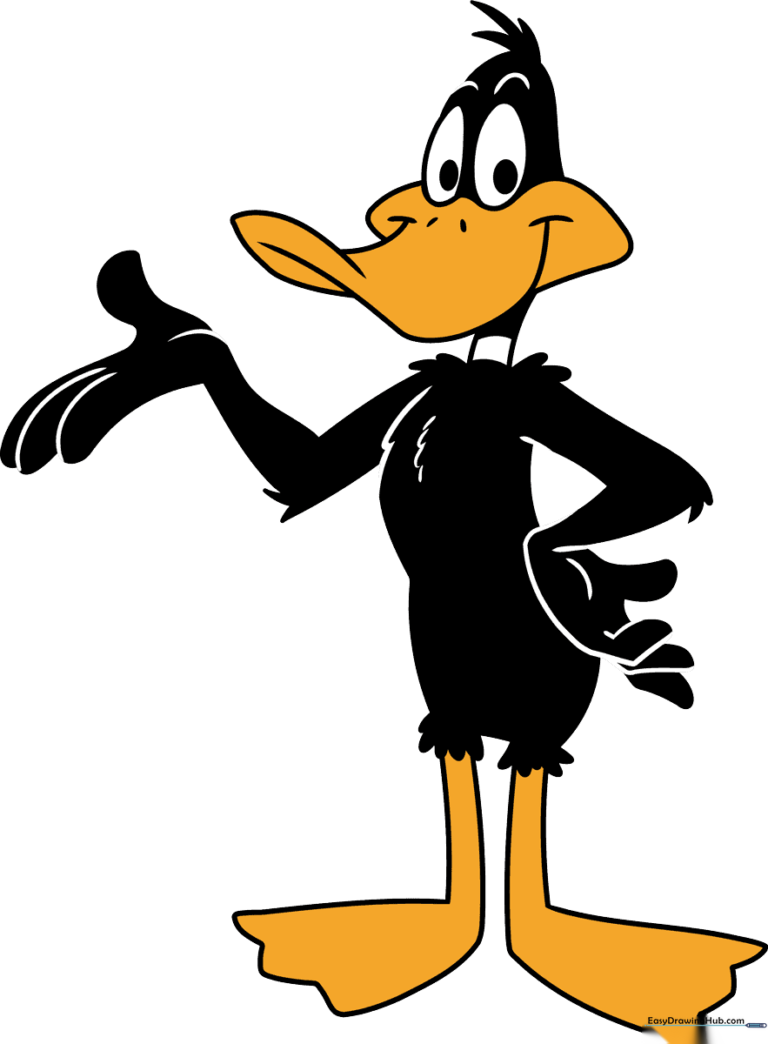
🎯 Final Result
Step-by-Step Instructions
Step 1: Sketching the Eyes

Draw two large ovals for the eyes. Add a smaller circle inside each for the pupils. Teacher's Tip: Keep these shapes light and rounded; they act as the anchor for the rest of his face.
Step 2: Defining the Head and Beak
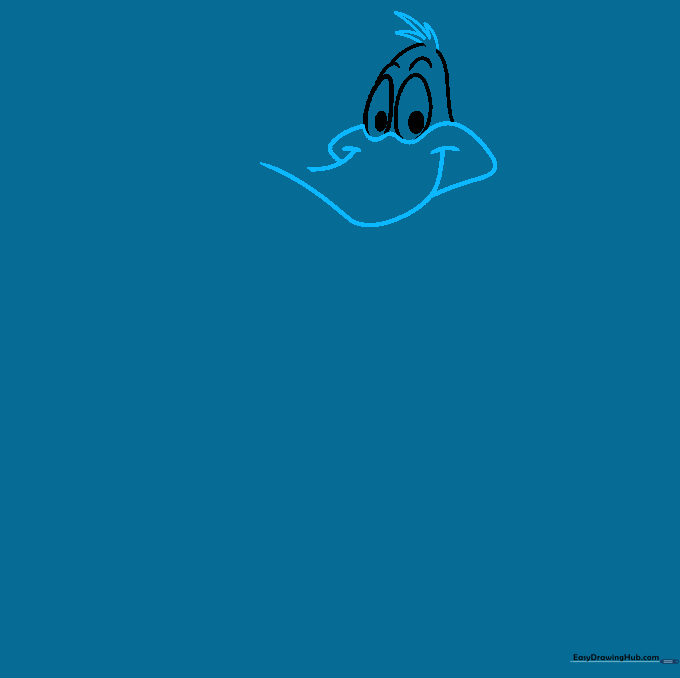
Add a tuft of feathers at the top of the head using small, jagged curves. Then, draw the beak using a wide 'W' shape. Teacher's Tip: Ensure the beak curves slightly upward to give Daffy his classic smirk.
Step 3: Adding the Neck and Nostrils
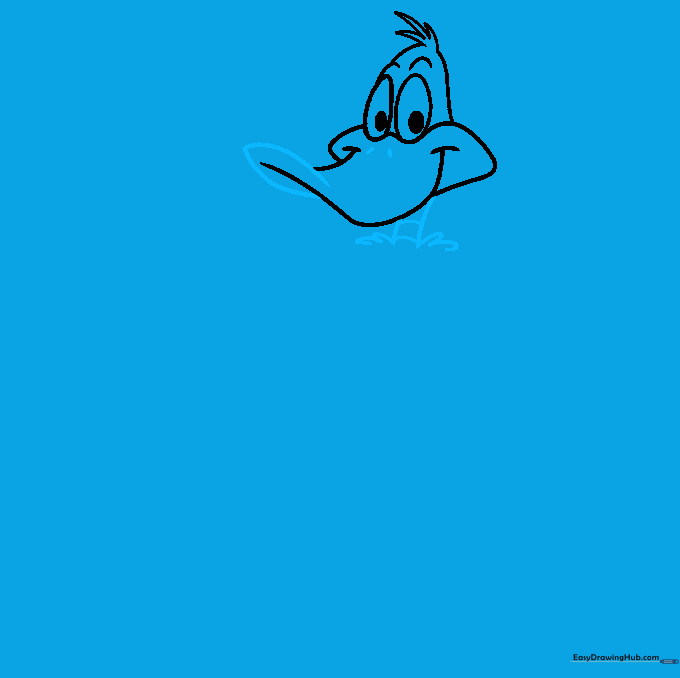
Complete the beak with a curved line and add two small ovals for nostrils. Extend parallel lines for the neck, adding 'U' shapes at the base for feathers. Teacher's Tip: Use short, quick strokes for the feathers to make them look soft.
Step 4: Sketching the First Arm
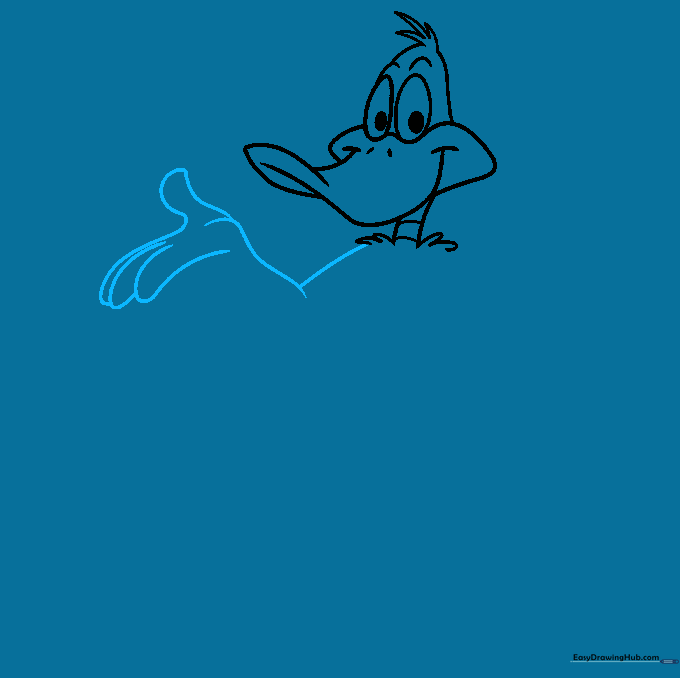
Sketch the top of the arm and the hand using overlapping curved lines. Teacher's Tip: Focus on the thumb position; it should look like he is gesturing.
Step 5: Adding Elbow Feathers
Draw the bottom of the arm, adding jagged points at the elbow to represent feathers. Teacher's Tip: Don't worry about making these lines perfect; feathers are naturally messy!
Step 6: Completing the Hands
Finish the arm and fingers using long, fluid curved lines. Teacher's Tip: Ensure the fingers look rounded at the tips to match the cartoon style.
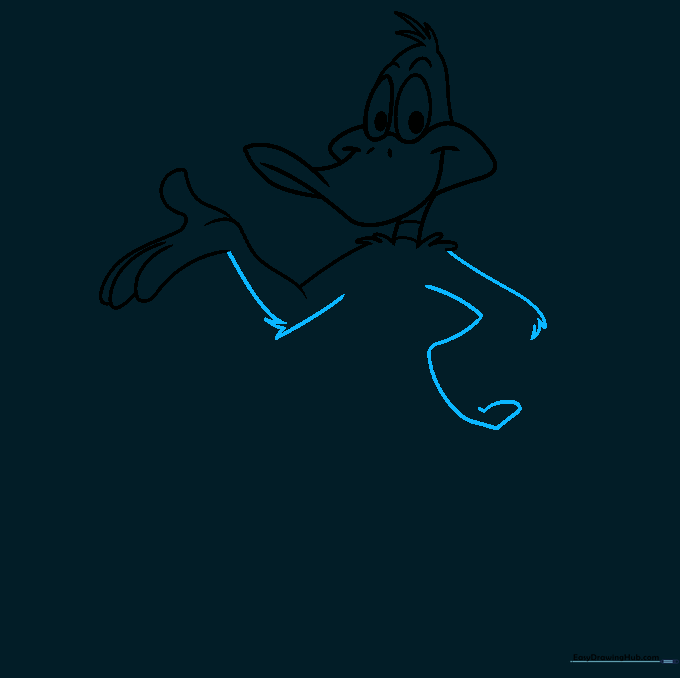
Step 7: Drawing the Torso
Sketch the torso using curved lines, adding small tufts on the chest. Teacher's Tip: Keep the body slightly pear-shaped to maintain the character's proportions.
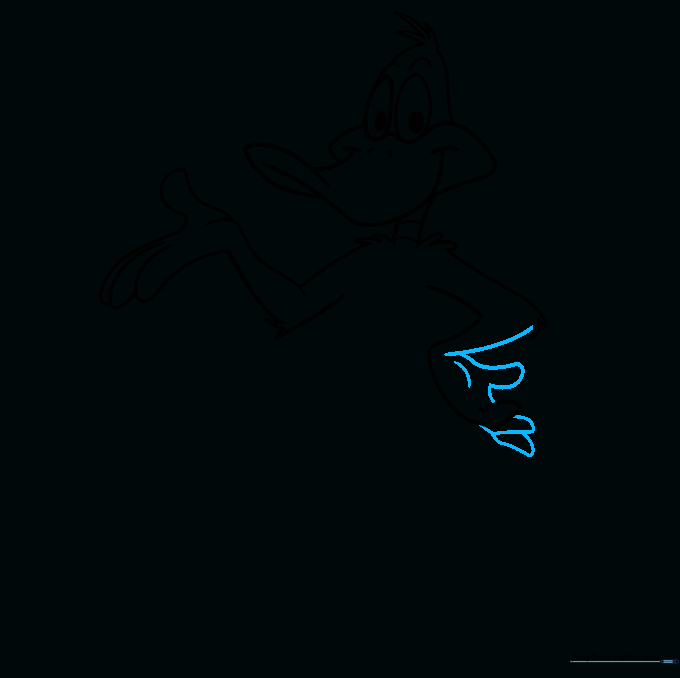
Step 8: Starting the Legs
Draw an 'L' shaped line for the first leg and foot. Teacher's Tip: Start with a light guide line to ensure the leg is centered under the body.
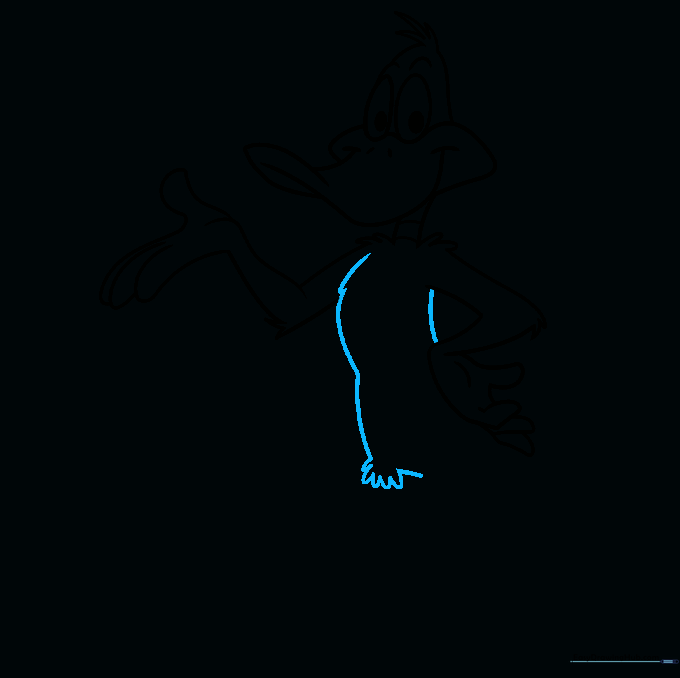
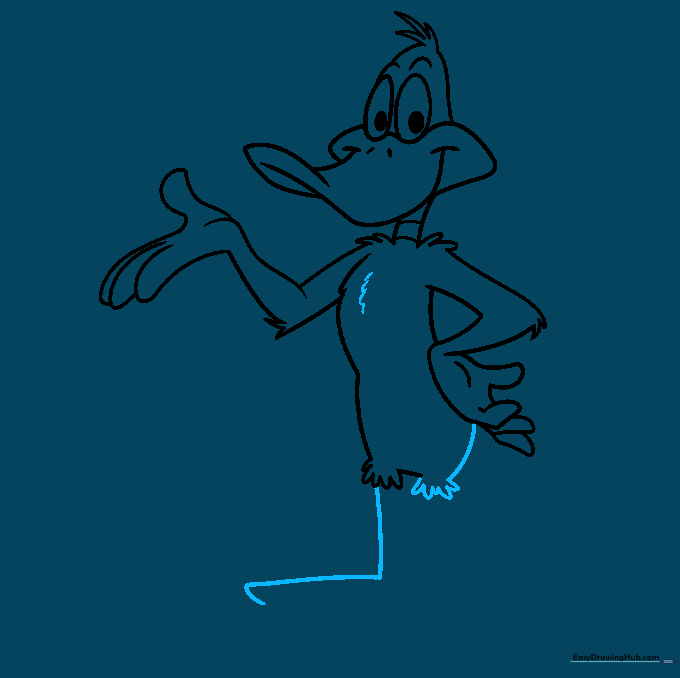
Step 9: Finalizing the Feet
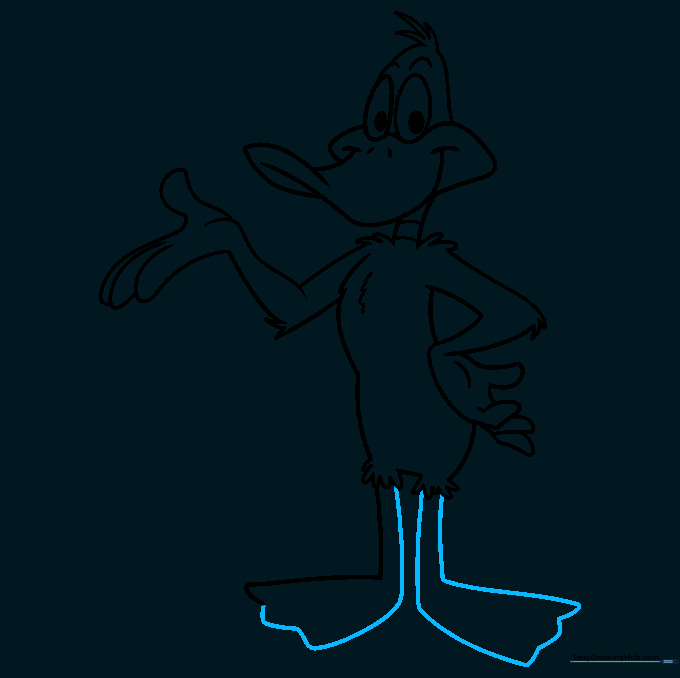
Complete the feet with a 'W' pattern for the toes. Mirror this for the second leg. Teacher's Tip: Make the feet look flat to show he is standing firmly.
Step 10: Adding Color
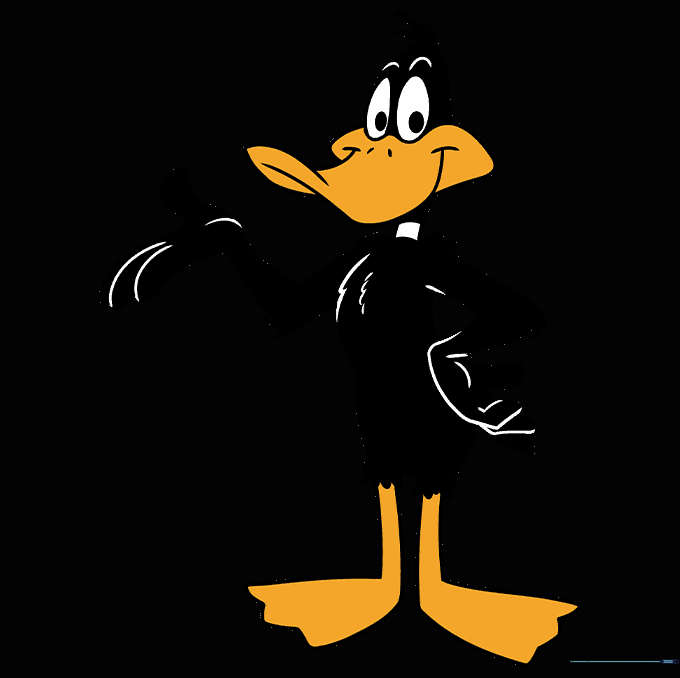
Fill in your drawing! Use black for his body, white for the neck ring, and bright yellow for the bill and feet. Teacher's Tip: Use smooth, circular motions with your coloring tool for an even finish.
More Tutorials


