How to Draw Cyclops: Easy 10-Step X-Men Guide
Ready to bring the leader of the X-Men to life? This tutorial is perfect for young artists and fans aged 8+ looking to master superhero proportions. Grab a pencil, an eraser, and a piece of paper to start building your own comic book hero.
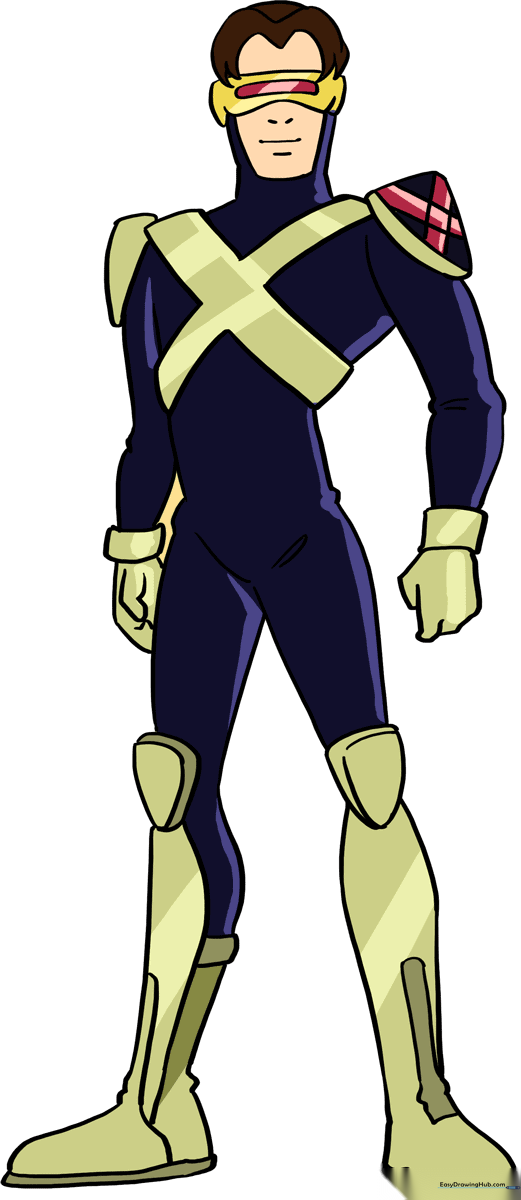
🎯 Final Result
Step-by-Step Instructions
Sketching the Goggles and Hair

Start by drawing the iconic visor and hair. Use curved lines to form the irregular shape of the goggles and a rounded 'M' shape for the hair. Teacher's Tip: Keep your pencil pressure light here; these are just guidelines to help you place the face later.
Defining the Head and Neck

Outline the face and neck. Connect the hair peaks with a curved line and add a rounded shape under the goggles for the jaw. Tip: Ensure the neck is wide enough to support the head, which gives him that strong, heroic look.
Constructing the Chest Emblem
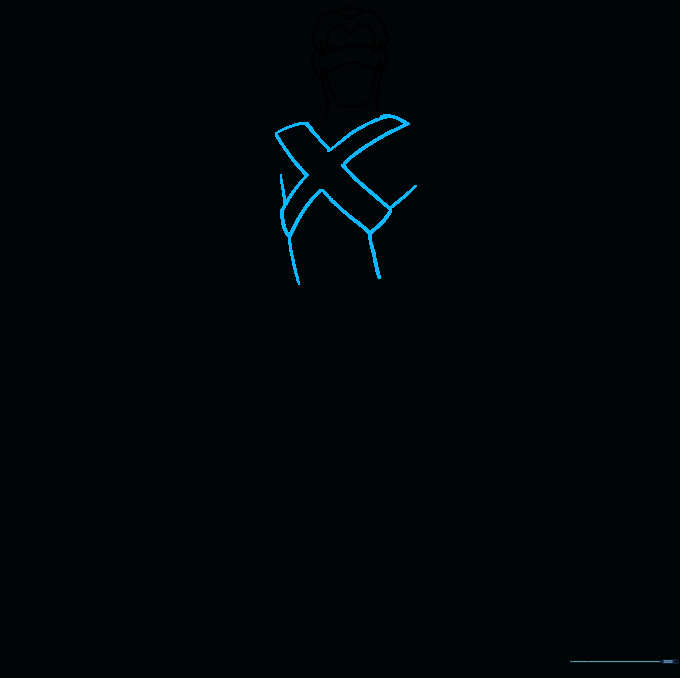
Draw a large 'X' shape across the chest area. Use curved lines to define the torso sides. Tip: Use a ruler if you struggle with straight lines, but try to keep the 'X' centered to maintain balance.
Adding Arms and Details
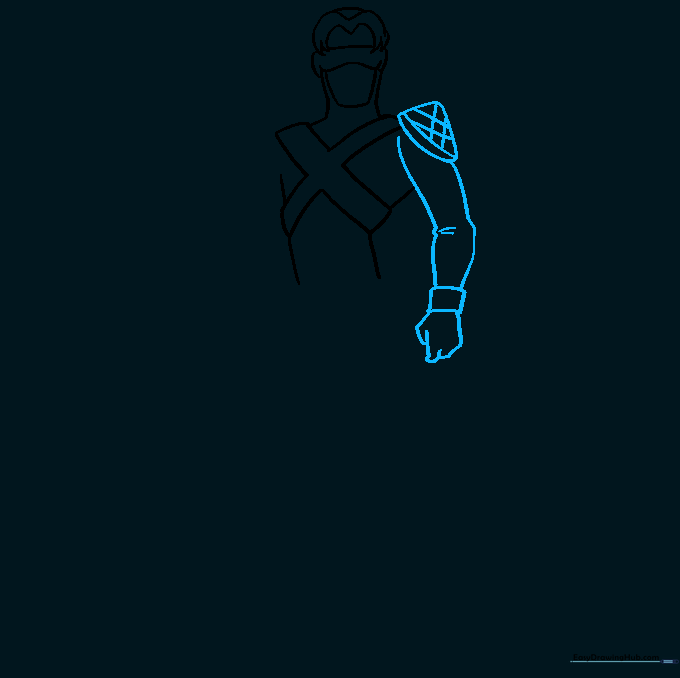
Draw an inverted triangle at the top of the 'X' and add crosshatching for texture. Extend curved lines for the arm, adding a rectangle for the wrist. Tip: Focus on the elbow joint—a simple curve makes the arm look natural rather than stiff.
Forming the Thighs
Extend long, curved lines from the torso to create the thighs. Add a small triangle at the knee. Tip: Think of the legs as two cylinders; keep the lines smooth to show muscle definition.
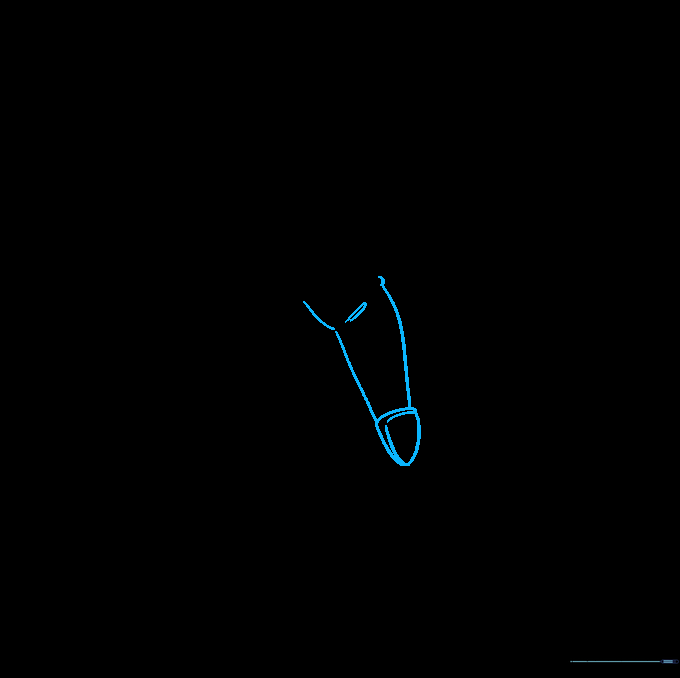
Drawing the First Boot
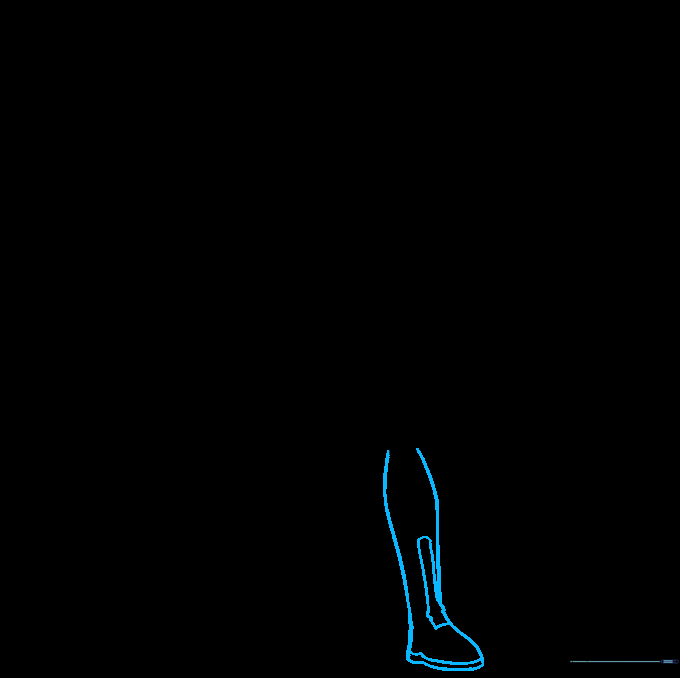
Enclose the lower leg and boot with a long, curved line that loops back. Add a small sole at the bottom. Tip: Boots are bulky, so make sure the shape is wider than the calf to show volume.
Completing the Second Leg
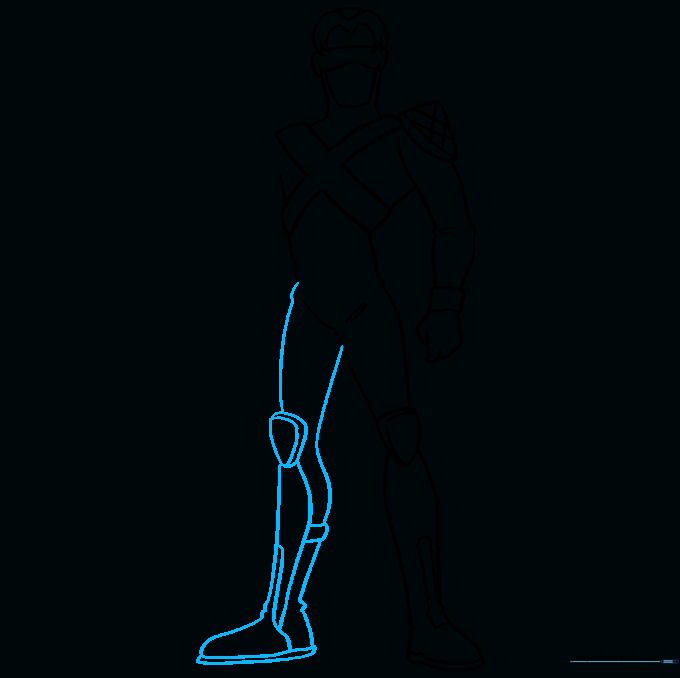
Mirror the process for the second leg, ensuring the knee and boot match the first. Tip: Check your proportions—both legs should be roughly the same length to keep the character standing straight.
Adding the Second Arm
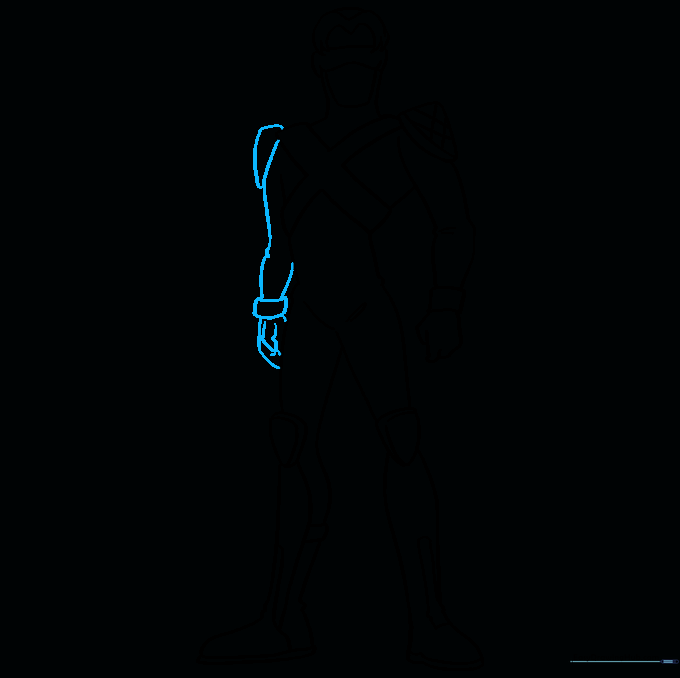
Draw the remaining shoulder and arm, mirroring the style of the first. Tip: If you want him to look like he's in action, try angling the arm slightly differently than the first one.
Refining the Face

Add the final facial details. Draw a rectangle inside the goggles and define the nose, mouth, and chin. Tip: Use a fine-liner pen to go over your pencil lines before erasing the guidelines for a clean, professional look.
Coloring Your Hero
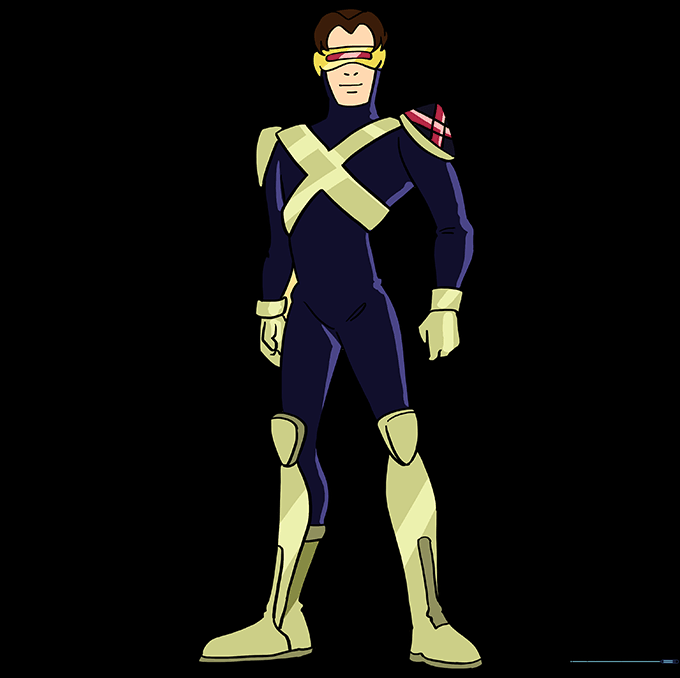
Bring Cyclops to life with his classic black and gold suit. Tip: Use bold, flat colors to mimic the comic book style. Don't forget to color the visor a bright red to make it pop!
More Tutorials


