How to Draw Cyborg: Easy Step-by-Step Teen Titans Guide
Ready to bring the Teen Titans' tech-savvy hero to life? This tutorial is perfect for young artists ages 7+ looking to master character proportions. Grab your pencil, eraser, and a black fine-liner to start building your own Cyborg masterpiece today.
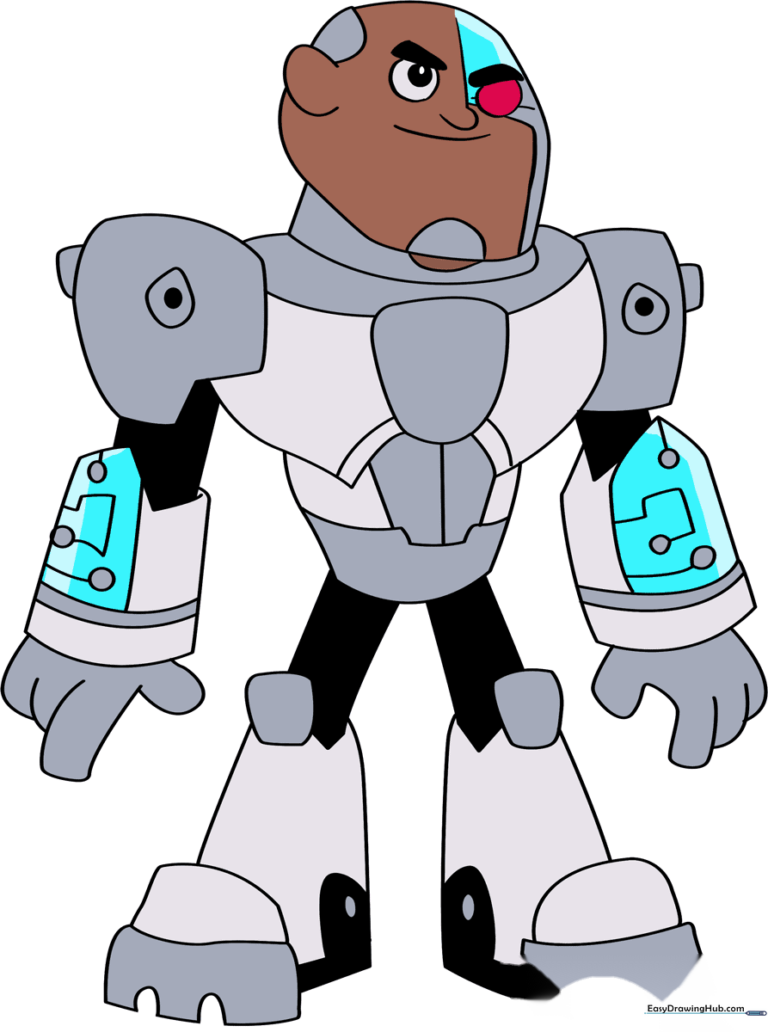
🎯 Final Result
Step-by-Step Instructions
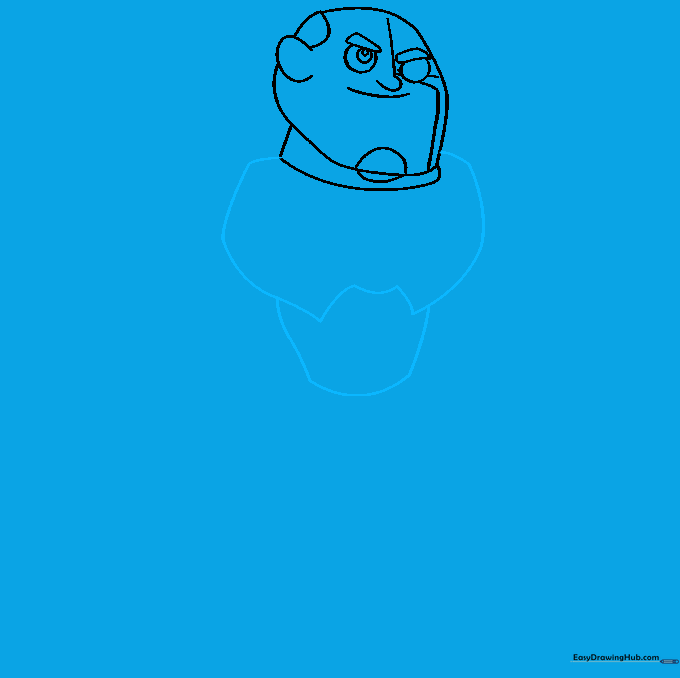
Step 1: Sketching the Head and Neck

Start by sketching a rounded, slightly irregular shape for the head. Add a 'C' shaped line for the ear that overlaps the head outline. Connect the ear to the top of the head with a curve, then define the neck. Teacher's Tip: Keep your pencil pressure light here so you can easily adjust the shape later.
Step 2: Defining Facial Features

Draw a 'Z' shaped line down the center of the face to guide your placement. Add a circular eye and a four-sided brow on each side. Include two small circles inside the eye for detail, then sketch the nose and mouth. Tip: Use a light touch for the facial guidelines so they don't distract from the final character details.
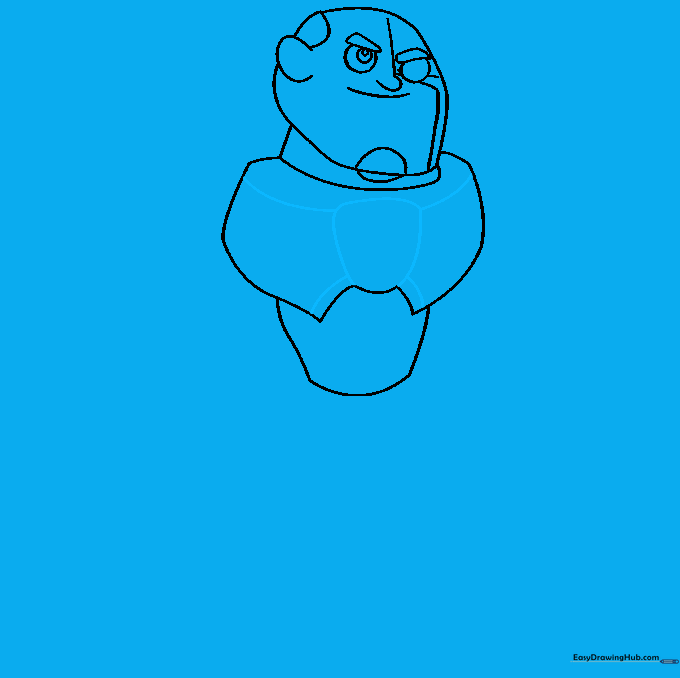
Step 3: Building the Torso
Use smooth, curved lines to enclose the shoulders and chest area. Add a series of lines to define the stomach. Tip: Think of these as building blocks—keep the lines rounded to give Cyborg his signature sturdy, robotic look.
Step 4: Adding Chest Armor Details
Enclose an irregular rounded shape in the center of the chest. Connect this shape to the shoulders and the bottom of the chest using four curved lines. Tip: Symmetry is key here; try to keep the lines balanced on both sides of the chest piece.
Step 5: Detailing the Abdomen
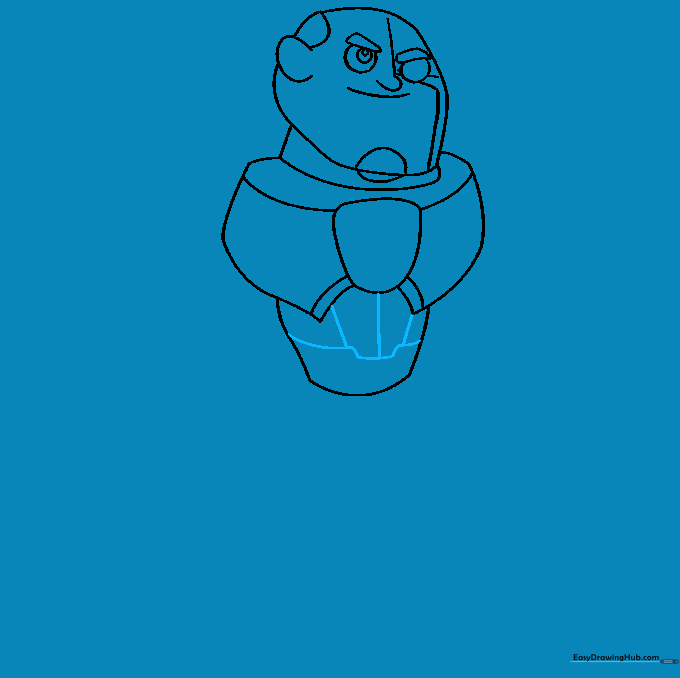
Draw a series of horizontal lines across the abdomen, then add three vertical lines connecting these to the chest piece. Tip: Use a ruler if you want the lines to look extra precise and mechanical!
Step 6: Drawing the First Arm
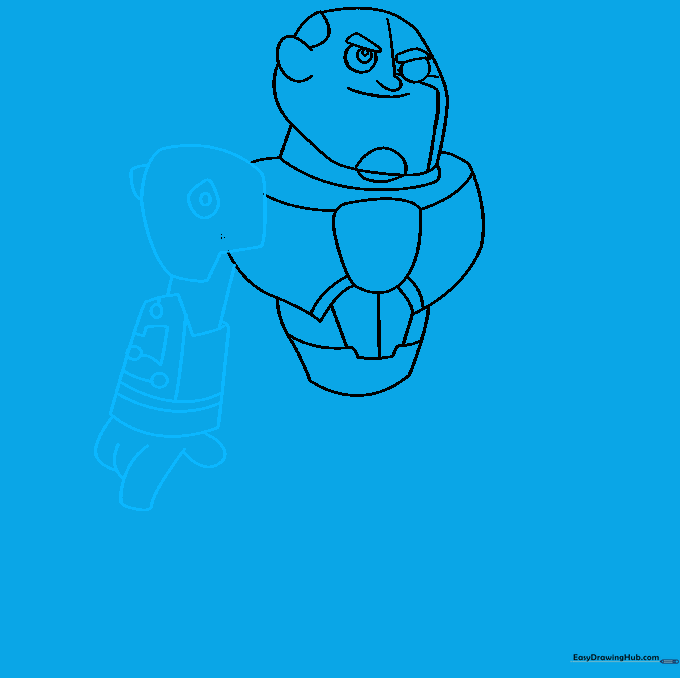
Sketch the shoulder, then add two teardrop shapes to the armor with a small circle in one. Extend lines for the arm, using a 'Z' shape for the gauntlet. Add final details like circles and lines to the gauntlet, then finish with the fingers. Tip: Take your time with the fingers—draw them as small, rounded rectangles first.
Step 7: Drawing the Second Arm
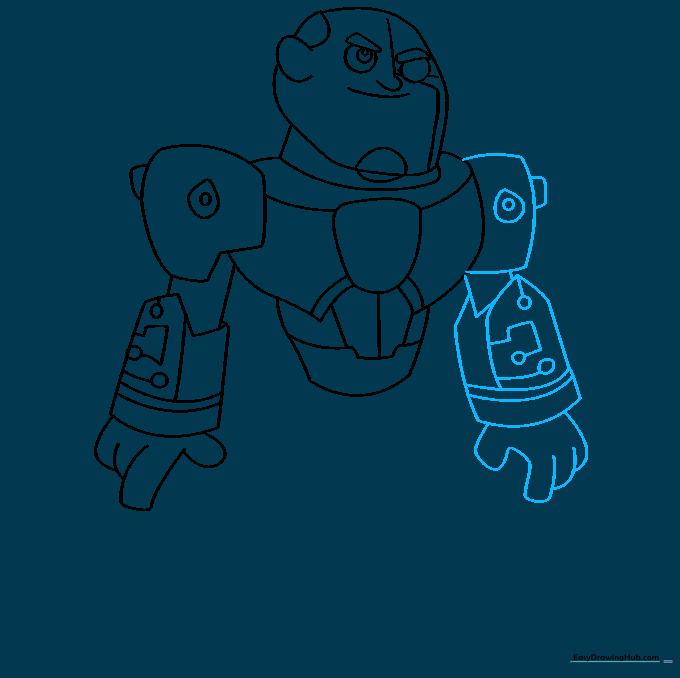
Repeat the process for the second arm, starting with a rectangular shoulder piece. Detail it with a teardrop shape and circle. Extend the arm to the gauntlet, adding similar mechanical details and overlapping curved lines for the fingers. Tip: Keep your arm length consistent with the first side for a balanced look.
Step 8: Sketching the Legs
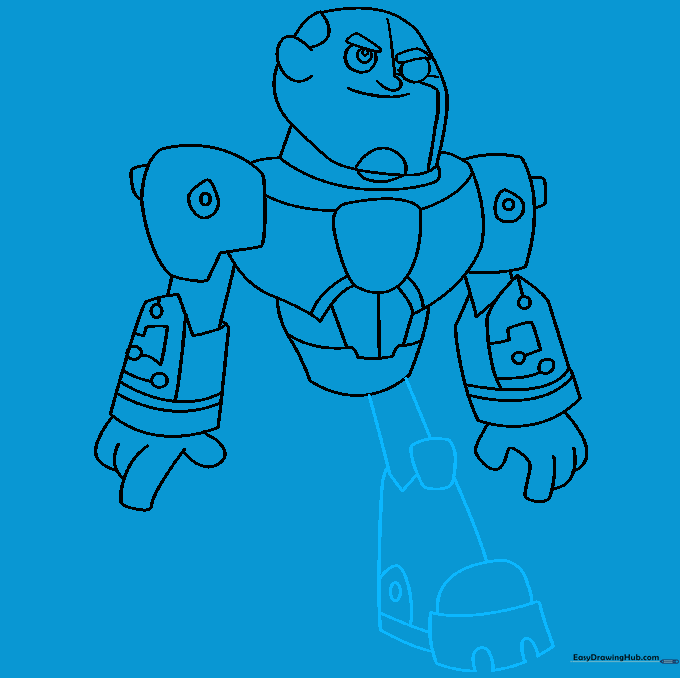
Extend two lines from the torso for the leg. Add a 'V' shaped knee and a rounded rectangle. Continue the lines to the foot, using irregular curved shapes to define the boot. Tip: Add a small circle on the foot to represent the mechanical joints.
Step 9: Completing the Legs
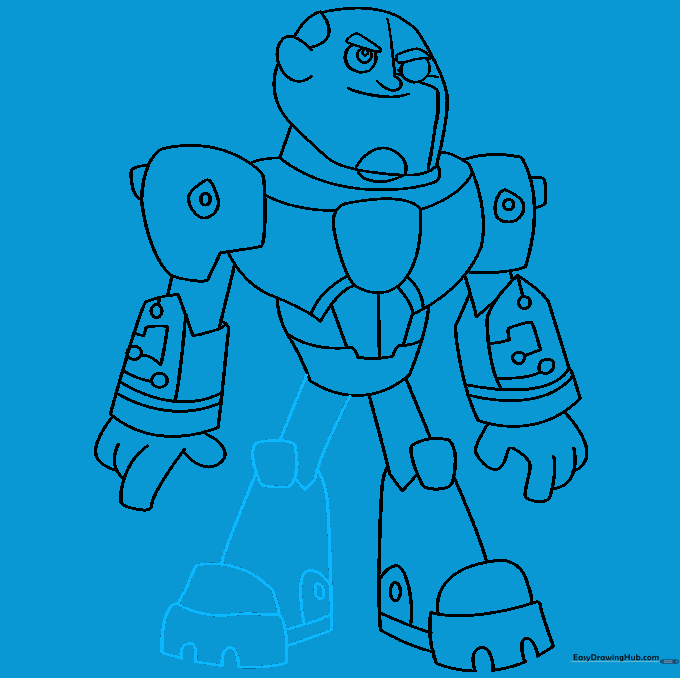
Mirror the steps from the previous instruction to draw the second leg. Ensure the knee and foot shapes match the first leg to keep the character looking proportional. Tip: Check your spacing—make sure there is enough room for both legs to stand side-by-side.
Step 10: Adding Color
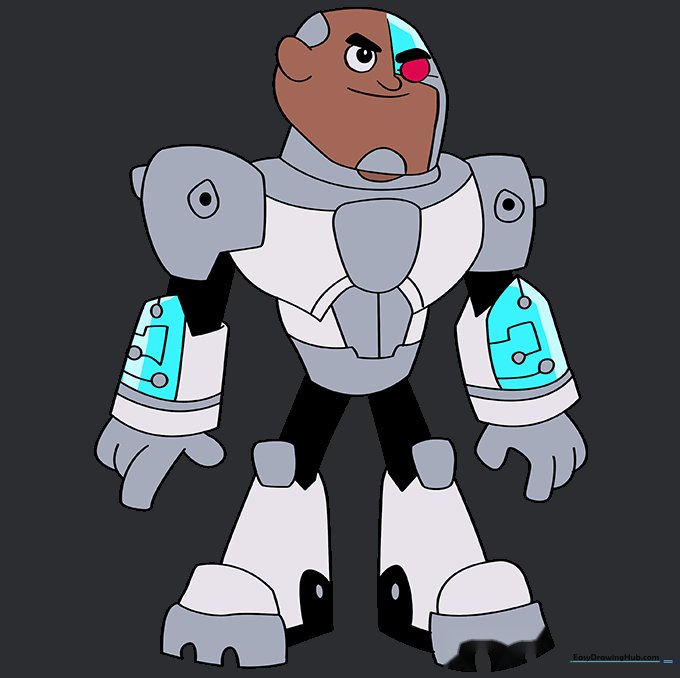
Bring your Cyborg to life with color! Use shades of grey for his robotic armor and a vibrant red for his electronic eye. Tip: Use colored pencils to layer the greys, adding darker tones to the edges to create a 3D metallic effect.
More Tutorials


