How to Draw Cute Cartoon Eyes: Easy 10-Step Guide
Master the art of character design with this simple guide to drawing expressive, cute cartoon eyes. Perfect for artists ages 5 and up, this activity requires only a pencil, paper, and an eraser. Follow these steps to bring personality and life to your own original characters.
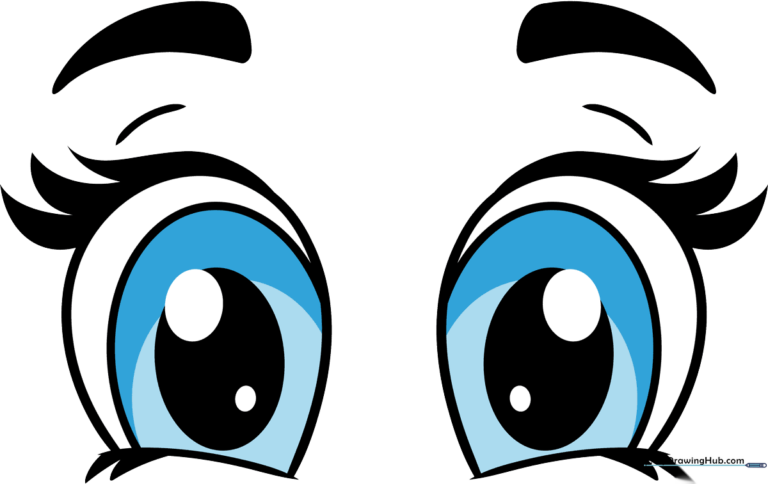
🎯 Final Result
Step-by-Step Instructions
Step 1: Sketching the Base Shape
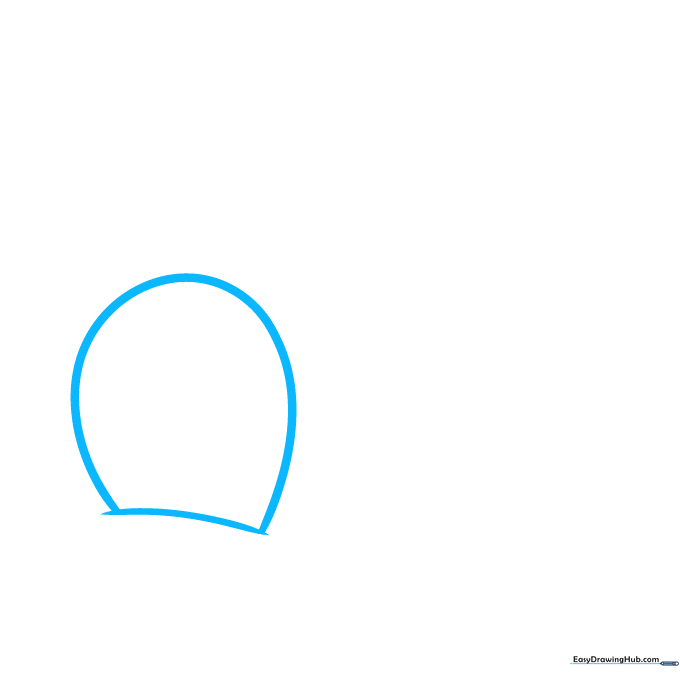
Draw a large, rounded oval with a slight curve at the bottom. Teacher's Tip: Keep your pencil pressure light so you can easily adjust the shape if it looks a bit lopsided.
Step 2: Defining the Eye Contour
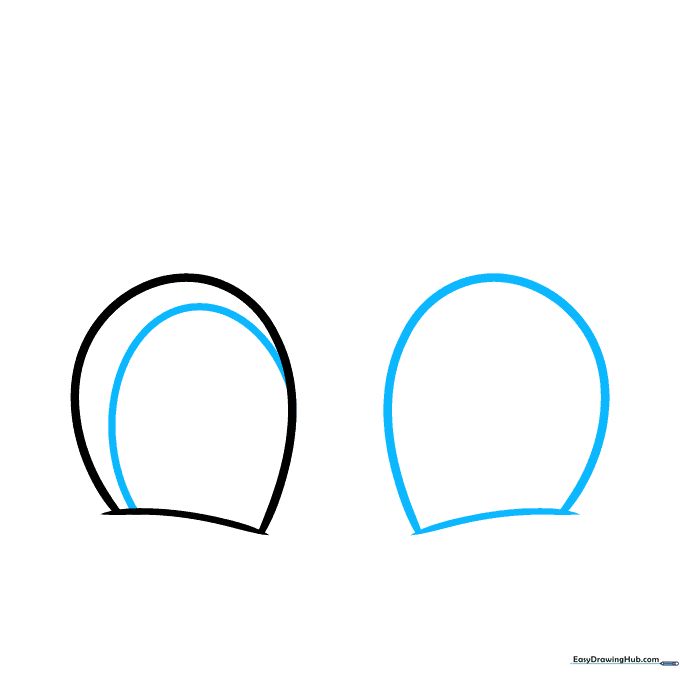
Draw a curved line inside the oval to create a semi-oval shape. Repeat this process on the right side, ensuring the two eyes mirror each other. Teacher's Tip: Symmetry is tricky, so take your time to make them look balanced.
Step 3: Adding Pupils and Highlights
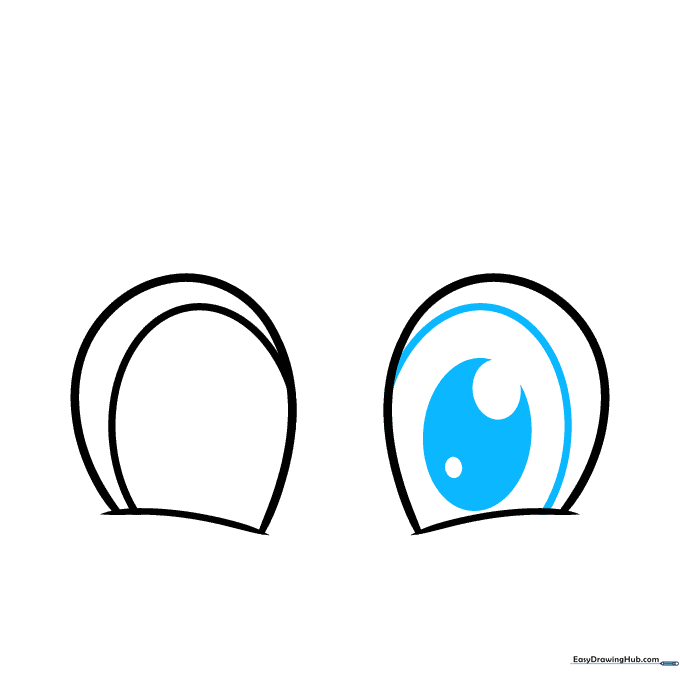
Sketch a smaller oval inside the right eye, leaving two small circles empty to act as light reflections. Teacher's Tip: Those little 'cut-out' circles are the secret to making eyes look shiny and alive!
Step 4: Eyeliner and Left Eye Detail
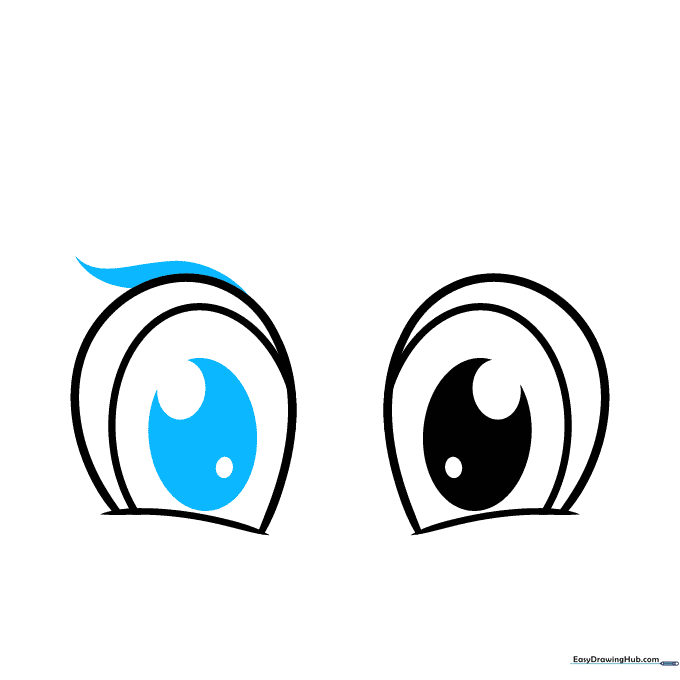
Repeat the pupil and highlight process for the left eye. Then, draw a thick, wing-like shape along the top of each eye to represent eyeliner. Teacher's Tip: Use a smooth, sweeping motion for the wing to keep it looking elegant.
Step 5: Adding Upper Eyelashes
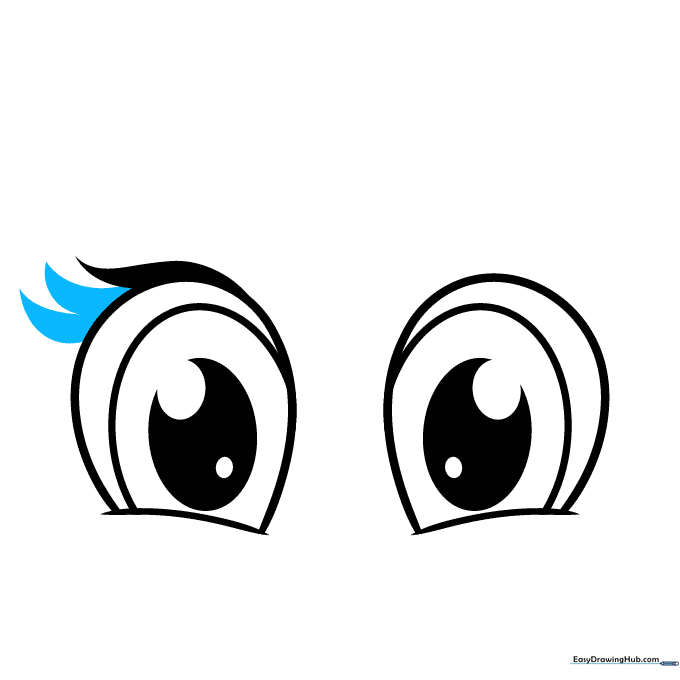
Draw two thick, feather-like shapes extending from the top of the left eye. Teacher's Tip: Imagine you are drawing small, curved triangles to get that perfect lash shape.
Step 6: Balancing the Right Eyelashes
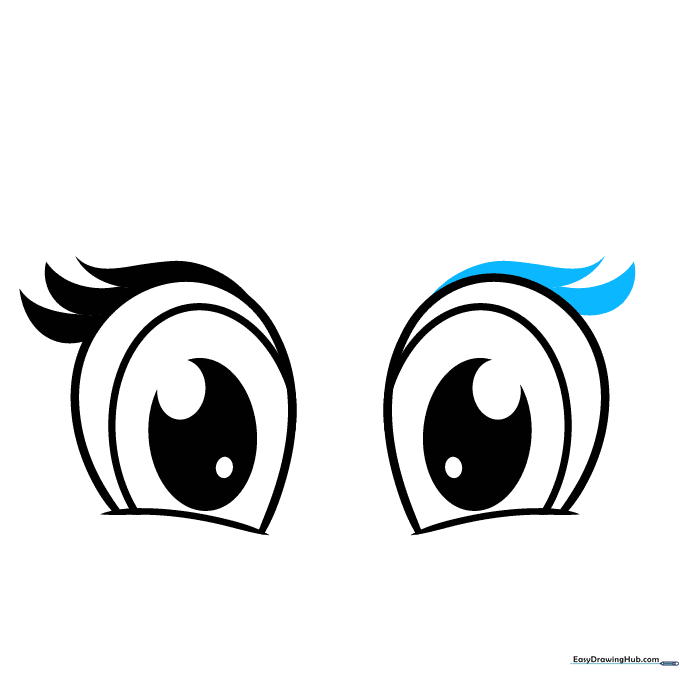
Mirror the eyelash shapes on the right eye, ensuring they flow in the opposite direction. Teacher's Tip: Keep the lines curvy to maintain the 'cute' aesthetic.
Step 7: Lower Lash Details
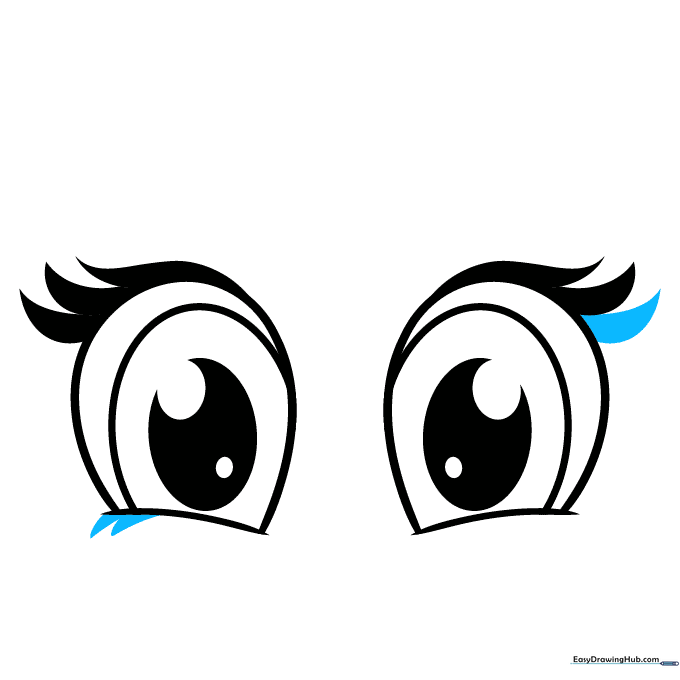
Add a third eyelash to the right side, then sketch two small triangles beneath the left eye for lower lashes. Teacher's Tip: Small details like these add a lot of character to your drawing.
Step 8: Finalizing Eye Details
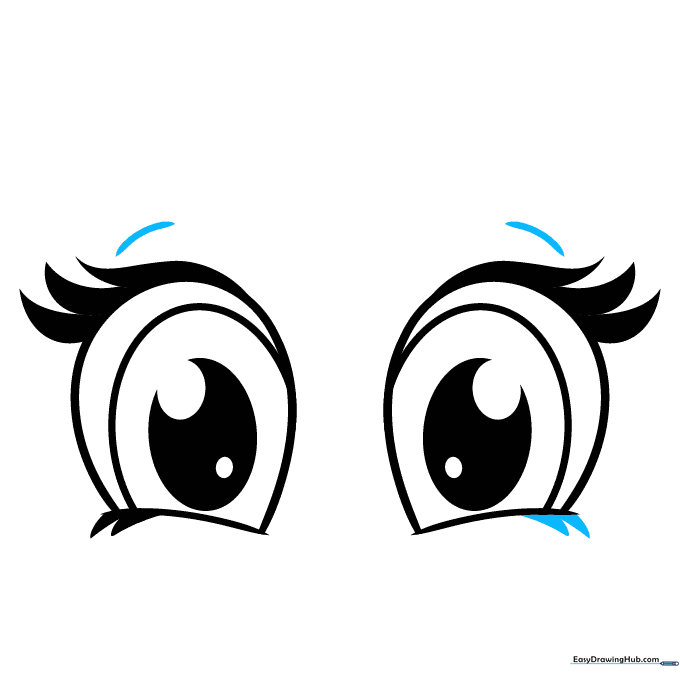
Complete the lower lashes on the right eye and add a small dash above each eye to represent the eyelid crease. Teacher's Tip: A simple dash adds depth and makes the eyes look more realistic.
Step 9: Drawing the Eyebrows
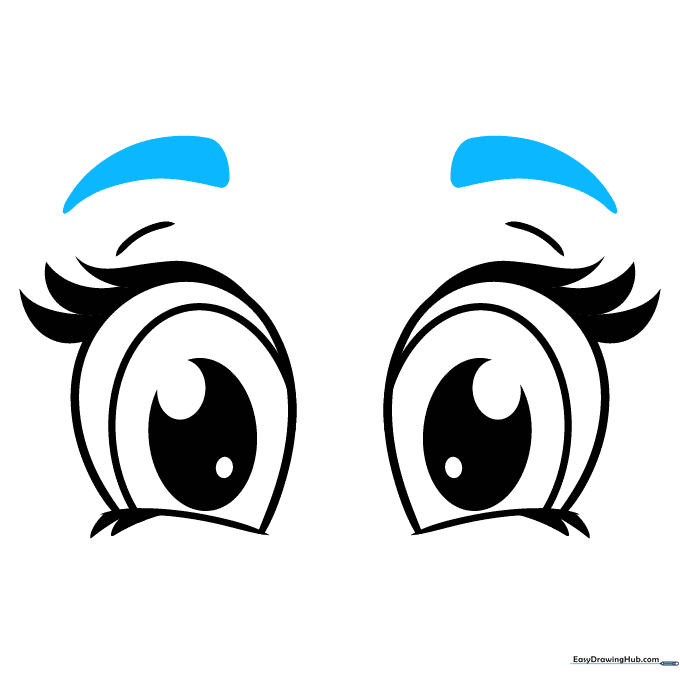
Sketch thick, arched eyebrows above each eye. Teacher's Tip: The angle of the eyebrows can change the expression—try drawing them slightly tilted to make your character look surprised or happy!
Step 10: Coloring Your Creation
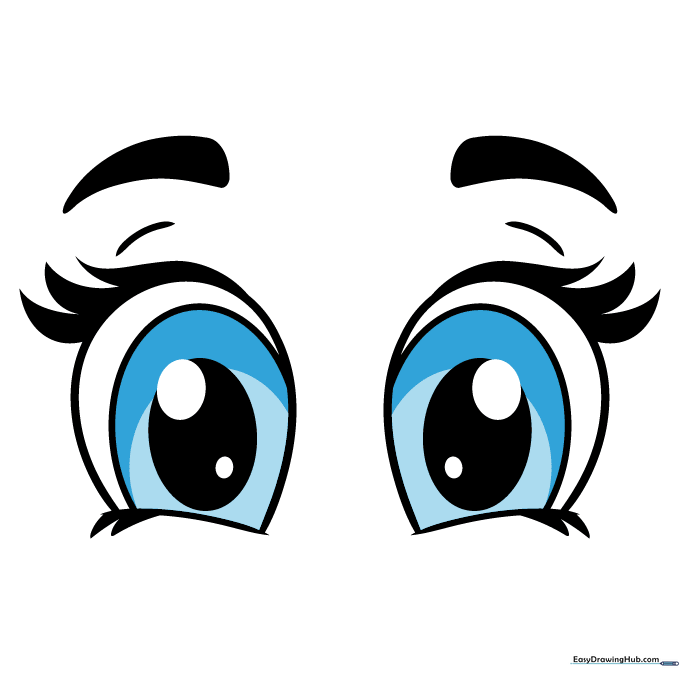
Outline your drawing with a black pen or marker. Fill in the pupils, lashes, and brows with black, then choose your favorite color for the irises. Teacher's Tip: Don't be afraid to use bright, non-traditional colors like purple or pink for a fun, magical look!
More Tutorials


