How to Draw Cute Animals: Easy 10-Step Guide for Kids
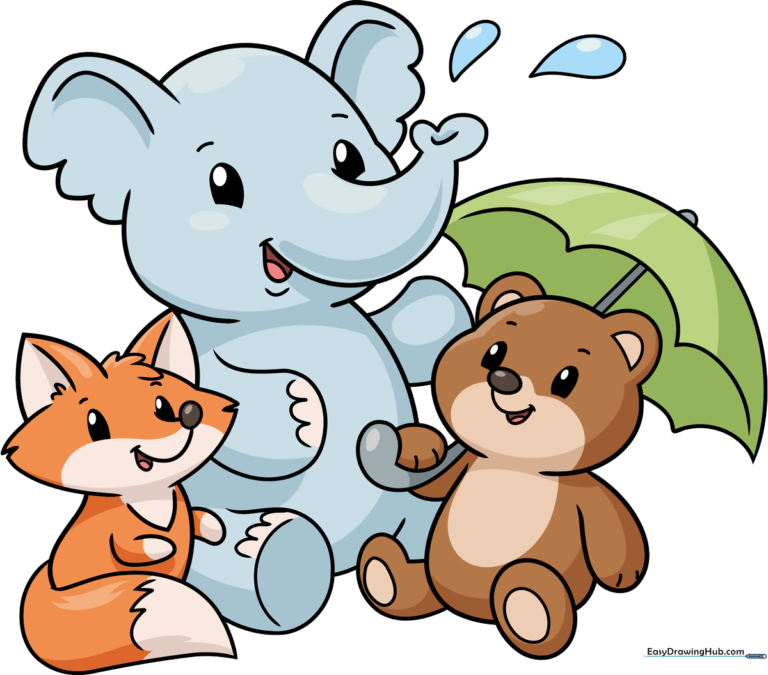
Bring a trio of adorable animal friends to life with this step-by-step drawing lesson. Designed for young artists ages 5 and up, this activity requires only a pencil, paper, and an eraser. Follow along to master basic shapes and build confidence in your character design skills.
🎯 Final Result
Step-by-Step Instructions
Step 1: Sketching the Baby Elephant's Face
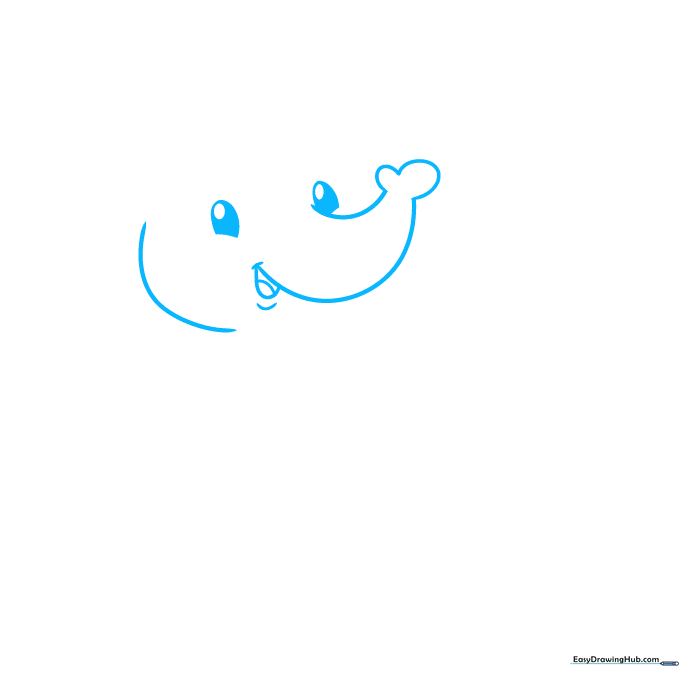
Start by drawing the elephant's trunk using two gentle, curved lines that meet at a heart-shaped tip. Add the eyes as half-ovals and sketch a small, happy mouth. Teacher's Tip: Keep your pencil pressure light so you can easily adjust the shape of the trunk if it looks a bit wobbly.
Step 2: Defining the Elephant's Ears
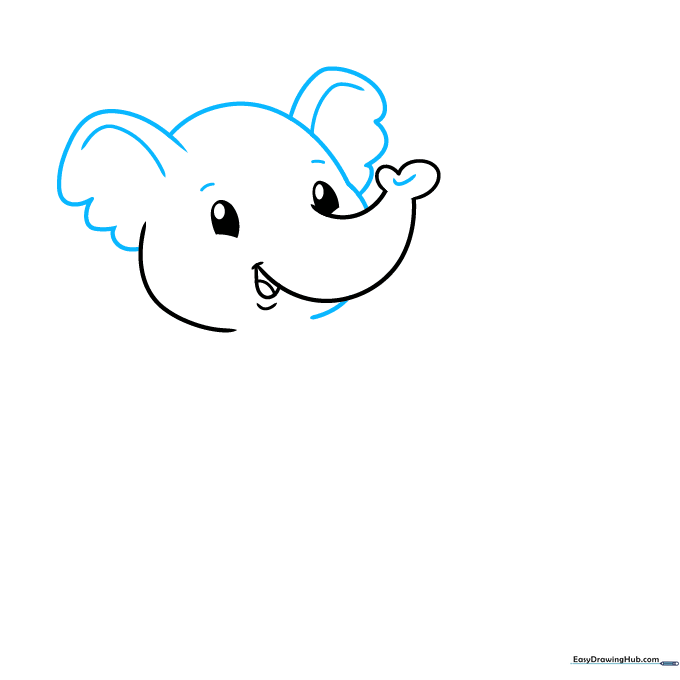
Outline the large, floppy ears with scalloped edges to give them a soft, realistic texture. Connect these to the top of the head with a smooth curve. Teacher's Tip: Scalloped lines are perfect for practicing steady hand control—take your time to make each 'bump' consistent.
Step 3: Starting the Teddy Bear
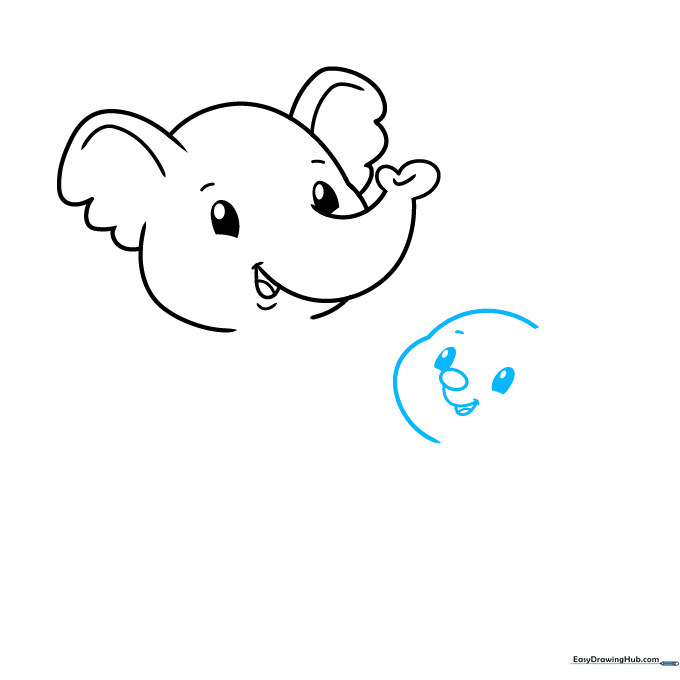
Next to your elephant, begin the teddy bear by sketching a round face. Use a small oval for the nose and two larger partial ovals for the eyes. Teacher's Tip: Placing the eyes slightly closer together makes the bear look extra friendly and approachable.
Step 4: Adding Bear Ears and Body
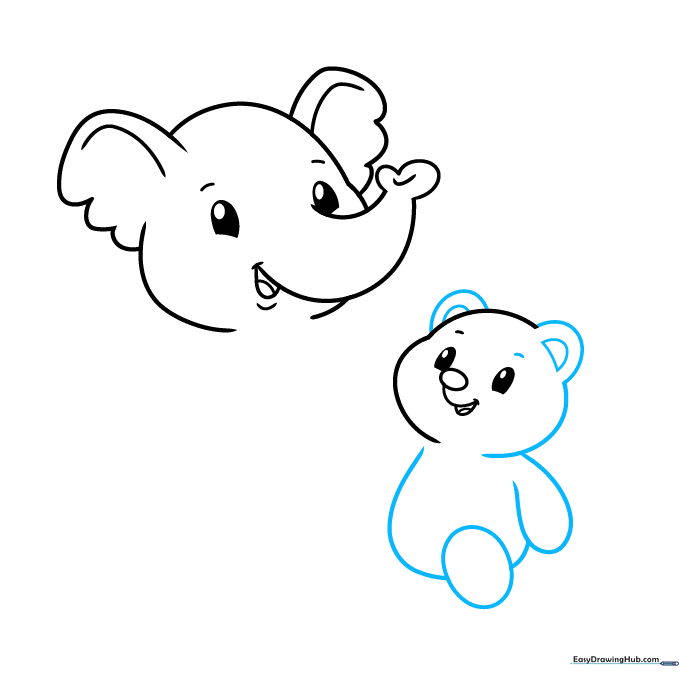
Draw two rounded ears on top of the bear's head, adding smaller half-circles inside for depth. Sketch the body and a large, oval-shaped foot. Teacher's Tip: Don't worry if your oval isn't perfect; teddy bears look even cuter when they are a little bit lopsided!
Step 5: Finishing Paws and Starting the Fox

Add the remaining paws and the 'J' shape for the umbrella handle. Now, start the fox by drawing two half-circle eyes. Teacher's Tip: Use short, quick strokes for the paws to suggest fur texture rather than a solid, flat line.
Step 6: Sketching the Fox's Snout
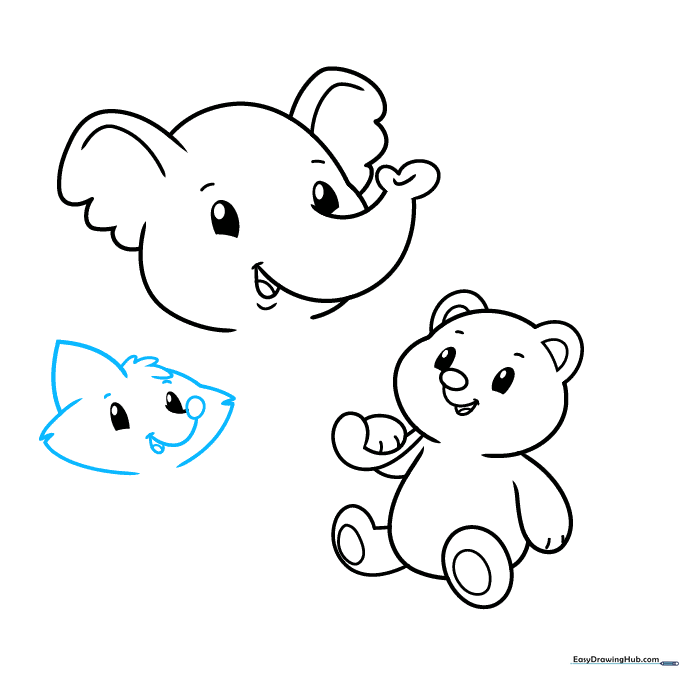
Draw the fox's snout, mouth, and tongue using curved lines. Add furry cheeks and triangle-shaped ears. Teacher's Tip: When drawing the cheeks, use a zigzag motion to make the fox look extra fluffy.
Step 7: Completing the Fox's Body
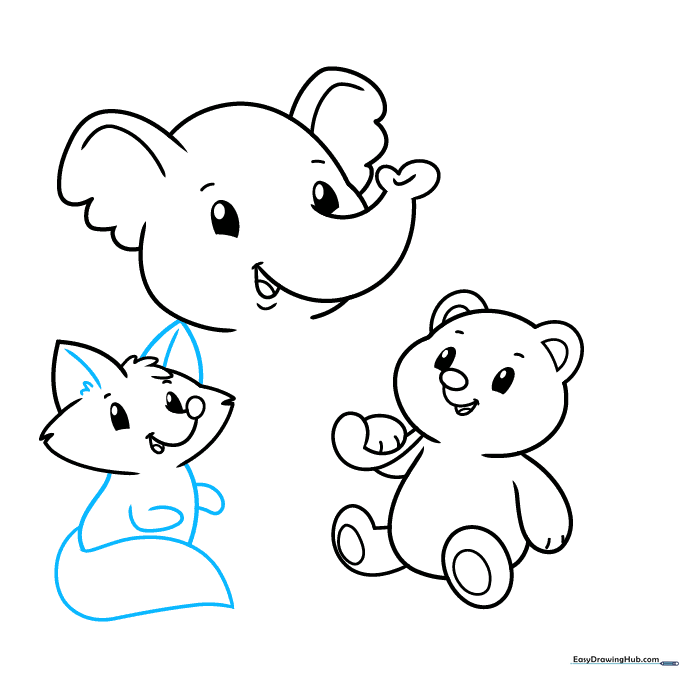
Use smooth, flowing lines to draw the fox's torso, paws, and a long, bushy tail. Teacher's Tip: Make the tail large and curved to emphasize the fox's playful personality.
Step 8: Adding Texture and Details

Add a 'V' shape on the fox's chest and a zigzag line on the tail tip. Refine the elephant's body, arms, and feet. Teacher's Tip: Adding these small details helps separate the different fur and skin textures of your animal group.
Step 9: Final Touches and Umbrella

Draw 'U' shaped toenails on the elephant and small teardrop shapes for rain. Finish the umbrella with a half-circle canopy and scalloped edges. Teacher's Tip: Use a ruler for the umbrella shaft if you want it to look perfectly straight!
Step 10: Bringing Your Animals to Life with Color
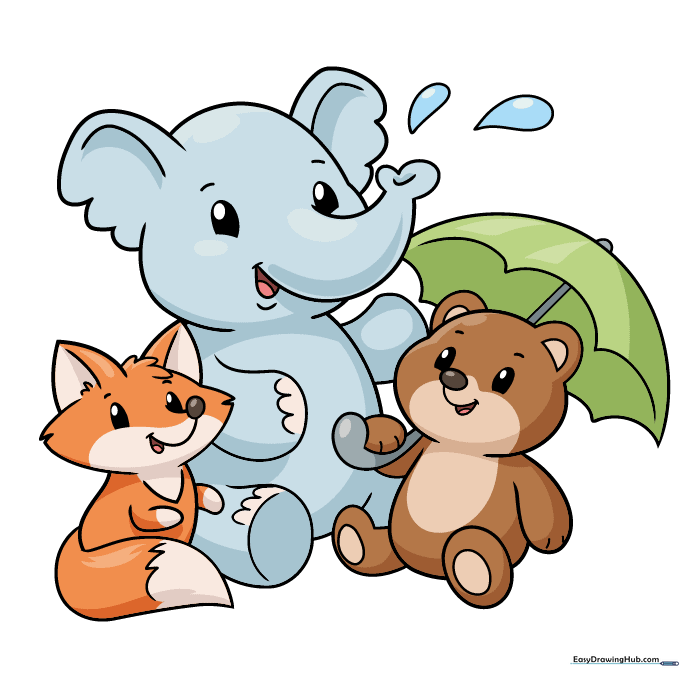
Time to color! Use classic grey for the elephant, warm brown for the bear, and vibrant orange for the fox. Teacher's Tip: Try using colored pencils to layer light and dark shades to give your animals a 3D look.
More Tutorials


