How to Draw Cuphead: Easy 10-Step Cartoon Guide
Ready to bring the iconic hero of Inkwell Isle to life? This tutorial is perfect for young artists and fans of the game who want to master Cuphead’s classic 1930s rubber-hose animation style. Grab your pencil, eraser, and paper, and let’s get started on this fun, creative challenge.
🎯 Final Result

Step-by-Step Instructions
Step 1: Sketching the Teacup Head

Start by drawing a wide, open-top teacup shape using two gentle curves. Add two 'C' shaped lines on the sides for the handle. Teacher's Tip: Keep your pencil lines light and loose so you can easily adjust the proportions if the cup looks a bit wobbly.
Step 2: Defining the Face
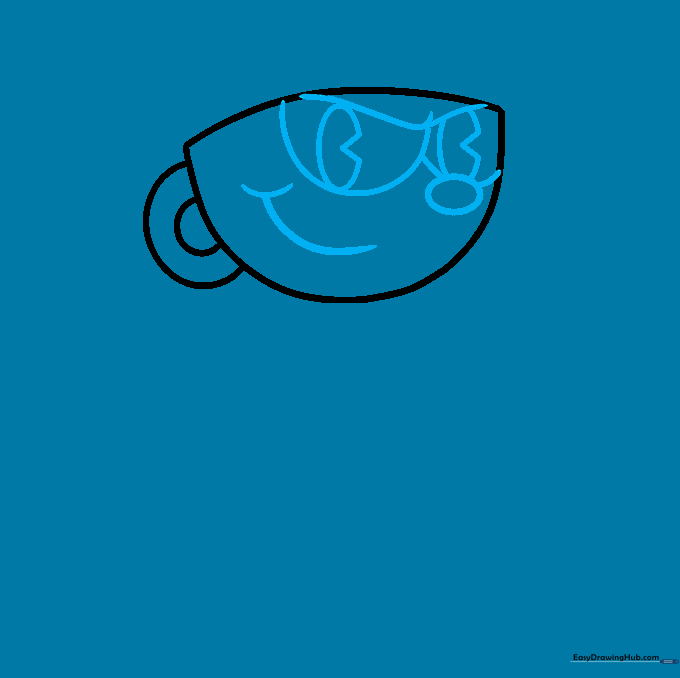
Draw two large, overlapping half-circles for the eyes. Inside, add small ovals for pupils and connect them with a 'V' shape. Add a small oval nose and a wide, mischievous smirk. Teacher's Tip: The smirk is key to his personality—make sure it curves upward toward the eyes!
Step 3: Adding the Bendy Straw
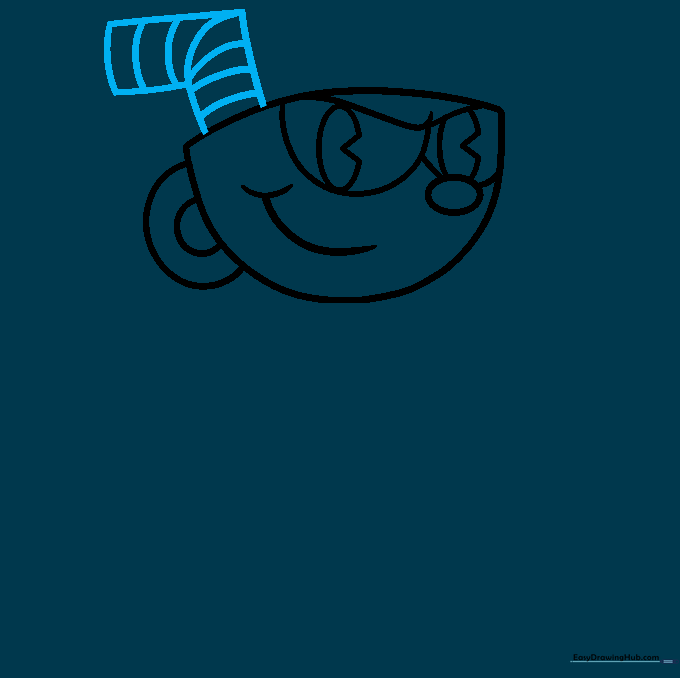
Draw a small, curved straw protruding from the top of the cup. Use parallel lines for the segments and add horizontal lines to create the signature stripes. Teacher's Tip: Think of the straw as a flexible tube—keep the curves smooth to match the cartoon style.
Step 4: Sketching the First Arm
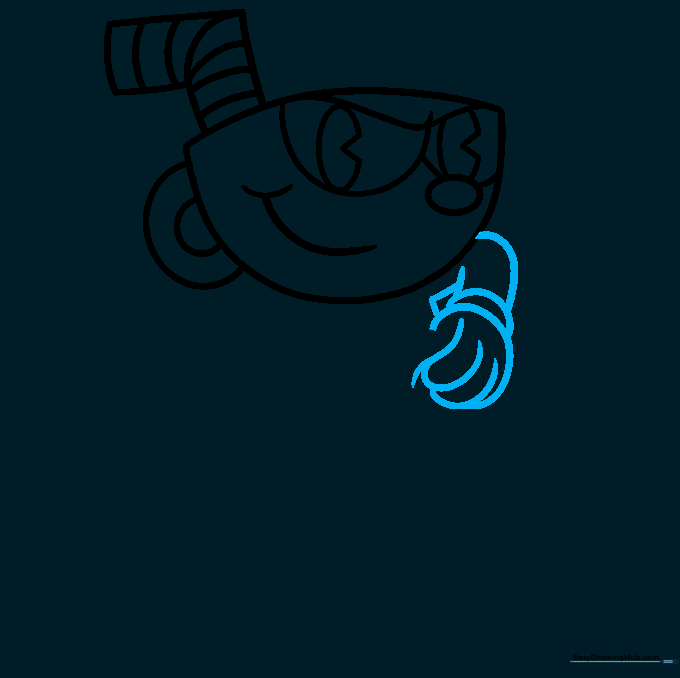
Draw the arm using smooth, curved lines. Add a cuff at the wrist and draw the glove with rounded, overlapping fingers. Teacher's Tip: Cartoon gloves are usually 'mitten-like' with simple shapes—don't worry about drawing individual knuckles.
Step 5: Drawing the Second Arm
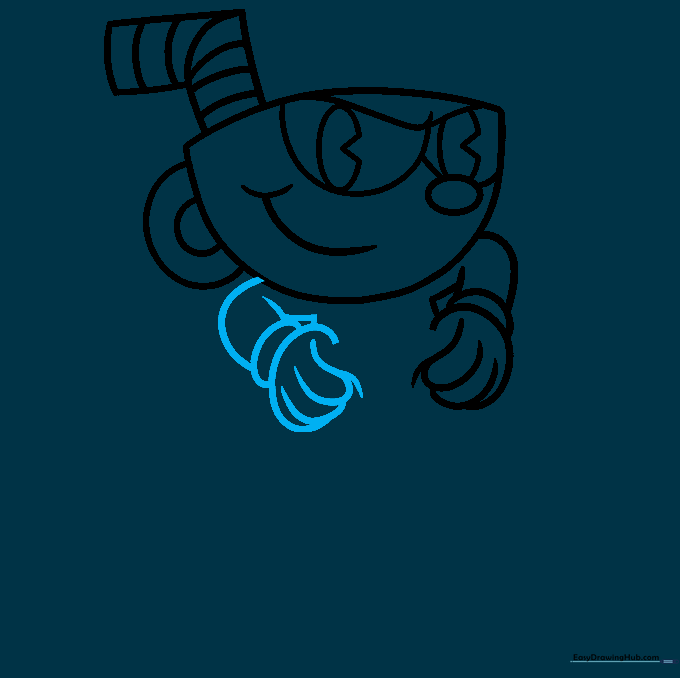
Repeat the process for the second arm, positioning it to balance out the character. Keep the lines fluid to maintain that classic 1930s animation look. Teacher's Tip: If you're struggling with symmetry, try drawing both arms at the same time, alternating between them.
Step 6: Outlining the Pants
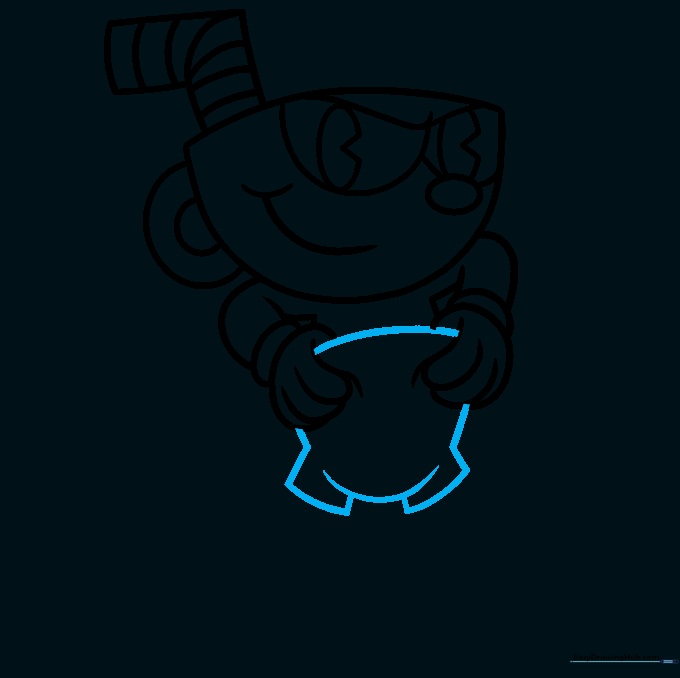
Draw the shorts using simple curved lines for the waist and the inseam. Keep the shape slightly rounded to match the cartoon aesthetic. Teacher's Tip: Make the shorts look like they are sitting comfortably on the character's body.
Step 7: Adding the Legs
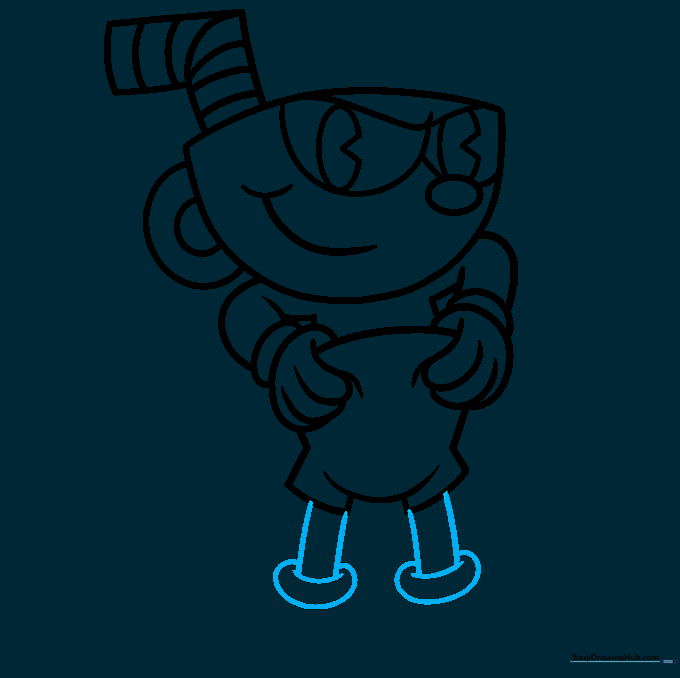
Extend two parallel lines down from the shorts to form the legs, connecting them at the bottom with a curve. Add a 'C' shaped line at the base for the top of the shoes. Teacher's Tip: Keep the legs thin to emphasize the 'rubber-hose' style of the character.
Step 8: Drawing the First Shoe
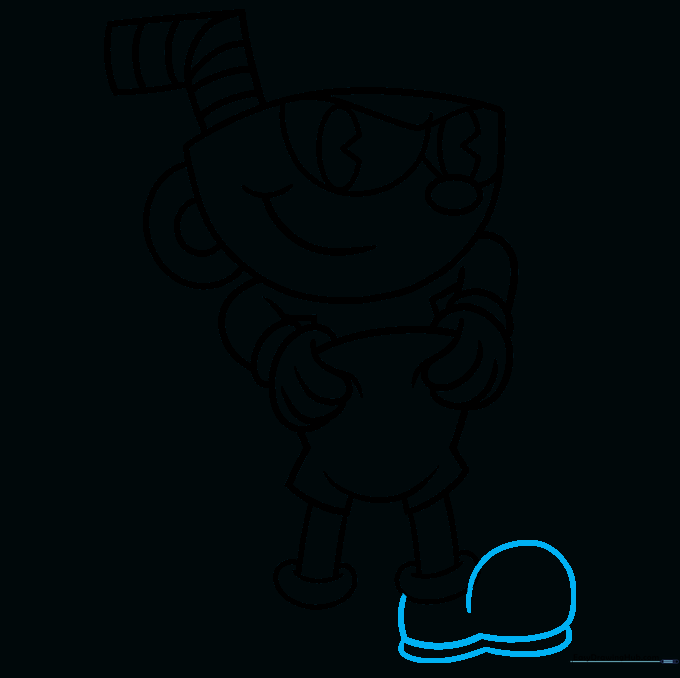
Use curved lines to enclose the irregular, rounded shape of the shoe and its sole. Teacher's Tip: Cartoon shoes are often oversized—don't be afraid to make them look a little chunky!
Step 9: Completing the Second Shoe

Draw the second shoe as a mirror image of the first. Ensure they are aligned so the character looks balanced. Teacher's Tip: Check your spacing—the shoes should look like they are planted firmly on the ground.
Step 10: Adding Color

Bring your drawing to life! Use red for the shoes and shorts, black for the shirt, and red stripes for the straw. Teacher's Tip: Use bold, flat colors to stay true to the 1930s animation aesthetic. Markers or colored pencils work great here!
More Tutorials


