How to Draw a Cupcake: Easy 10-Step Guide for Kids
Ready to draw something sweet? This tutorial is perfect for artists ages 5 and up. All you need is a pencil, an eraser, and your favorite markers or crayons to bring this delicious treat to life.
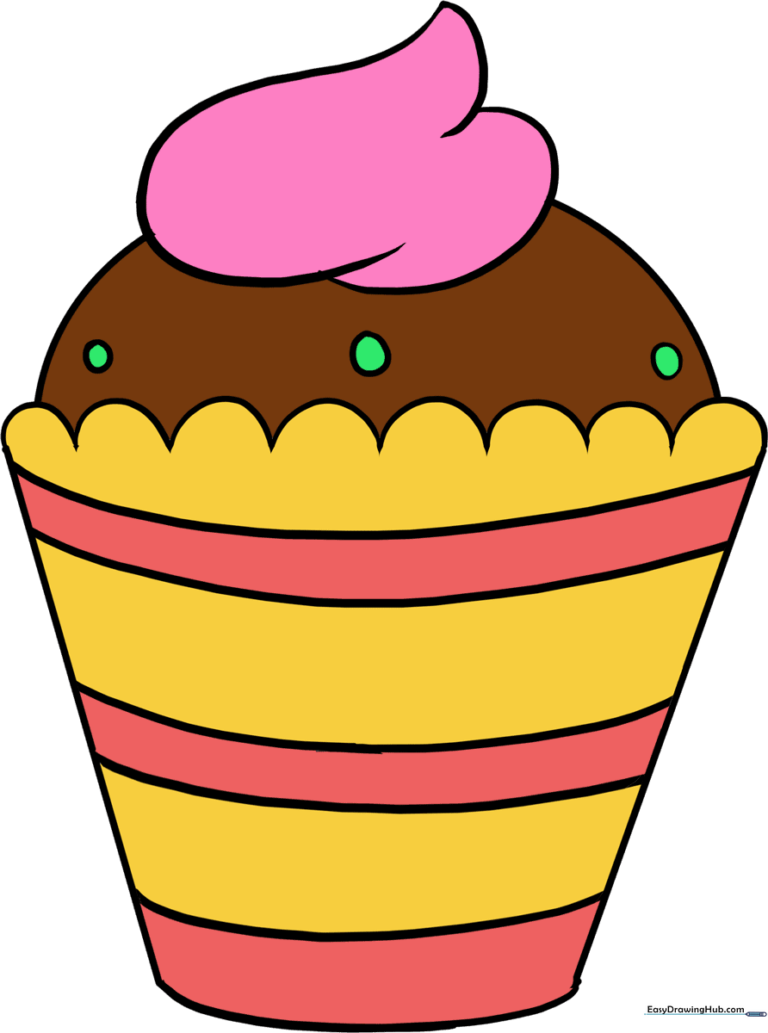
🎯 Final Result
Step-by-Step Instructions
Step 1: Sketching the Wrapper Base

Draw two horizontal lines, with the top one slightly longer than the bottom. Teacher's Tip: Keep your pencil pressure light so these lines are easy to clean up later!
Step 2: Defining the Trapezoid
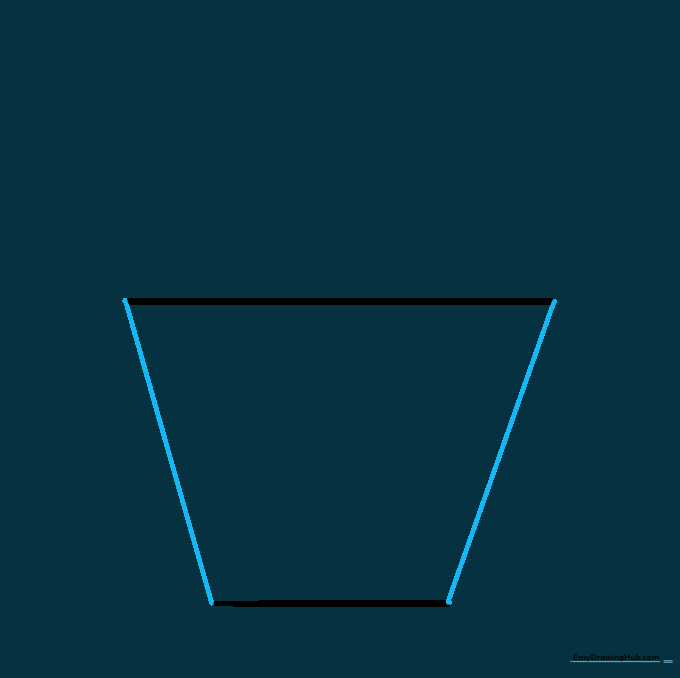
Connect the ends of your horizontal lines with two slanted vertical lines. This creates the classic trapezoid shape of a baking cup.
Step 3: Creating the Scalloped Edge
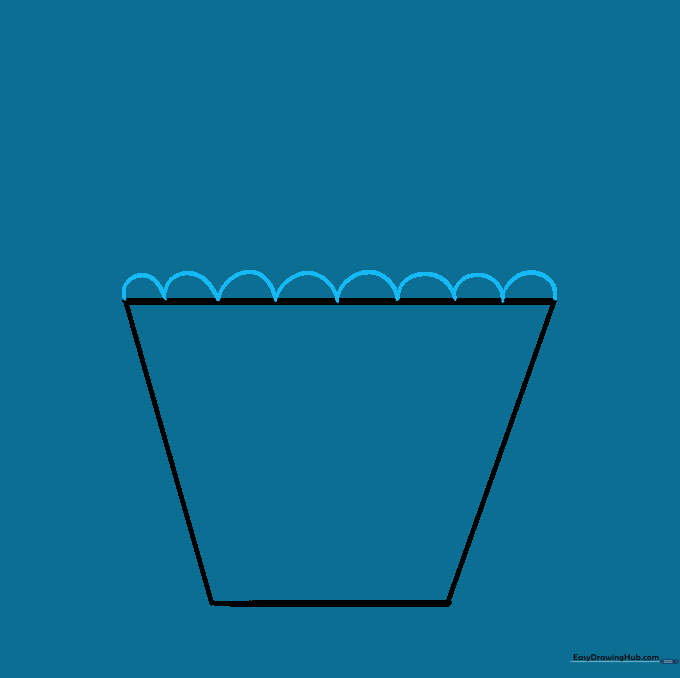
Add a series of small, connected 'U' shapes along the top line of your trapezoid. Tip: Imagine you are drawing little hills or waves to give the wrapper texture.
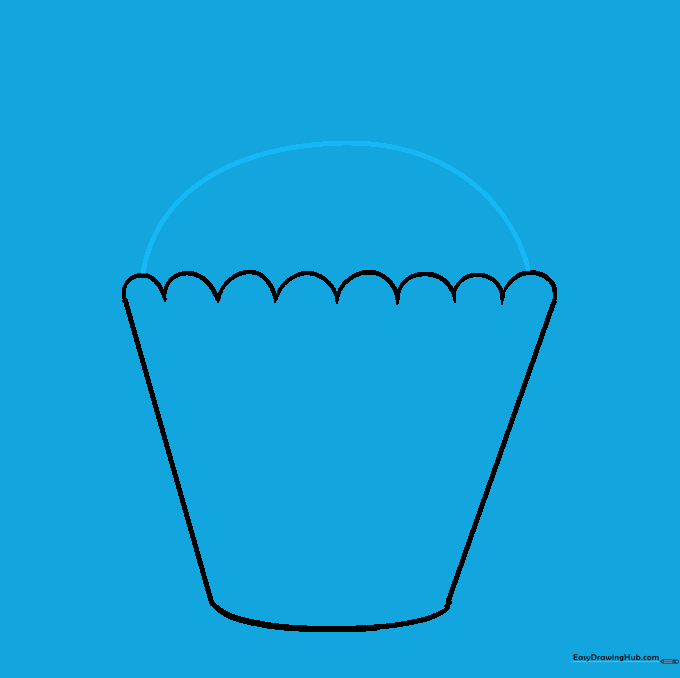
Step 4: Rounding the Bottom

Draw a gentle curved line connecting the bottom corners of your trapezoid. This makes the wrapper look three-dimensional and rounded.
Step 5: Cleaning Up
Carefully erase the straight horizontal line inside the wrapper. Now your drawing looks clean and ready for the cake part!
Step 6: Drawing the Cake Top
Draw a large, smooth half-circle sitting on top of the wrapper. This represents the fluffy cake base before we add the frosting.
Step 7: Adding Texture and Sprinkles
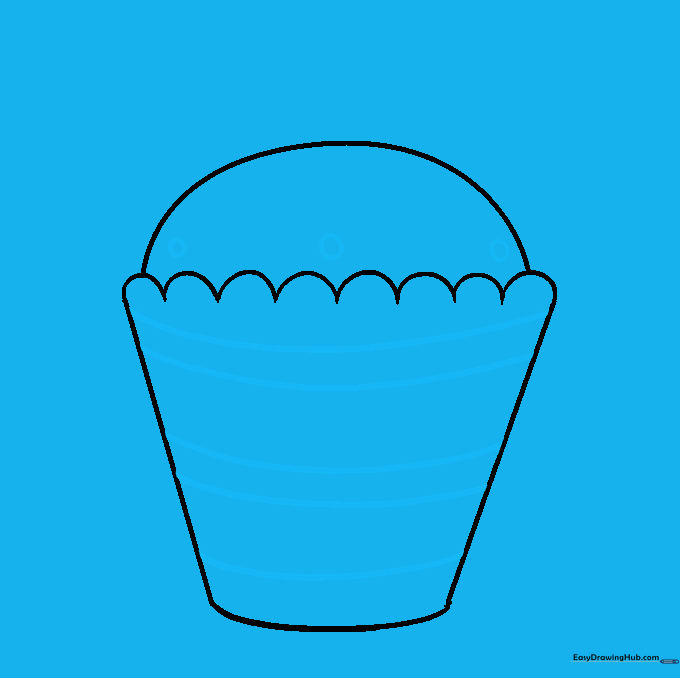
Add vertical lines inside the wrapper to show the pleats. Then, draw small circles or dashes on the cake for sprinkles. Tip: Vary the size of your sprinkles to make it look realistic!
Step 8: Starting the Frosting
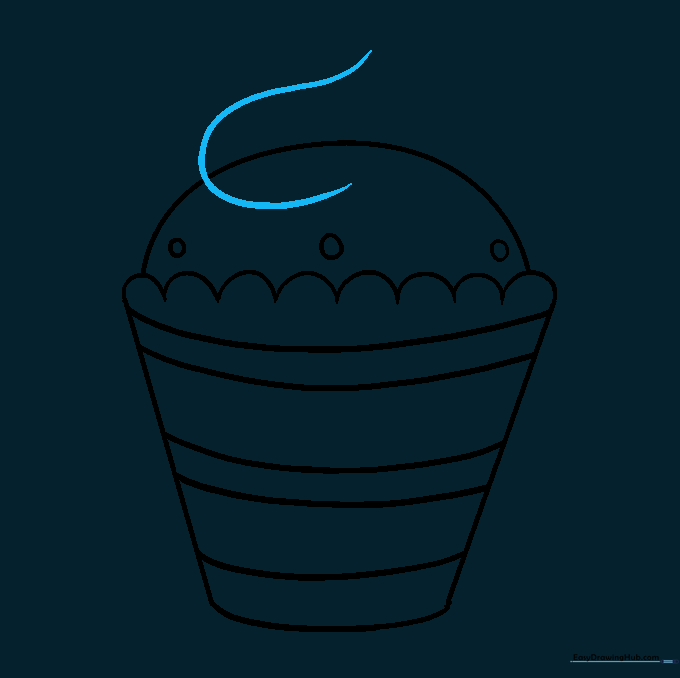
Draw a long, curved line starting from the side of the cake to begin the swirl of icing. Think of it like drawing a soft-serve ice cream spiral.
Step 9: Completing the Frosting Swirl
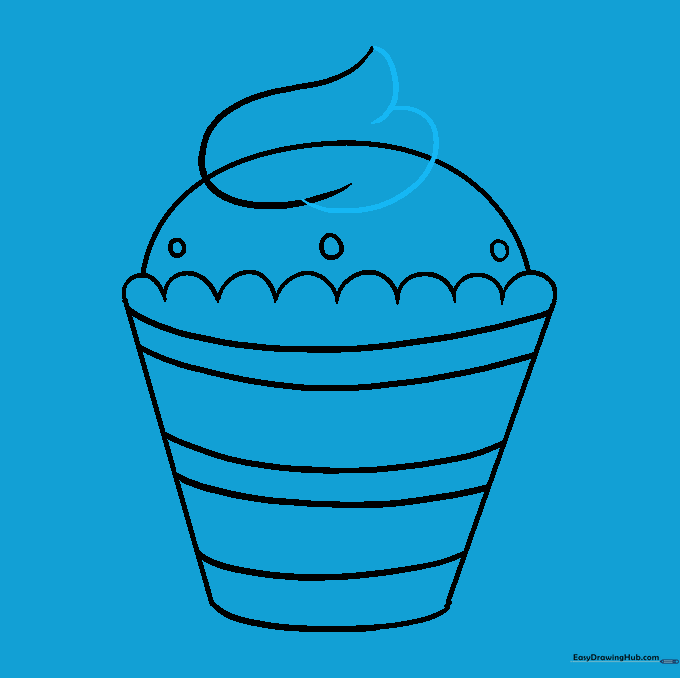
Continue the curved lines, spiraling inward toward the center point. This creates that delicious, professional-looking frosting peak.
Step 10: Bring It to Life with Color
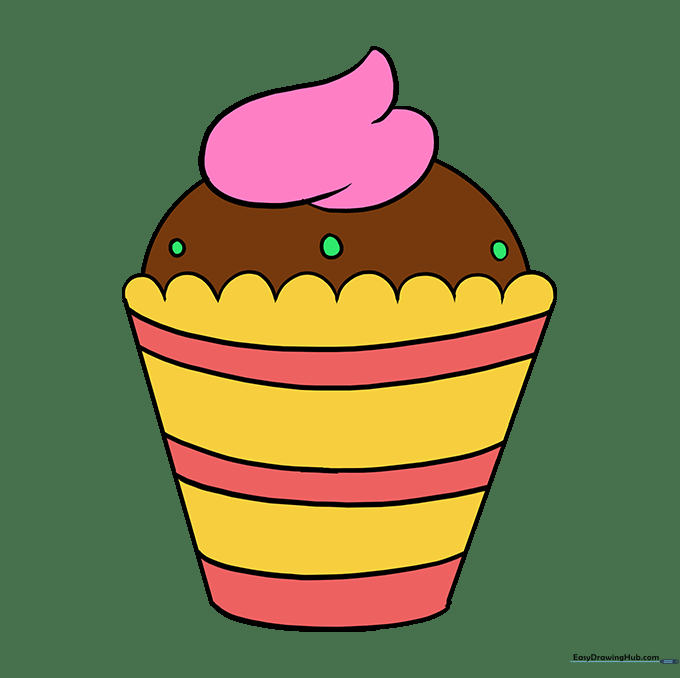
Time to color! Use bright colors for the wrapper and your favorite 'flavor' colors for the frosting. Don't forget to color your sprinkles to make them pop!
More Tutorials


