How to Draw Cthulhu: Easy 10-Step Guide for Beginners
Bring the legendary Cthulhu to life with this fun, guided drawing tutorial perfect for young artists ages 7 and up. You will only need a pencil, an eraser, and a piece of paper to master this iconic mythical creature. Follow along to develop your character design skills and add a touch of mystery to your sketchbook.
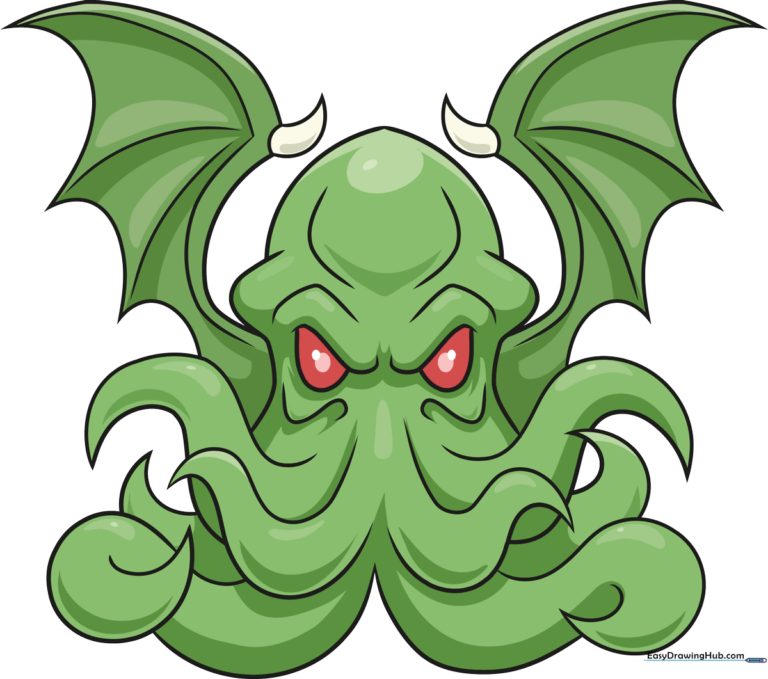
🎯 Final Result
Step-by-Step Instructions
Step 1: Sketching the Eyes

Draw two small, slanted ovals close together for the eyes, topped with sharp, angular brows. Teacher's Tip: Keep the eyes close to create that signature intense, menacing look.
Step 2: Defining the Head Shape

Draw a tall, rounded dome shape over the eyes, adding two small bumps at the top for the ear ridges. Teacher's Tip: Think of a squid's mantle to get the right organic, rounded feel.
Step 3: Adding Facial Structure
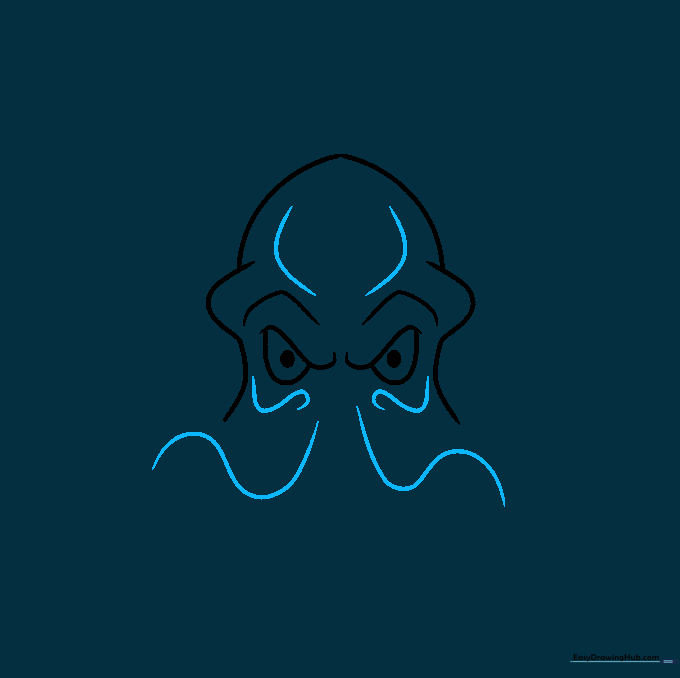
Add curved lines beneath the eyes to define the cheeks, then sketch the base of the upper tentacles. Teacher's Tip: Use loose, flowing strokes to make the tentacles look flexible rather than stiff.
Step 4: Shaping the Tentacles
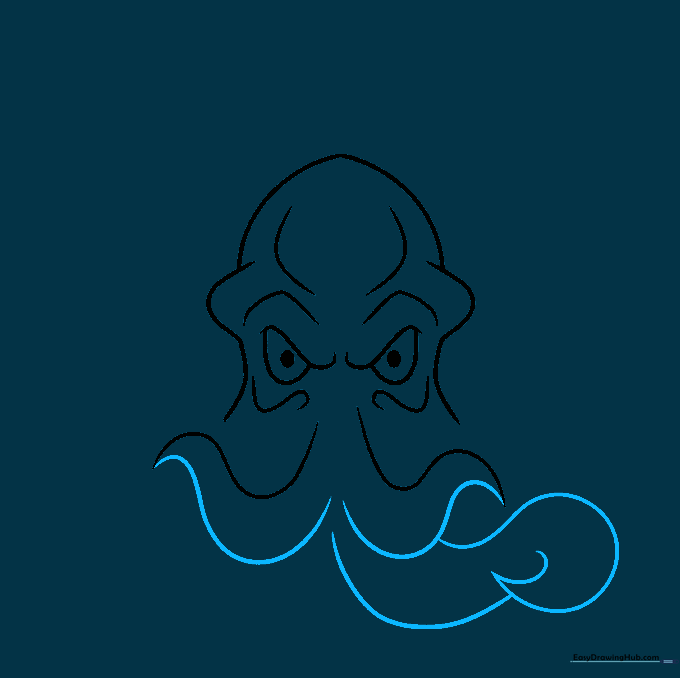
Follow the curves from the previous step, tapering the lines to a point. Add a larger, thicker tentacle on one side. Teacher's Tip: Tapering your lines at the end makes them look more natural and organic.
Step 5: Adding Depth to Tentacles

Draw a matching large tentacle on the opposite side, curling it into a loop. Add a smaller tentacle tip peeking out from behind. Teacher's Tip: Overlapping lines creates the illusion of depth and makes the creature look 3D.
Step 6: Expanding the Tentacle Cluster
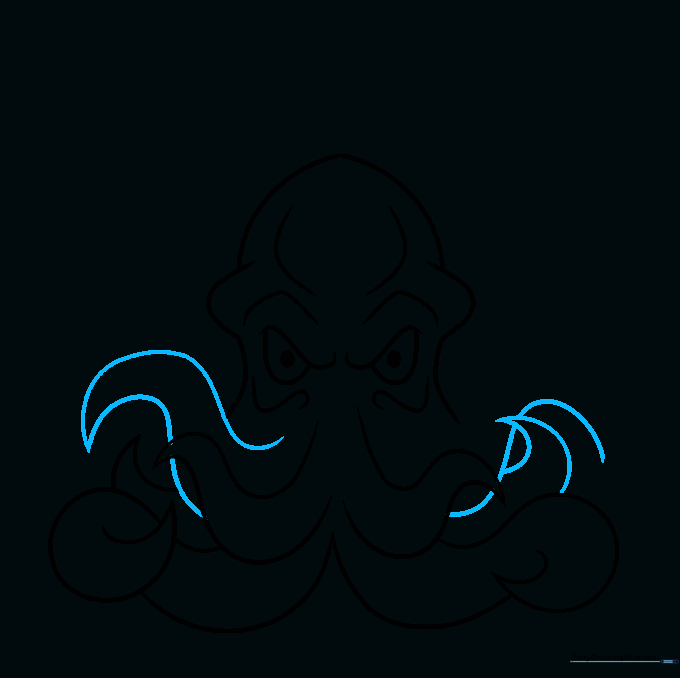
Add a small tentacle in the back and one more that arcs upward. Teacher's Tip: Don't worry about symmetry; Cthulhu's tentacles look better when they are slightly chaotic and uneven.
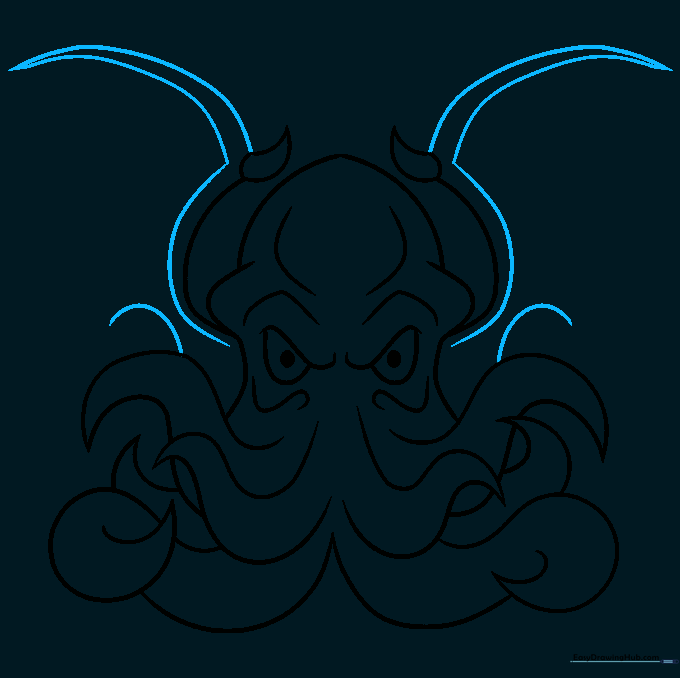
Step 7: Starting the Wings

Finish the remaining tentacles, then begin the wing structure by drawing a line from the head bump ending in a sharp, thorn-like claw. Teacher's Tip: Use a firm, confident stroke for the claw to give it a sharp, dangerous look.
Step 8: Constructing Wing Ribs
Curve the wing lines upward and outward, then draw a second line back down to form the wing ribs. Add an arc at the bottom. Teacher's Tip: Think of a bat's wing structure—the ribs act as the skeleton.
Step 9: Adding Wing Webbing
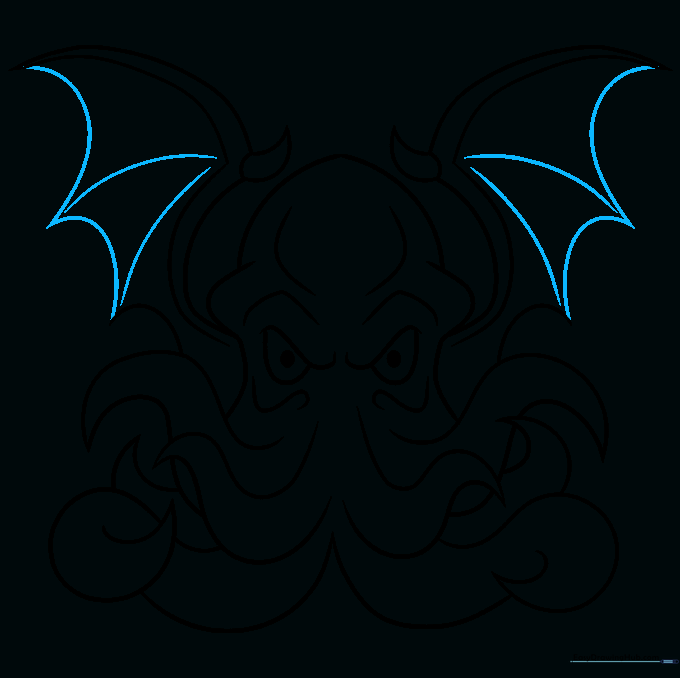
Connect the wing tips and ribs with scalloped, curved lines to create the leathery webbing. Teacher's Tip: Use a 'wavy' motion with your wrist to make the webbing look like an umbrella or bat wing.
Step 10: Coloring Your Masterpiece
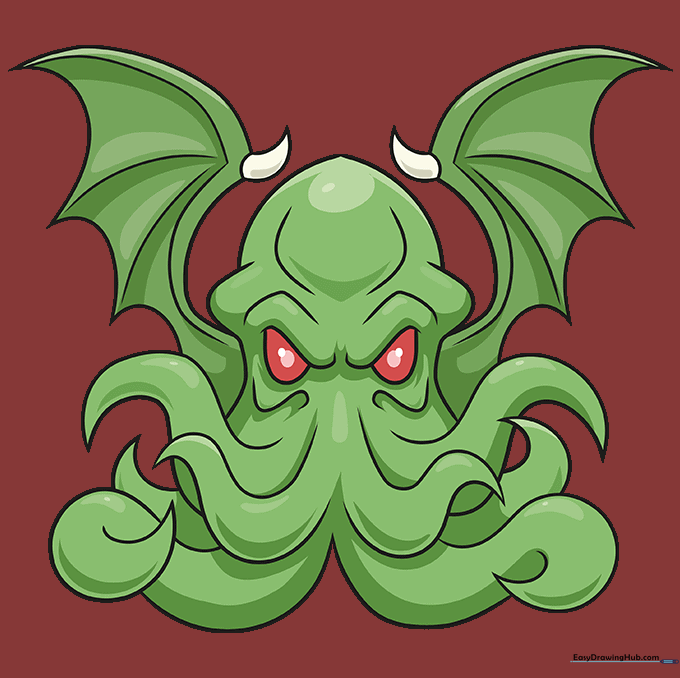
Bring your creature to life with deep greens for the skin and piercing red for the eyes. Teacher's Tip: Use darker green shading near the tentacles to add a sense of mystery and shadow.
More Tutorials


