How to Draw Crystals: Easy 10-Step Guide for Beginners
Bring the magic of geology to your sketchbook with this beginner-friendly crystal drawing guide. Designed for ages 6+, this activity uses basic geometric shapes to build confidence and fine motor skills. All you need is a pencil, an eraser, and your favorite coloring tools to create a sparkling masterpiece.
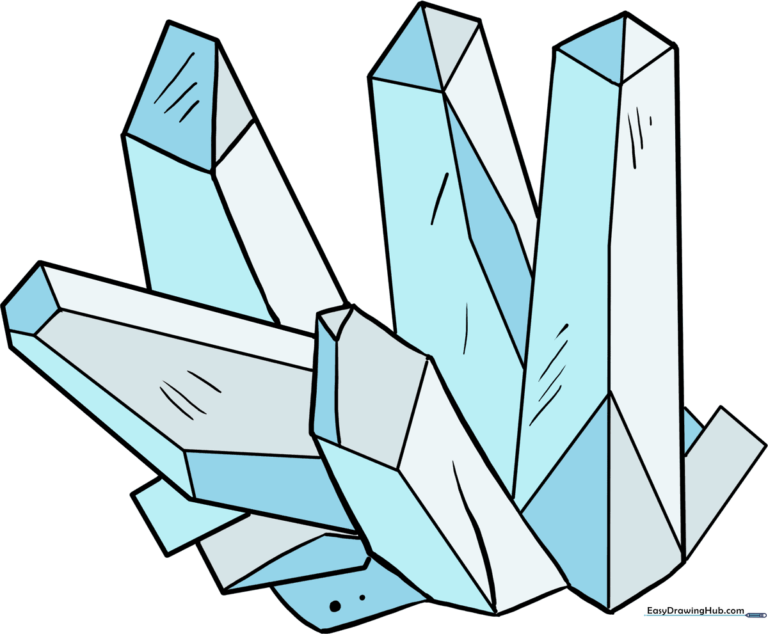
🎯 Final Result
Step-by-Step Instructions
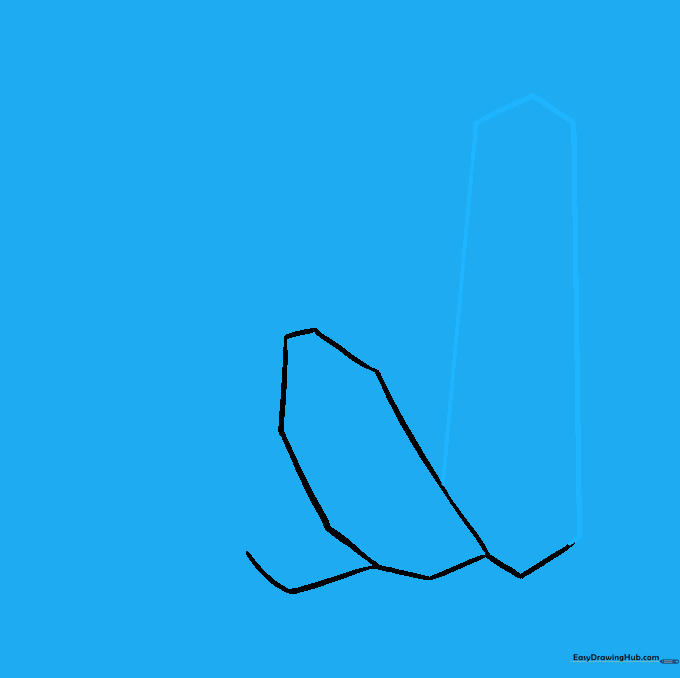
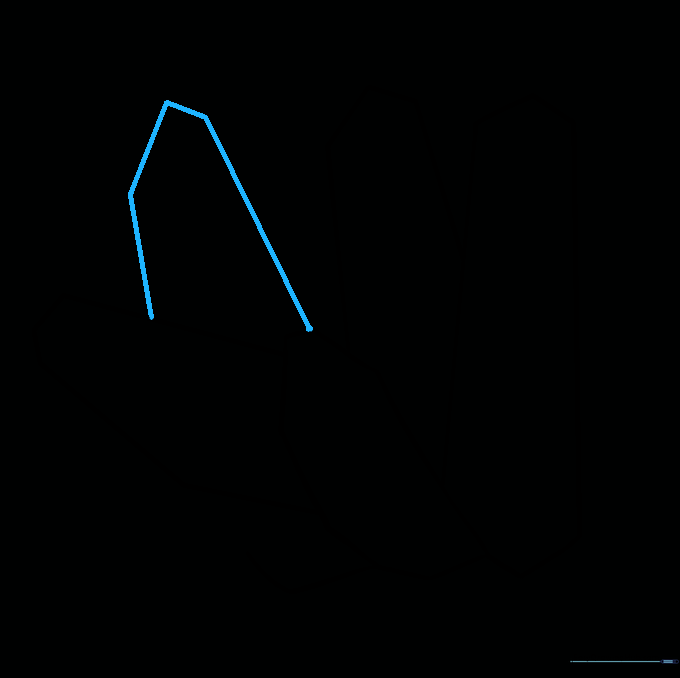
Step 1: Sketching the Base

Start by drawing a zigzag line to form the base of your crystal cluster. Teacher's Tip: Use light, quick strokes; this acts as the foundation for the entire drawing.
Step 2: Forming the First Crystal

Enclose your first crystal using connected, slightly curved lines of varying lengths. Tip: Don't worry about making it perfectly symmetrical; real crystals are unique and jagged.
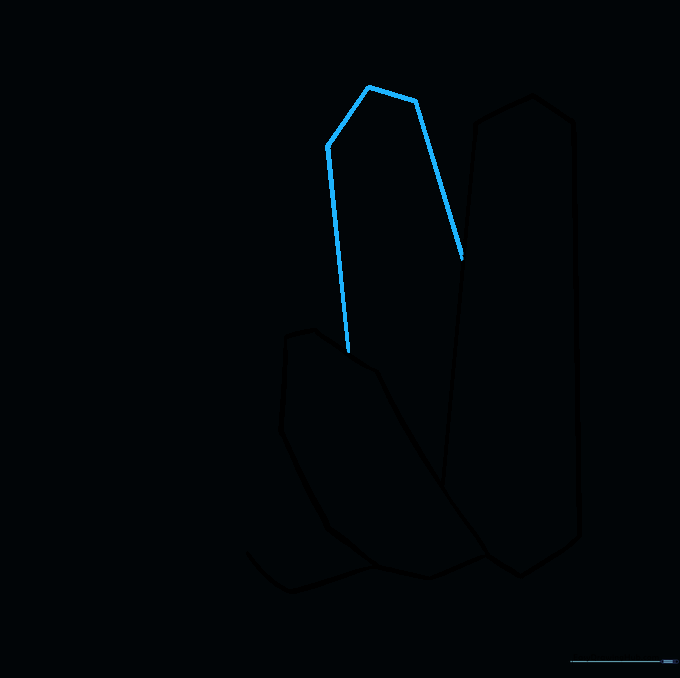
Step 3: Adding a Larger Crystal
Outline a second, larger crystal next to the first one using straight, sharp lines. Tip: Varying the size of your crystals creates a more natural, professional look.
Step 4: Filling the Gaps
Draw a third crystal emerging from the space between the first two. Tip: Imagine these are growing out of the ground—let them overlap slightly for depth.
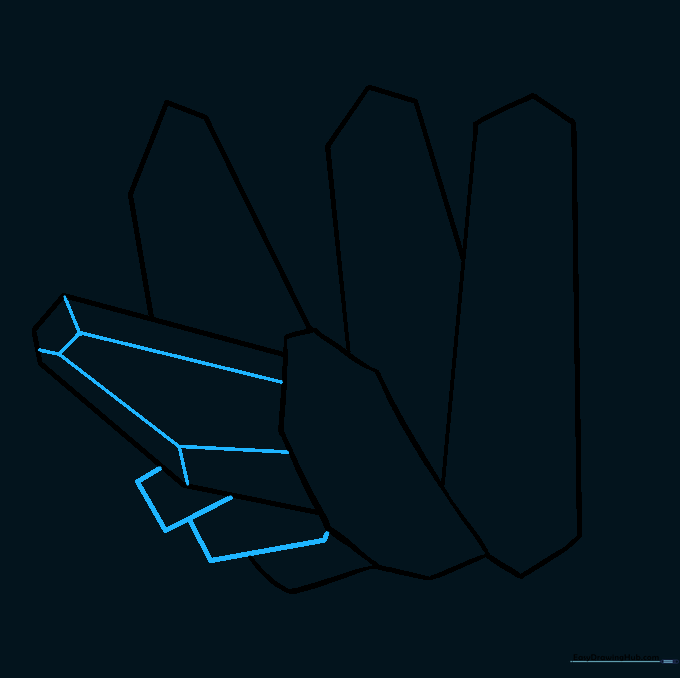
Step 5: Creating Angles
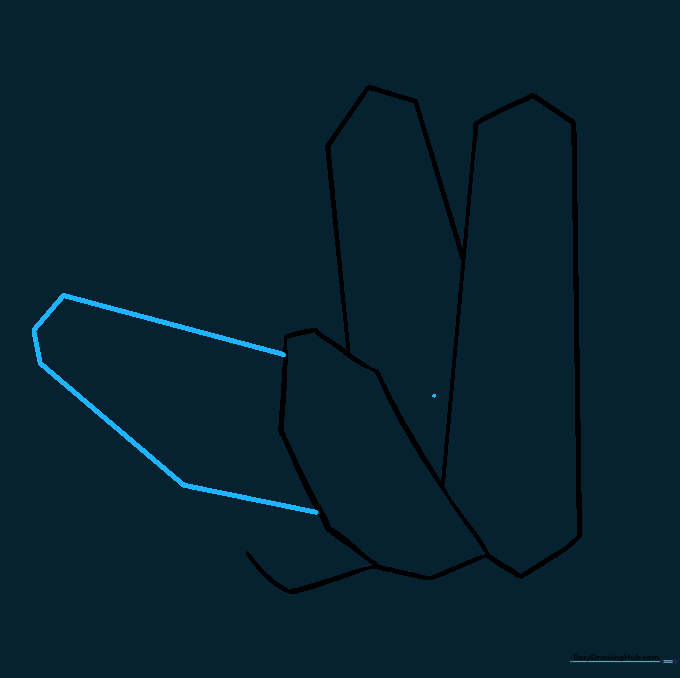
Add another crystal at a different angle to make the cluster look dynamic. Tip: Use straight lines of different lengths to keep the shape interesting.
Step 6: Building the Cluster
Draw one more crystal emerging from behind the others. Tip: By drawing behind, you create the illusion of a dense, rocky cluster.
Step 7: Adding Facets
Add detail to your crystals by drawing irregular pentagons inside them. Connect the corners to the outer edges. Tip: These lines represent the 'facets' or flat surfaces of the crystal.
Step 8: Refining Details
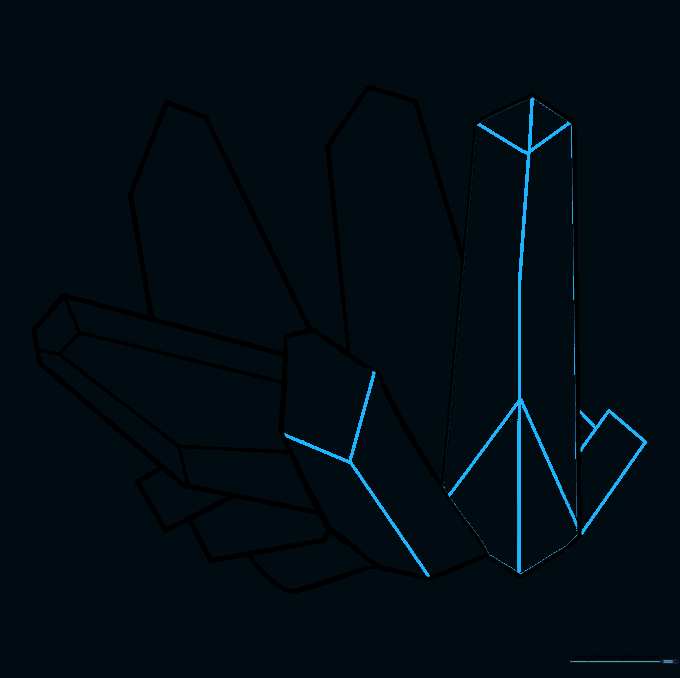
Add more facets to the remaining crystals by enclosing shapes at the tips and drawing lines down the length. Tip: Keep your lines straight and sharp to mimic the hardness of stone.
Step 9: Adding Texture
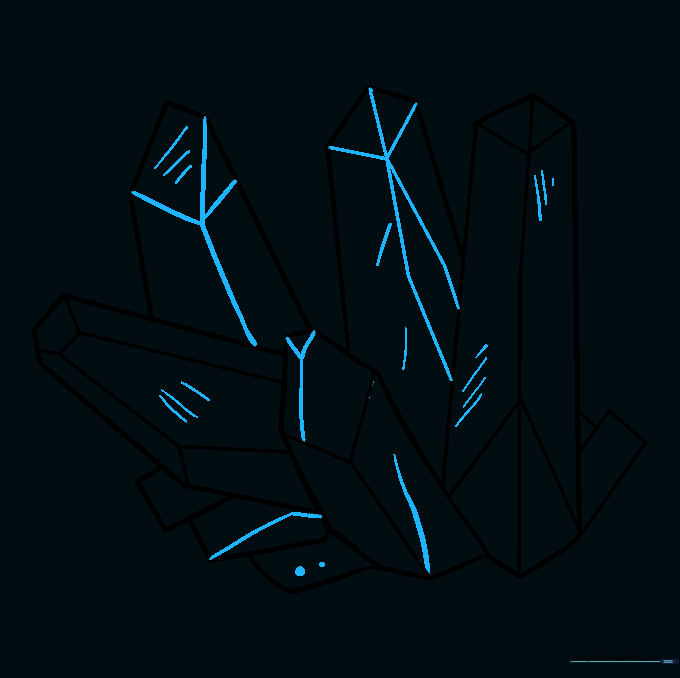
Use hatching—short, parallel lines—to add texture and shadow to your crystals. Tip: Focus your hatching on the sides that would be in shadow to give your drawing a 3D effect.
Step 10: Bringing it to Life with Color
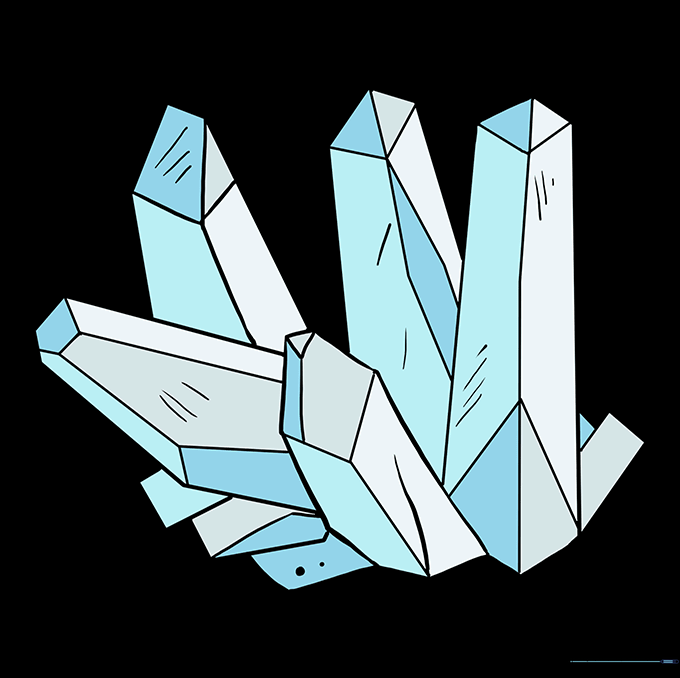
Color your crystals! Use light blues for quartz, deep purples for amethyst, or bright greens for a fantasy look. Tip: Use a lighter shade on the top facets and a darker shade on the sides to make them 'pop'.
More Tutorials


