How to Draw a Cowboy Hat: Easy 10-Step Guide for Kids
Ready to add some Western flair to your sketchbook? This tutorial is designed for young artists ages 5 and up, requiring only a pencil, paper, and an eraser. By following these simple shapes, you will master the iconic silhouette of a cowboy hat in minutes.
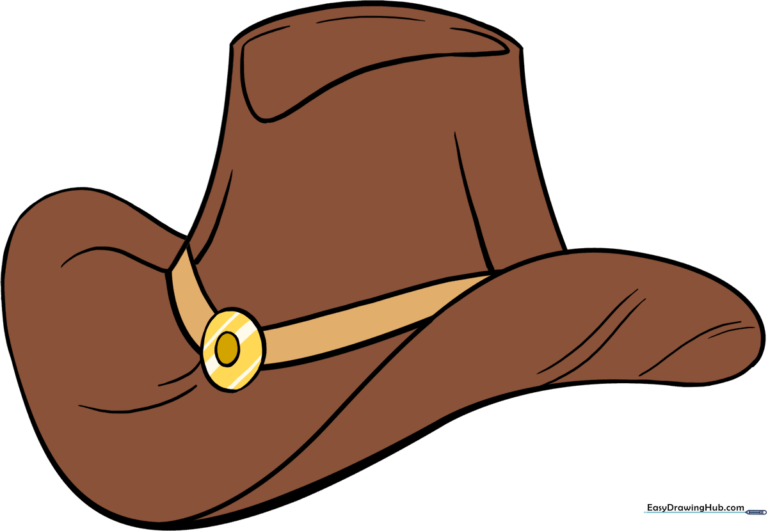
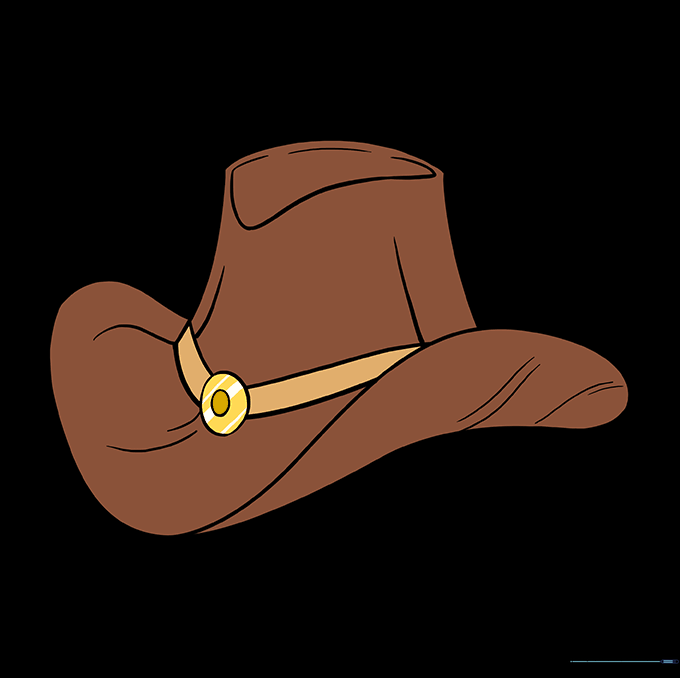
🎯 Final Result
Step-by-Step Instructions
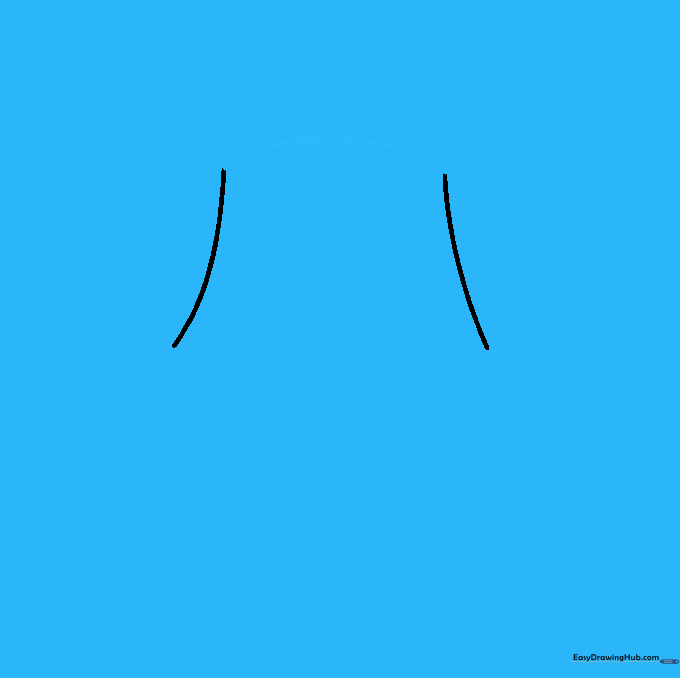
Step 1: Sketching the Side Profile

Draw two slightly diagonal, curved lines. Teacher's Tip: Keep these lines light and parallel; they act as the foundation for the sides of your hat.
Step 2: Closing the Top
Connect the top of your two lines with a smooth, rounded curve. Teacher's Tip: Imagine you are drawing the top of a loaf of bread—keep it rounded and soft.
Step 3: Defining the Crown
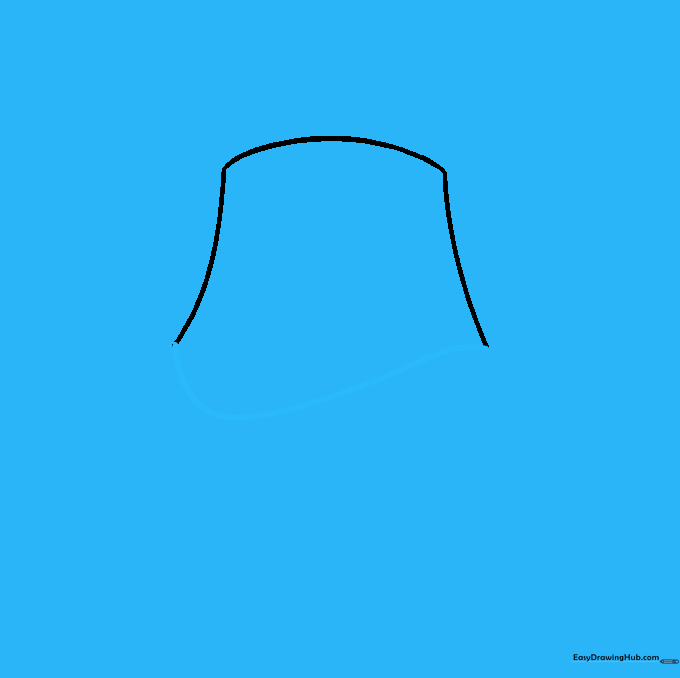
Connect the bottom of your lines with another curved line to finish the crown. Teacher's Tip: This creates the 'bucket' shape where your head would go.
Step 4: Outlining the Brim
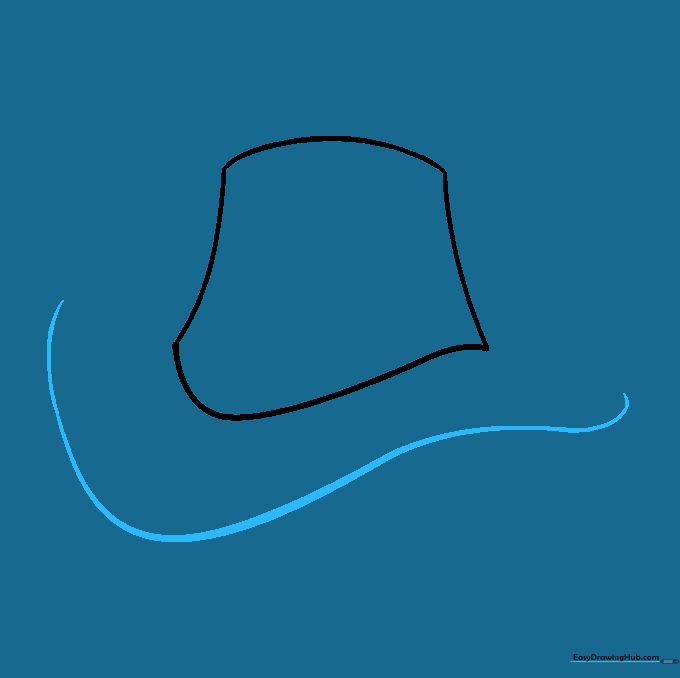
Draw a long, sweeping curved line around the base to start the brim. Teacher's Tip: Use a fluid motion with your wrist to get a nice, wide arc.
Step 5: Shaping the Underside
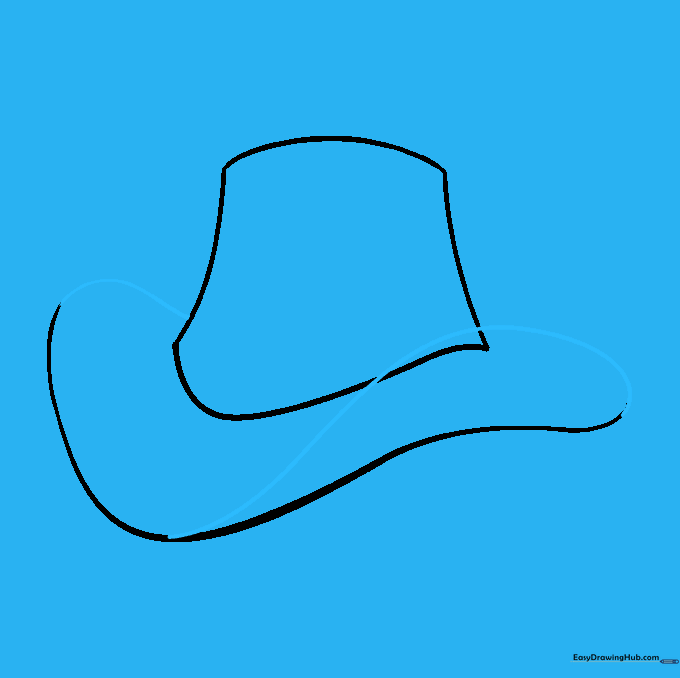
Connect the brim back to the crown, adding a loop to show the upturned edge. Teacher's Tip: This loop gives the hat its signature 'cowboy' character.
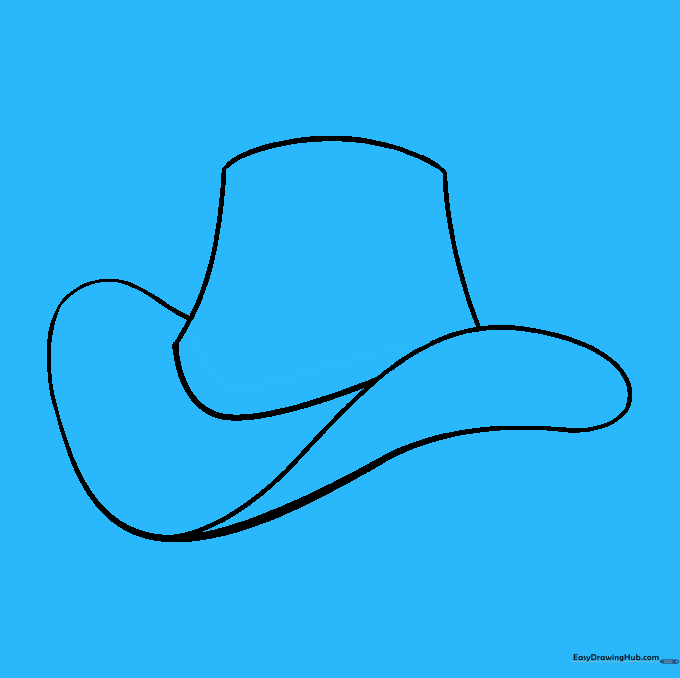
Step 6: Cleaning Up

Gently erase any overlapping guide lines inside the hat. Teacher's Tip: Use a soft eraser and brush away the crumbs so you don't smudge your work.
Step 7: Adding the Hat Band
Draw a curved line around the base of the crown to represent the hat band. Teacher's Tip: Make sure the line follows the curve of the hat so it looks like it's wrapping around.
Step 8: Designing the Buckle
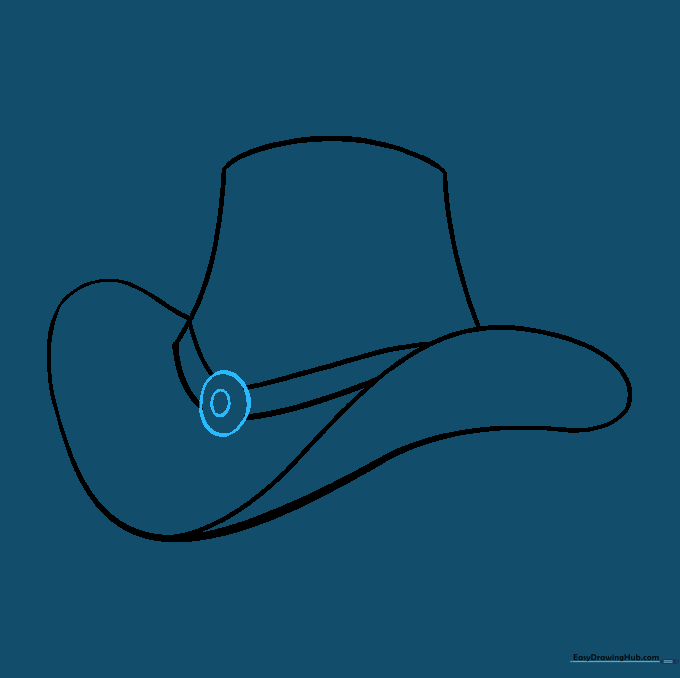
Draw a small circle within a circle on the band for a decorative buckle. Teacher's Tip: Keep it small and centered on the side for a realistic look.
Step 9: Adding Texture
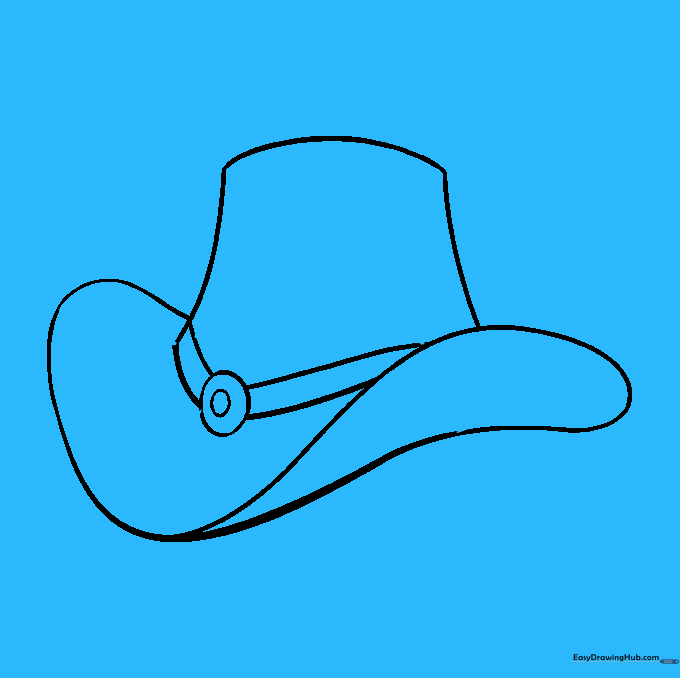
Add small, irregular curved lines on the crown and brim to suggest texture. Teacher's Tip: Don't overdo it—a few simple lines go a long way in making it look like felt or leather.
Step 10: Final Coloring
Color your hat in your favorite shade—brown, black, or even bright pink! Teacher's Tip: Use darker colors near the edges to create a sense of depth.
More Tutorials


