How to Draw Cotton Candy: Easy 10-Step Cartoon Guide
Bring a carnival favorite to life with this fun, beginner-friendly drawing tutorial. Designed for ages 5 and up, this activity requires only a pencil, paper, and your favorite markers to create a sweet, smiling character. Follow along to master basic shapes and build confidence in your cartooning skills.
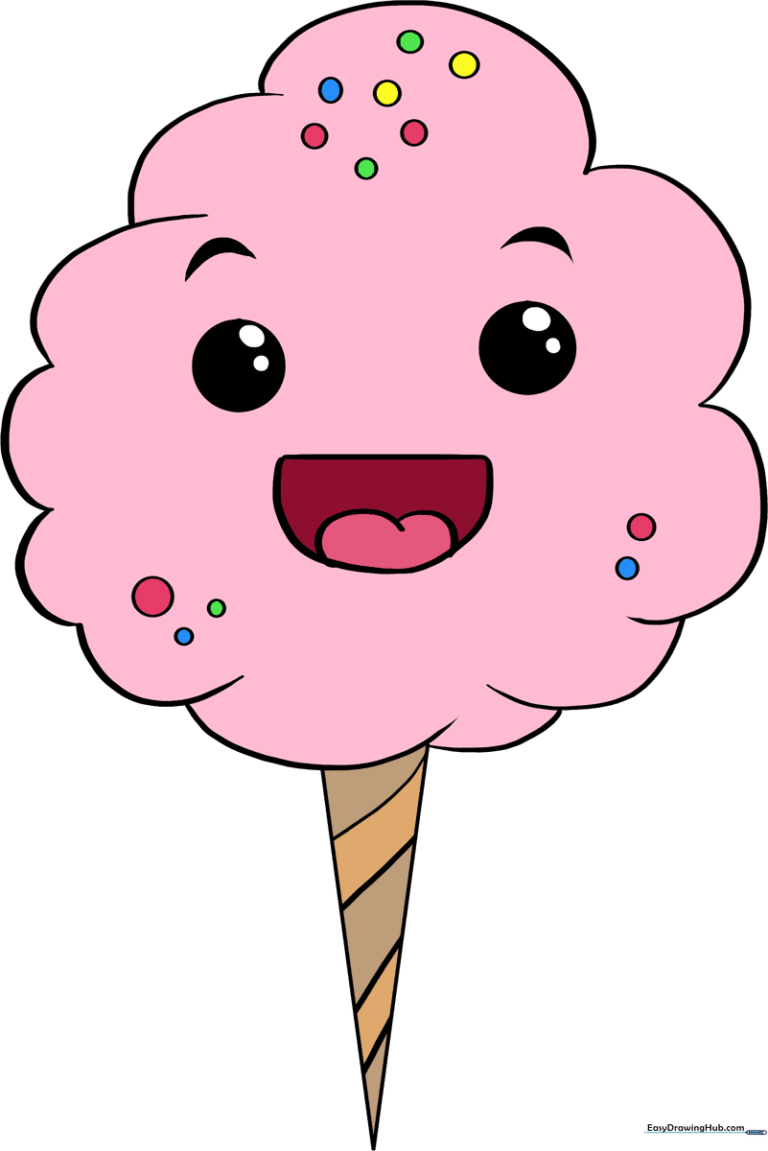
🎯 Final Result
Step-by-Step Instructions
Step 1: Sketching the Fluffy Base

Start by drawing a series of connected, curved lines to form the top of your cotton candy cloud. Teacher's Tip: Think of these as small, soft hills—don't worry about making them perfect, as cotton candy is naturally irregular!
Step 2: Expanding the Cloud

Continue adding connected 'U' shaped lines downward to build the volume of the treat. Teacher's Tip: Vary the size of your 'U' shapes to make the cotton candy look extra fluffy and light.
Step 3: Closing the Shape

Bring your curved lines back toward the center to close the bottom of the cloud. Teacher's Tip: Ensure the bottom is slightly narrower than the top to create a balanced, appealing shape.
Step 4: Adding the Cone

Draw two straight lines extending downward from the center, meeting at a point to form the paper cone. Teacher's Tip: Use a ruler if you want the cone to look perfectly symmetrical, or go freehand for a more organic look.
Step 5: Detailing the Cone

Add horizontal curved lines across the cone to give it texture. Teacher's Tip: These lines should curve slightly downward to match the shape of the cone's opening.
Step 6: Drawing the Eyebrows
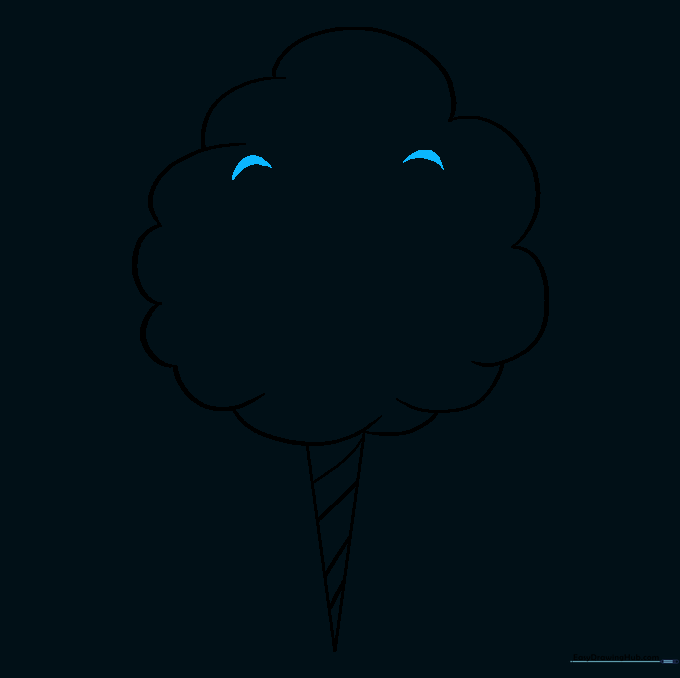
Draw two small, arched lines near the top center of the cloud for the eyebrows. Teacher's Tip: Placing them at a slight angle can make your character look surprised or happy!
Step 7: Creating the Eyes
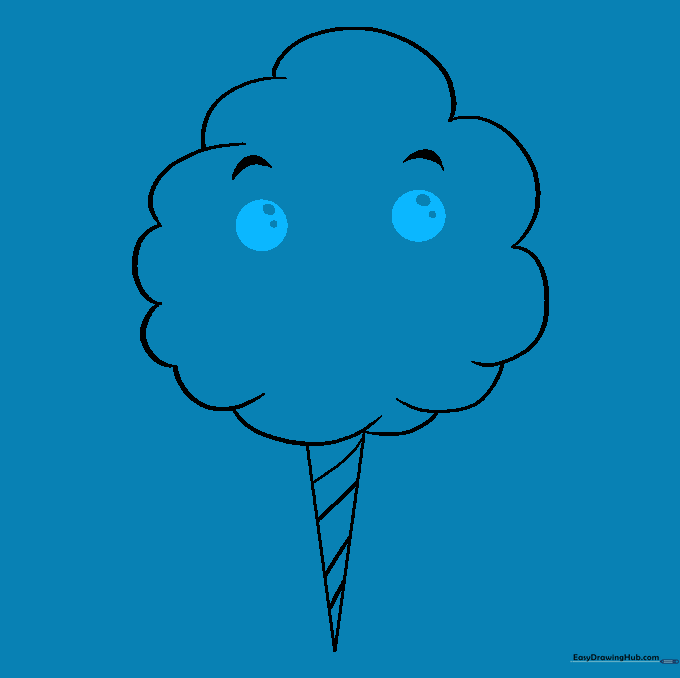
Draw two large circles beneath the eyebrows. Inside each, add two smaller circles and shade the surrounding area. Teacher's Tip: Leave the small circles white to create a 'glint' effect, which makes the eyes look bright and alive.
Step 8: Adding a Happy Mouth
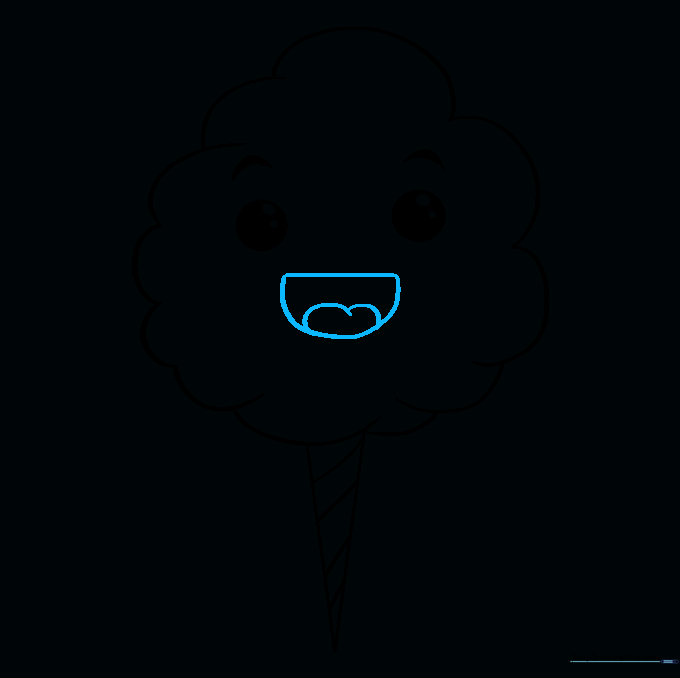
Draw a wide, smiling mouth using a curved line. Add a small 'U' shape inside for the tongue. Teacher's Tip: Keep the tongue small so it looks like a natural part of the smile.
Step 9: Adding Texture
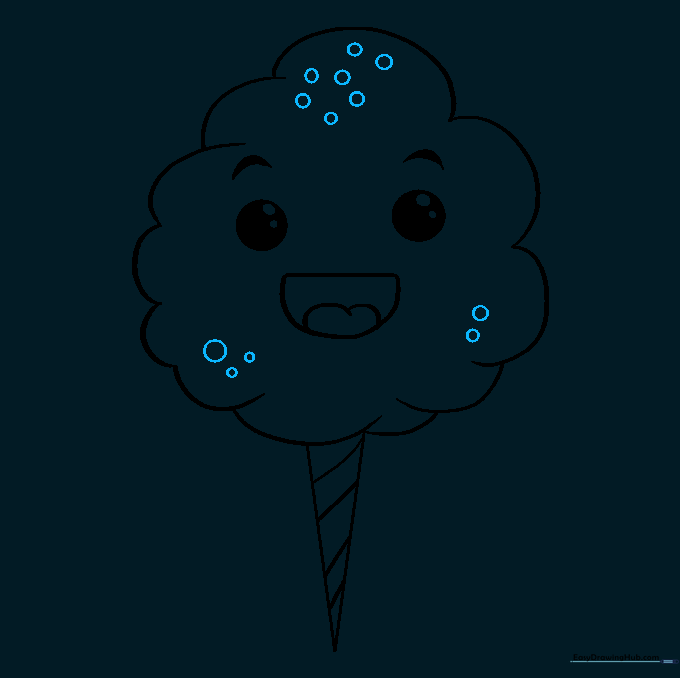
Add small circles throughout the cotton candy cloud to represent its sugary, airy texture. Teacher's Tip: Don't overdo it—a few scattered circles are enough to suggest fluffiness.
Step 10: Bringing it to Life with Color
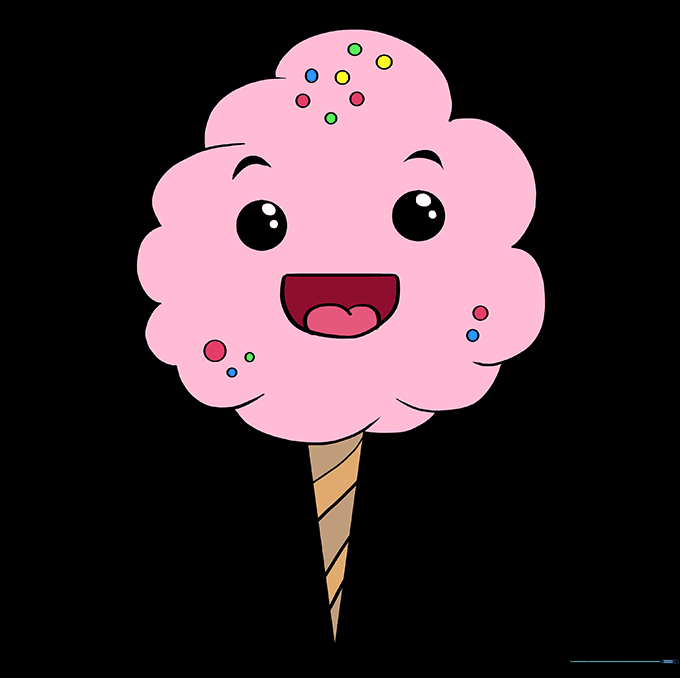
Color your creation! Use bright pinks or blues for the cotton candy and a light tan for the cone. Teacher's Tip: Use light, circular strokes with your marker to keep the color looking soft and airy.
More Tutorials


