How to Draw a Chef Cooking: Easy Step-by-Step Guide
Bring a professional chef to life with this engaging drawing tutorial, perfect for young artists ages 6 and up. You will need a pencil, an eraser, and your favorite coloring markers to complete this scene. Follow along to master character proportions and kitchen details while building your creative confidence.
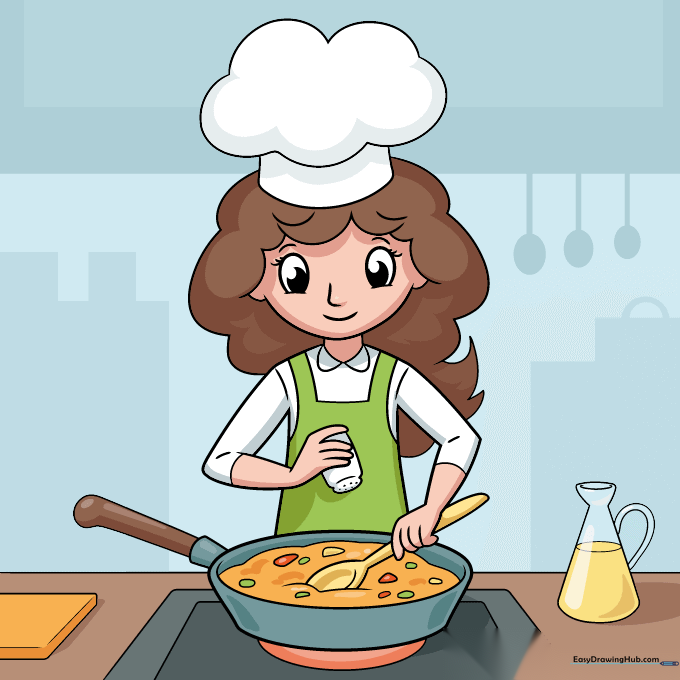
🎯 Final Result

Step-by-Step Instructions
Step 1: Sketching the Face
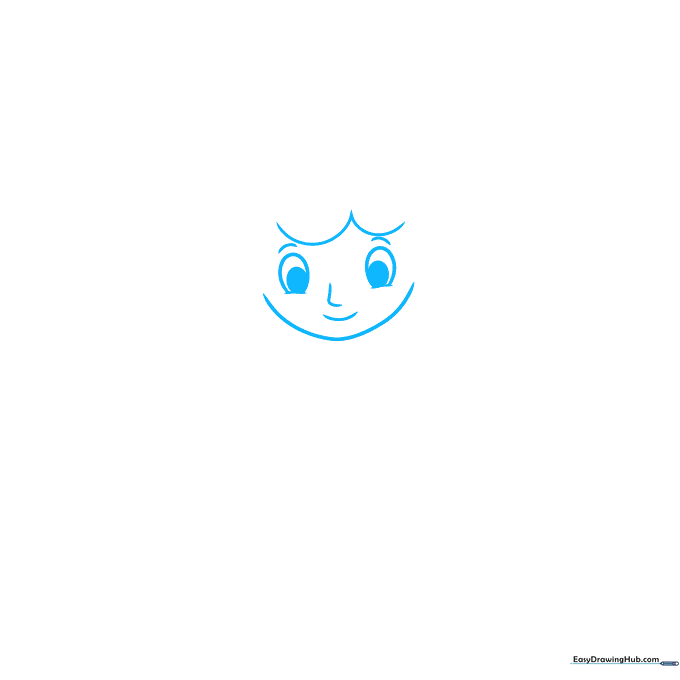
Start by drawing a soft oval for the chef's face. Add two small ovals for the eyes and shade them in. Tip: Keep your pencil lines light so you can easily adjust the facial features if needed.
Step 2: Adding the Chef's Hat
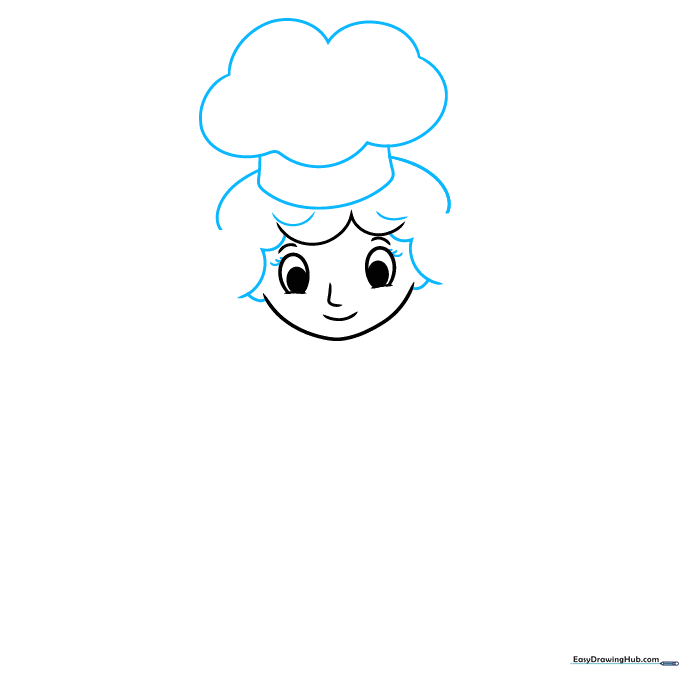
Draw the iconic tall chef's hat resting on top of the head using curved lines. Tip: Use a 'cloud-like' motion for the top of the hat to give it a soft, puffy appearance.
Step 3: Shoulders and Collar
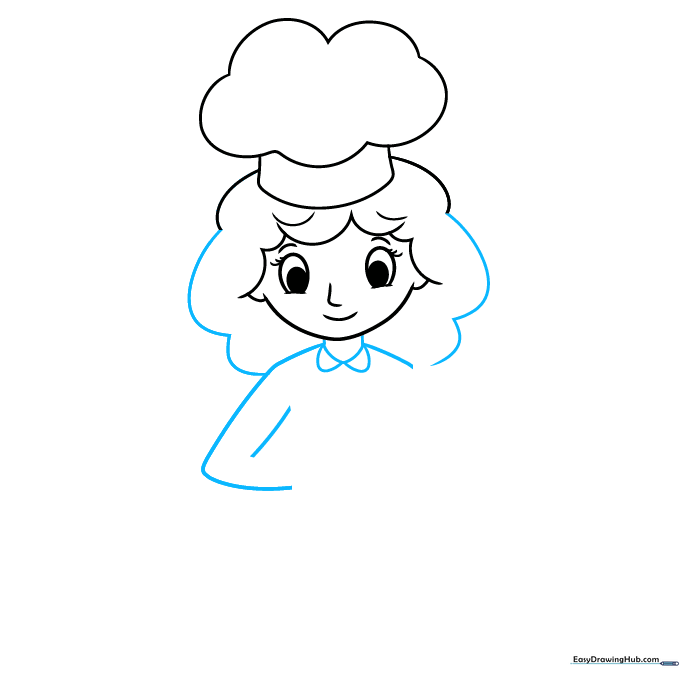
Extend two lines downward for the neck and add a rounded collar. Tip: Make the shoulders slightly sloped to give the character a natural, relaxed posture.
Step 4: The Spice Container
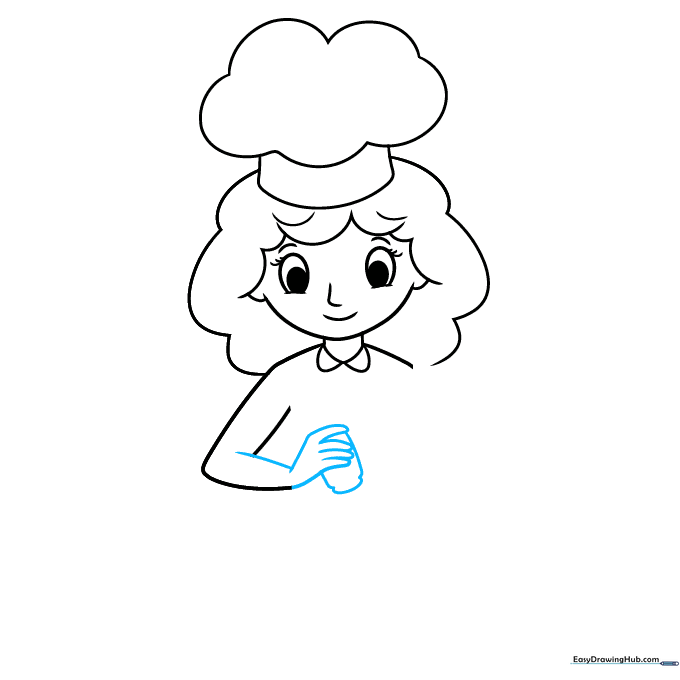
Draw the arm reaching out and sketch a small spice container in the hand. Tip: Focus on the grip—draw the fingers wrapping slightly around the container for a realistic look.
Step 5: Adding Texture to the Shaker

Add a lid to the shaker with small dots to represent the spice holes. Complete the torso and the second arm. Tip: Use short, quick strokes for the dots to keep them uniform.
Step 6: The Apron and Pan
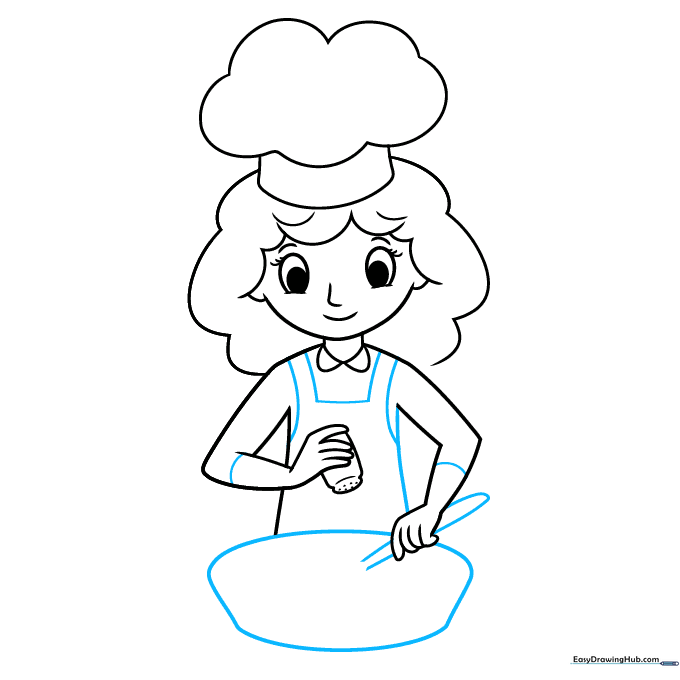
Draw the apron straps and a spoon held in the other hand. Outline a pan nearby. Tip: Draw the spoon handle first, then build the bowl of the spoon around it for better alignment.
Step 7: Cooking Details
Sketch the food inside the pan and add creases to the sleeves. Tip: Use wavy lines inside the pan to suggest bubbling food or steam.
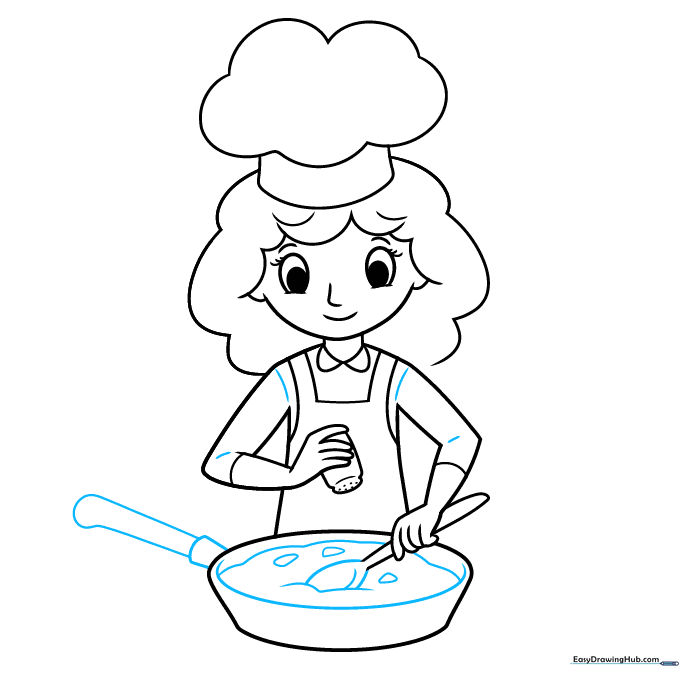
Step 8: The Cooktop
Draw the burner under the pan and two squares to represent the stove. Tip: Use a ruler if you want the stove squares to look perfectly geometric.
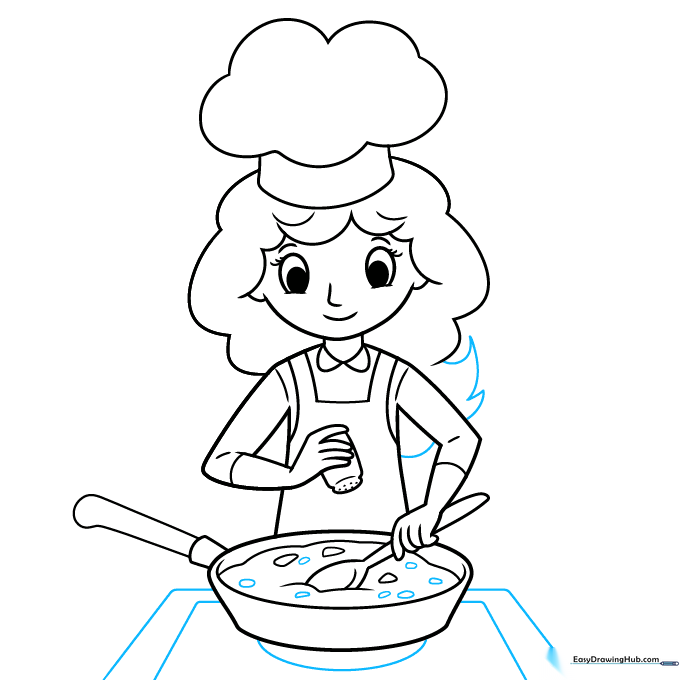
Step 9: Kitchen Environment
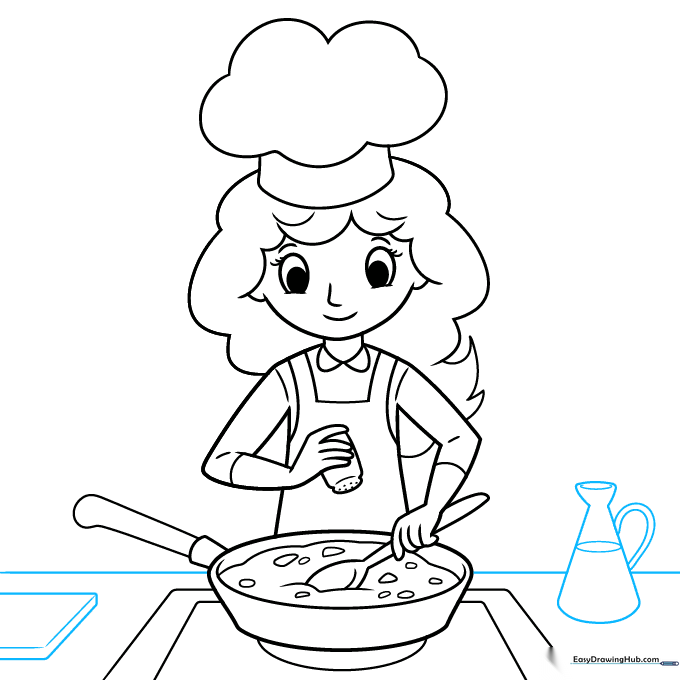
Draw a horizontal line for the tabletop and add a bottle of oil nearby. Tip: Adding background objects like the oil bottle helps ground your character in a real space.
Step 10: Final Coloring
Your outline is complete! Now, bring it to life with color. Tip: Use traditional white for the hat and apron, but feel free to get creative with the chef's uniform colors!
More Tutorials


