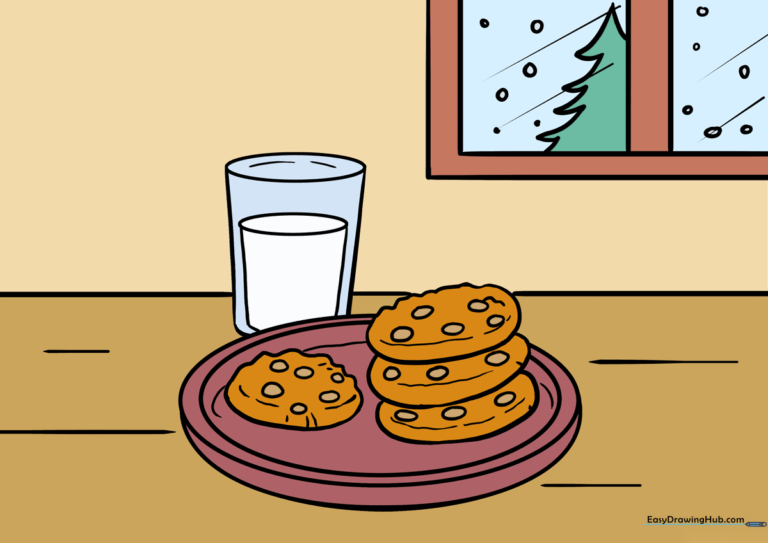
How to Draw Cookies: Easy 10-Step Drawing Guide
Perfect for young artists ages 5 and up, this tutorial helps you master drawing a cozy snack scene. You only need a pencil, an eraser, and your favorite coloring supplies to get started. By the end, you will have a delicious-looking illustration of cookies and milk to share with friends.
🎯 Final Result
Step-by-Step Instructions
Sketching the Plate Base

Draw a wide, flat oval to serve as the base of your plate. Teacher's Tip: Keep your pencil pressure light; this is just a guide to help you center your cookies later.
Defining the Plate Rim
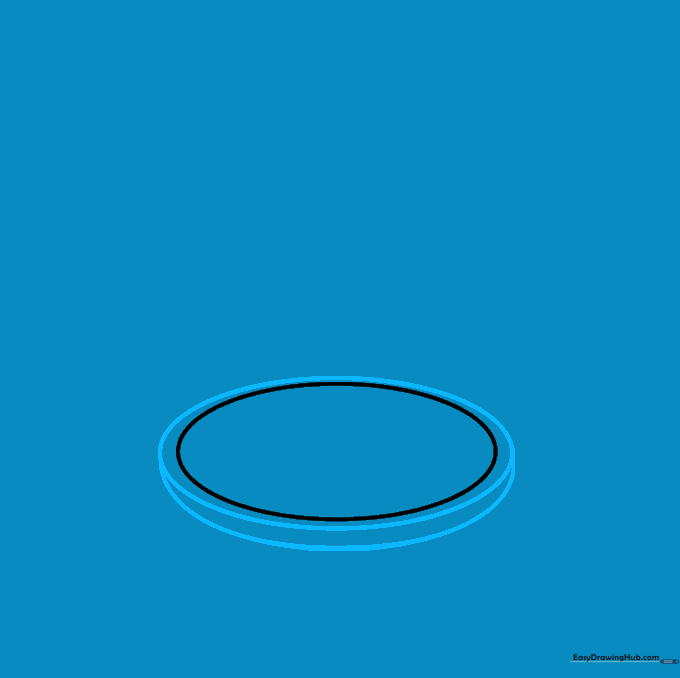
Draw a slightly larger oval around the first to create the rim, then add a curved line underneath to give the plate a 3D side. Tip: Think of this like drawing a shallow bowl.
Drawing the First Cookie

Draw a rounded shape overlapping the plate edge. Use a slightly jagged, uneven line for the top to make it look like a real, baked cookie. Tip: Don't worry about perfection; real cookies are never perfectly round!
Stacking the Cookies
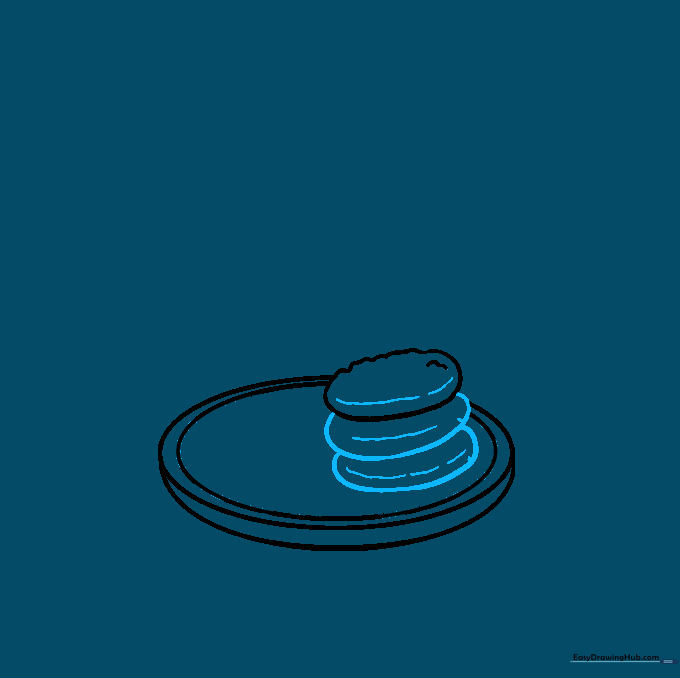
Add two more cookie shapes behind the first one to create a stack. Use small curved lines on the sides to show thickness. Tip: Imagine you are stacking real blocks; the ones behind should look slightly smaller.
Adding a Side Cookie
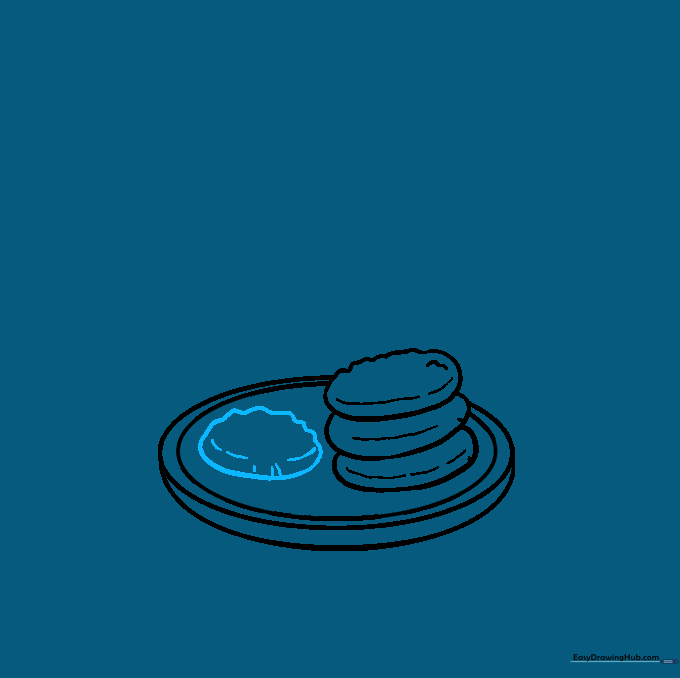
Draw one more cookie resting on the plate next to your stack using a wavy line for the top edge. Tip: Varying the shapes of your cookies makes the drawing look much more natural.
Adding Texture and Details
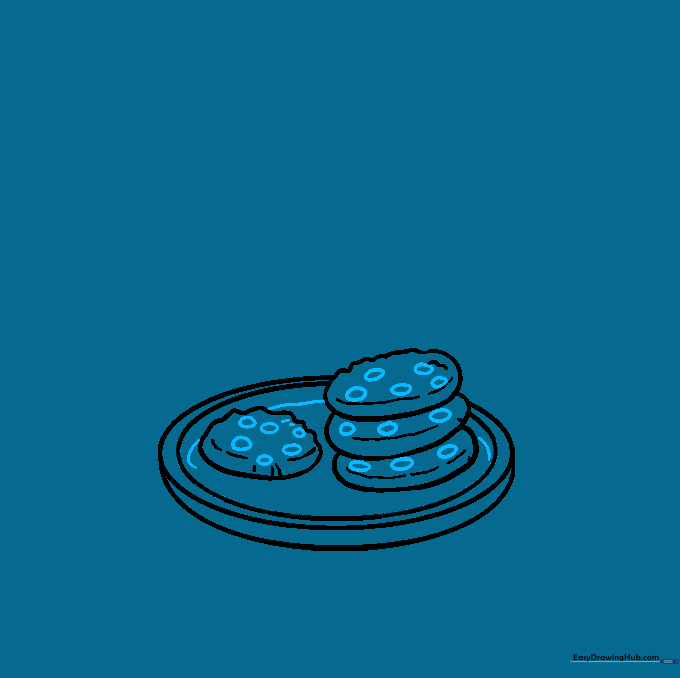
Draw small ovals on each cookie to represent chocolate chips or raisins. Add a curved line behind the cookies to define the back of the plate. Tip: Press harder with your pencil for these details to make them stand out.
Starting the Milk Glass
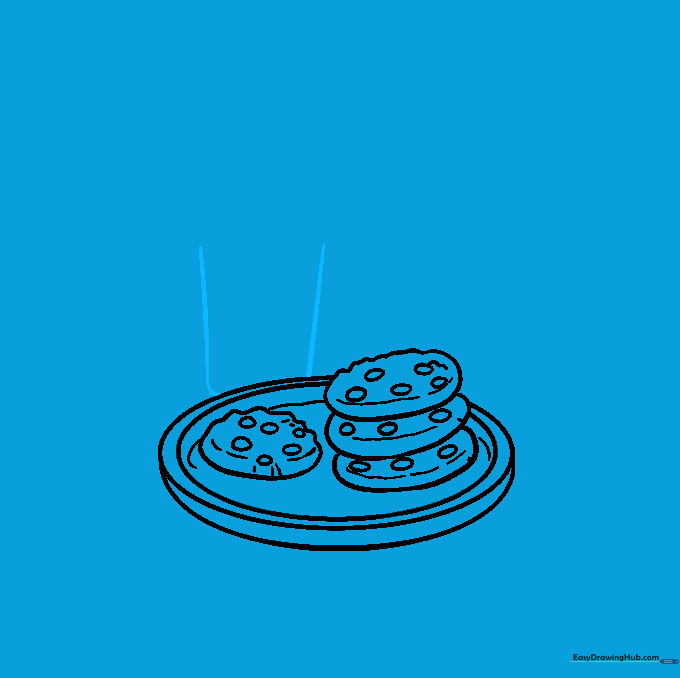
Extend two vertical lines upward from behind the plate. This creates the silhouette of a tall glass of milk. Tip: Use a ruler if you want the glass to look perfectly straight!
Defining the Glass Rim
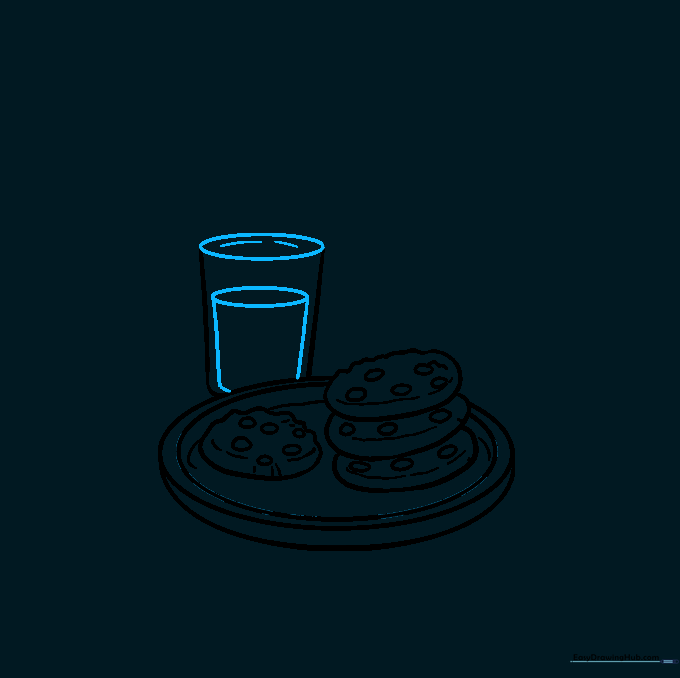
Draw parallel lines inside the glass and connect them with an oval at the top to show the rim and the milk level. Tip: The oval should match the angle of the plate for consistency.
Setting the Scene

Draw a horizontal line for the table, then add a window frame, a pine tree, and falling snow in the background. Tip: Use simple shapes for the window to keep the focus on your cookies.
Adding Color
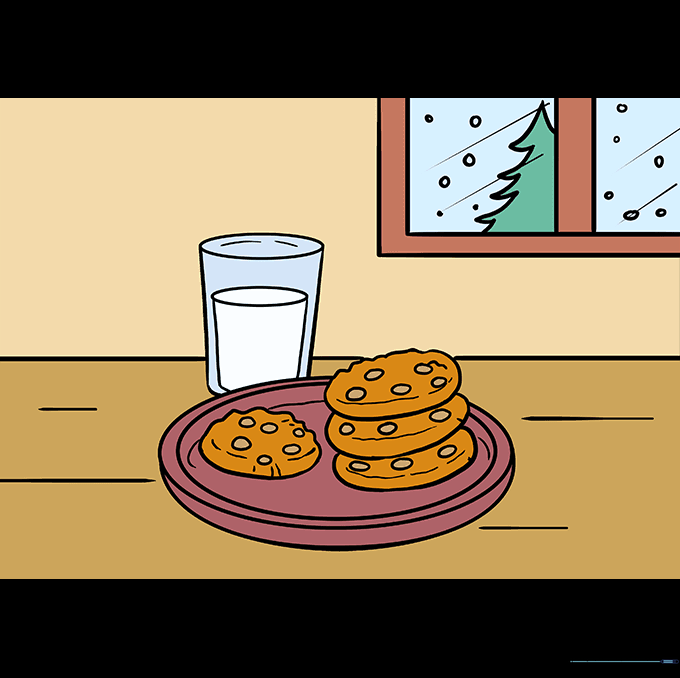
Bring your drawing to life with color! Use warm browns for the cookies and soft whites or creams for the milk. Tip: Try coloring the background in cool tones to make the warm cookies stand out.
More Tutorials


