How to Draw Cookie Monster: Easy 10-Step Guide
Bring everyone's favorite blue monster to life with this simple, step-by-step drawing guide. Designed for young artists ages 5 and up, this activity requires only a pencil, paper, and an eraser. Follow along to master the iconic 'furry' texture and cookie-loving expression that makes Cookie Monster so fun to draw.
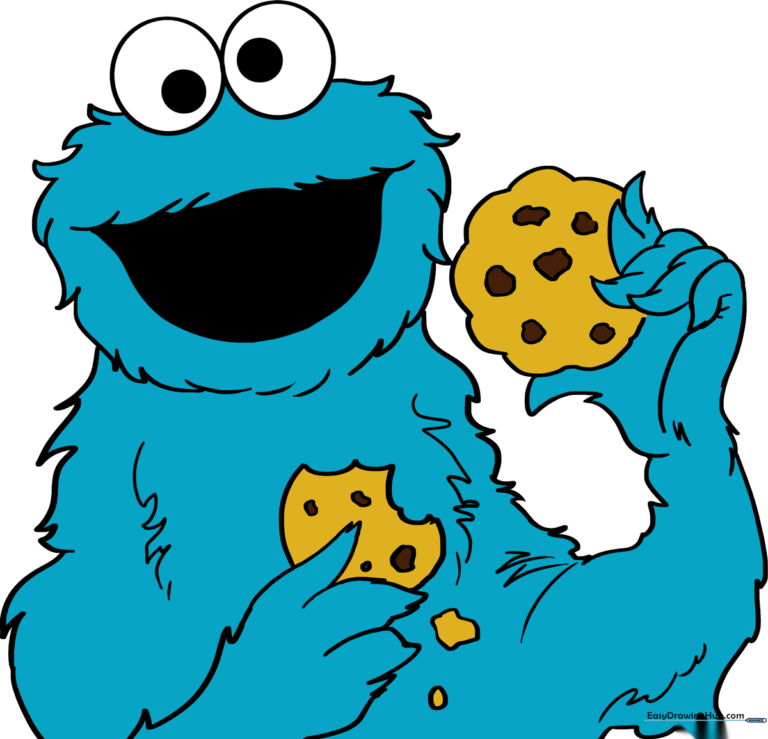
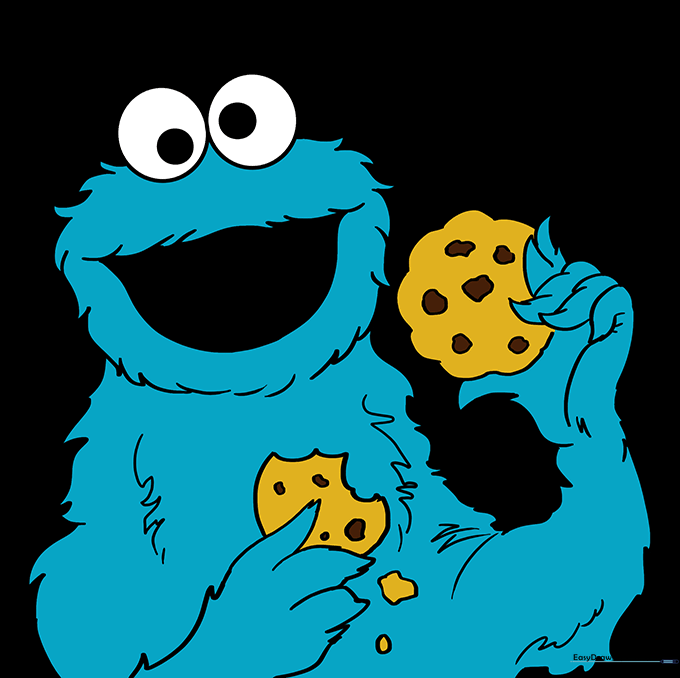
🎯 Final Result
Step-by-Step Instructions
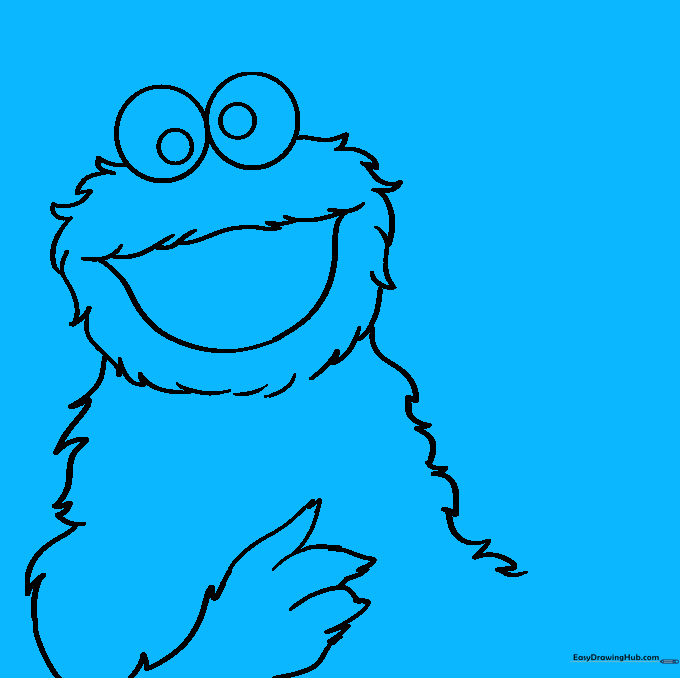
Step 1: Sketching the Eyes

Draw two circles for the eyes, then add smaller circles inside for the pupils. Teacher's Tip: Place the pupils slightly off-center to give him that classic, silly 'Cookie Monster' gaze!
Step 2: Defining the Face and Mouth
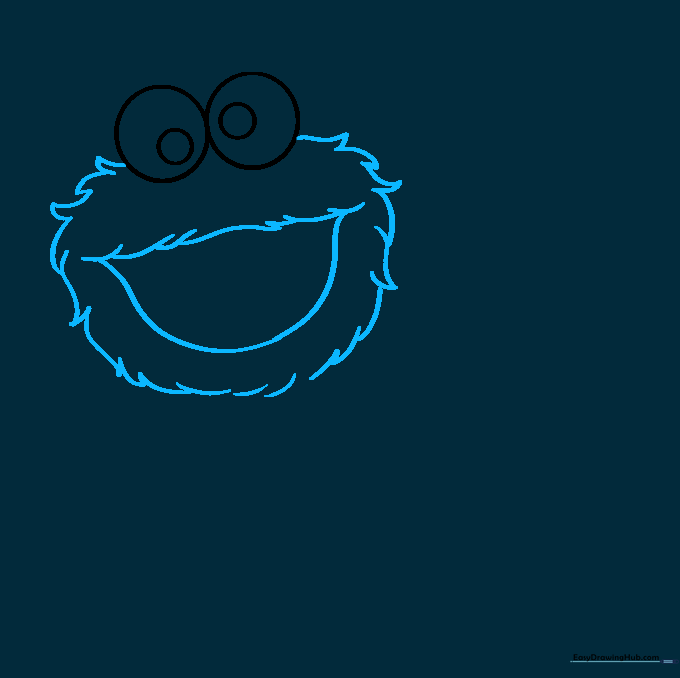
Use short, jagged lines to create a rounded face shape beneath the eyes. Add a wide 'U' shape for the open mouth. Teacher's Tip: Keep your pencil pressure light here so you can easily erase any guidelines later.
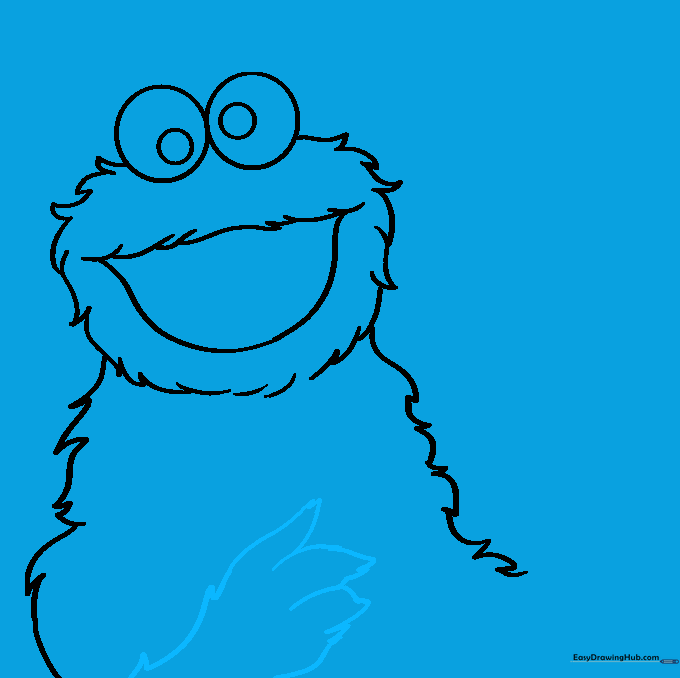
Step 3: Outlining the Body
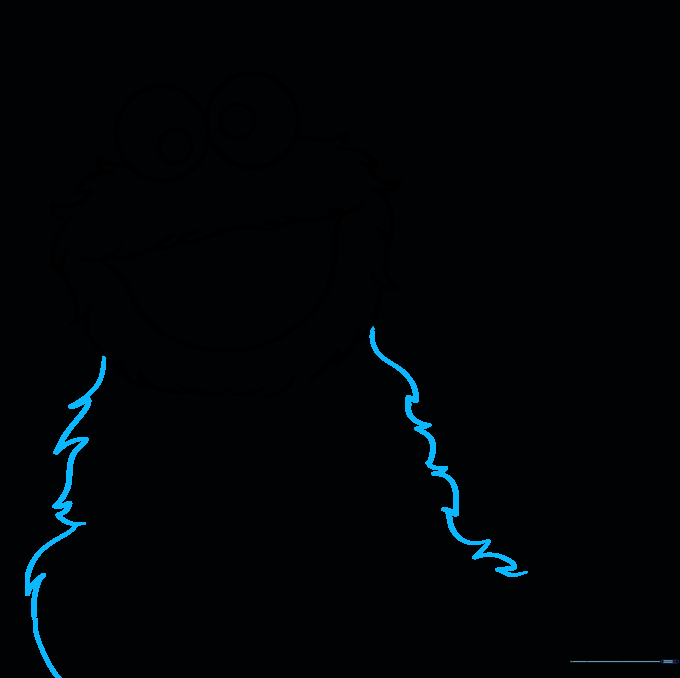
Extend jagged, zig-zag lines down from the face to form the sides of his body. Teacher's Tip: Don't make the lines too straight; the more 'messy' the zig-zags, the furrier he will look!
Step 4: Drawing the First Hand
Use connected curved lines to sketch the first hand, making sure the fingers look pointed and furry. Teacher's Tip: Imagine the hand is reaching out to grab a treat!
Step 5: Adding the Cookie
Draw the second hand holding a round cookie. Add small, irregular shapes inside the circle for chocolate chips. Teacher's Tip: Use a scalloped line for the cookie edge to make it look like a real, baked treat.
Step 6: Connecting the Arms
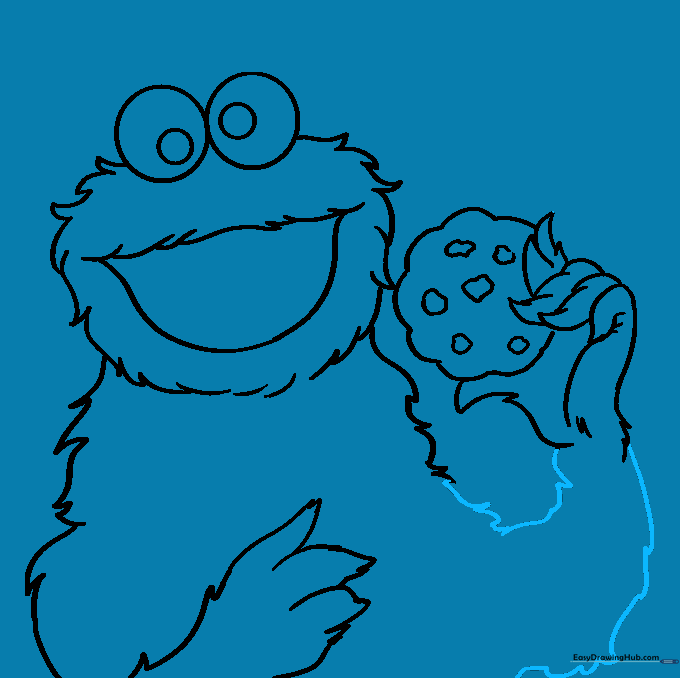
Use jagged lines to attach the hands to the body. Teacher's Tip: Ensure the lines overlap slightly to maintain that consistent, fuzzy texture throughout the drawing.
Step 7: Adding Fur Texture
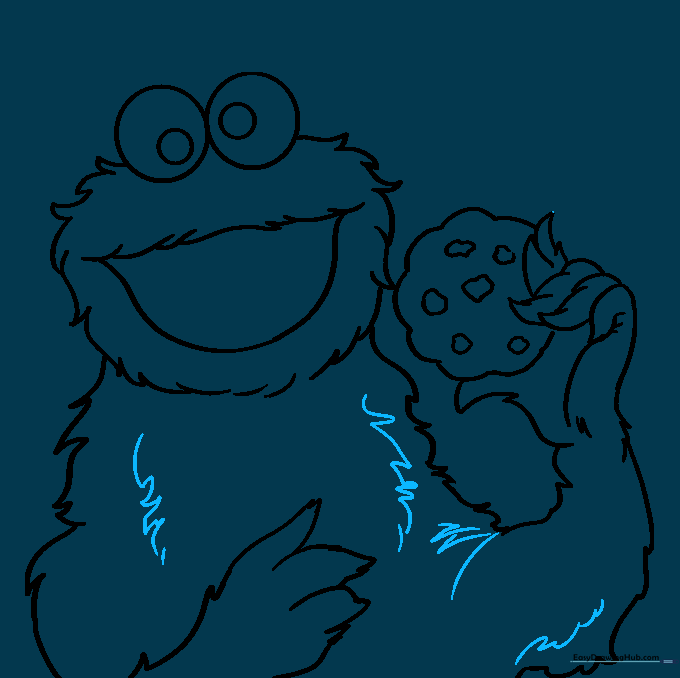
Go over the contours of the arms and chest with extra jagged lines. Teacher's Tip: This is the 'magic' step—adding these extra details makes the drawing look much more professional and realistic.
Step 8: More Cookies and Crumbs
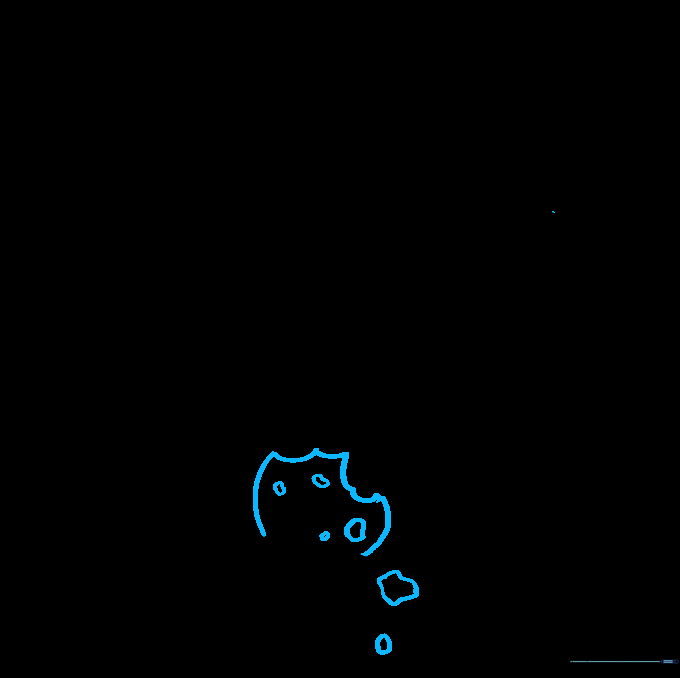
Add a second, partially eaten cookie in the other hand. Draw small dots below it to represent falling crumbs. Teacher's Tip: Crumbs add a sense of action to your drawing!
Step 9: Final Details

Shade in the pupils and the inside of the mouth. Teacher's Tip: Use a dark pencil or marker for the mouth to create a nice contrast against the blue fur.
Step 10: Bring Him to Life with Color
Color your Cookie Monster a bright, vibrant blue. Teacher's Tip: Use light and dark blue shades to give his fur depth and make him pop off the page!
More Tutorials


